Hands-On with the Cambo 6×12 Film Magazine C-243

[ CAMBO 6×12 FILM MAGAZINE ]

Intro

The Cambo 6×12 roll film holders are designed for creating panoramic photography on 4×5 large-format cameras using 120 or 220 film. These backs are favored for offering a wider aspect ratio without requiring larger film formats. In this post, I will discuss why I acquired one, my honest opinion on its operation and the results it has delivered, and show how to load it. Let’s get started.

Cambo C-243 (C2N) 6×12 Roll Film Holder Overview

CAMBO 6x12 FILM MAGAZINE TABLE
This model is valued for its straightforward, dependable design and ease of use in the field. Photographers appreciate its intuitive operation and the high-quality panoramic images it produces. Like all the Cambo gear I’ve used, it’s a solid, well-crafted piece of professional equipment—built to perform and last.

Build Quality & Field Handling

CAMBO 6x12 FILM MAGAZINE DETAILS

[ CAMBO 6×12 FILM MAGAZINE: MASK & DARKSLIDE ]

From this point on, I’ll refer to the Cambo 6×12 film magazine as the C-243.

My used C-243 came with the original ground glass mask, but if yours didn’t, don’t panic—it’s easy to DIY your way out of it. Two strips of masking tape on the ground glass or a 6×12 cut-out from black construction paper will do just fine. Want to get fancy? Place the magazine on a copy machine, make a copy, cut out the film gate, and trim it to match your camera’s ground glass. Voilà—a custom template. Lay that on some black paper, cut out the window, trim the edges, and you’ve got yourself a precision mask worthy of applause.

The C-243’s build is solid without being overly heavy. In contrast, the heaviest 6×12 back I’ve used was the Linhof Rollex, which I eventually sold, partly because it didn’t fit my Ebony RSW, and partly because it felt like anchoring a boat. Even if it had fit, I suspect the poor RSW would’ve done a wheelie from the rear weight. Compared to the Rollex, the C-243 feels refreshingly light. However, considering its sturdy construction, I’d place it in the medium-weight category compared to other 6×12 magazines I’ve owned. It strikes a nice balance between durability and manageability.

I’ve used the C-243 in the studio with my Ebony RW and in the field with the Cambo Wide 650. It slides in behind the ground glass with ease—no wrestling or weird wrist angles required. As always with 4×5 holders, I take care not to bump the camera or shift the back, because nothing kills the mood like recomposing from scratch. So far, the C-243 has been a smooth operator.

Now let’s talk darkslide. This one comes with a stylish red pattern that makes it easy to tell when it’s pulled out—unless, of course, you’re like me on the first roll and don’t pull it out quite far enough. I’m not a fan of removing it completely (maybe you’re more daring), so I stopped just shy of the danger zone—or so I thought. What I ended up with was a faint line across the extreme right side of the negative, with a ruffled edge that looked suspiciously like the trim on the dresses my mother dressed me in as a kid. And let’s be clear: the only ruffles I willingly embrace these days come in a bag labeled potato chips. Lesson learned. Since then, no more frills—just clean, crispy negatives.

Film Loading

CAMBO 6x12 FILM MAGAZINE FILM LOADING

[ CAMBO 6×12 FILM MAGAZINE FILM LOADING ]

Loading film into the C-243 isn’t especially hard, at least not compared to some of the more temperamental film backs I’ve wrestled with. That said, don’t zone out while you’re winding. The backing paper pulls out a lot, and if you get too enthusiastic (as I did on roll two), you’ll end up with a final frame that’s not the full frame size.

To spare you from trial and error, I’ve included a link to a YouTube video that walks through the process using a Calumet C-2 film magazine (which is basically a Cambo in disguise). The demo is for a 6×7 format, but the steps apply just as well to the 6×12.

And because the internet is oddly silent on this topic, I’ve also scanned and included the original C-243 loading instructions and component diagram. Watch the video for the how, and consult the PDFs for the what and why.

Film Advance & Frame Count

CAMBO 6x12 FILM MAGAZINE FILM ADVANCE POSITIONS

[ CAMBO 6×12 FILM MAGAZINE FILM ADVANCE POSITIONS ]

The C-243 uses a mechanical frame counter dial—no red windows or peepholes here. To load, set the dial to the neutral “freewheeling” position (check the PDF if you’re unsure), and wind the film until the frame locating mark—a red dot—lines up between last frame and “S”. Once the back is closed and the darkslide is properly inserted, turn the advance knob until it stops. That’s your first frame, and you’re ready to go.

Advancing to the next frame is just as straightforward. After each shot, press the release button and turn the advance knob until it clicks to a stop. No need to squint at frame numbers through a window—each position locks into place with a satisfying Cambo-style precision. Just remember to press the release first—otherwise, you’ll be spinning the knob like a confused tourist on a New Jersey roundabout.

After exposing all six frames (or twelve if you’re using 220 film), continue winding to spool off the paper backing. You’ll feel the resistance ease up—that’s your cue that the film is fully wound. You can then open the back and remove the film for processing.

FINAL THOUGHTS

ORCHIDS: EBONY RW + CAMBO 6x12 + SK 120M + TMAX 100

[ ORCHIDS: EBONY RW + CAMBO 6×12 + SK 120M + TMAX 100 ]

The C-243 is, hands down, the best 6×12 film back I’ve used to date. And I don’t say that lightly—I’m comparing it directly to the Horseman, the Linhof Rollex, and the Da Yi 6×12 (which, frankly, deserves its own category titled Frustration).

Of course, that’s just my take based on how I shoot and what matters to me. Let me explain why this back stands out…

PROS:
1. Ease of Use:
One of the most significant advantages is that the ground glass does not have to be removed which means my viewfinder can stay on the camera. If you’re using a Graflok system, this back fits right in there, too. It’s flexible and practical.

2. Weight:
This back won’t give you a hernia. It’s noticeably lighter than the Linhof Rollex, which feels like it was forged from melted-down tank parts.

3. Frame Spacing:
Zero spacing issues. That’s right—zero. Every frame lines up cleanly, with none of the weird overlaps or crowding I’ve seen on other backs.

CONS:
Honestly, I haven’t found any true cons—yet. The only “gotchas” came from my early learning curve: figuring out how much of the darkslide needs to be pulled (answer: all the way, don’t get cute), and how far to advance the film leader without compromising that last frame. These are user quirks, not design flaws.

I’ve now run about half a dozen rolls through this back—both on my Cambo Wide 650 and behind my custom bag viewer on my Ebony—and I’ve had zero issues with film flatness, frame spacing, or overall operation. It’s a solid performer that quietly does exactly what it’s supposed to. No fuss, no surprises, no drama.

Recent Posts

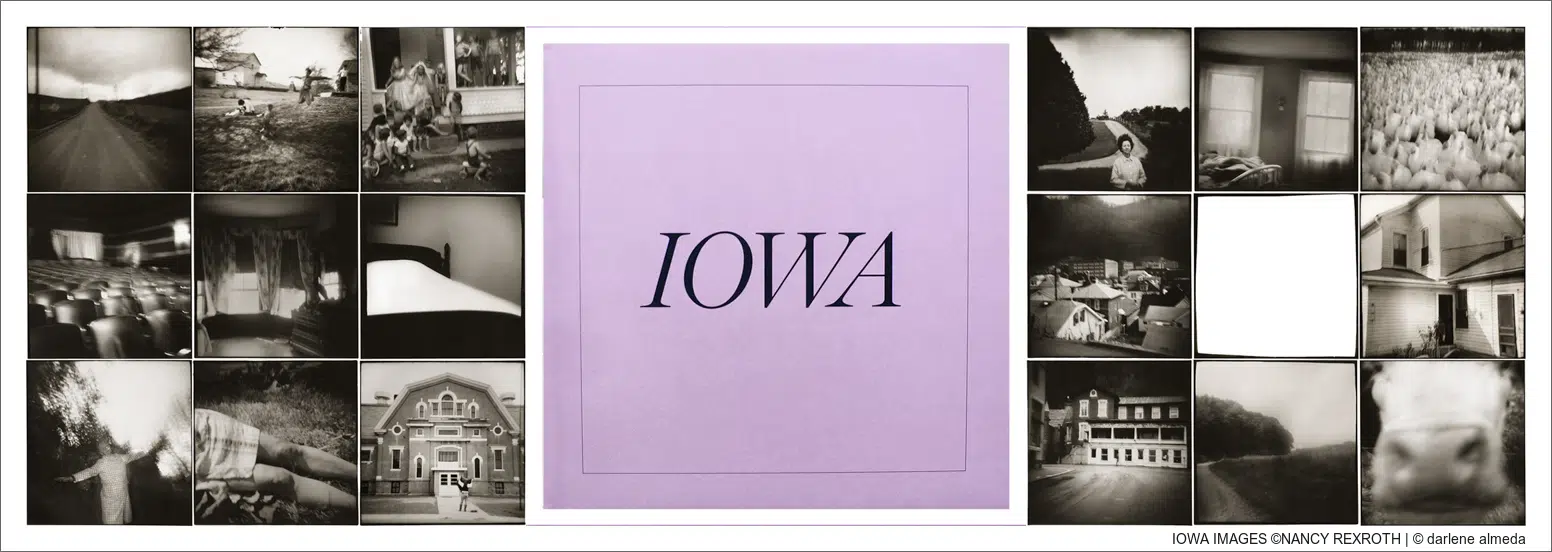
Iowa, by Nancy Rexroth

Iowa, by Nancy Rexroth

Explore the unique and dreamlike world of Nancy Rexroth’s “IOWA,” a photography book that captures the ethereal beauty of southeastern Ohio through the lens of a Diana camera.

Lens Case Recycling: Updating The Labels

Lens Case Recycling: Updating The Labels

Recycle unused lens cases! In this follow-up to *Camera Bag Versatility*, I share how I repurpose cases—like my old Fujifilm 23/2 case—for new gear needs.

4×5 Film Holders: Care & Carry

4×5 Film Holders: Care & Carry

Learn how a simple pastry brush keeps dust out of film holders—a timeless technique I learned in photography school and still use today for clean, sharp images.

DIY Custom Case for Your Digital Back

DIY Custom Case for Your Digital Back

I’ve assembled a collection of photography-related items, such as lens cases, equipment bags, and backpacks. While some of these cases are passed on with gear I’ve sold, I’ve retained a specific type of Tamrac lens case due to its durable and lightweight design, featuring a convenient top handle. The centrally located top handle in lens cases proves highly practical, facilitating easy access when reaching into a backpack from above. In this DIY article, I’ll guide you through how I created a custom case for carrying my digital back and backup batteries on location, using readily available materials. Typically, I store my digital back and batteries in a Pelican case when not shooting. Still, I occasionally leave my gear in its bag after a shoot and leave the digital back and batteries in the DIY case, as it offers excellent protection within my camera bag.

Camera Bag Versatility

Camera Bag Versatility

While assembling my Fuji X-Pro2 (XP2) kit, I began looking for a lightweight bag to store it all in. I wanted the bag to carry my lenses in cases and be easy to work out of from the back of a vehicle. I also use the XP2 in the studio, so the bag had to offer something. Would it be possible to find such a versatile bag?

Panorama In Pieces

Panorama In Pieces

While away on a quick personal trip to Marietta, Georgia, I tried using my favorite point-and-shoot camera, the Fujifilm x100t for panorama making. Earlier in the week, I instructed my students to make a panorama using Lightroom (LR), vertical slice shots, and manual focus for their weekly shoot assignment. After a brief walk around Marietta Square, I thought I would try and photograph a beautiful church and challenge the software with vertical and horizontal slices to see if a tourist with a point-and-shoot camera could make a decent-looking panorama and then share the results with my students.