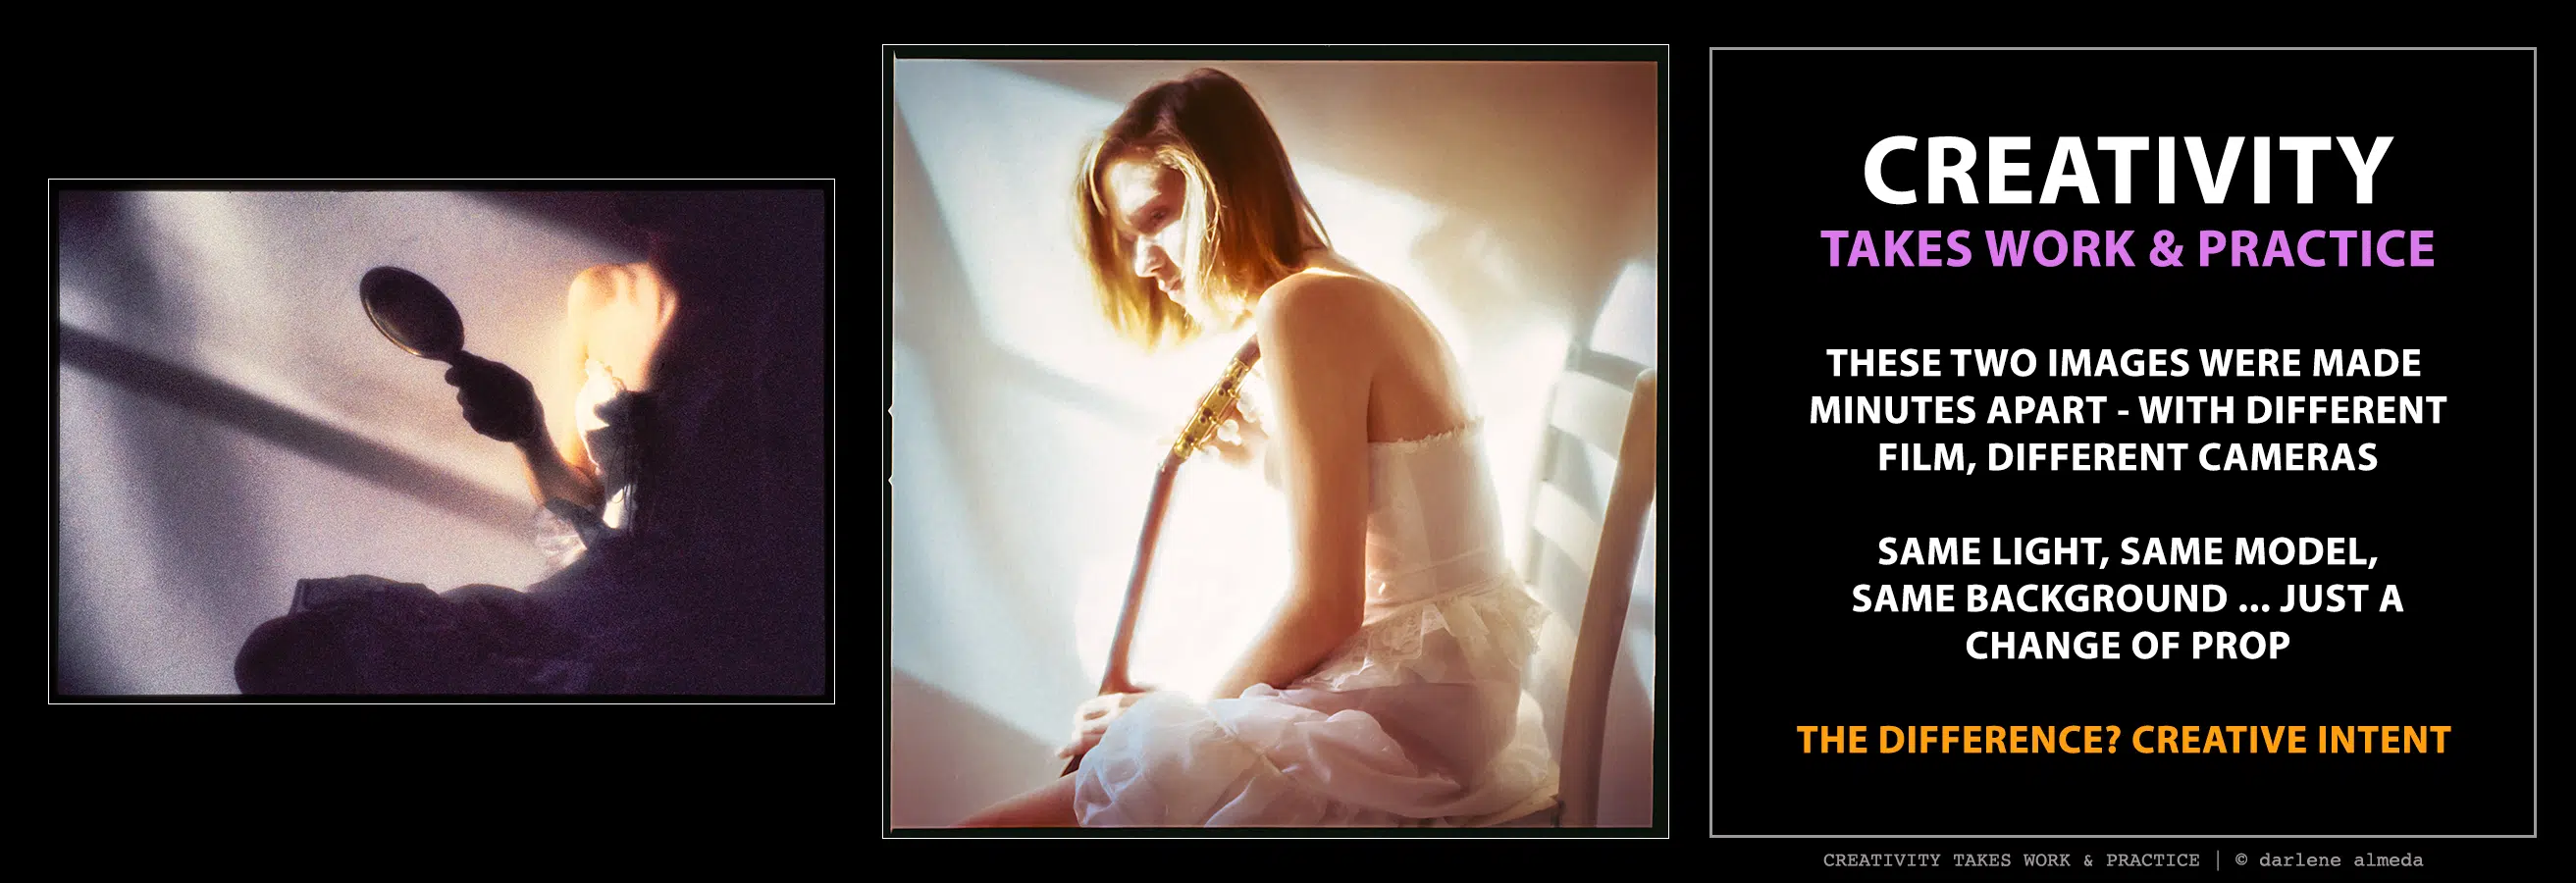
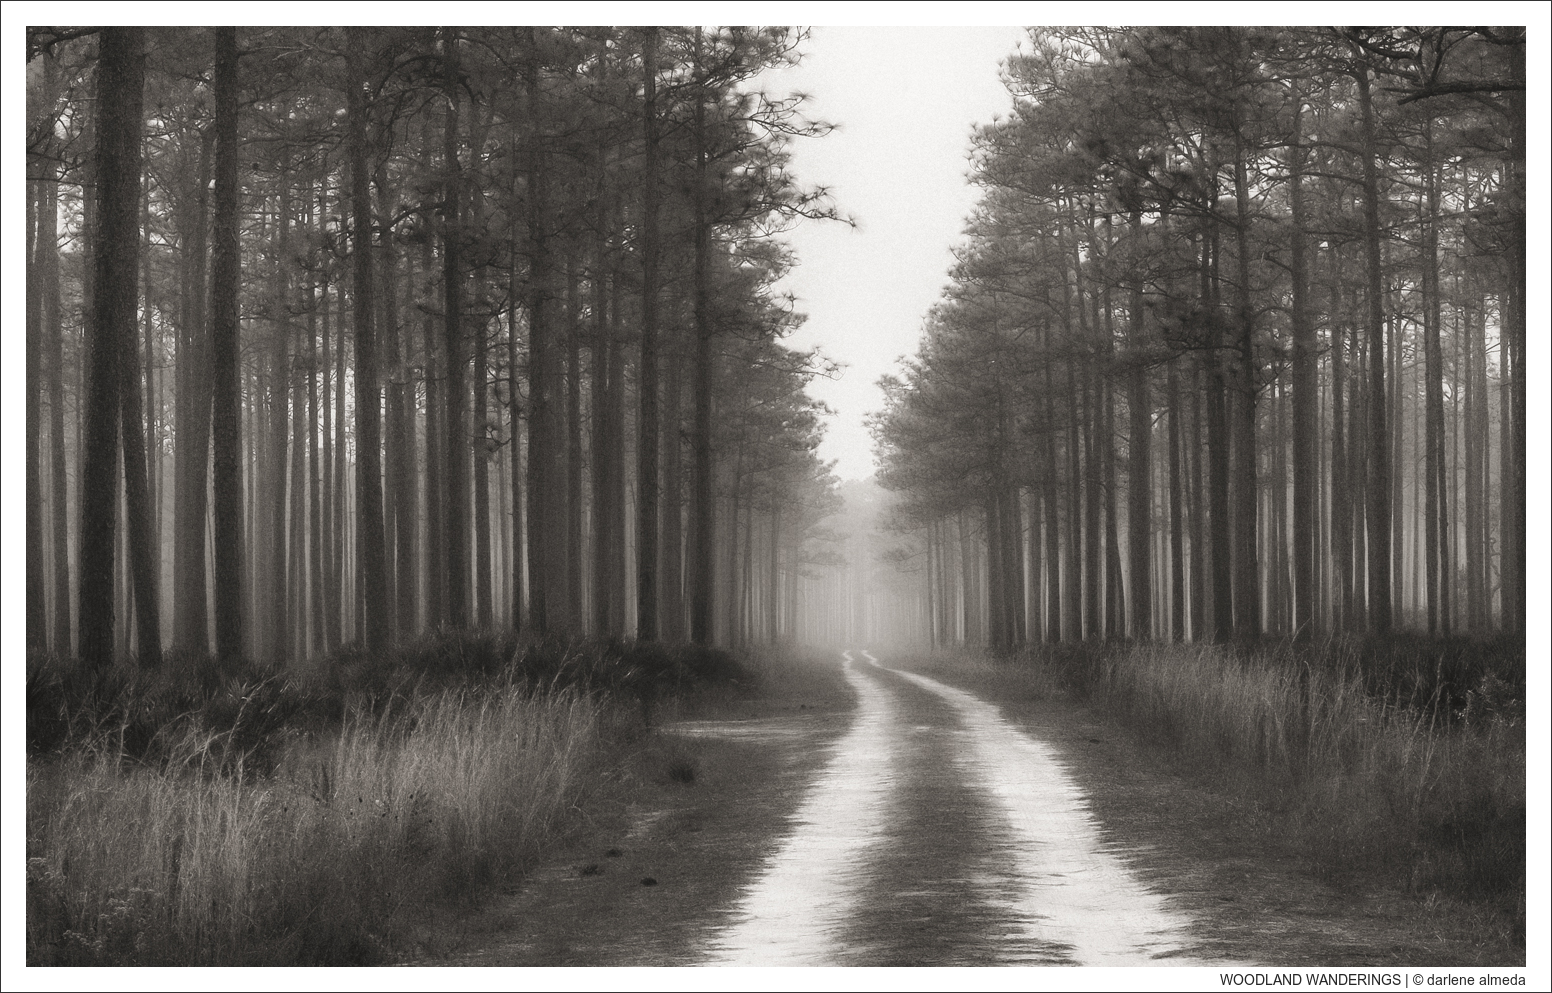
Creativity isn’t about shooting randomly — it’s about seeing intentionally. Same setup, two different results. The difference? Creative intent.
techniques
Cambo Wide Meets Tabletop Photography
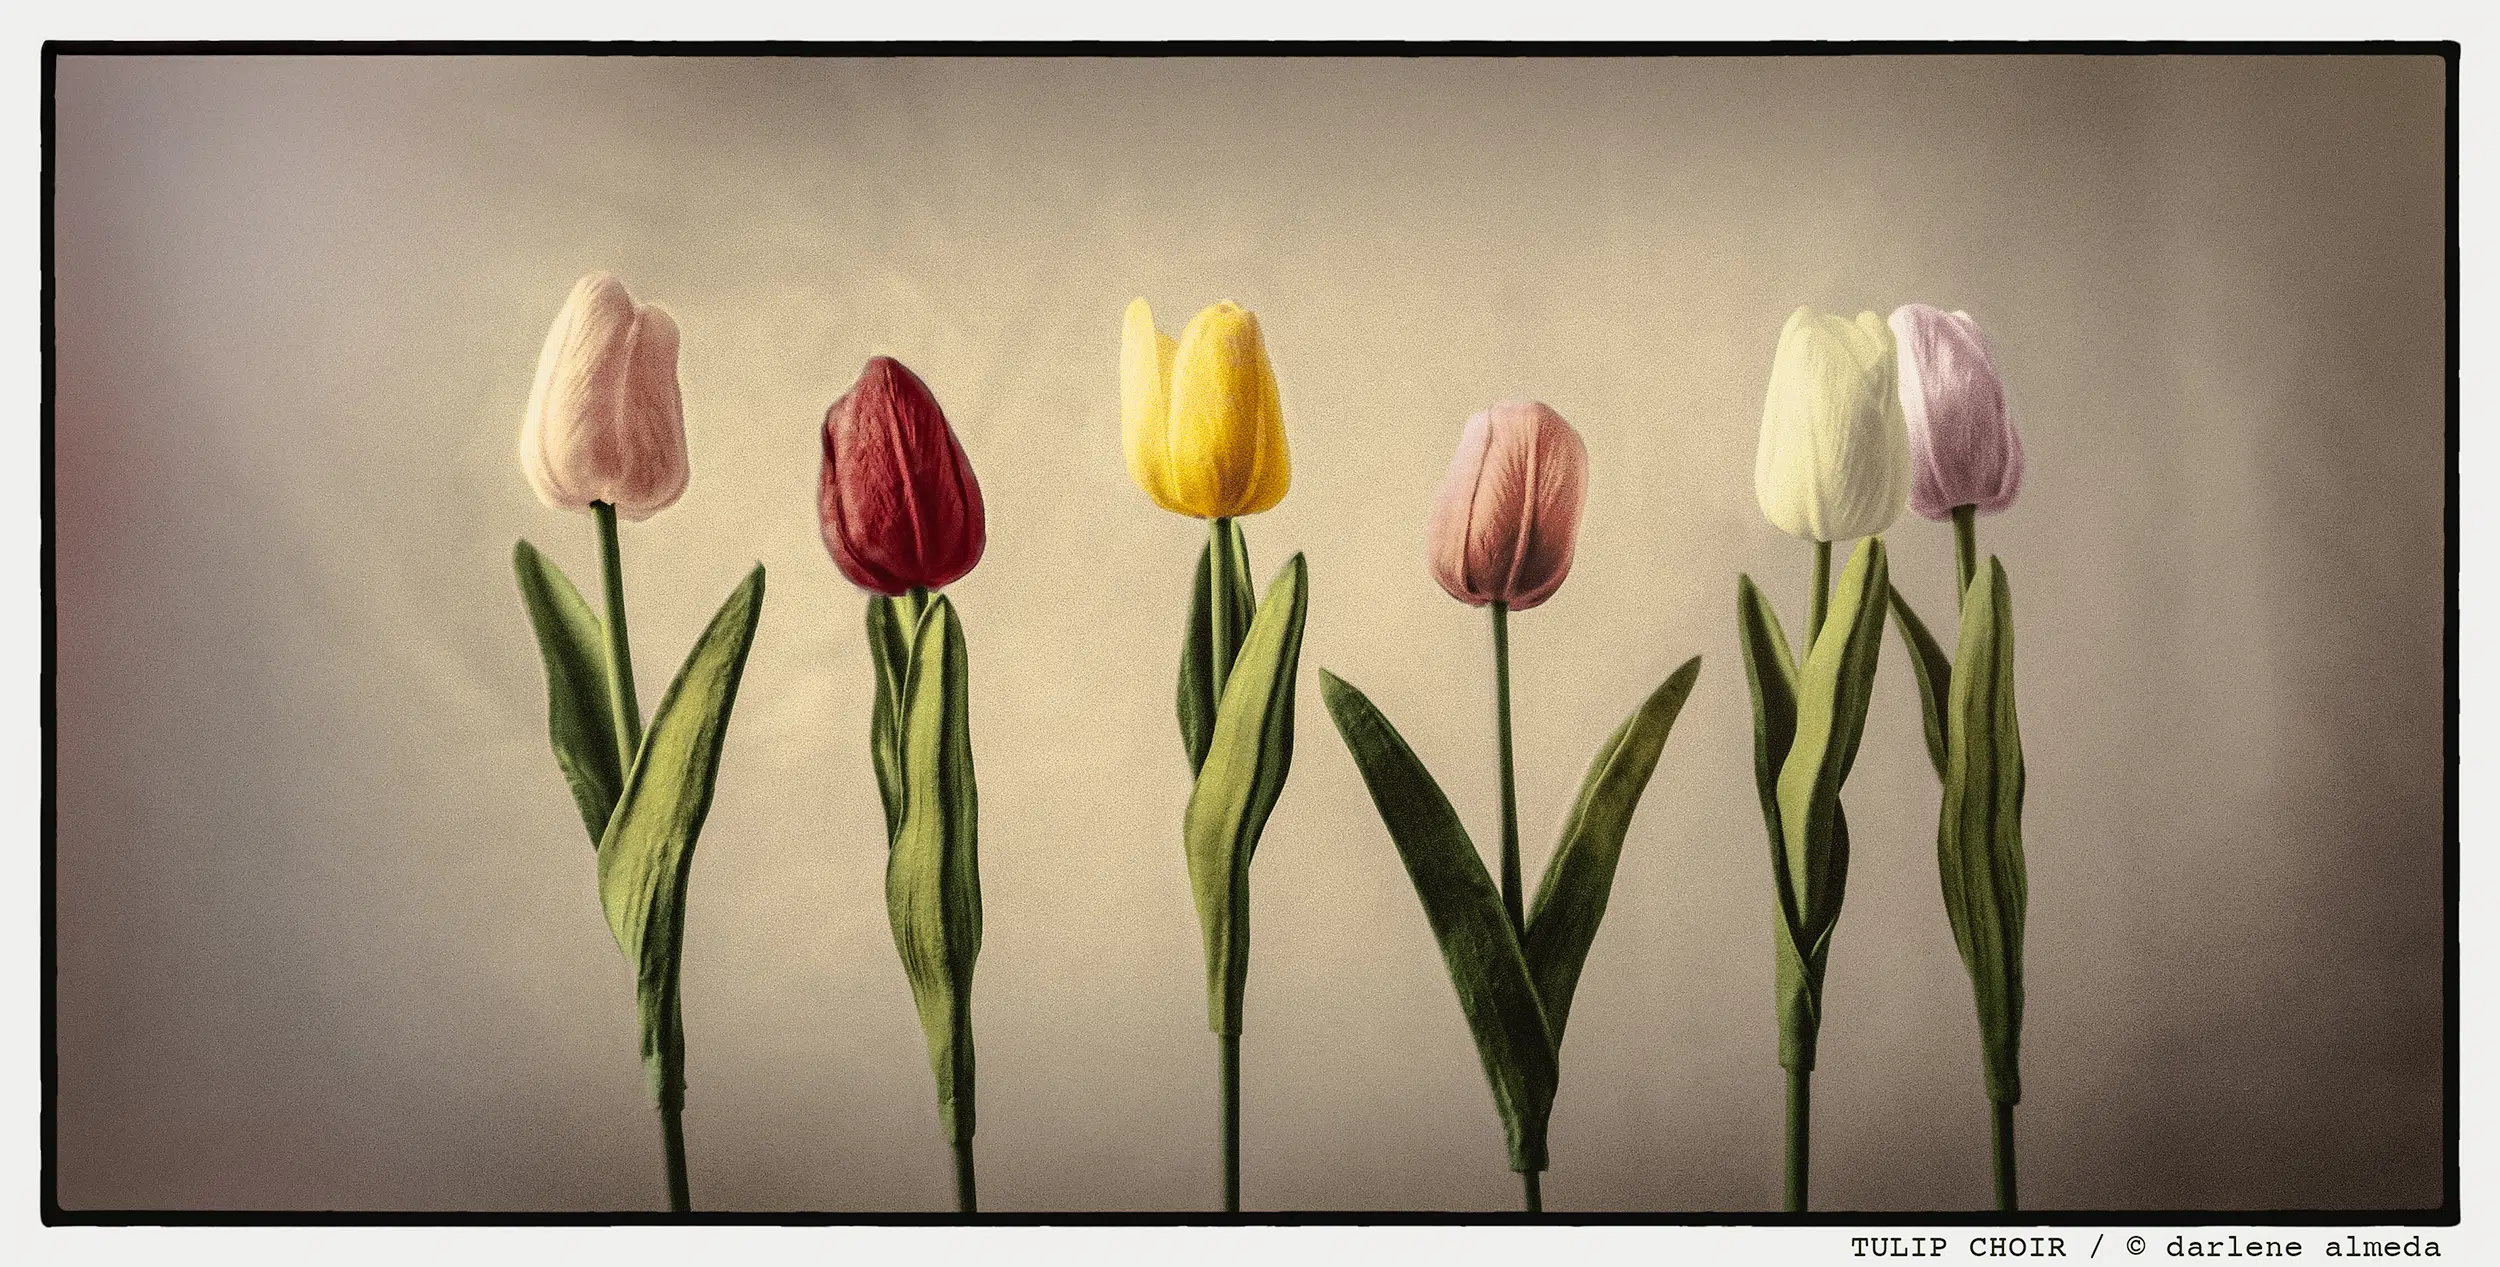
A panoramic camera, a close-up filter, and a batch of fake tulips walk into a studio… here’s what happened when I broke all the rules.
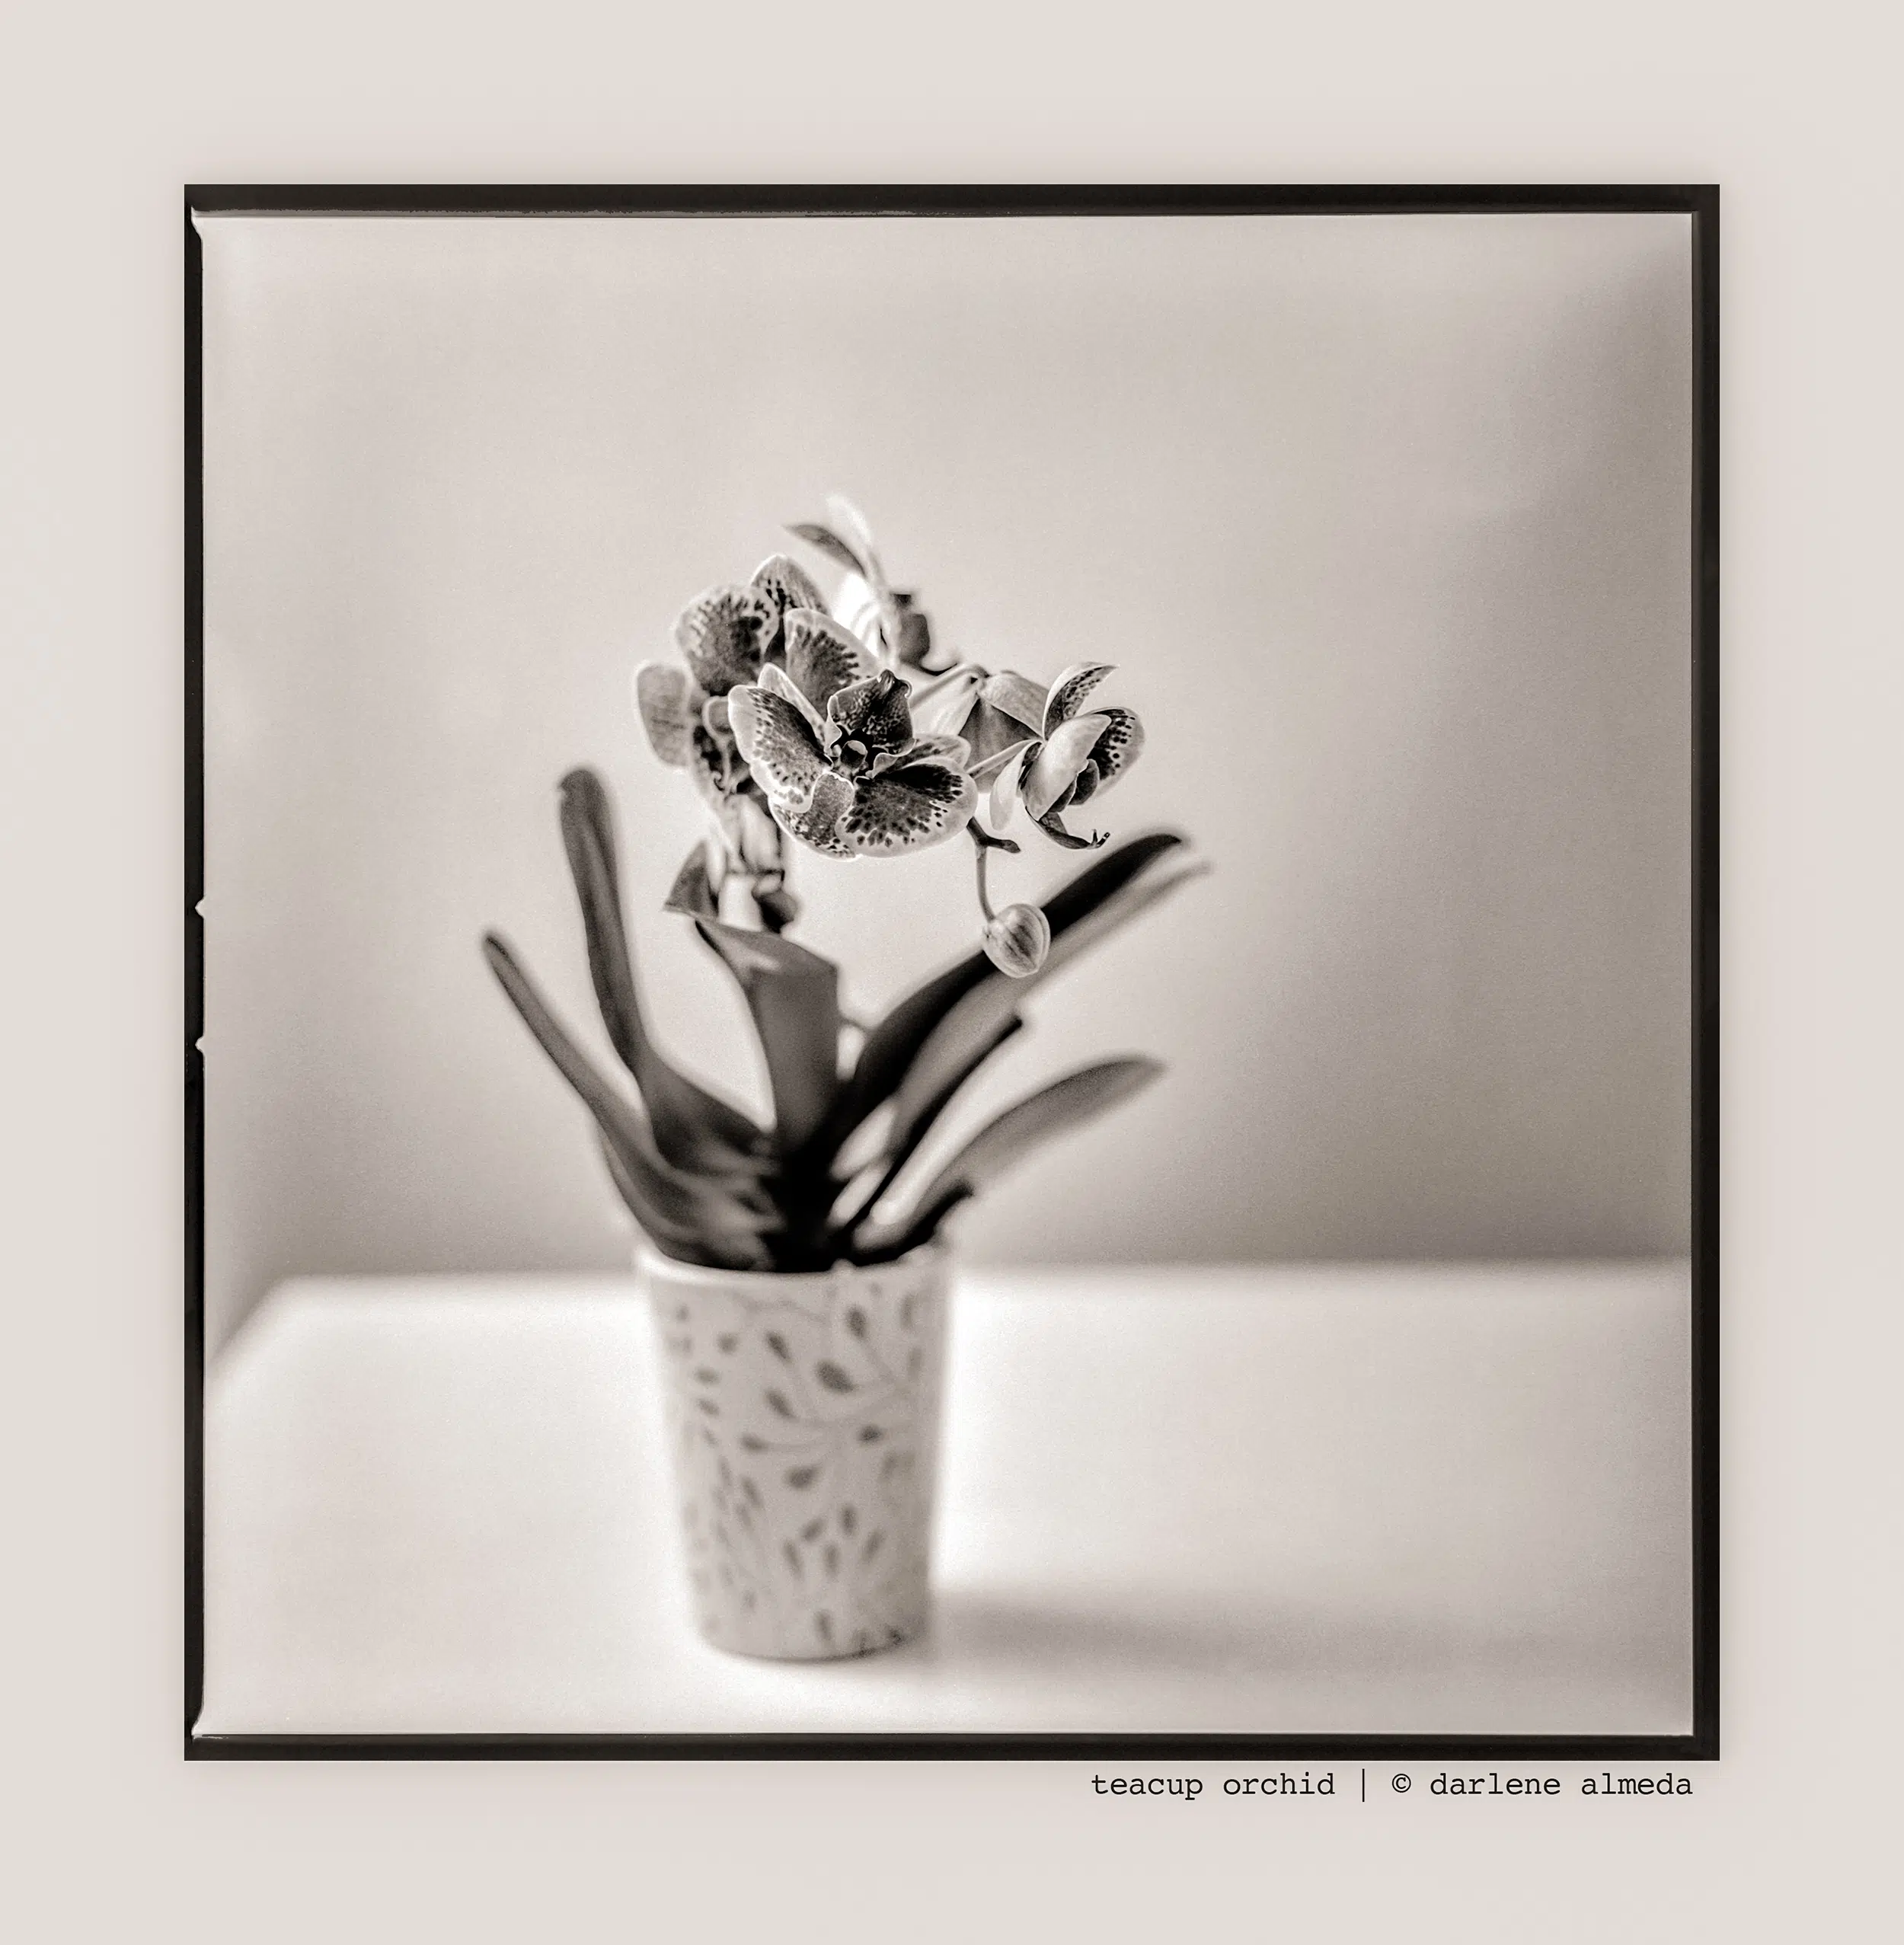
Shooting Panatomic-X from 1966: One Roll, One Storm, One Orchid
How I shot 1966-expired Kodak Panatomic-X in a stormy studio session, capturing printable frames, vintage charm, and a soft-focus orchid I adore.
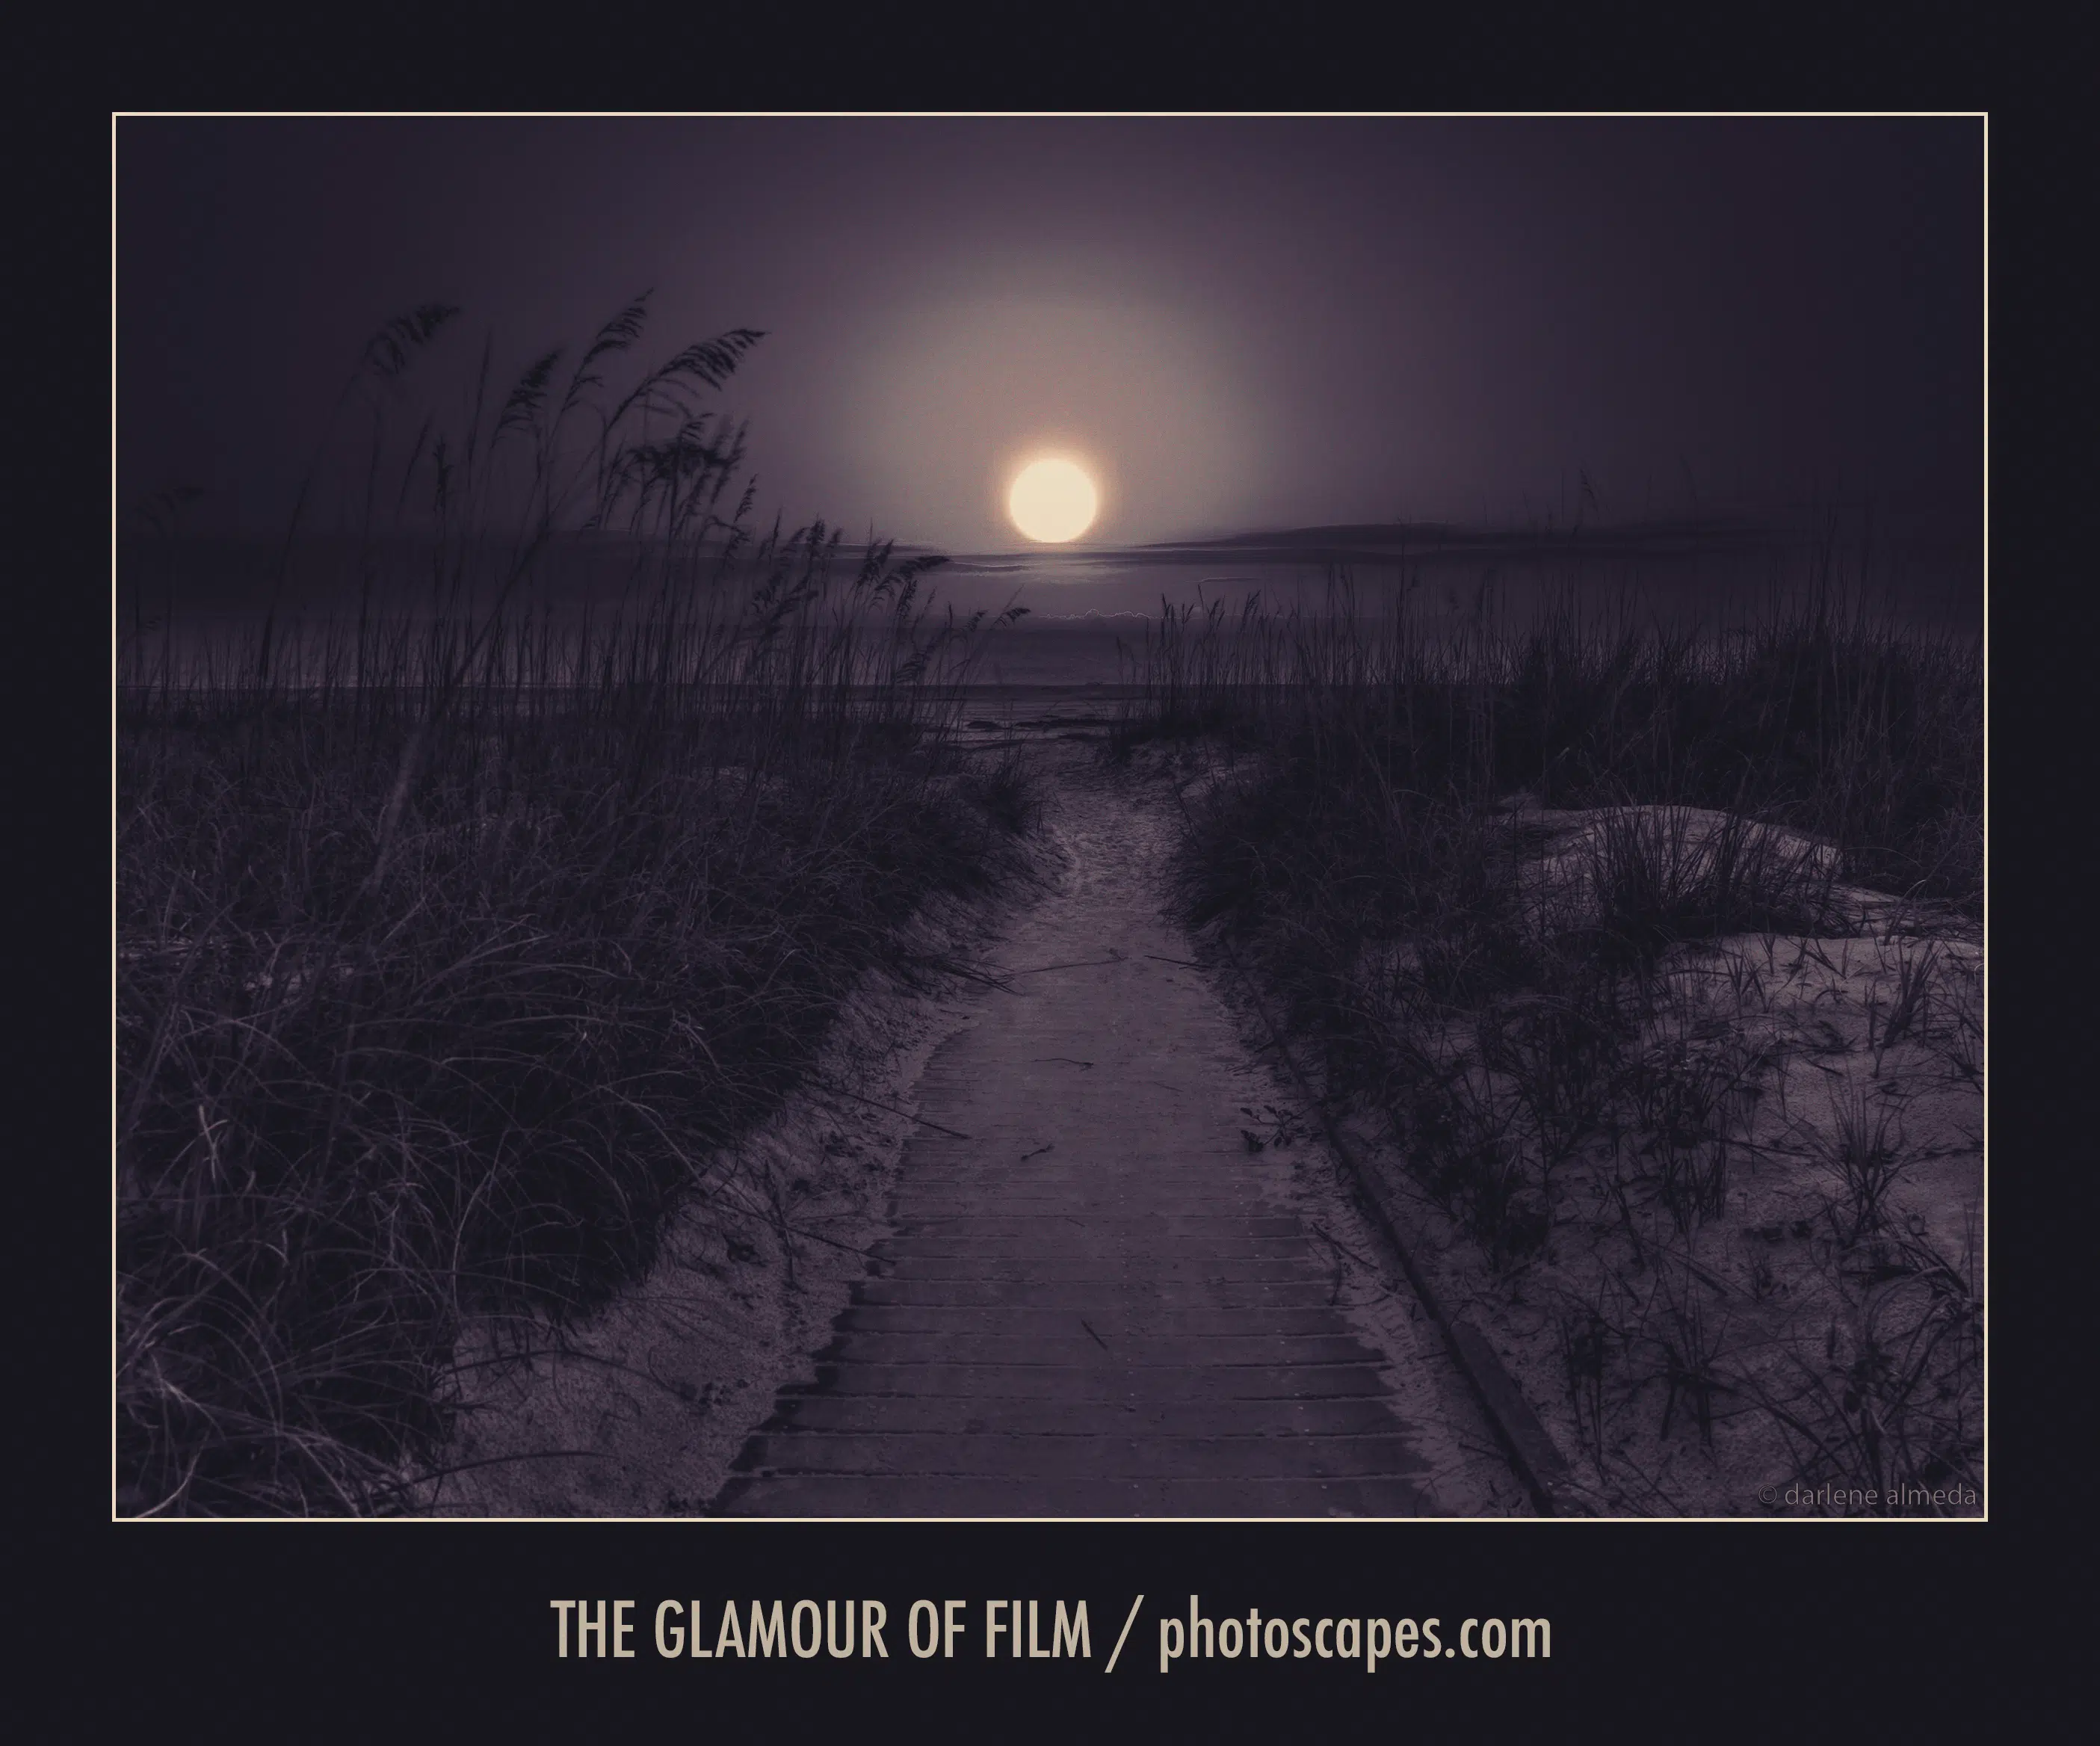
The Glamour of Shooting Film
Capturing the quiet mystery of a moonlit beach with 4×5 film—where craft, memory, and midnight tones come together in a soulful creative process.
Sea Grass & Beach: The Art of Balancing Light
Balancing sky and sand at sunset using classic film techniques and digital bracketing—why dragging the shutter still has a place in today’s toolkit.
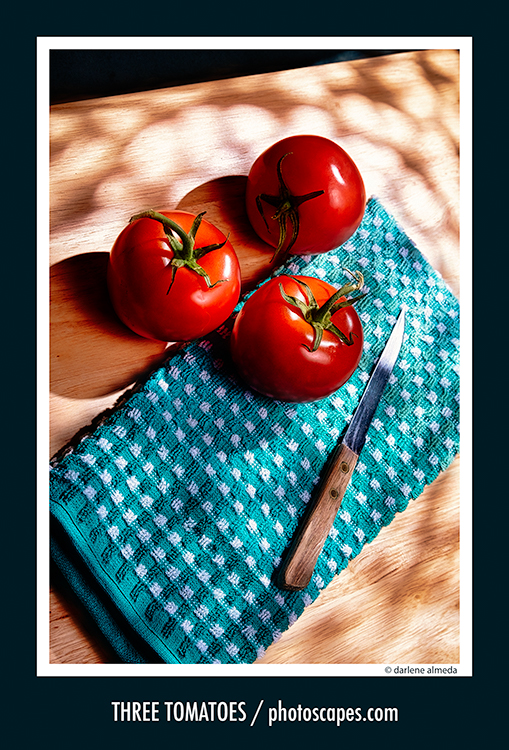
A Gobo, a Snoot, and a Sandwich
Learn how I used an optical snoot, a few gobos, and a budget lens to create moody, window-style light for a tomato still life. Sandwiches included.
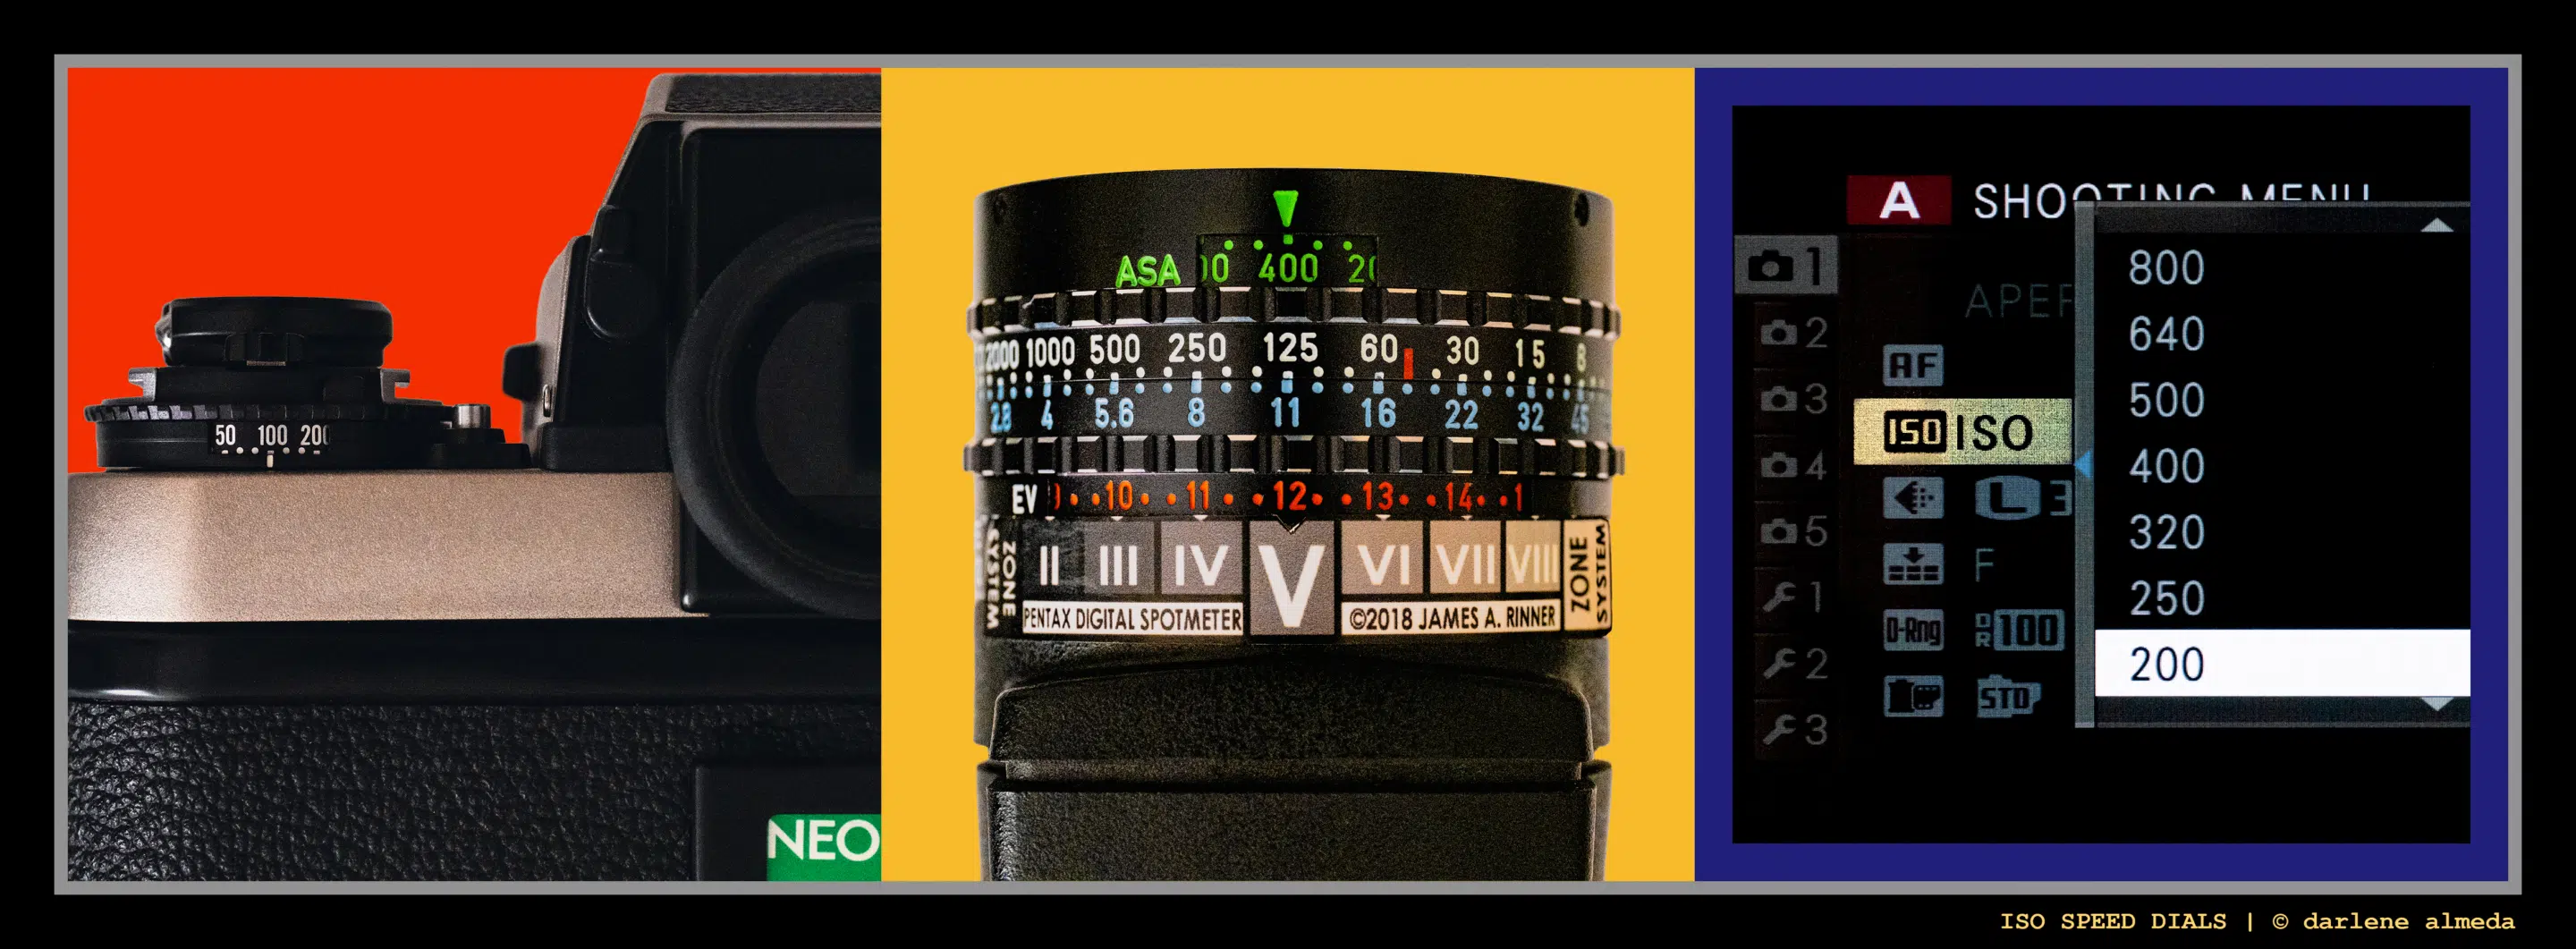
ISO Speed: Sensitivity, Signal, and Creative Control
Learn how ISO affects exposure, image quality, and creative control in photography—covering digital vs. film, dynamic range, and when to use high or low ISO.
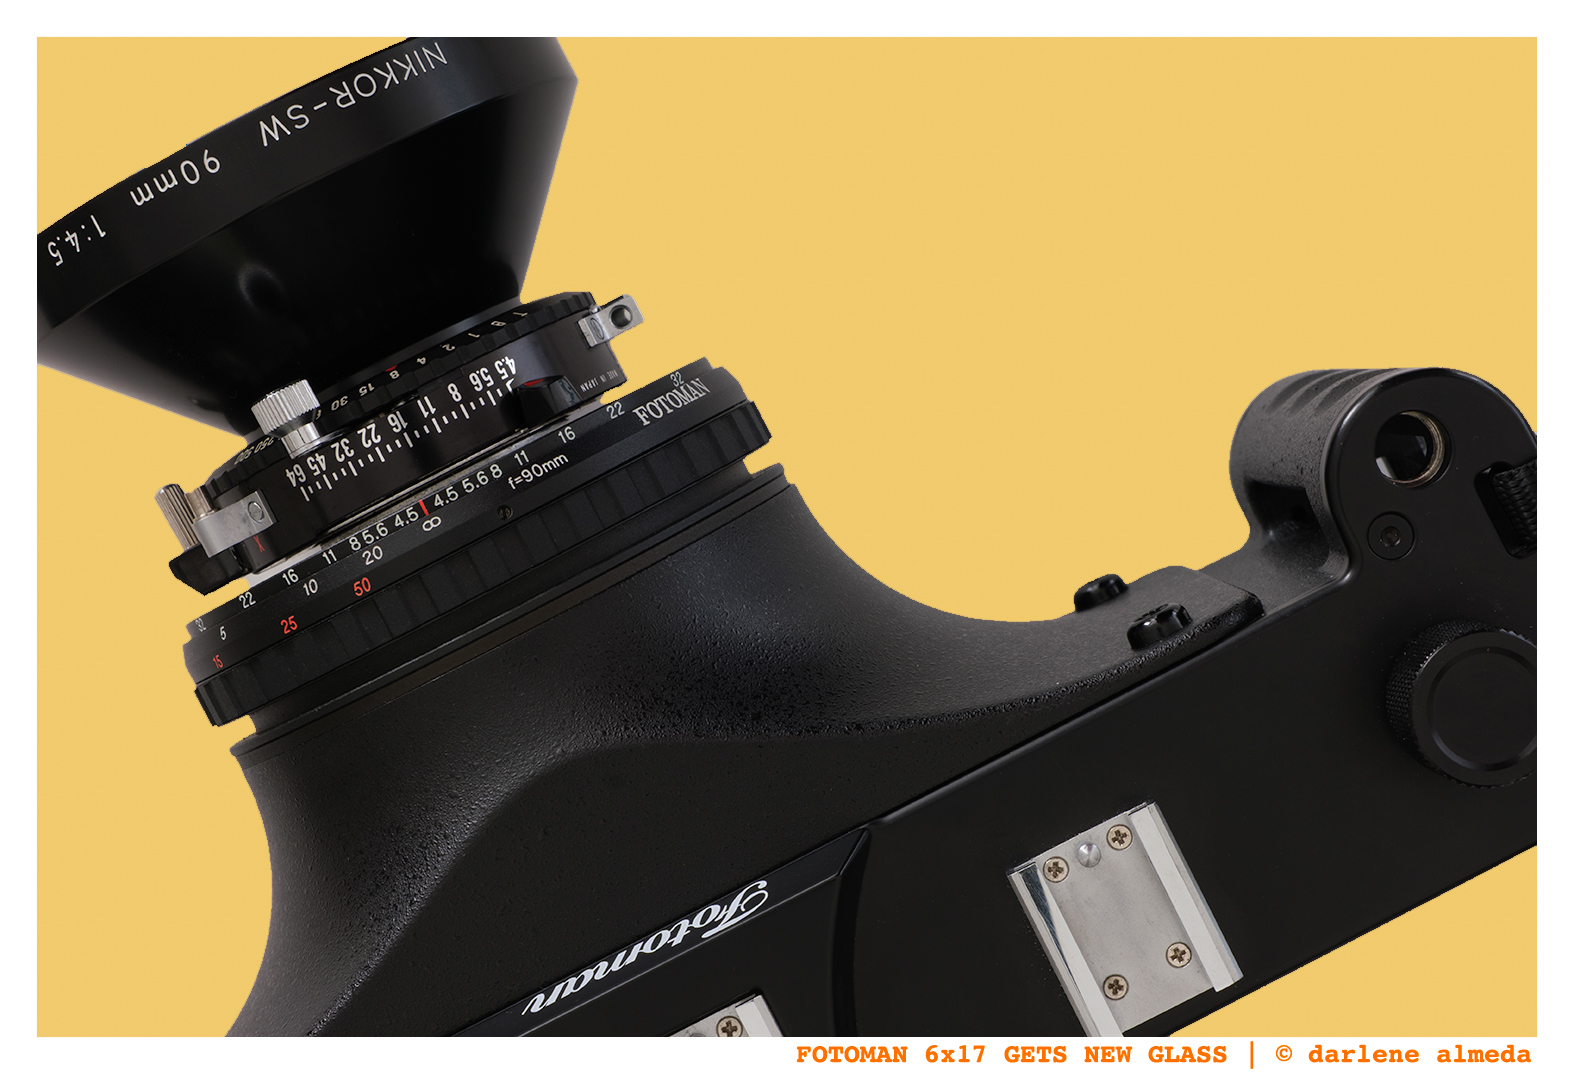
Fotoman 6×17 Lens Change Part #2: Calibration
Calibrating the Nikkor SW 90mm on a Fotoman 6×17 for hyperfocal focus with field tests, film notes, and image results using 510 Pyro and AGO processor.
Bellows Extension Compensation Made Simple: Methods, Tools & Tips
If you use a 4×5 or any bellows camera, knowing when and how to apply bellows extension compensation is key. This guide covers simple, effective methods.
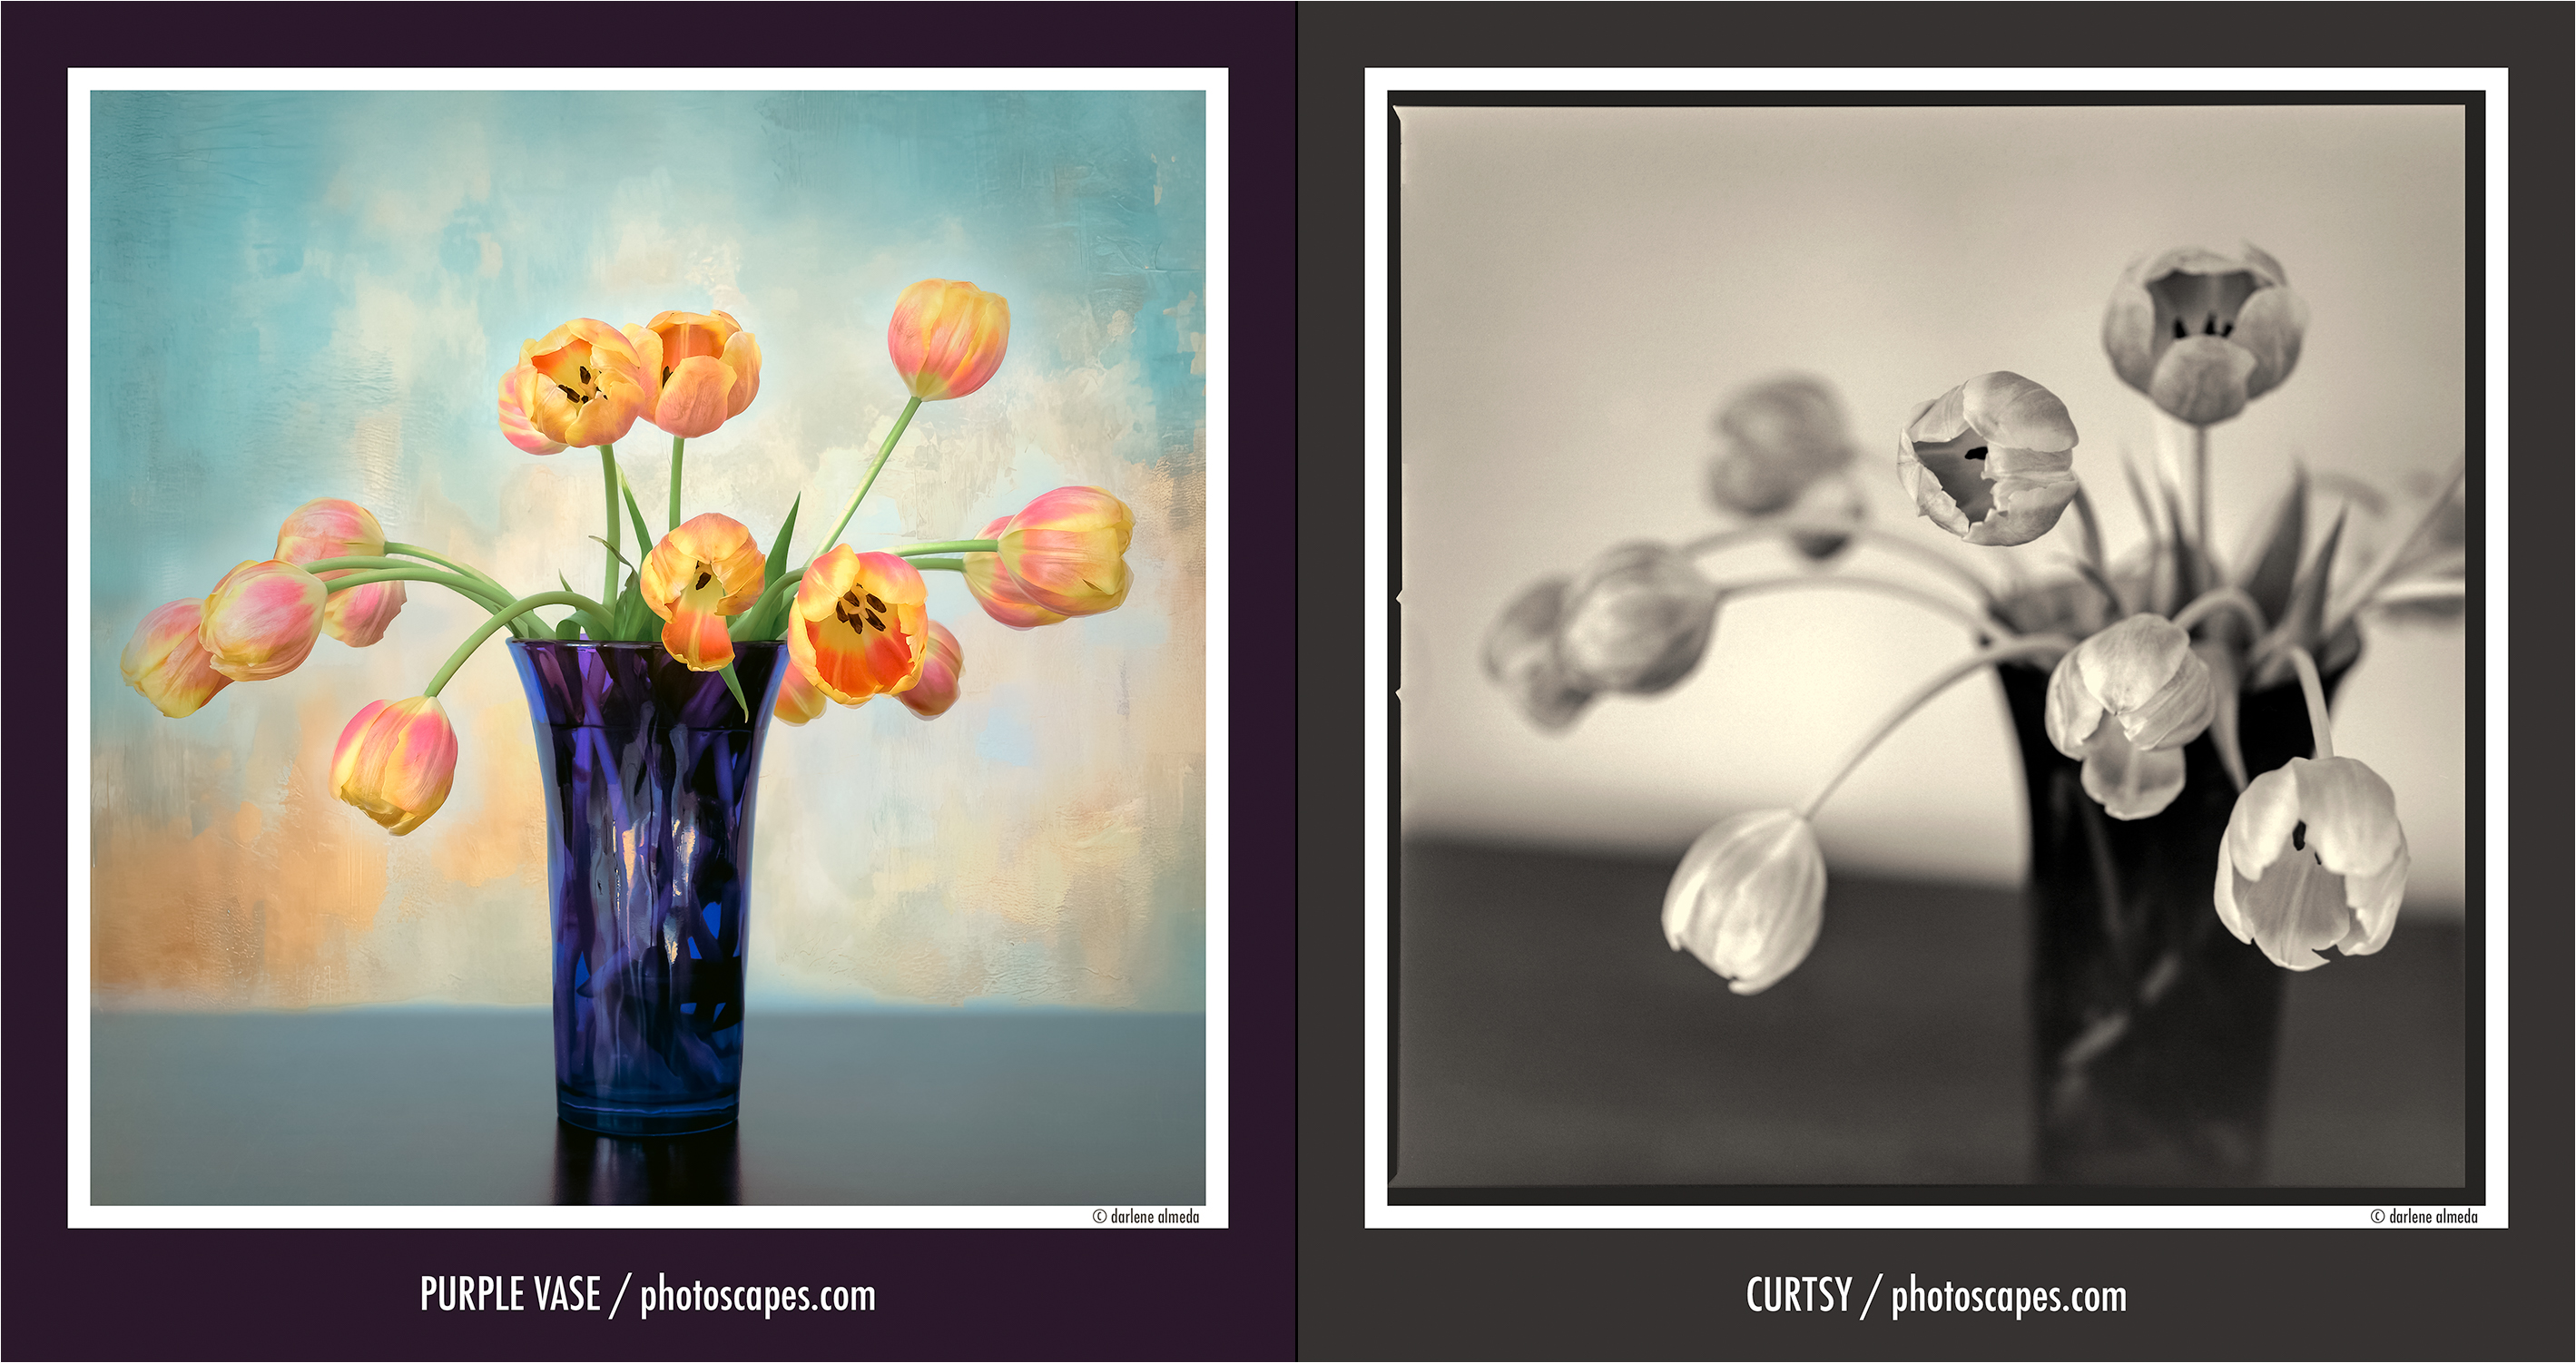
Same Scene, Different Vision: Study in Film & Digital Photography
Explore the unique visual stories behind two images of a bouquet in a purple vase, captured with different cameras and processing techniques. #photography
Creative Techniques Using Shutter Speed
Shutter speed unlocks creative potential in photography—learn five techniques like motion blur, panning, and light painting to transform your images with artistic flair.
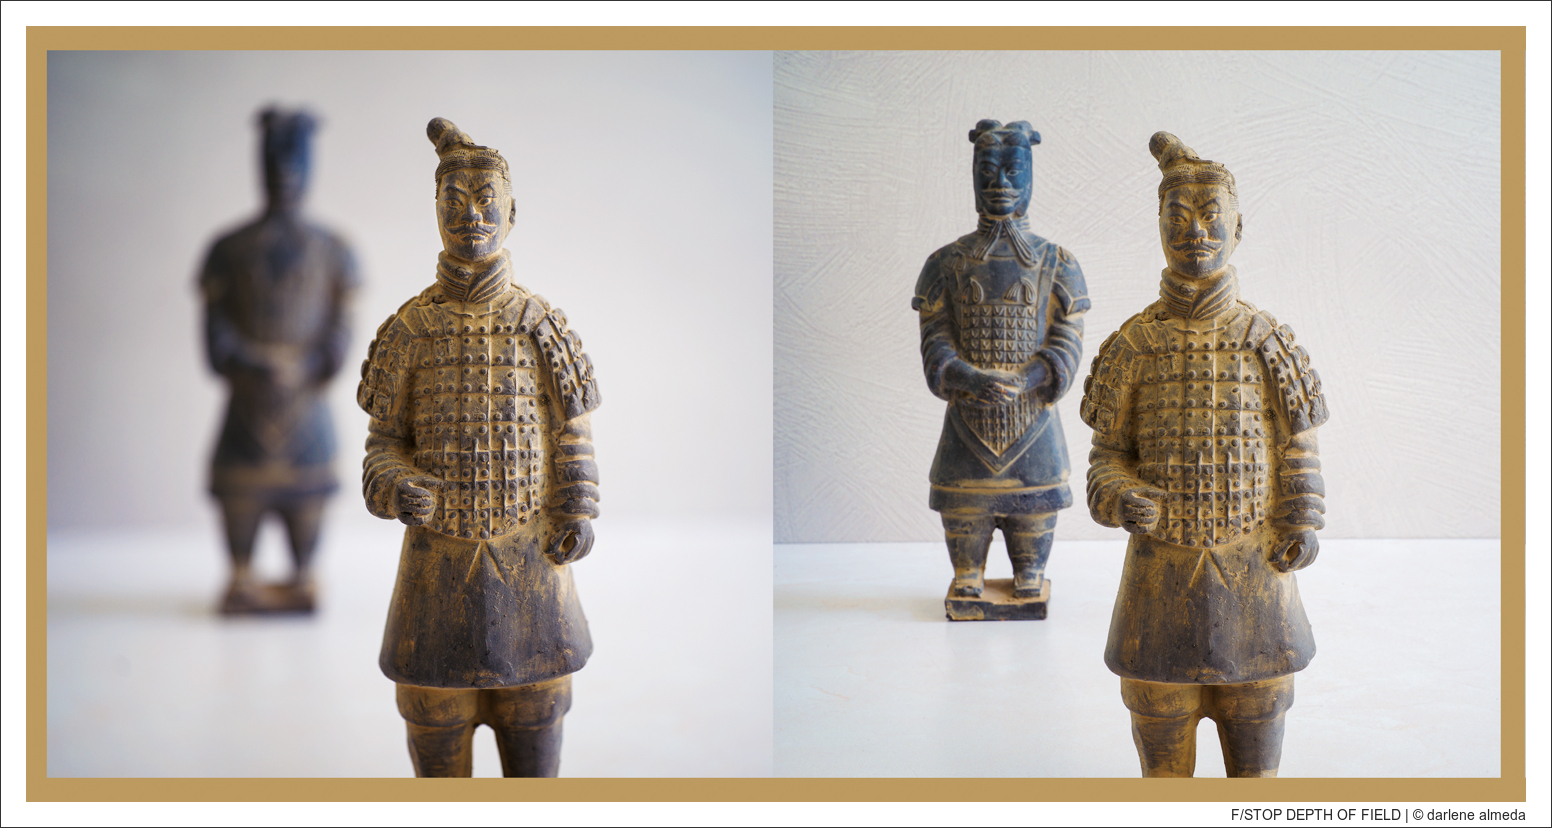
F/Stops: An Essential Tool in Creative Photography
Dive into the world of f/stops and unlock the key to creative control in your photography. Experiment and watch your images transform before your eyes.
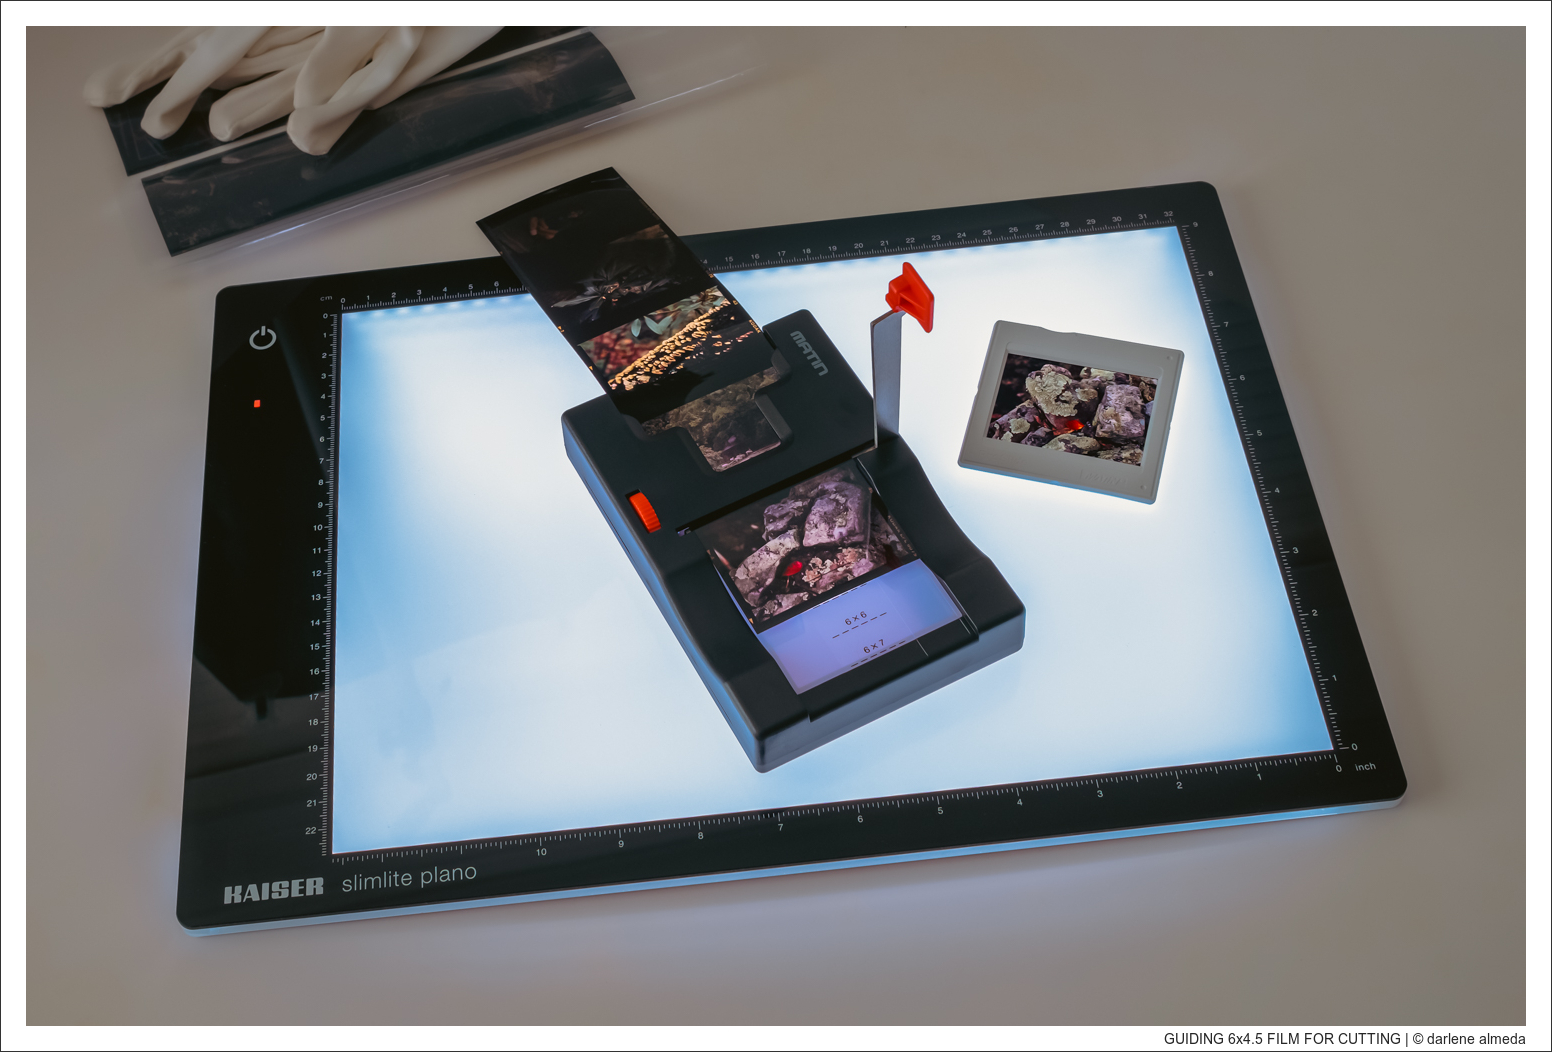
Cutting Film with Precision: A Guide to Stress-Free Slide Mounting
Struggling to cut film accurately? Discover how to achieve clean, precise cuts effortlessly with the Matin Multiple Slide Film Cutter and a lightbox.
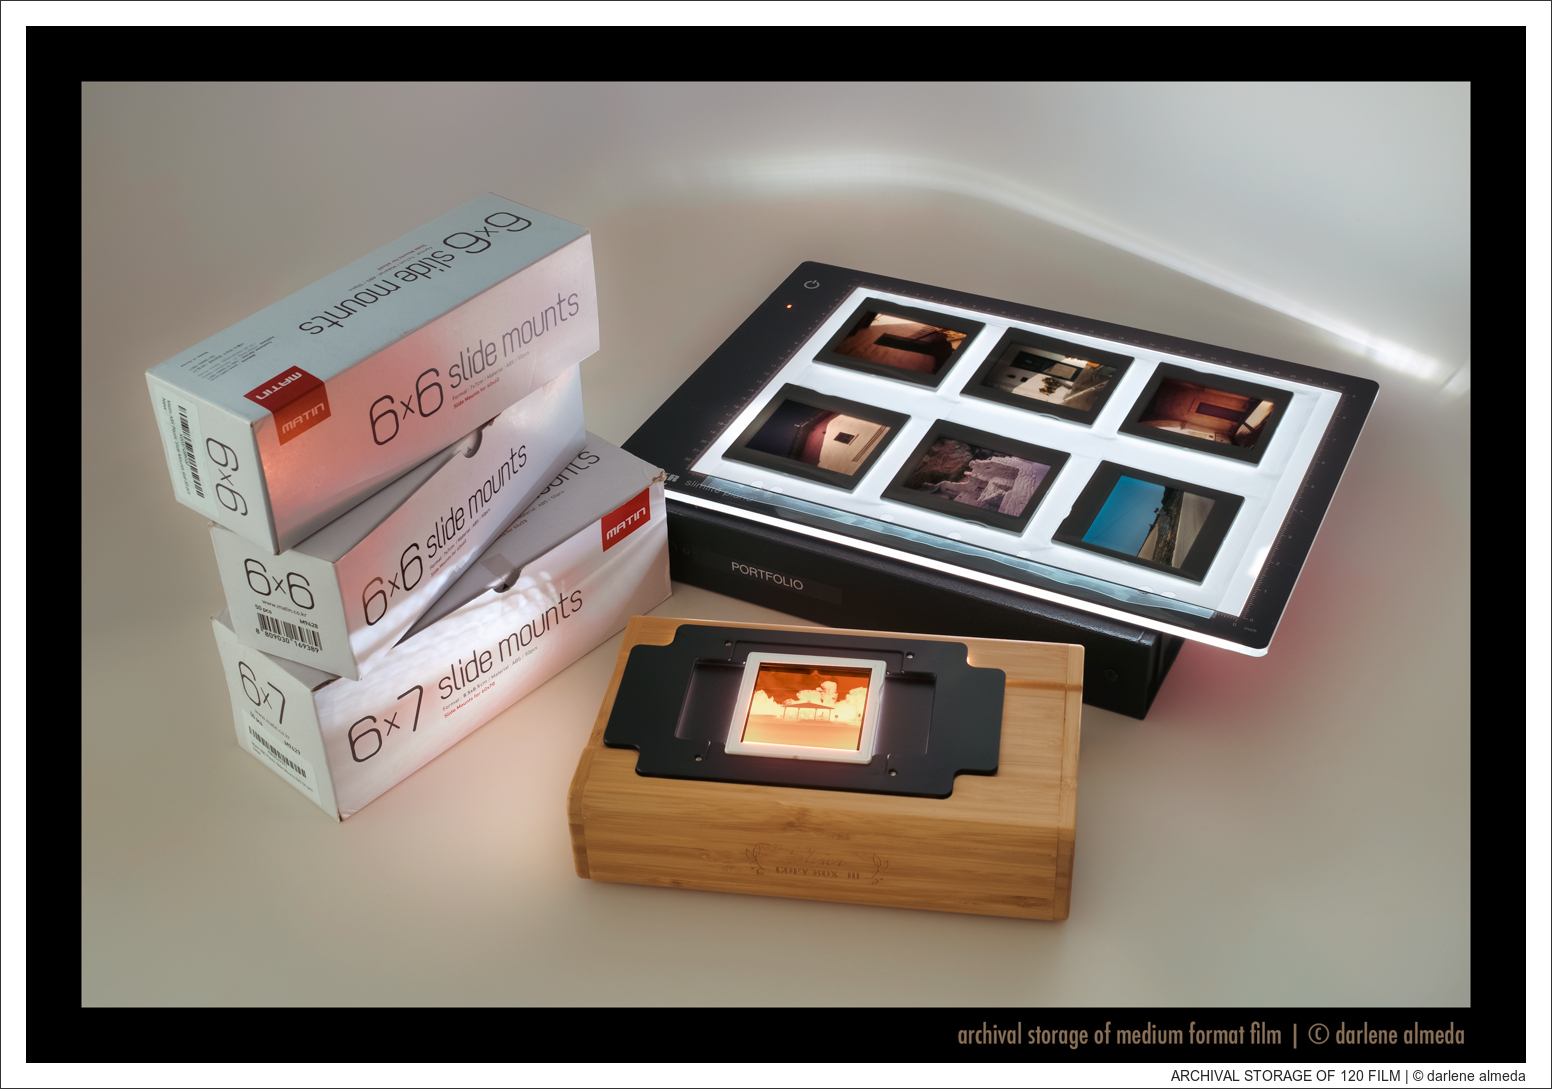
Organizing Digital and Film Portfolios
In today’s digital world, proper organization of your photography work is essential, whether you shoot film, digital, or both. This article explores how to manage the storage of both film and digital work.
Film Digitization: Technique and Exploring Creativity
Insights into my process of digitizing film using cameras, reflecting on my journey from film to digital and the importance of technique over equipment.
Framing the Shot: A Guide to Viewing Frames for Photographers
In this post, we’ll explore various options for viewing frames—from ready-made tools like the ViewCatcher, to repurposing materials you might already have, and even crafting your own custom viewing frame.
The Art of Pre-Visualization in Landscape Photography
In this article, I share the previsualization technique that guides me to where I need to set up the camera.
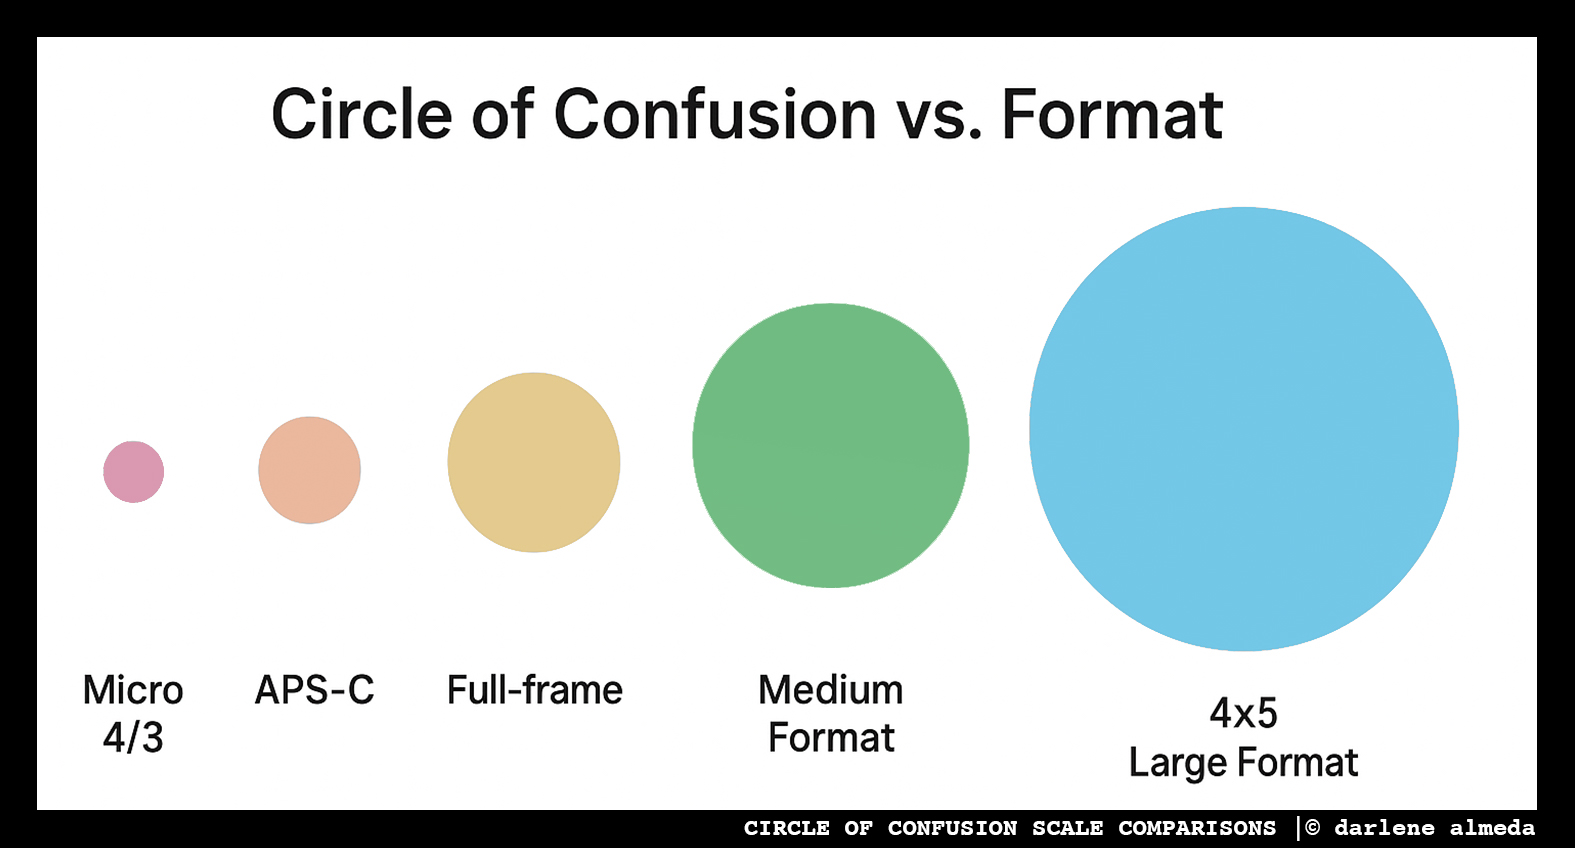
Circle of Confusion: Format Size Shapes Your Depth of Field
Understand the Circle of Confusion across image formats. Learn how CoC affects depth of field in small, medium, and large format photography.
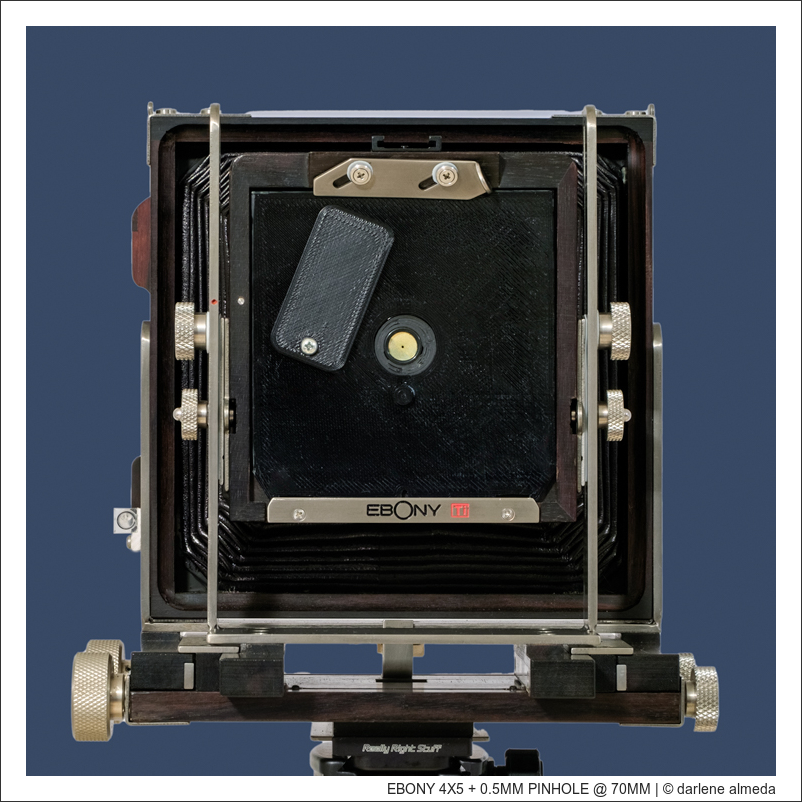
Pinhole Photography: 4×5 Field Camera Pin-tography
In this article, I share my approach to crafting images with a 4×5 field camera with interchangeable pinholes attached to a dedicated lens board.
The Cutting Room Floor: A Creative Exploration Story
This article explores the rationale behind utilizing high-megapixel cameras or merging multiple images of a scene to produce a high-megapixel composite.
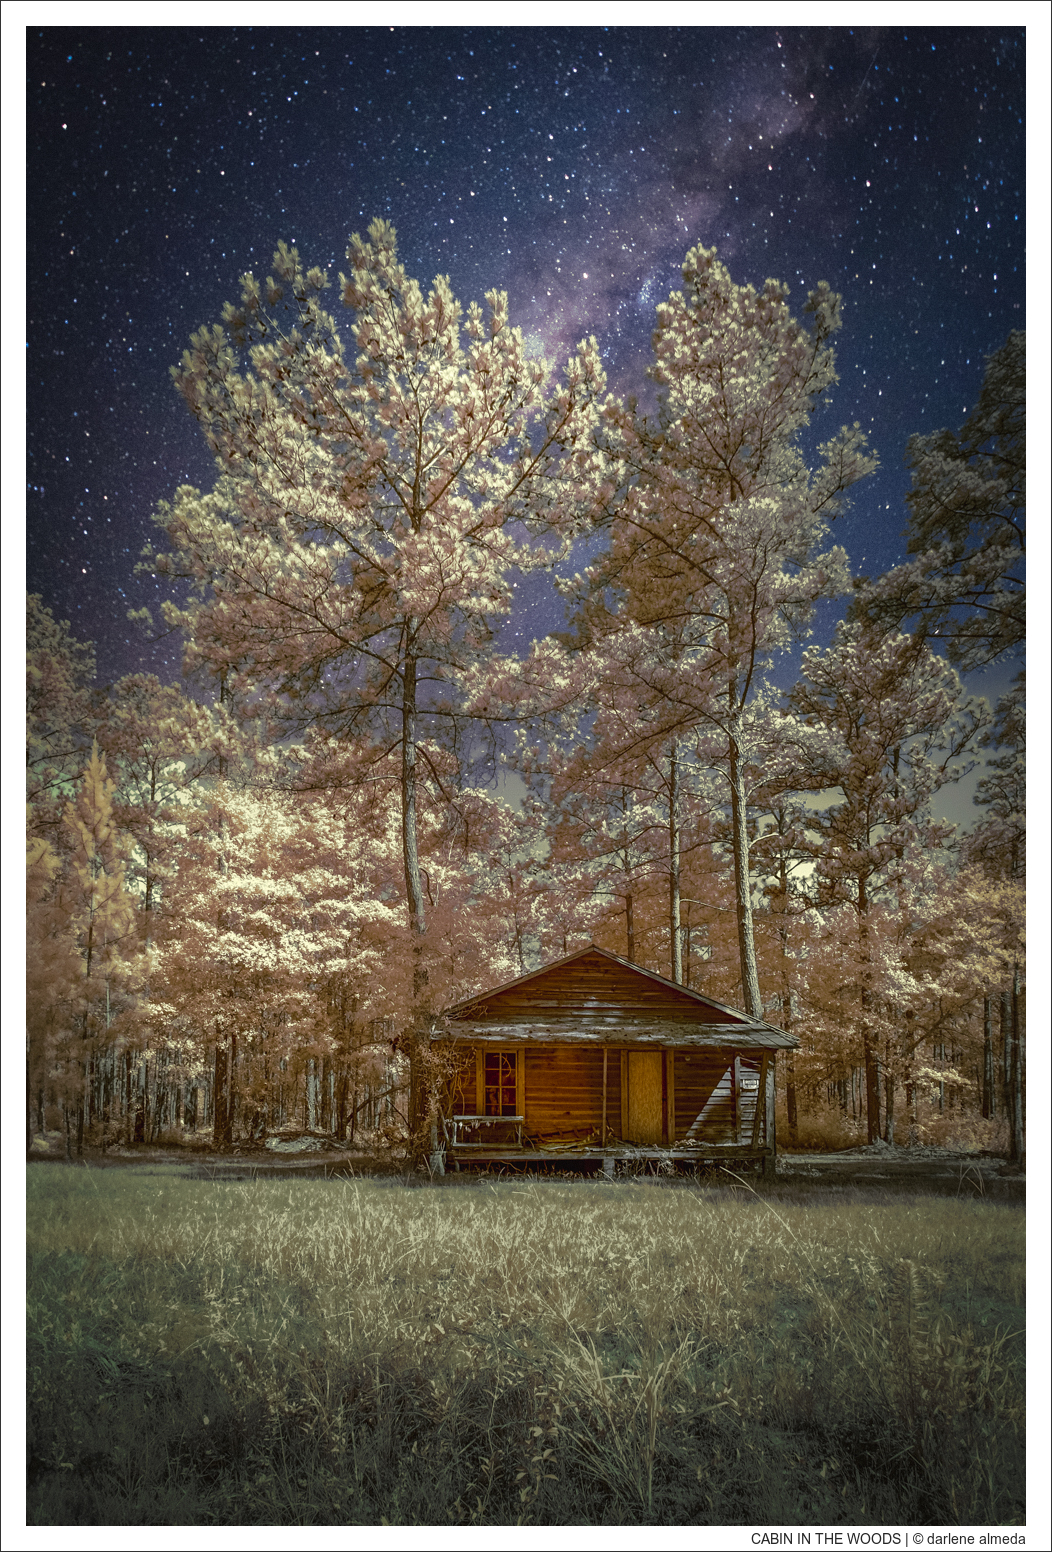
Infrared Photography Part 3: Fujifilm X-E2
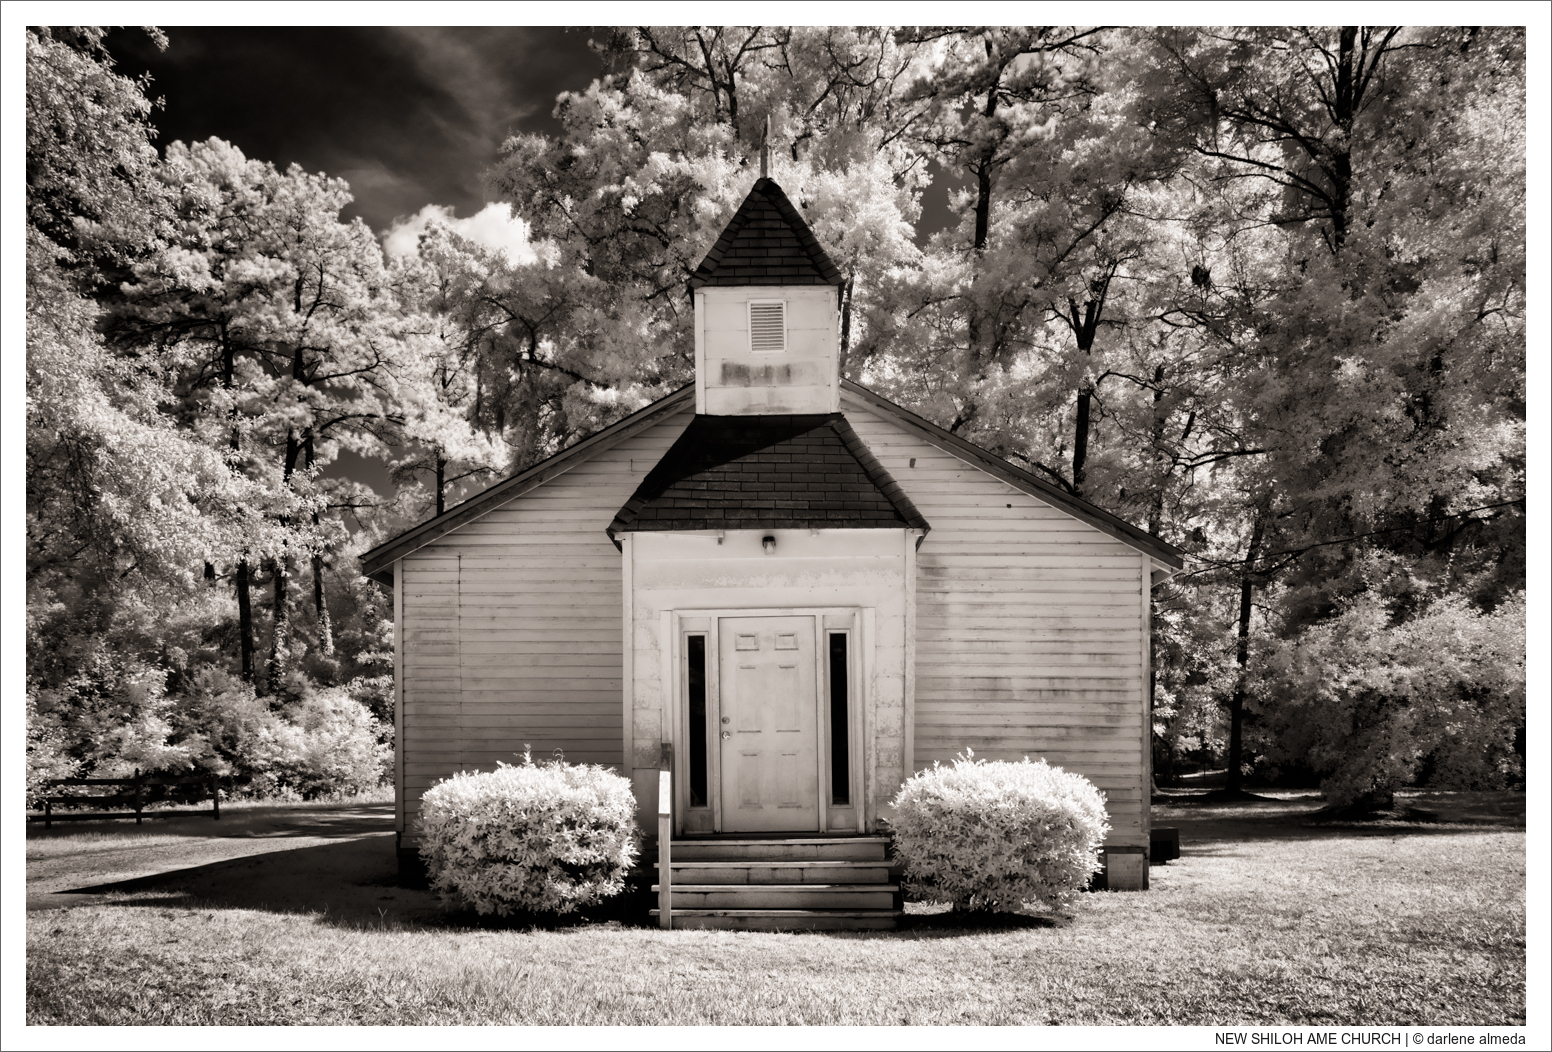
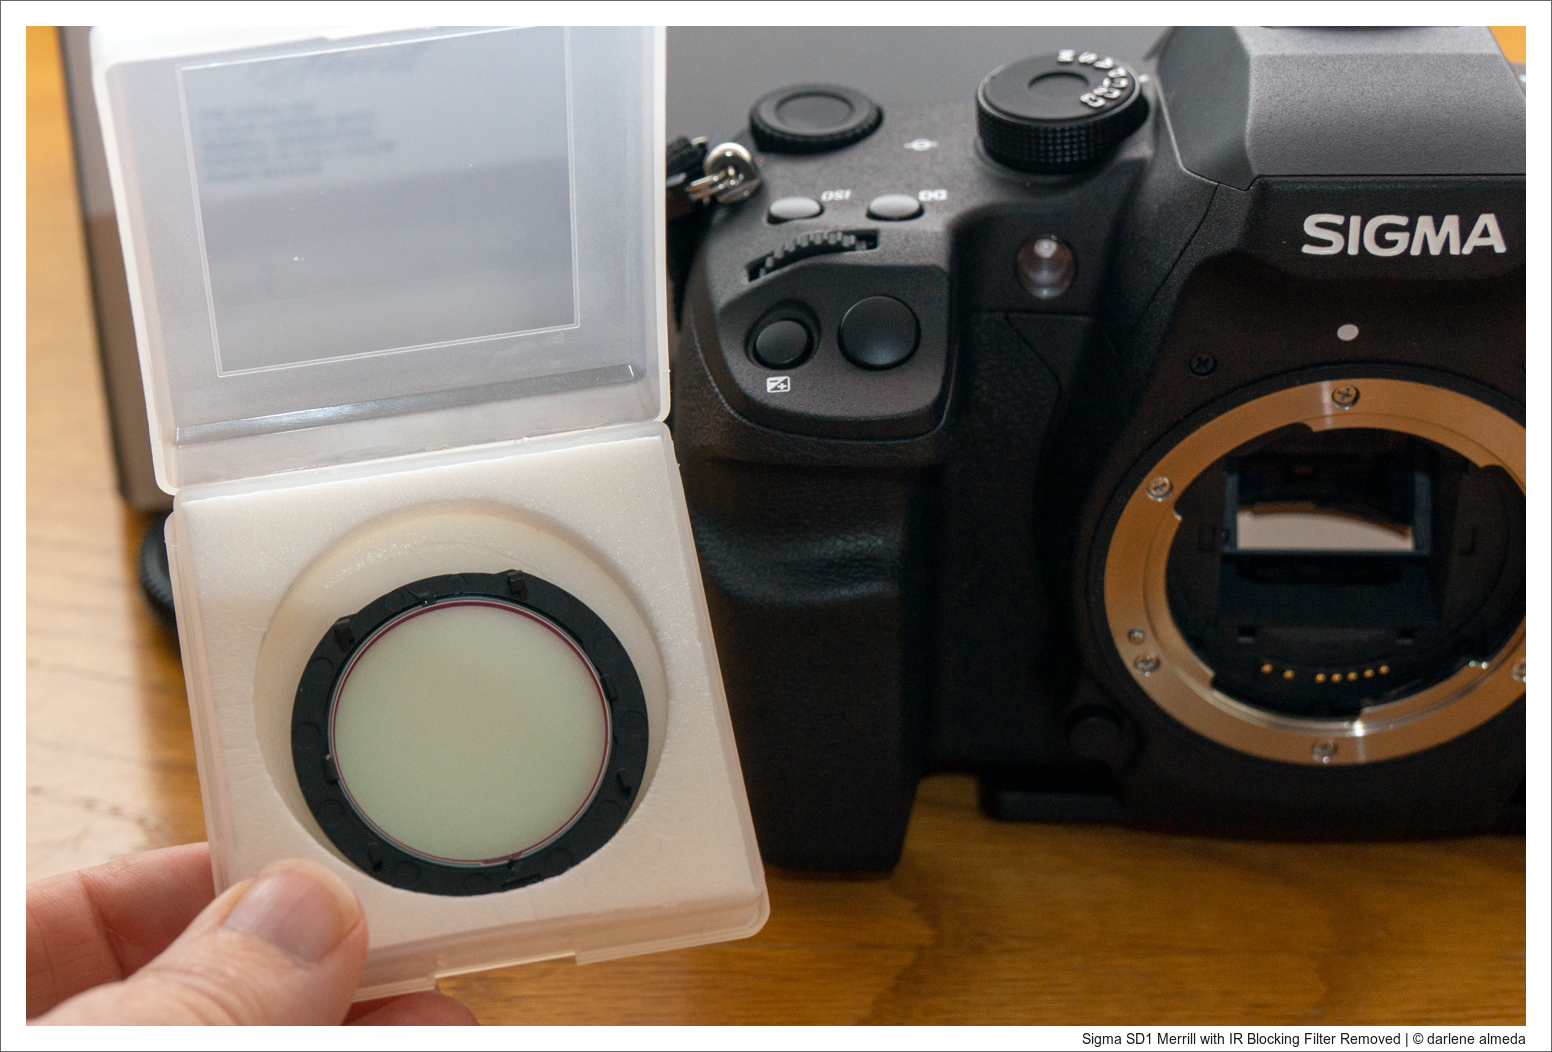
Explore my return to infrared photography using the Sigma SD1 Merrill. In Parts 1 & 2, I share my experiences and IR workflow with this unique camera.
Digitizing Film Part 3: APS-C, Lightroom, Film Storage, more
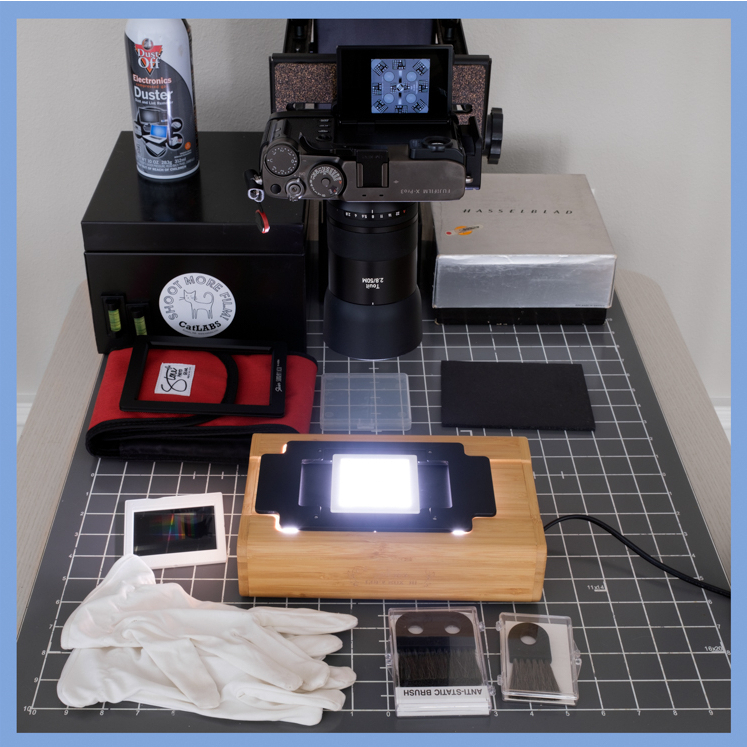
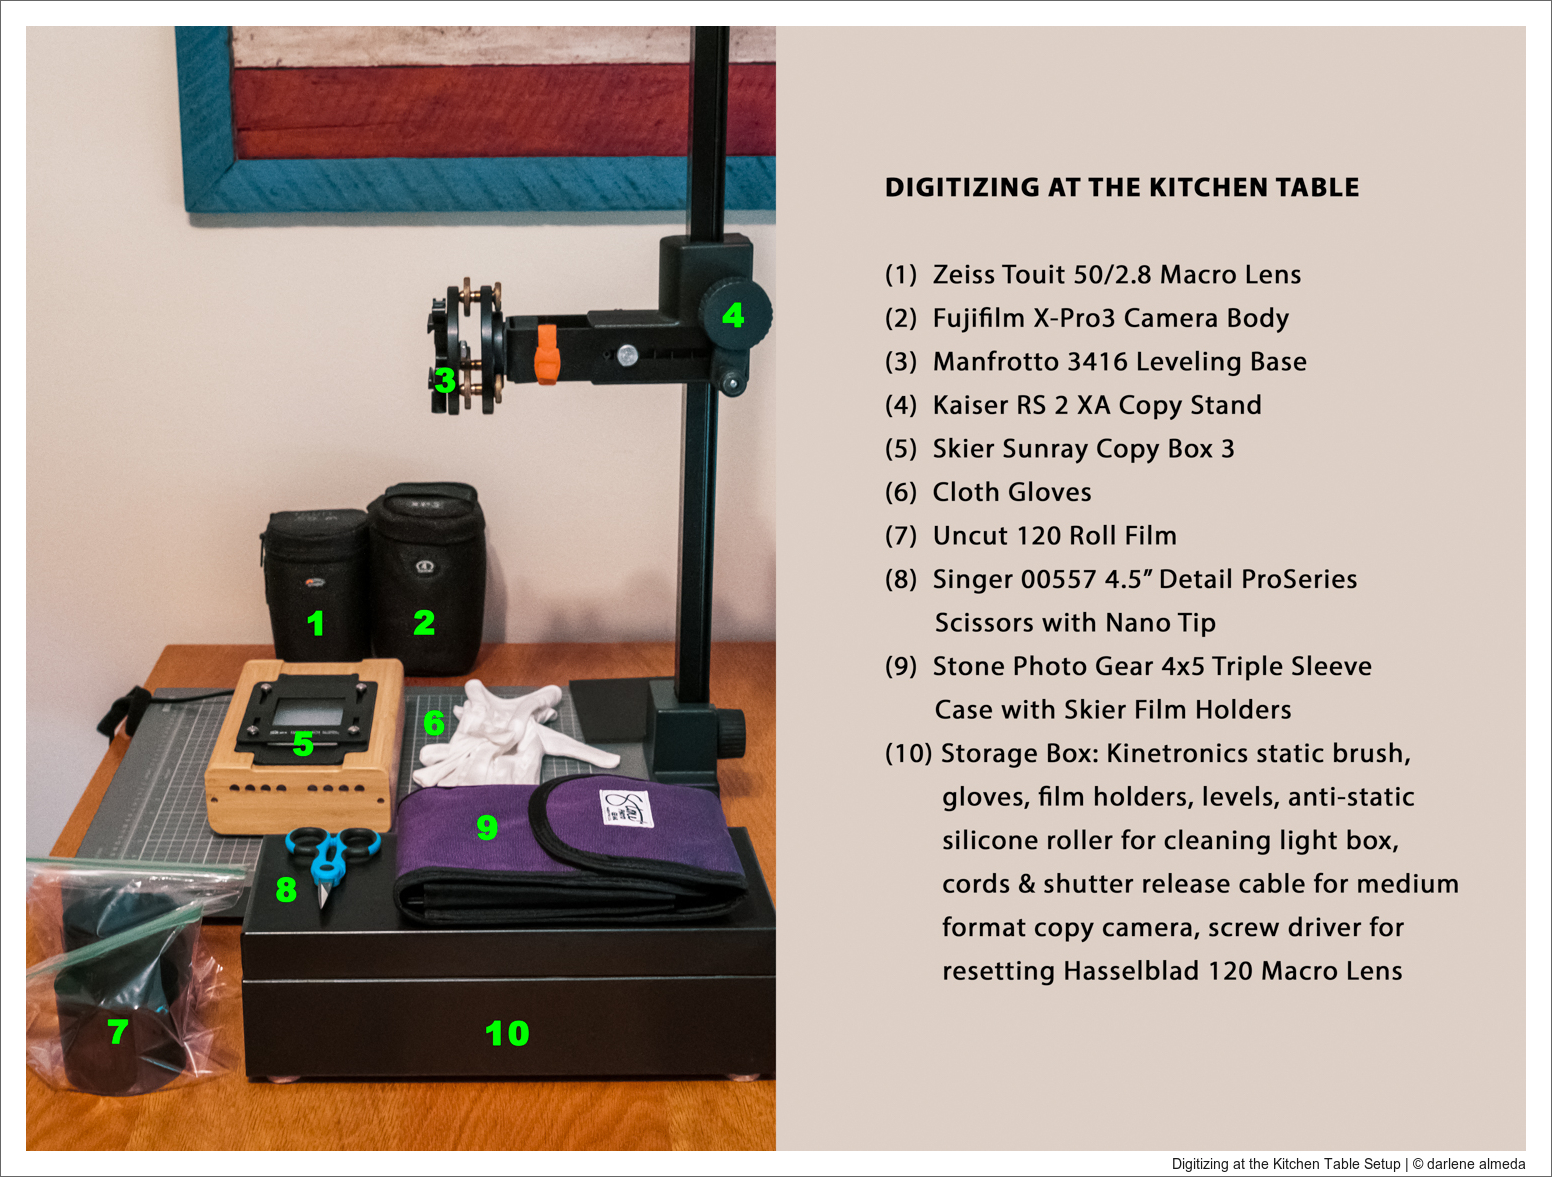
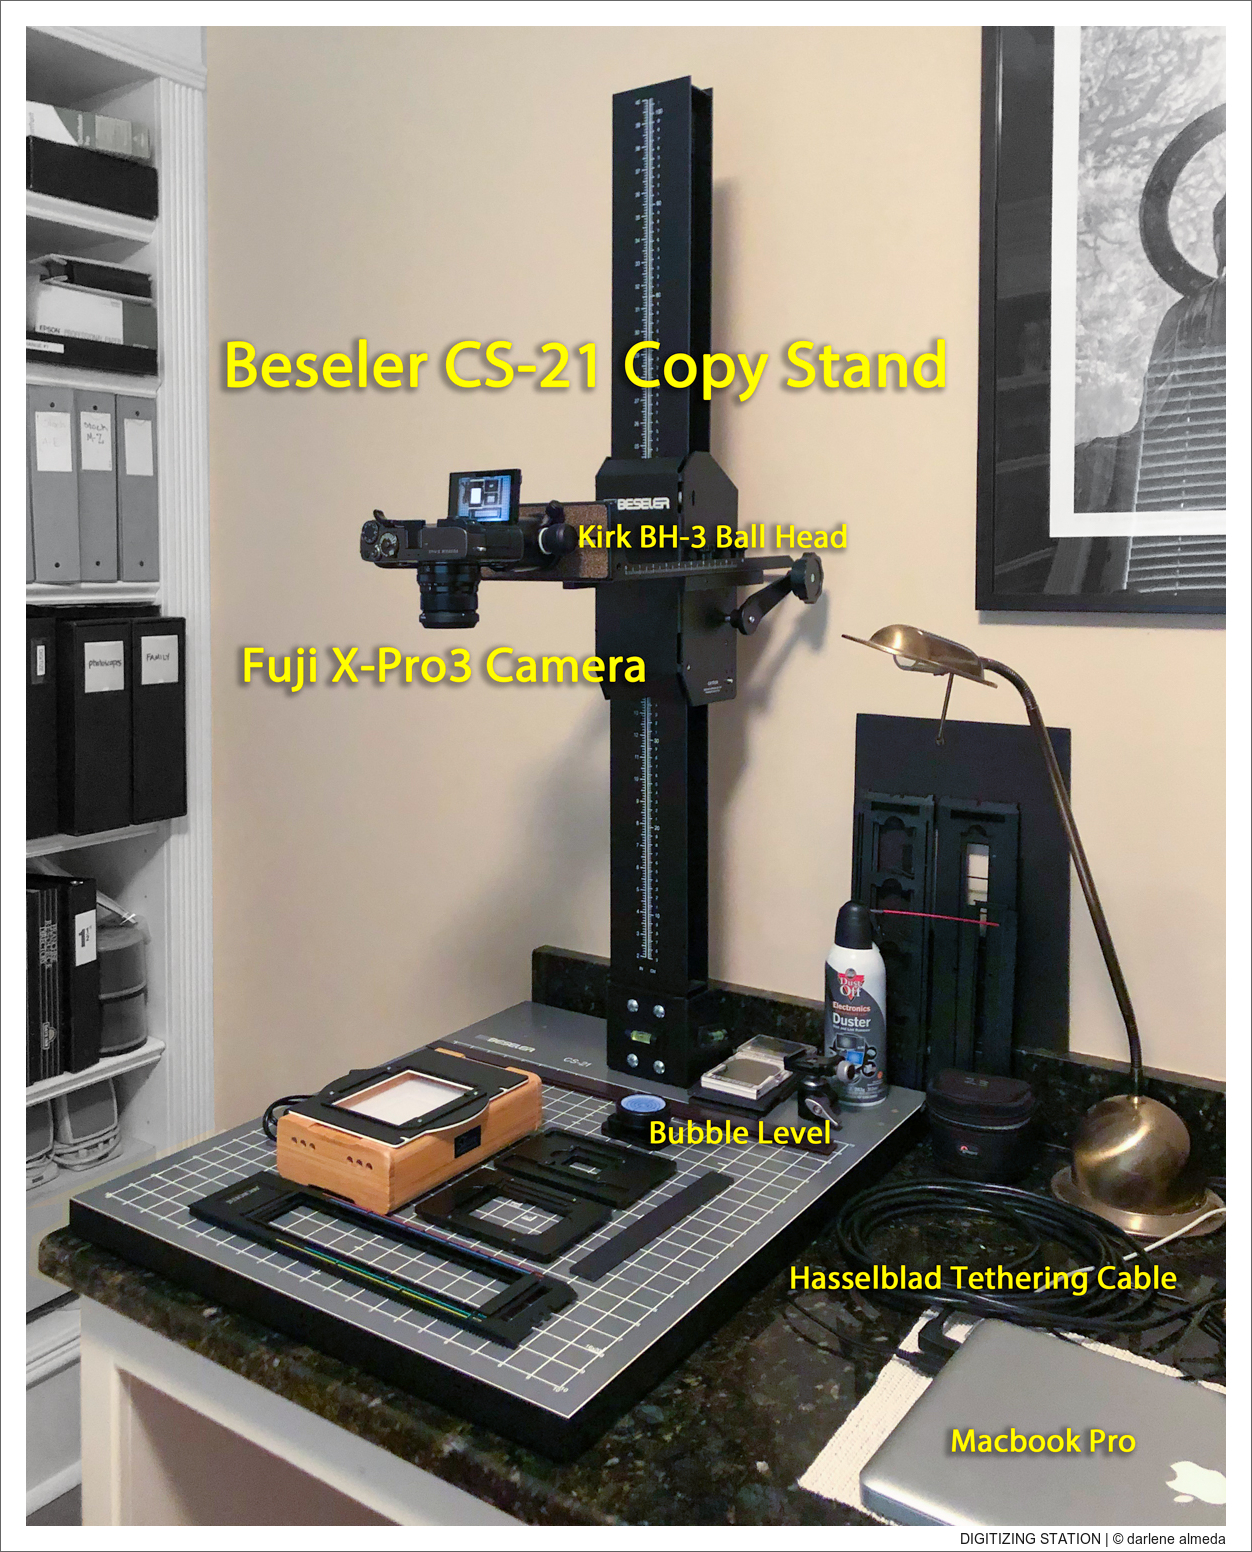
I have been digitizing my film at the kitchen table with my very capable Kaiser RS 2 XA Copy Stand, Fujifilm X-Pro3, and Skier Sunray Copy Box. I have learned a few things from doing this and felt it was time for an update.
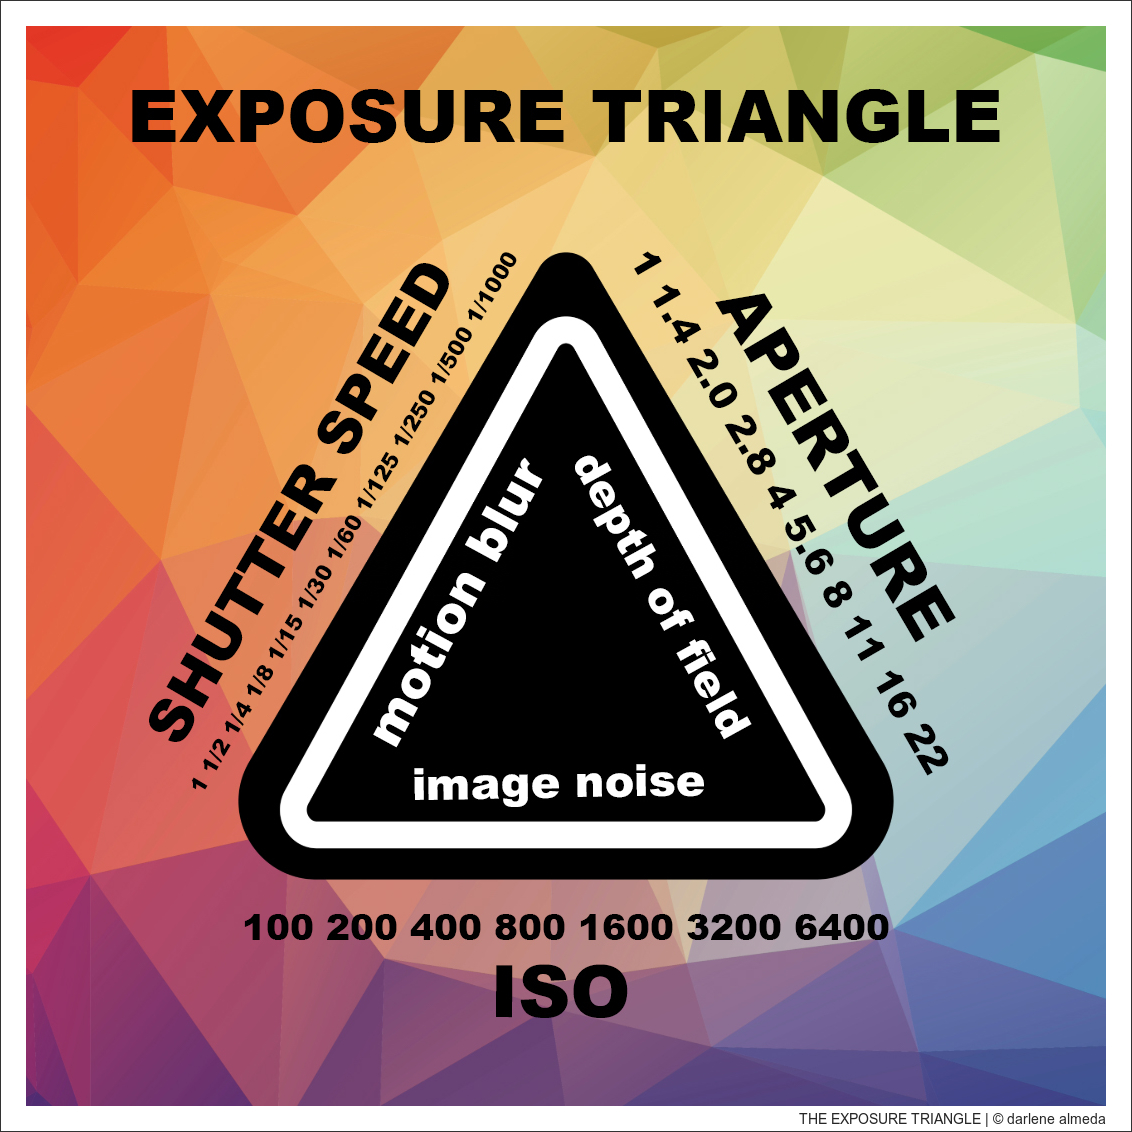
Understanding the Exposure Triangle in Photography
Unravel the Exposure Triangle to master well-exposed images in photography. Learn how aperture, shutter speed, and ISO work together to create stunning visuals.
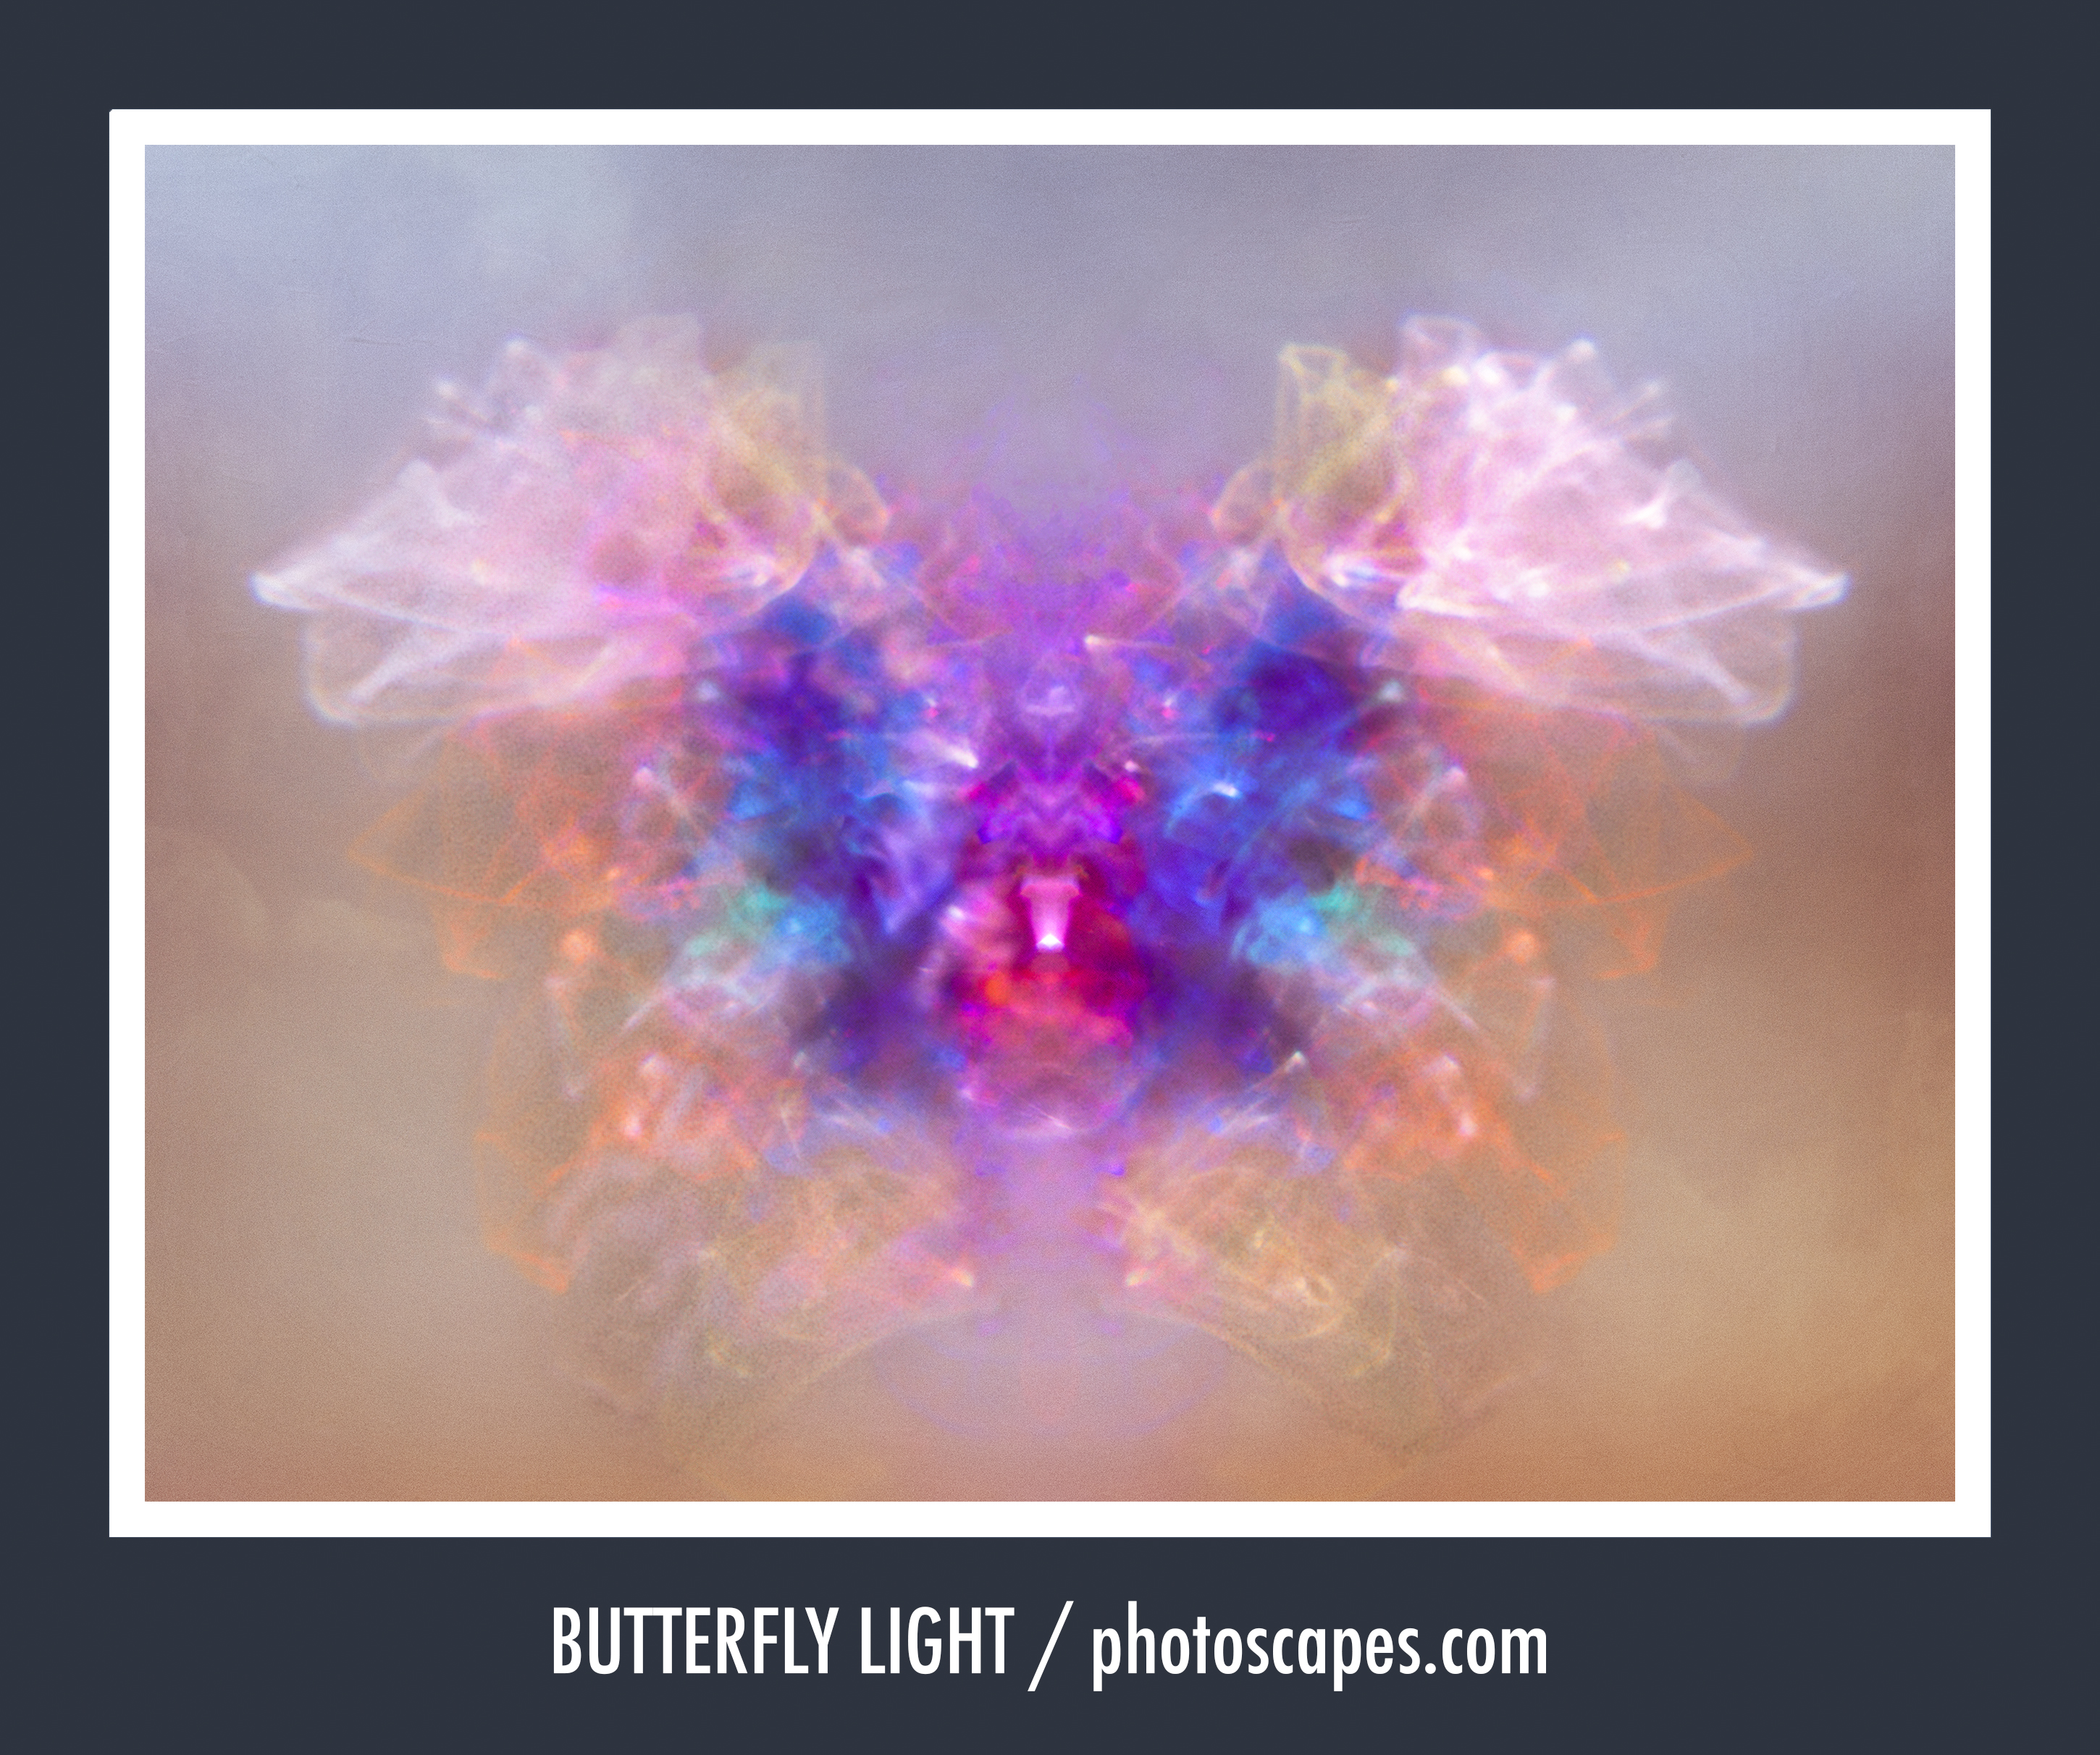
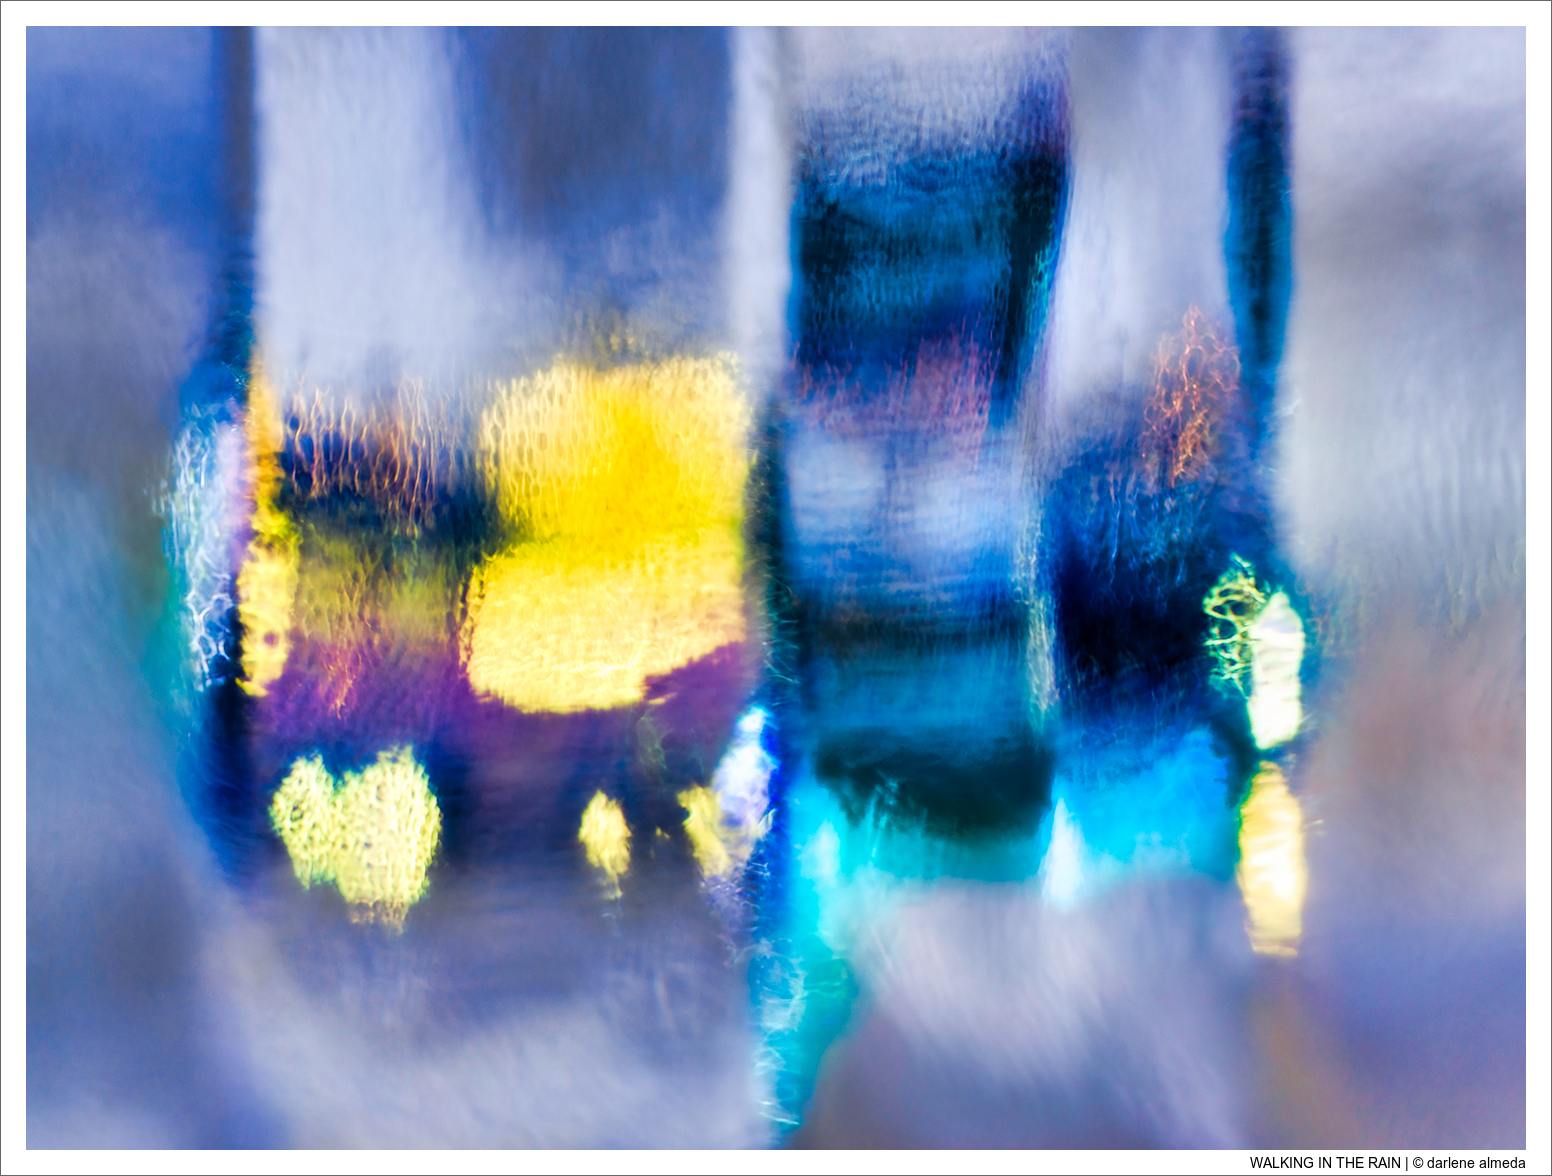
From Soap Bubbles to Emotion: How I Create Abstract Macro Photography
I enjoy viewing and creating abstract art. Whether it is paintings or photography, I like it. I have experienced some “I do not get it” from people over the years, and I can understand why.
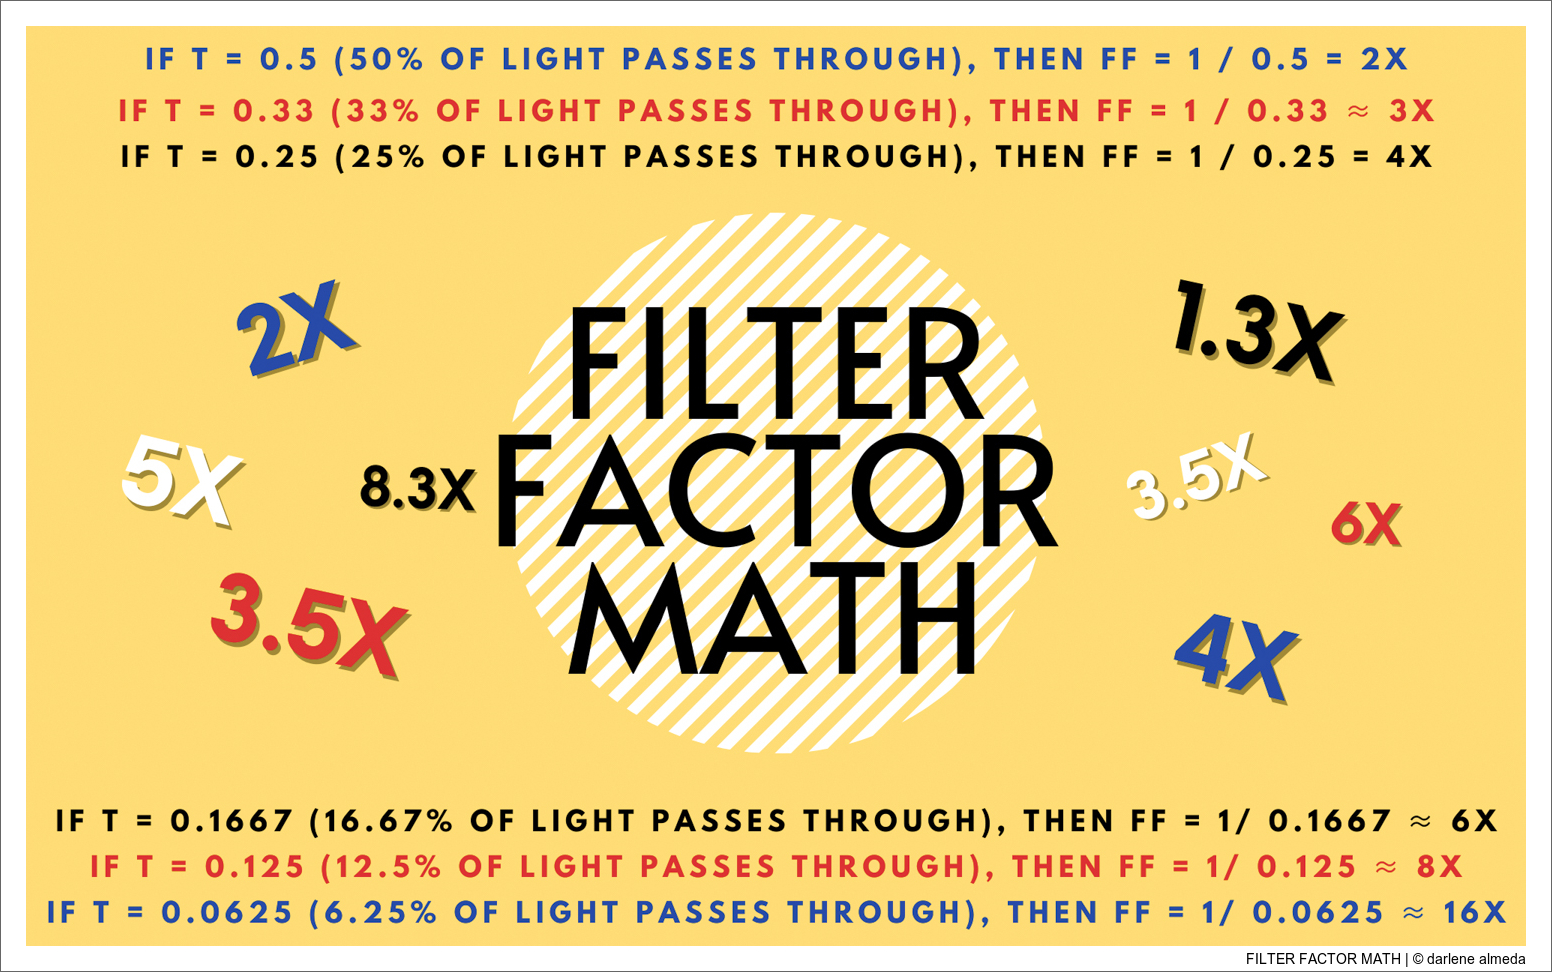
Shedding Light on Filter Factors: A Guide to Optimizing Exposure in Photography
This article explores filter factors, explaining their function and presenting three distinct methods for calculation.
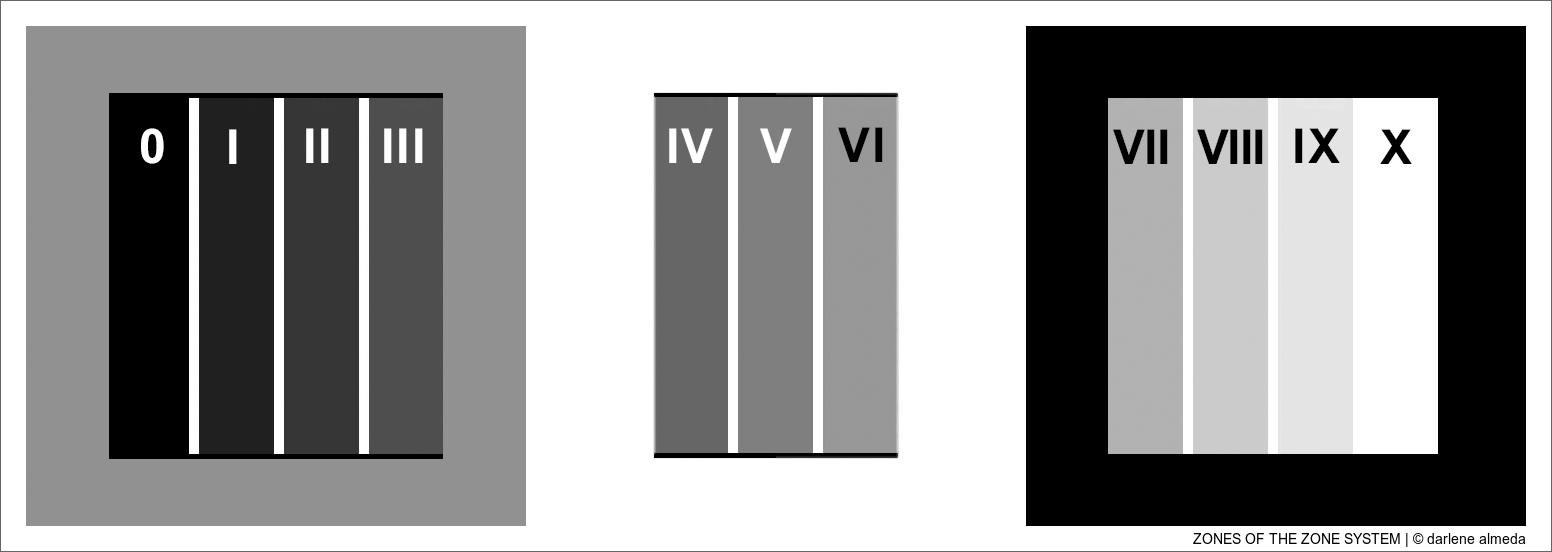
How To Use The Zone System In Photography
Even though the Zone System is over 80 years-old, it is still relevant today whether shooting modern films or digital capture. This article is for photographers wanting to learn more about the Zone System for their particular workflow. We will look at how the Zone System works with a classic film-to-darkroom workflow, and a hybrid film-to-digital workflow. If you are strictly a digital photographer, you will find a better understanding of what the Zone System can offer you as well.
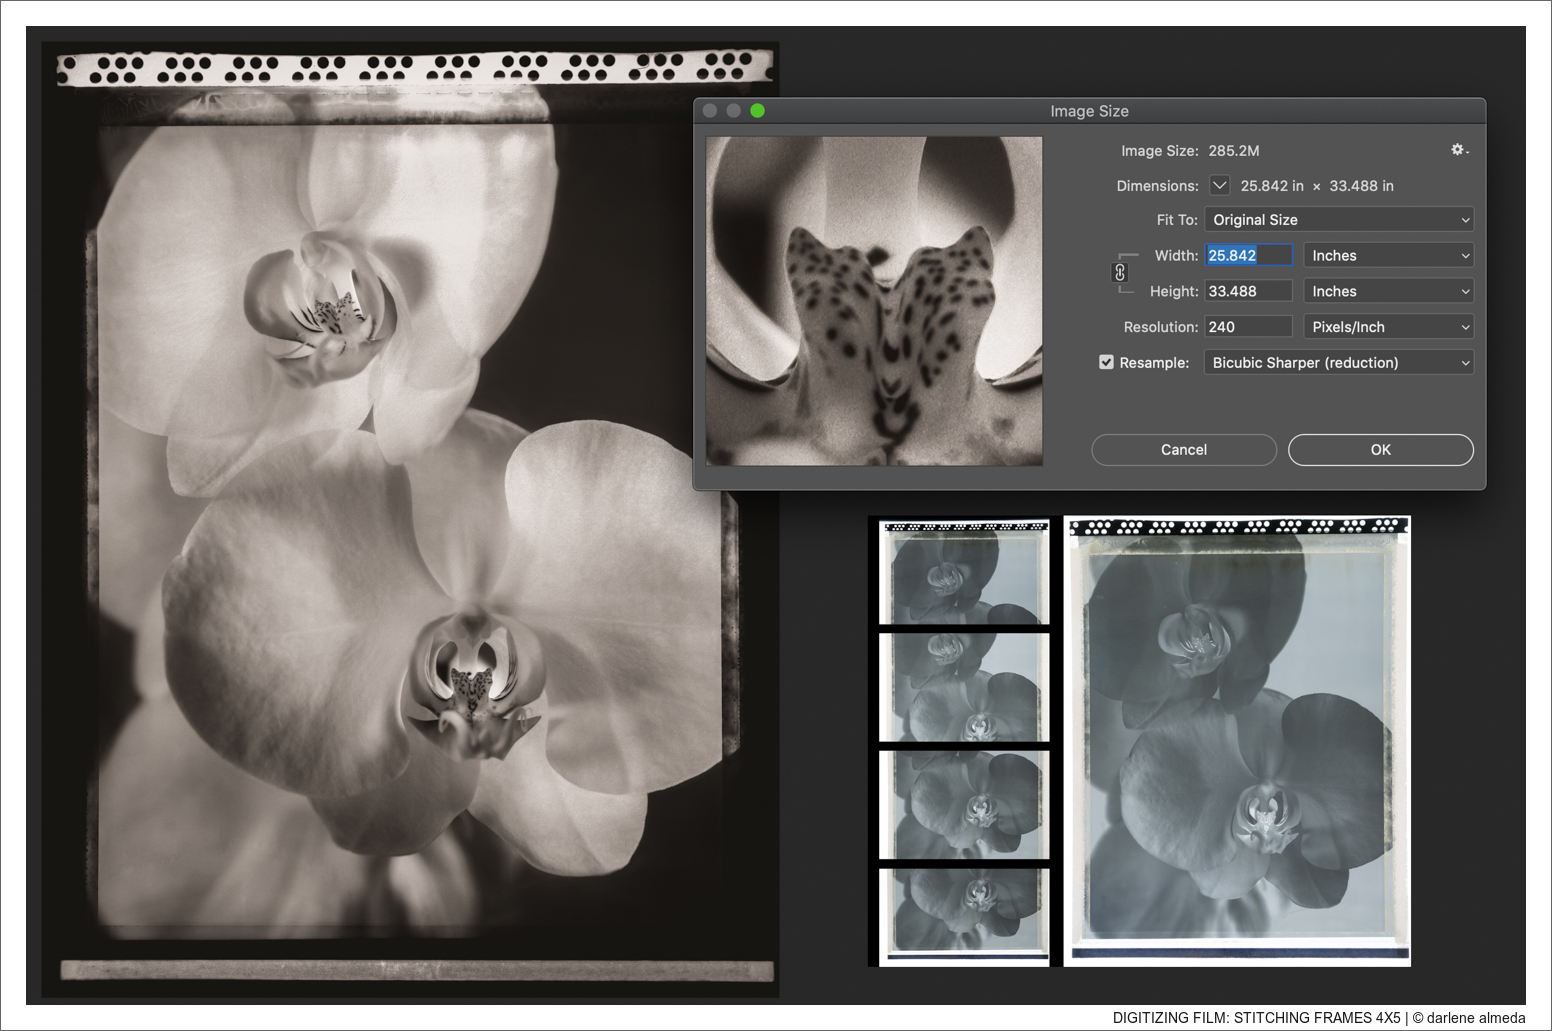
Digitizing Film Part 2: Software, Contact Sheets, Bracketing, Stitching, Workflow
I perform a number of tasks while creating image files that include bracketing + blending exposures, and slicing + stitching larger film sizes. Bracketing may not always be necessary, but with the convenience, a digital camera brings to this type of task, it cannot hurt.
Digitizing Film Part 1: Copy Stands, Film Holders, Medium Format
Curious how I digitize film? In this post, I share the tools I use—without sales hype—plus links for specs. My digitizing process will follow in a future post.
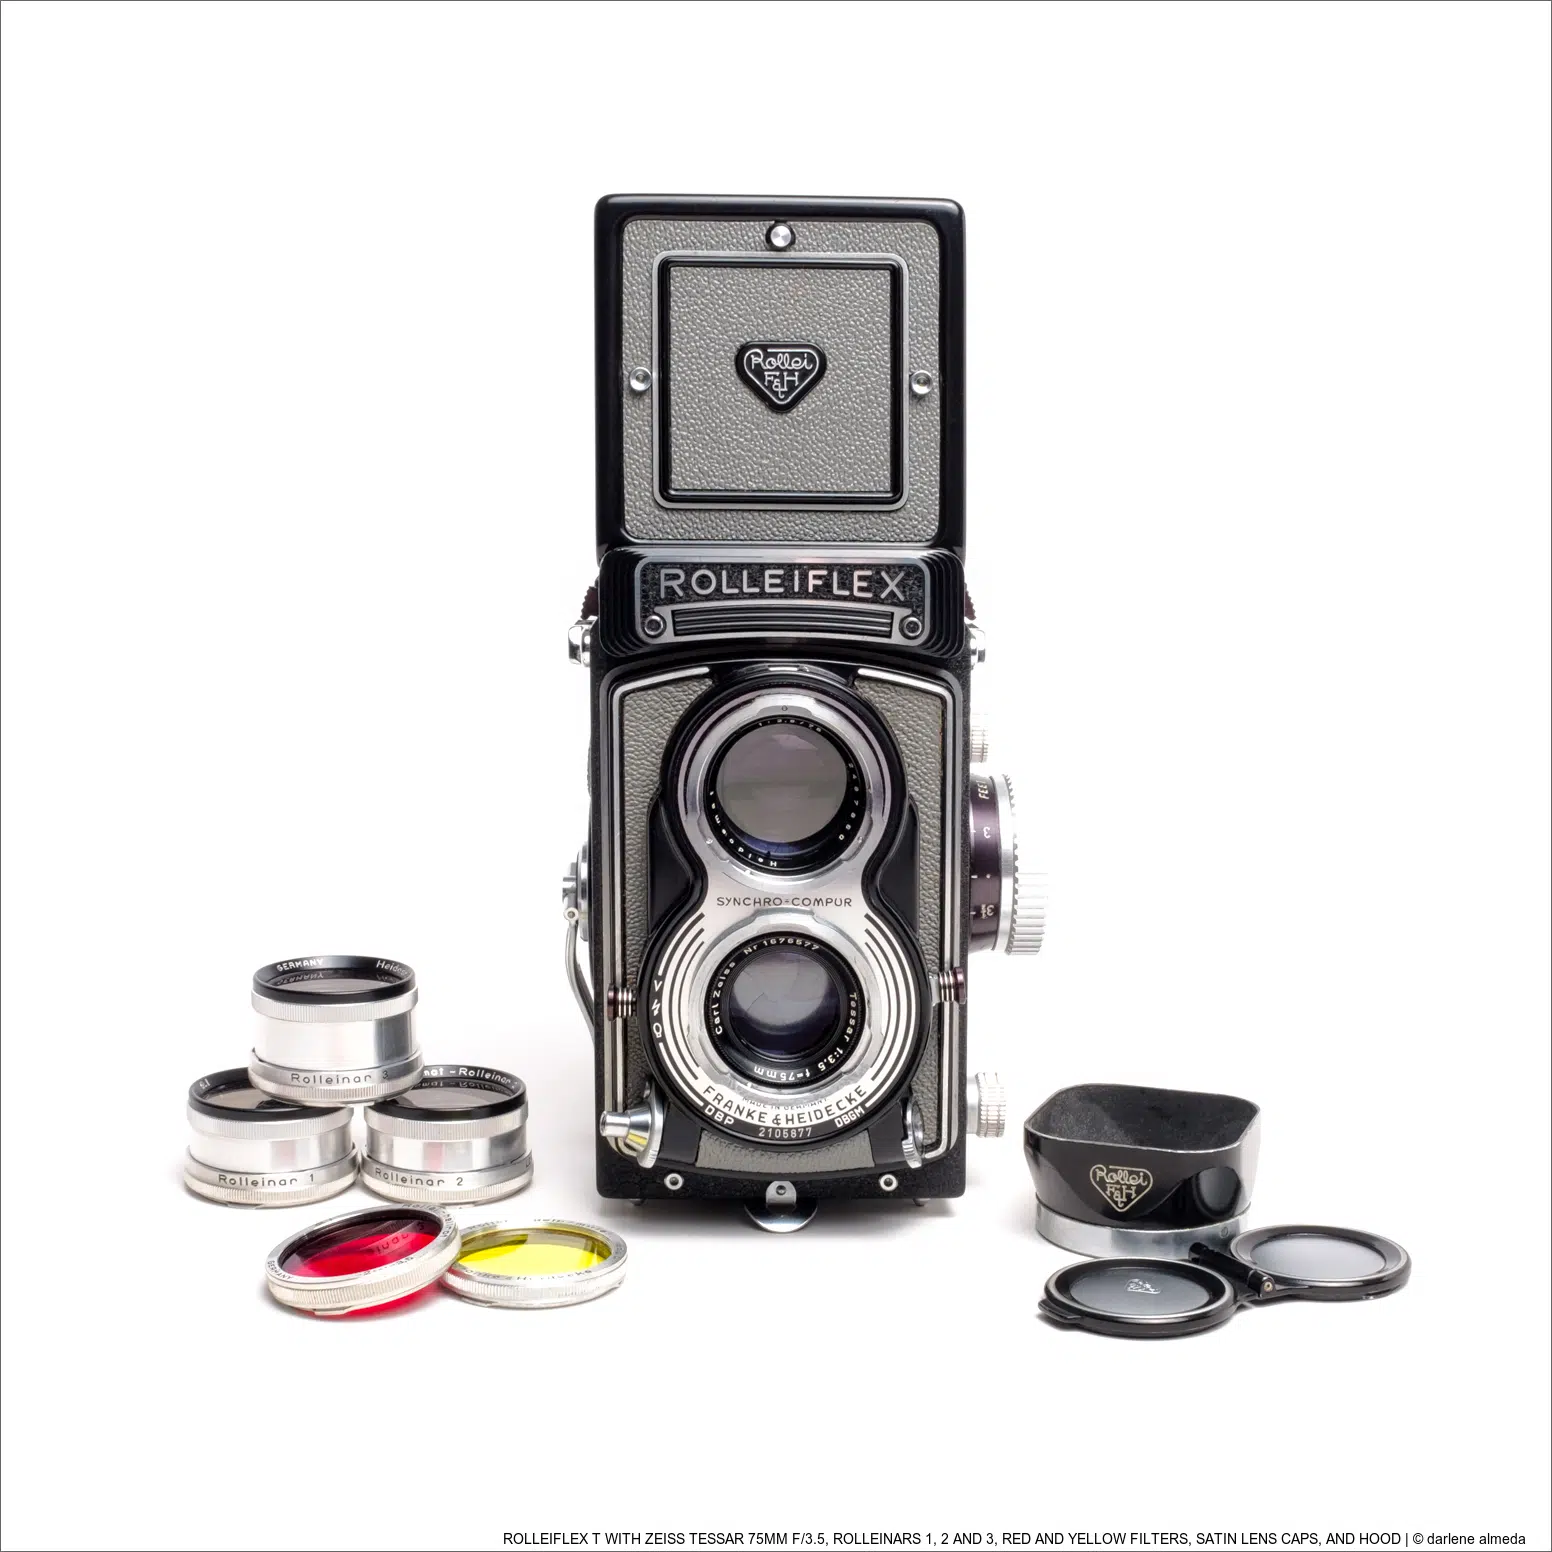
Shooting a Rolleiflex with Studio Flash and Rolleinars
In a digital world lacking true square format, film remains the answer. Discover why square format film cameras still reign for full-resolution, composed square shots.
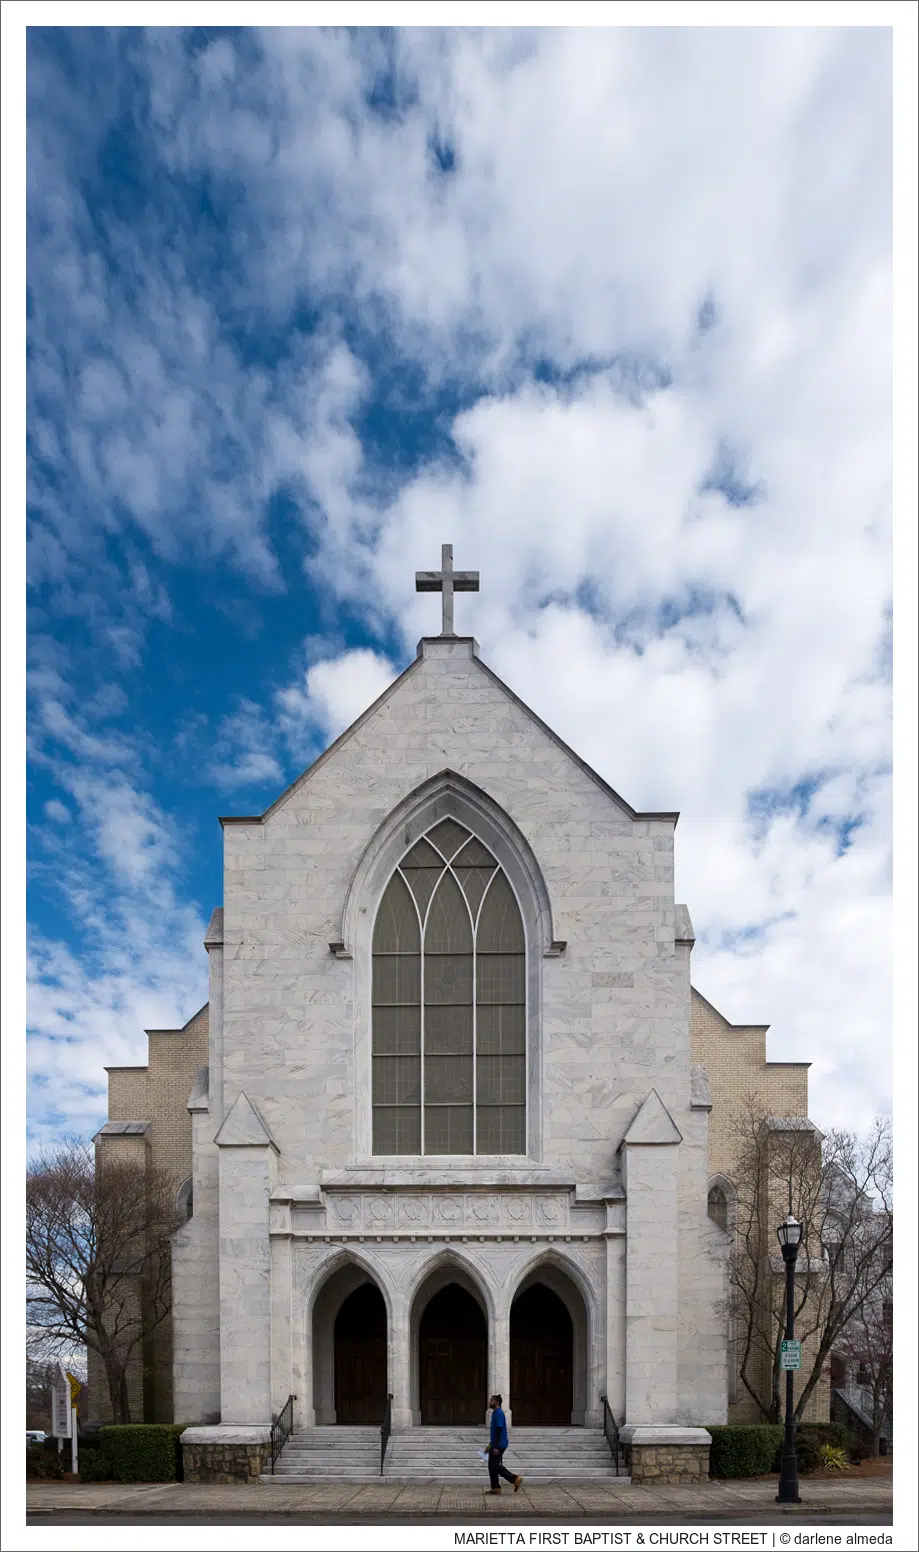
Panorama In Pieces
While away on a quick personal trip to Marietta, Georgia, I tried using my favorite point-and-shoot camera, the Fujifilm x100t for panorama making. Earlier in the week, I instructed my students to make a panorama using Lightroom (LR), vertical slice shots, and manual focus for their weekly shoot assignment. After a brief walk around Marietta Square, I thought I would try and photograph a beautiful church and challenge the software with vertical and horizontal slices to see if a tourist with a point-and-shoot camera could make a decent-looking panorama and then share the results with my students.
Infrared Photography Part 2: Sigma SD1M
In Part 1 of this discussion, I explained my current foray into digital infrared (IR) photography and used the Sigma SD1M as my camera of choice. My reasons for choosing the SD1M are the user-friendly removal of the IR blocking filter, and the fact that I currently use the SD1M in my color art photography work. I like the Foveon sensor of the SD1M very much and if you want to use a Foveon sensor, you will have to use a Sigma camera.
Infrared Photography Part 1: Sigma SD1M
I first tried infrared (IR) photography back in the mid-1990s with a Nikon F3 camera and lenses and the now discontinued Kodak High-Speed Infrared film (Kodak HIE). It was more difficult to shoot IR film when compared to my recent tryout with IR digital because: (1) the film had to be loaded and unloaded in total darkness which made reloading out in the field difficult and (2), you had to wait for the film to be processed to see the results.

