In Part 1 of this discussion, I explained my current foray into digital infrared (IR) photography and used the Sigma SD1M as my camera of choice. My reasons for choosing the SD1M are the user-friendly removal of the IR blocking filter, and the fact that I currently use the SD1M in my color art photography work. I like the Foveon sensor of the SD1M very much and if you want to use a Foveon sensor, you will have to use a Sigma camera.
My shooting technique has been updated to reflect my most recent discoveries involving focusing and exposure. This is the sequence I am now employing: I remove the IR blocking filter from the body, and set ISO at 100 with an exposure bracketing sequence of [0, -1, +1]. I install the lens with autofocus (AF) selected and without the Hoya R72 filter. I look through the viewfinder and compose the image. Once AF is achieved, I set the lens to manual focus (MF) and make the bracketed series. The images captured up to this point are not IR exposures, but exposures without the IR blocking filter and are classified as Full-Spectrum or Visible and Near-Infrared (VNIR) photography.
Here is an example of a photo with the IR blocking filter removed, and without the R72 filter installed on the lens. You can tell it is not an IR image but a VNIR image by the white sky.

[ Retired Fire Truck (non-IR version) | 10-20mm, 1/5 sec @ f/11 ]
I have decided I will be shooting these types of black & white (B&W) images alongside the IR shots because they may provide a decent B&W image (you never know). I will be experimenting further with this type of B&W photography by placing black & white filtration on the lens (yellow, orange, green, and red) with an ultraviolet (UV) filter to see if the filtration can add to the images as well. Photography can be about experimenting, and I do enjoy it when I am trying out new gear and developing new techniques.
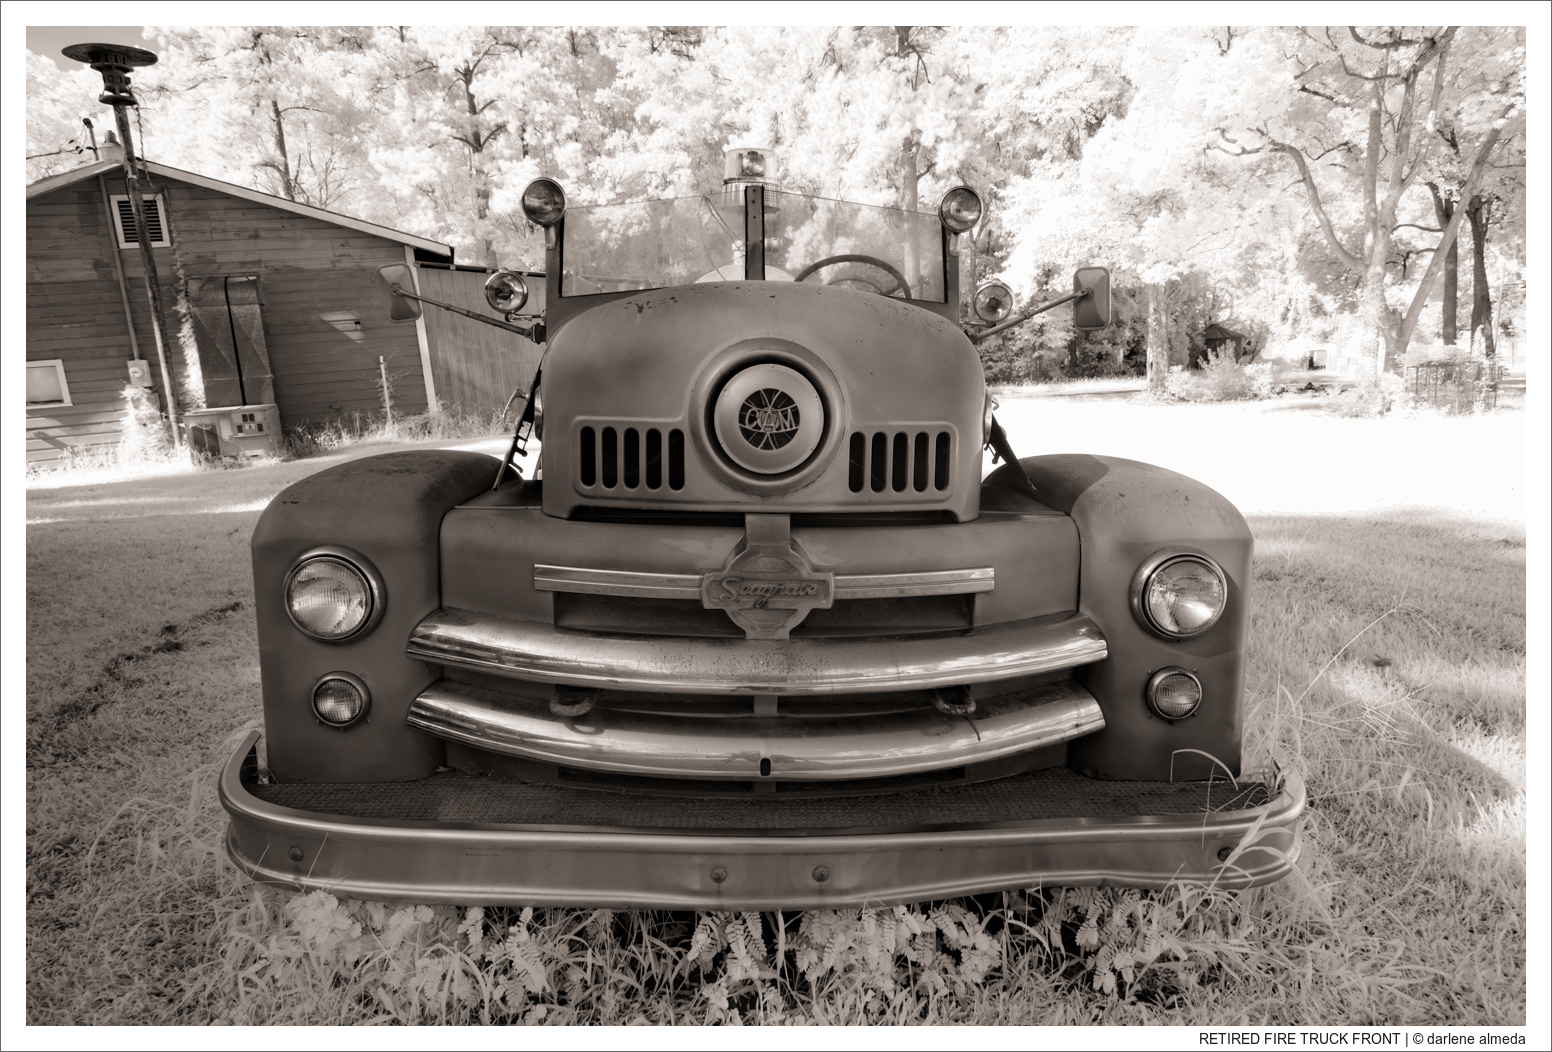
After I have taken the first sequence of images without the R72 filter, I look at the exposures on the LCD screen for what appears to be the best exposure. When I find that exposure (and provided the light has not changed drastically in the environment), I manually set that exposure on the camera. I then place the R72 filter on the lens and re-shoot. The previous exposure and focus should be adequate for the IR shots. After shooting the IR shots, I look at the LCD screen and histogram to see if there is one good exposure, and if so I am done, if not, I adjust the exposure via shutter speed one stop up or down and re-shoot the bracketed series. Here is the IR image of the Retired Fire Truck:

[ Retired Fire Truck | 10-20mm, 1/10 sec @ f/11 ]
Post Processing Images
When using Foveon sensor cameras, the photographer has to use Sigma’s Pro Photo (SPP) processor (at least as of this writing) for the X3F RAW files. This is a bit of a disadvantage because SPP is notoriously known as being the world’s slowest raw converter. When I process normal color Foveon images, I upload them into SPP and do not fuss with them too much, and prefer to export them as Same Size, ProPhoto RGB, TIFF 16-bit files into a separate folder that I will then process through Lightroom (LR). We cannot do this with IR Foveon files because once the files are processed into TIFF format; we lose the capability of ‘RAW depth’ processing and only SPP can perform this. SPP’s Monochrome capabilities and adjustment panel are unique and many X3F shooters have commented on just how good it is.

[ Unprocessed IR Image seen as Color Image in SPP ]

[ Processed Monochrome IR image before export into LR ]

[ The Panel Adjustments | Only Color Mixer and Above were used. ]
[ New Shiloh AME Church | 10-20mm, 1/80 sec @ f/11 ]
IR Shooting Technique Checklist (revised)
- Remove IR blocking filter from the camera body (if necessary)
- Set ISO at 100 with exposure bracketing sequence [0, -1, +1]
- Attach lens with autofocus (AF) selected and without R72 filter
- Compose the image through the viewfinder
- Once AF is achieved, set the lens to manual focus (MF)
- Make a series of three bracketed shots [0, -1, +1]
- Review images on the LCD screen for best exposure
- Set ‘best exposure’ manually; place R72 filter on the lens
- Shoot in AF mode* — if not possible, shoot at predetermined MF (step 5)
- Review images on screen; change shutter speed if exposure needs adjustment
I was shooting with a new Sigma 10-20mm f/3.5 EX DC HSM lens for these photos. It was my second copy after my first was purchased and used and was found to be decentered. The lens performed well with minor AF hunting which was easily resolved by selecting a focus point in a high contrast area. I did not find any ghosting on my images and the focus was precise with all images.
I hope you have enjoyed reading this photographic adventure I recently walked down. One reason I wanted to give digital IR a try was to see how I may be able to adapt some of it to digital B&W photography. I enjoy looking at good B&W photography (I am aware Michael Kenna shoots Hasselblads and film; he is just a quick example of what I like). Unfortunately, not a lot of what I see on the net today excites me.IR photography does not appeal to everyone and I have made some IR images that I do not like, but I am on a mission to discover for myself what I am looking for with B&W digital photography, and this has been a step in the right direction for me. I will be adding more IR photos to my infrared portfolio as I make them, and hope to begin developing a B&W gallery of images shortly. Stay tuned if you are interested in seeing how I experiment more with digital B&W and IR photography.
* some of my lenses AF through the R72 filter just fine
*** UPDATE: 2022 ***
An update to my shooting IR photography is in the works (Part 3).
I had my Fujifilm X-E2 IR 590nm converted and will write about it soon.
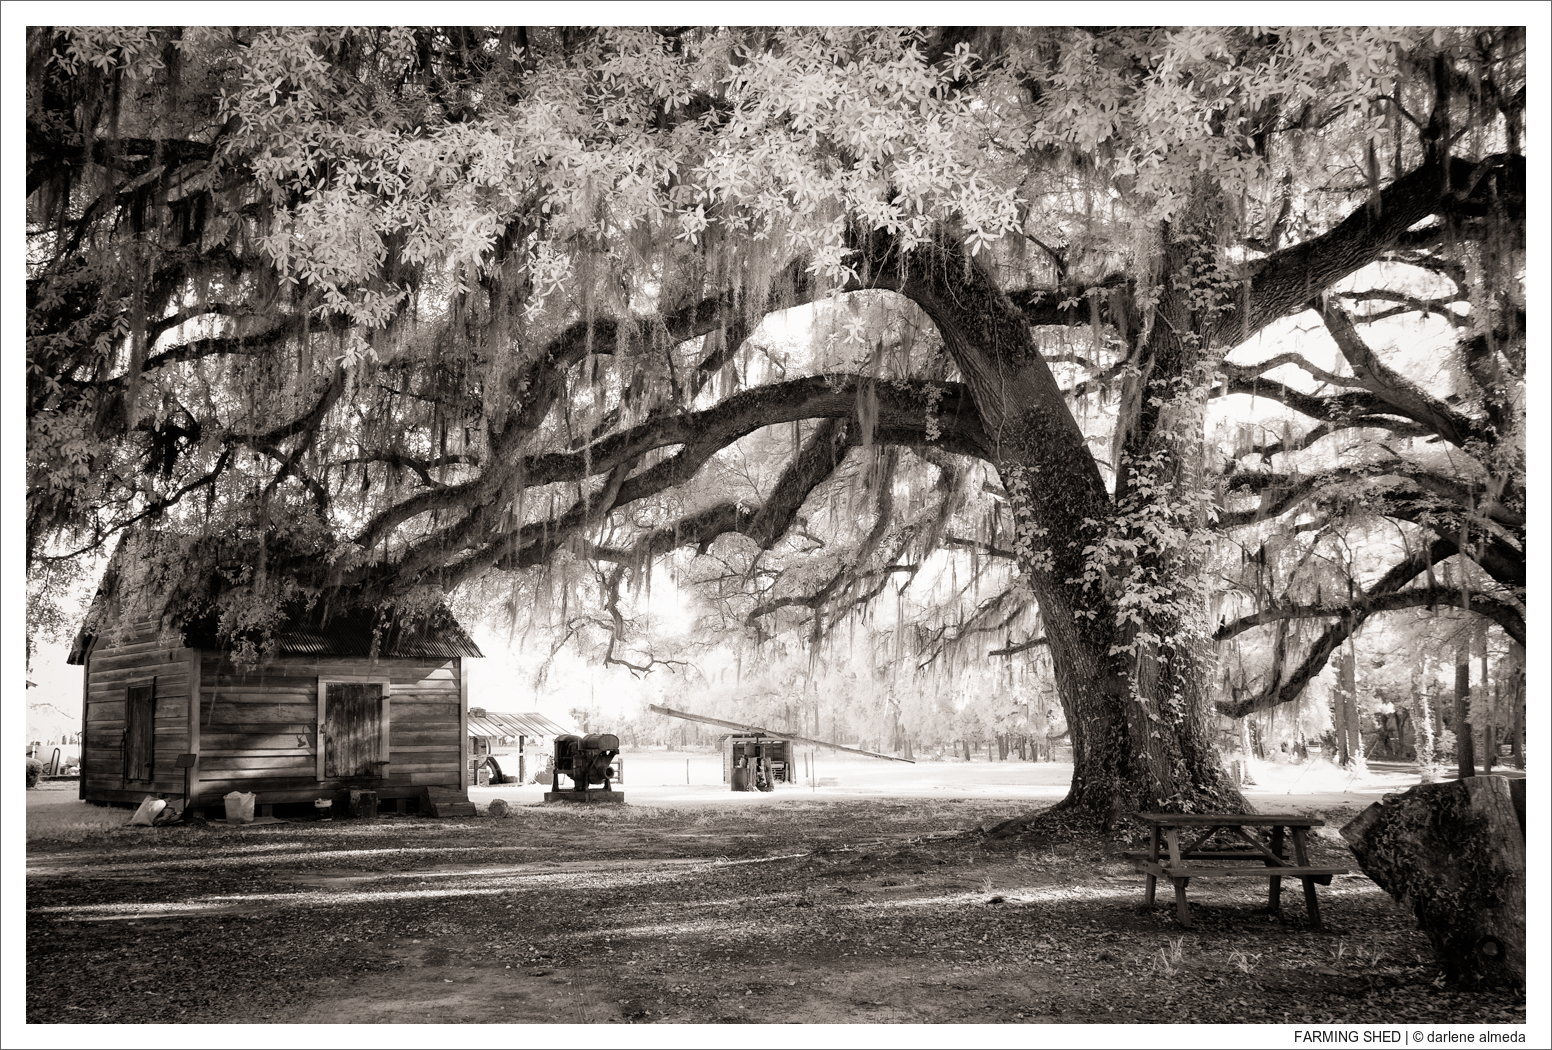
FARMING SHED
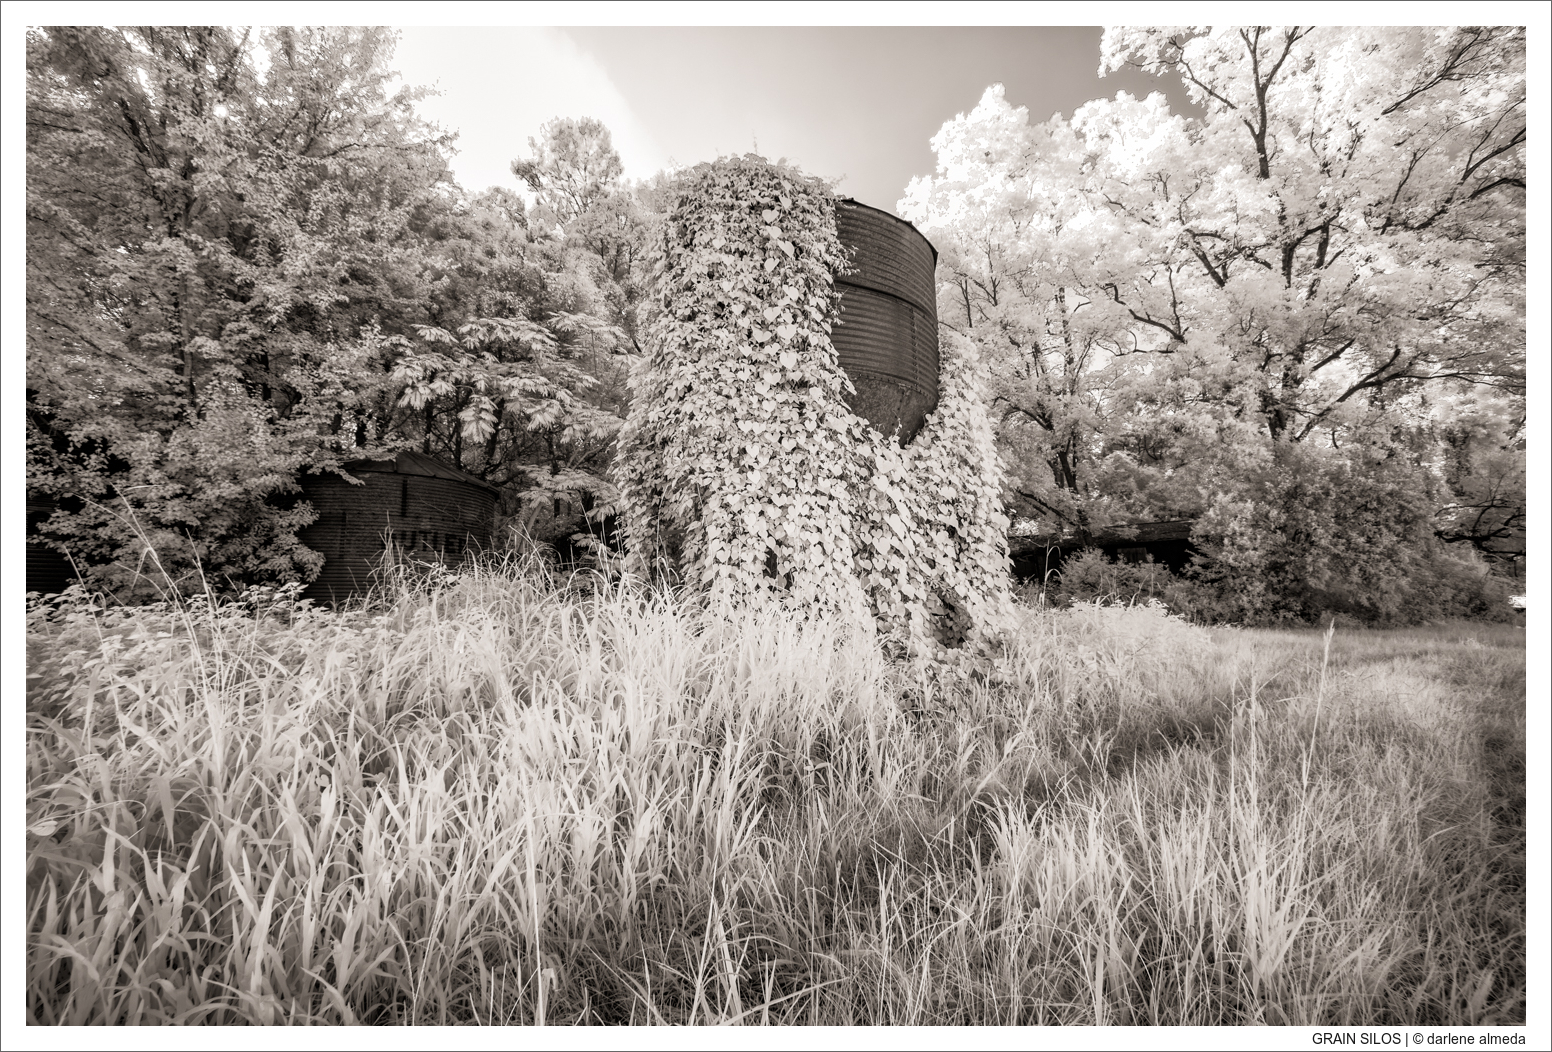
GRAIN SILOS
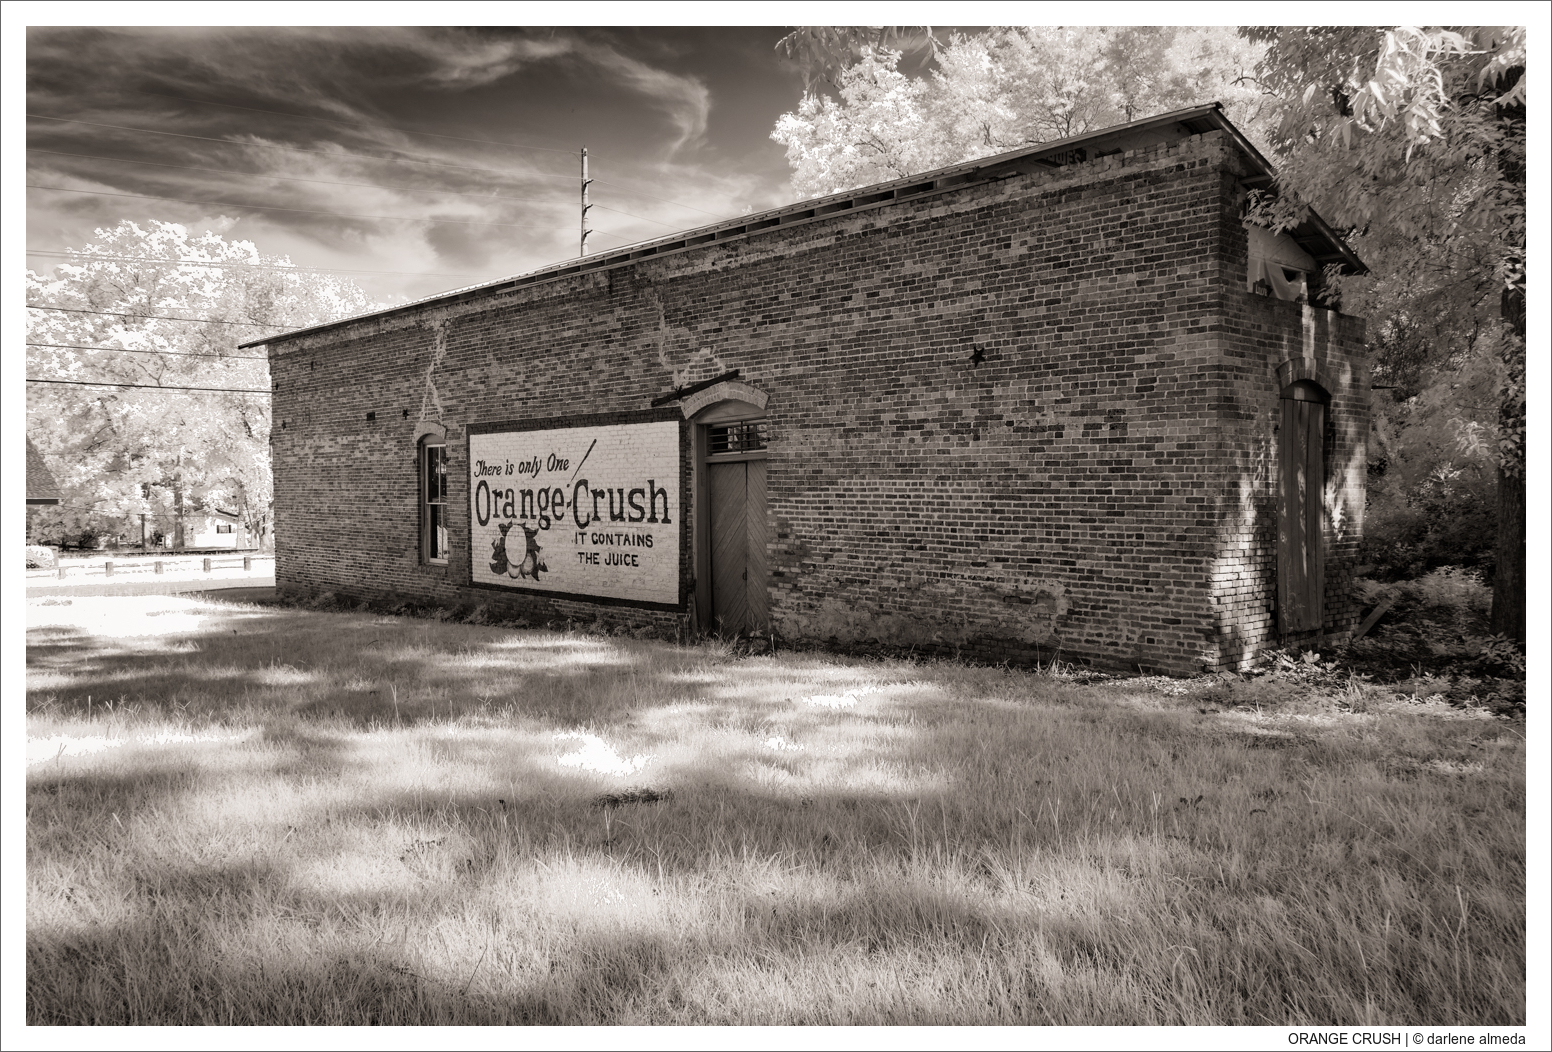
ORANGE CRUSH