I first tried infrared (IR) photography back in the mid-1990s with a Nikon F3 camera and lenses and the now discontinued Kodak High-Speed Infrared film (Kodak HIE). It was more difficult to shoot IR film when compared to my recent tryout with IR digital because: (1) the film had to be loaded and unloaded in total darkness which made reloading out in the field difficult and (2), you had to wait for the film to be processed to see the results.
However, IR photography continues to be difficult for either film or digital because the focus point of IR light is different than from visible light. How do we harness the focus point of IR light? A dark opaque IR filter was placed on the lens before capture. Whether you are shooting IR film or IR digital, the same filter needs to be on the lens (unless you have your camera modified at the sensor level for IR), thus making exposure evaluation and focusing difficult. Older manual lenses typically have a red mark for IR focus, but many modern lenses do not, so you will need to stop down to get things in focus.
Since digital can provide immediate feedback on the LCD screen, infrared photography has now gained a certain amount of ease. You may still have to guesstimate your exposures and focusing, but immediate feedback on the LCD screen can help with these issues immensely. My reasons for writing this article are to explain my recent experience shooting digital IR and to encourage you to rethink IR if you gave up on it, or perhaps you are thinking about trying it out for the first time.
My current camera of choice for IR is the Sigma SD1 Merrill (SD1M). A unique feature of this camera is the IR blocking filter can be removed safely by the user. IR photography is still possible with a digital camera that has its IR blocking filter in place because most digital cameras still react to some near IR energy, although at levels lower than visible light. But with an IR filter in place, the visible light will be filtered out and only the near IR light will pass through to the sensor.

There are various degrees of IR filtration available, and I prefer to use the most popular filter which blocks visible light up to 720nm, a Hoya R72 filter. Since my wide-angle lens uses the largest filter (82mm), I only need to purchase the R72 in 82mm and then use step-up filter rings to use the same filter on all my lenses. I highly recommend purchasing filters this way.

What you will need to start shooting IR digital, is a digital camera, a lens or two, an IR filter, and a tripod. IR photography cannot be done without a tripod because the exposure times will be long. Below is the story behind my recent foray back into IR since my film days. I shot for just one hour on July 2 with three different lenses: 12-24mm, 35mm, and 70mm macro. If it had not been raining, I would have shot longer, but at least I was able to see how my camera, lenses, and filtration worked together. I have already made some discoveries with my gear and will be reshooting IR hopefully later this week to test out some new technical ideas (stay tuned).
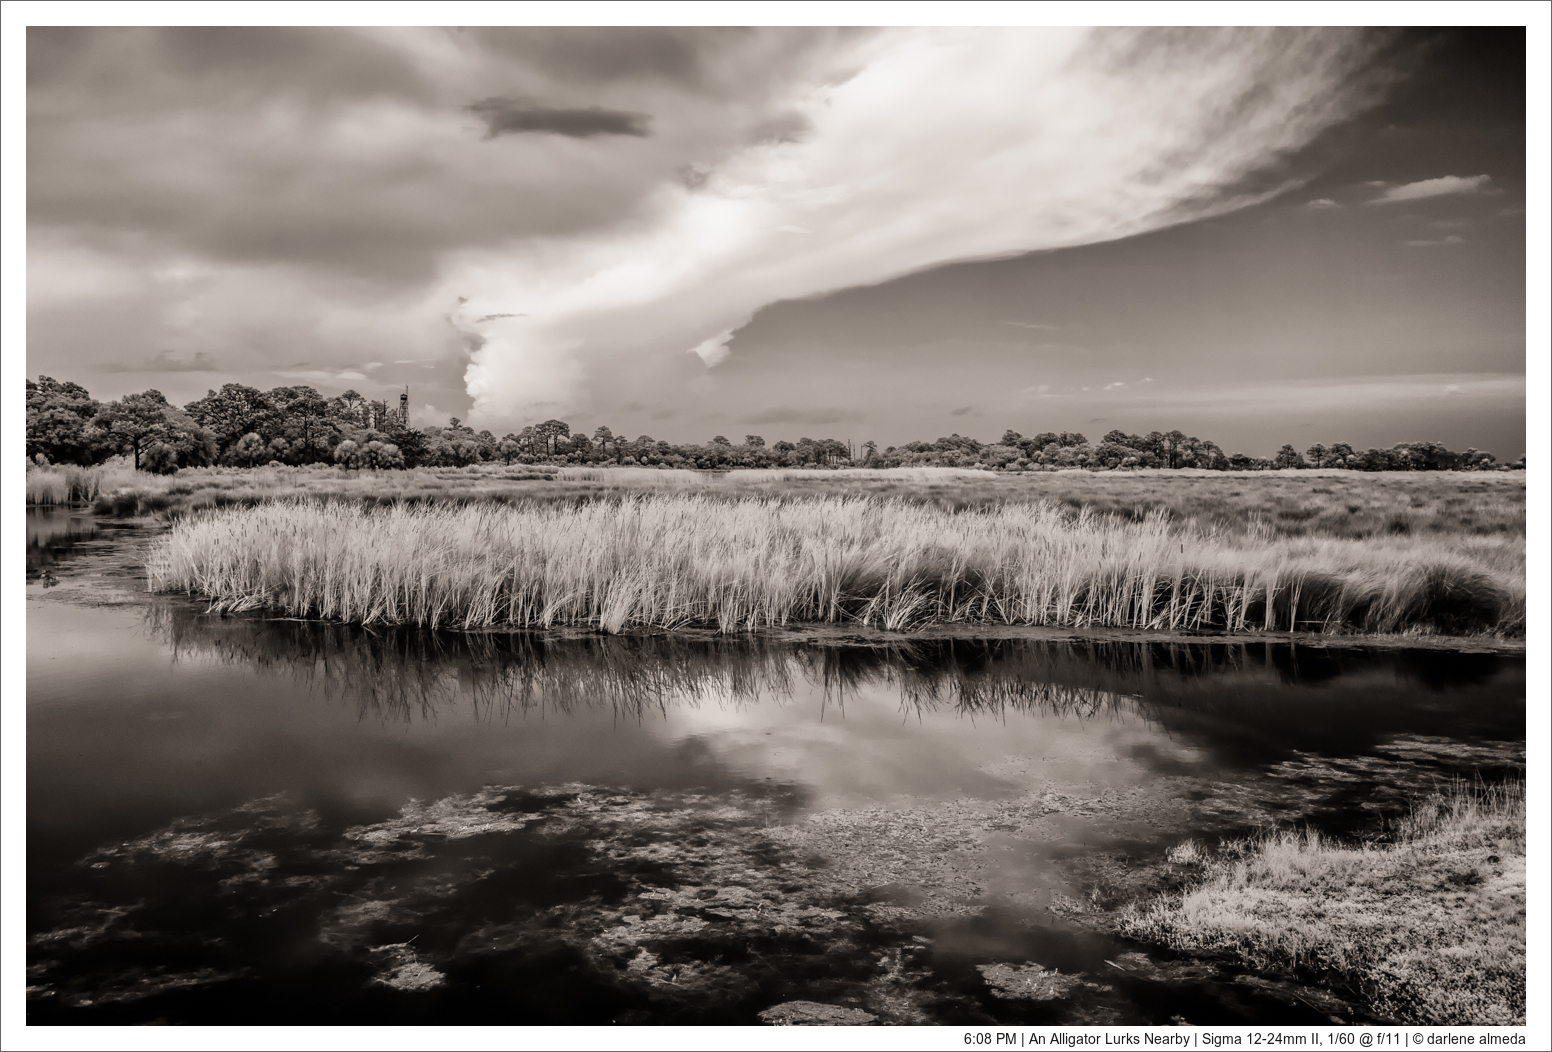
On the way to St. Marks NWR, it rained really hard and really fast. As I entered the reserve, it slowed down some, but the first and last shots were captured during a drizzle.

After setting the ISO, I composed through the viewfinder and used autofocus (AF) to set focus and then switched the lens to manual focus (MF) so as to turn off focusing altogether. I metered with auto exposure (AE) at f/11 and took notice AE said 1/250 sec. I then placed the filter on the lens to see if the camera’s meter could measure through the filter because, in my film days, that would never have happened. Well to my delight, the meter gave a much longer reading of 1/4 sec (but is it correct?). I then manually set the camera’s exposure at 1/4 sec at f/11 and added a three-exposure bracket with a 1-stop differential (0, -1, +1). Now all I had to do was engage mirror-up, trigger my remote control, and cross my fingers.
From what I have read thus far, we are looking for a red image with deep tones on the LCD screen, not with too much pink and not with any yellow. The yellow indicates overblown highlights that will not come back in post-processing and pink indicates overexposure with the possibility of lost detail.


My first shots were too dark, so I adjusted the shutter speed a few times, and then pink and yellow appeared on the LCD screen. Okay, now I remember how much of a guessing game exposure can be with IR; it can react differently with each lens and with different locations. You’ve got to have the patience to be a fine art photographer, and it helps to be a bit on the geeky side as well (who me?).
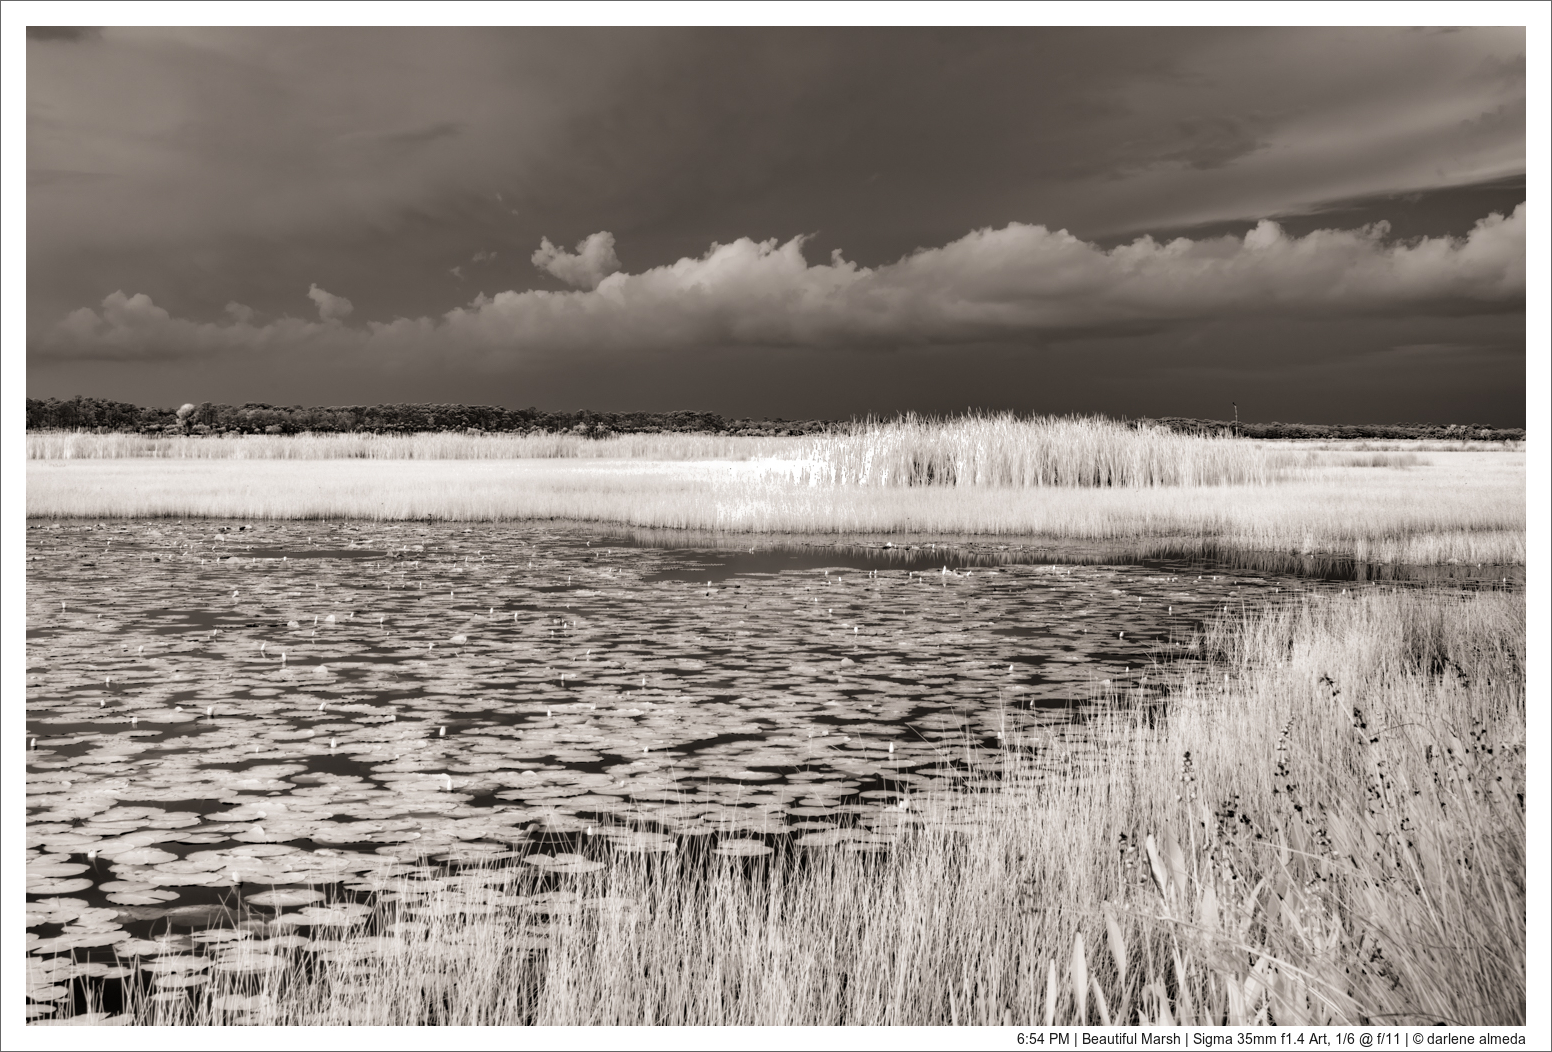
After a few more tries and switching to the 35mm lens, I am seeing what I think looks good and sense my technique is developing towards fruition. The storm clouds begin to move and make some noise, so I quickly pack up the gear and move on down the road to the next location.
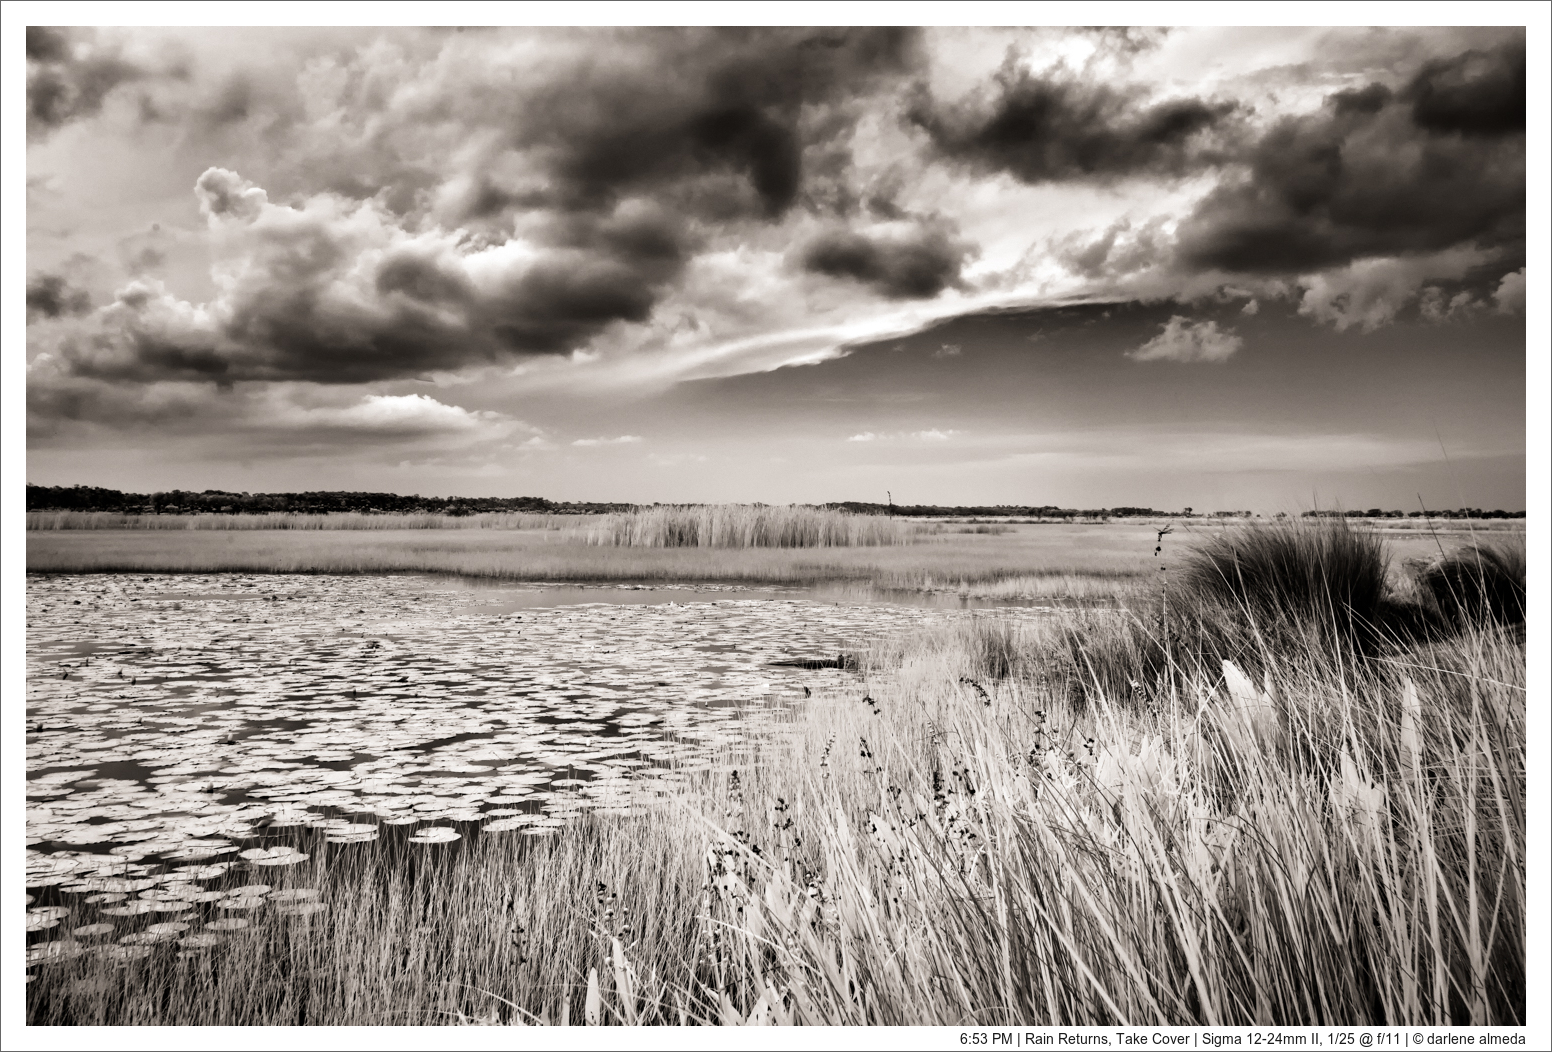
At the next location, I repeat the same steps as before: I look through the viewfinder, use AF for focusing, and then switch to MF. I make note of the AE reading to see if it changes once the IR filter is on (it does). I carefully place the R72 filter on the lens because I do not want to bump it out of focus; I double check my three exposure bracket is set (0, -1, +1), and engage mirror-up. I trigger the remote and anxiously wait for the preview.
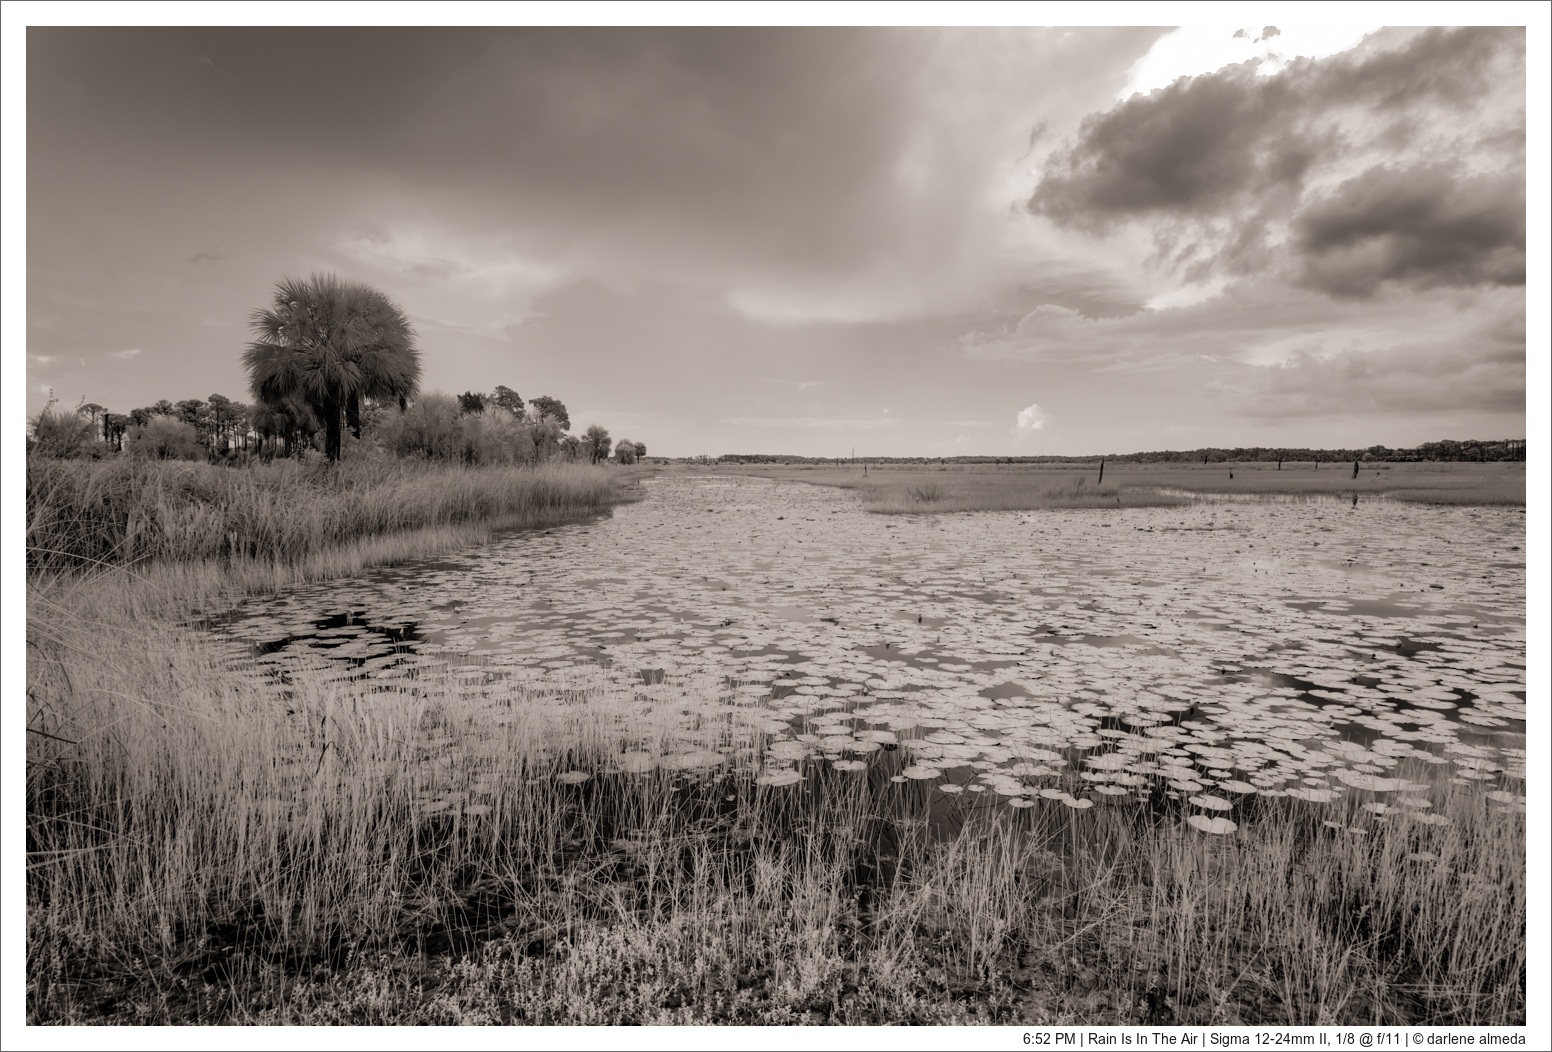
As before, a stop or two in shutter speed adjustment is necessary to bring the preview color to red with good tonality. I shot a few exposures with the 70mm macro lens and then it began to drizzle.

Unfortunately, some lenses may produce hotspots (areas of diffusion and brightness), so it is best to test your lenses for this anomaly. The Sigma 70mm macro lens has been reported as a not-so-good lens for IR by another photographer, but I have not found any hotspots with any of the test images thus far, but further testing needs to be completed.
Below is my shooting checklist up to now, and it will be updated as I can fine-tune it:
IR Shooting Technique Checklist
- Compose/Look through the viewfinder;
- Use AF for focusing, and then switch to MF;
- Make note of the AE reading to see if it changes once the IR filter is on (it does);
- Place the camera on Manual mode with the desired f/stop and shutter speed;
- Carefully place the R72 filter on the lens so as not to bump it out-of-focus;
- Set a three exposure bracket (0,-1, +1);
- Set camera to mirror-up;
- Trigger the remote (control/cable) and anxiously wait for the preview;
- Examine preview looking for red color, not too pink, and definitely no yellows;
- Adjust shutter speed and reshoot until the LCD image looks red with good tonality.
As I drove out of the NWR, it was pouring rain, but I felt I had enough information to begin my journey back into IR photography and start to think about a project or two. With all the advancements in photography gear and technology, it truly is a wonderful time to be a photographer.
In Part 2, I will talk about post-process IR images, complete another test run at tweaking the technique, and hopefully have more images to show.