Introduction
In my Return to Infrared Photography Part 1 and Part 2, I wrote about using the Sigma SD1 Merrill for IR work. Since then, I’ve moved to a mirrorless IR system.
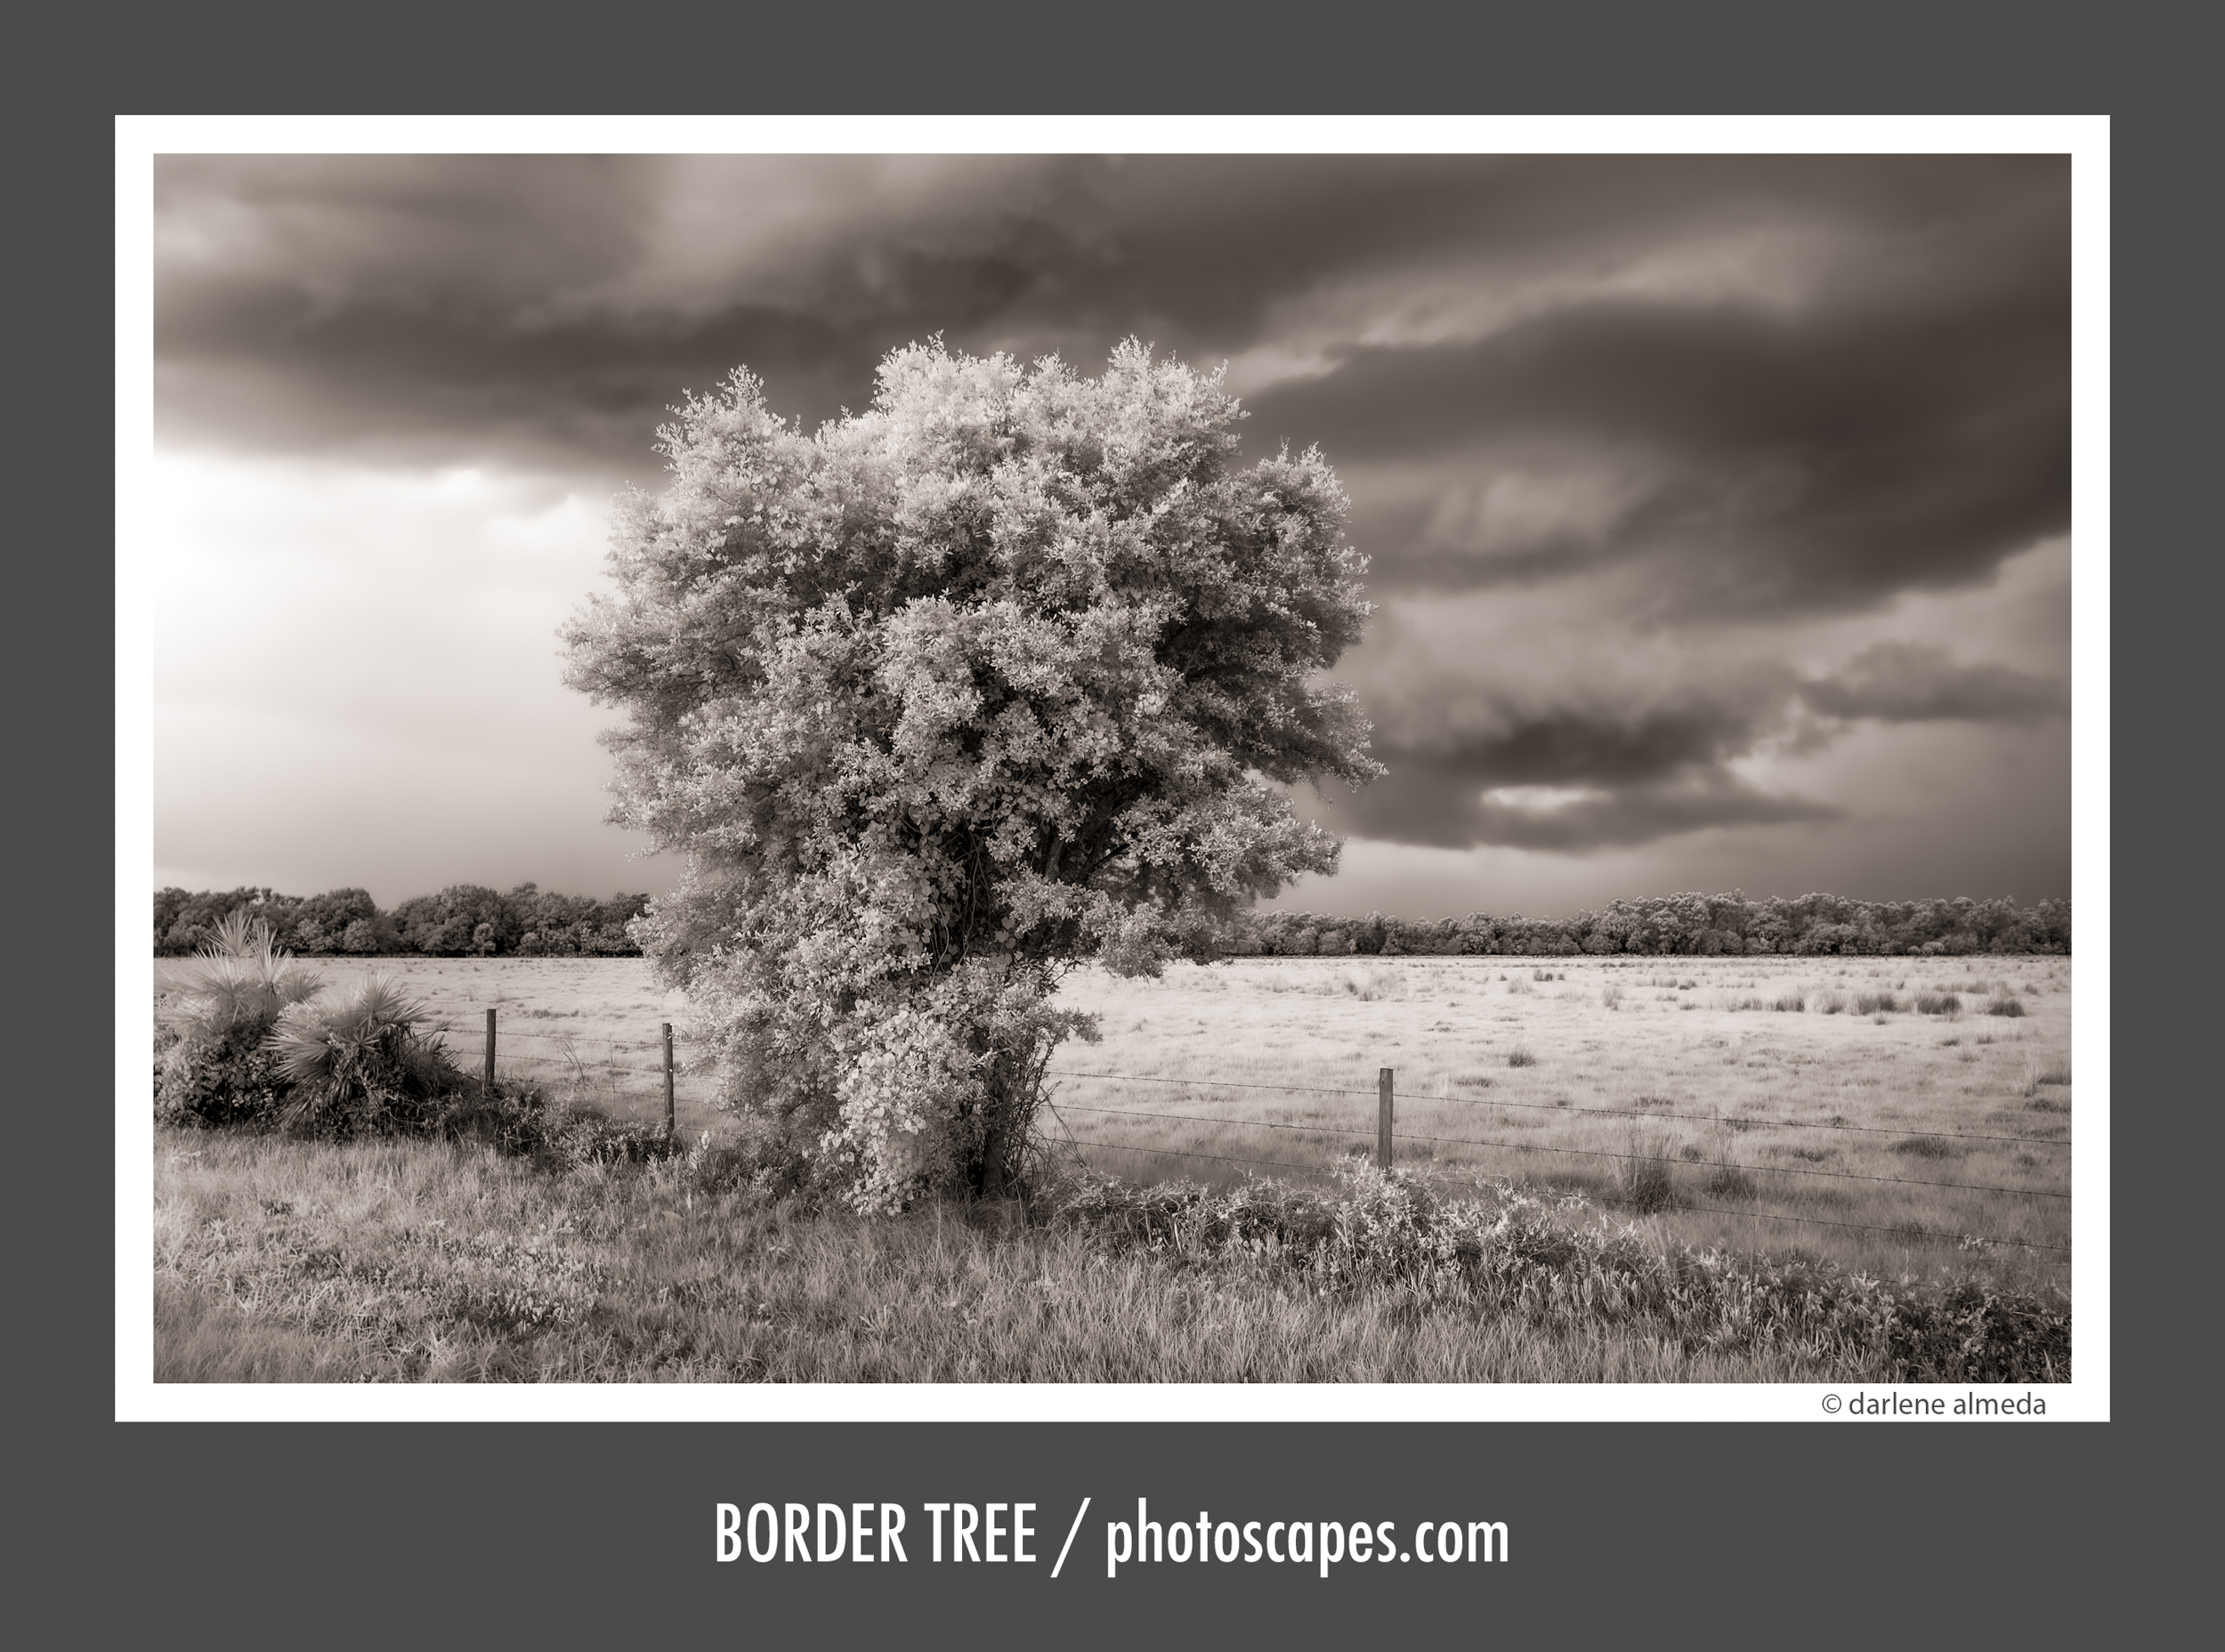
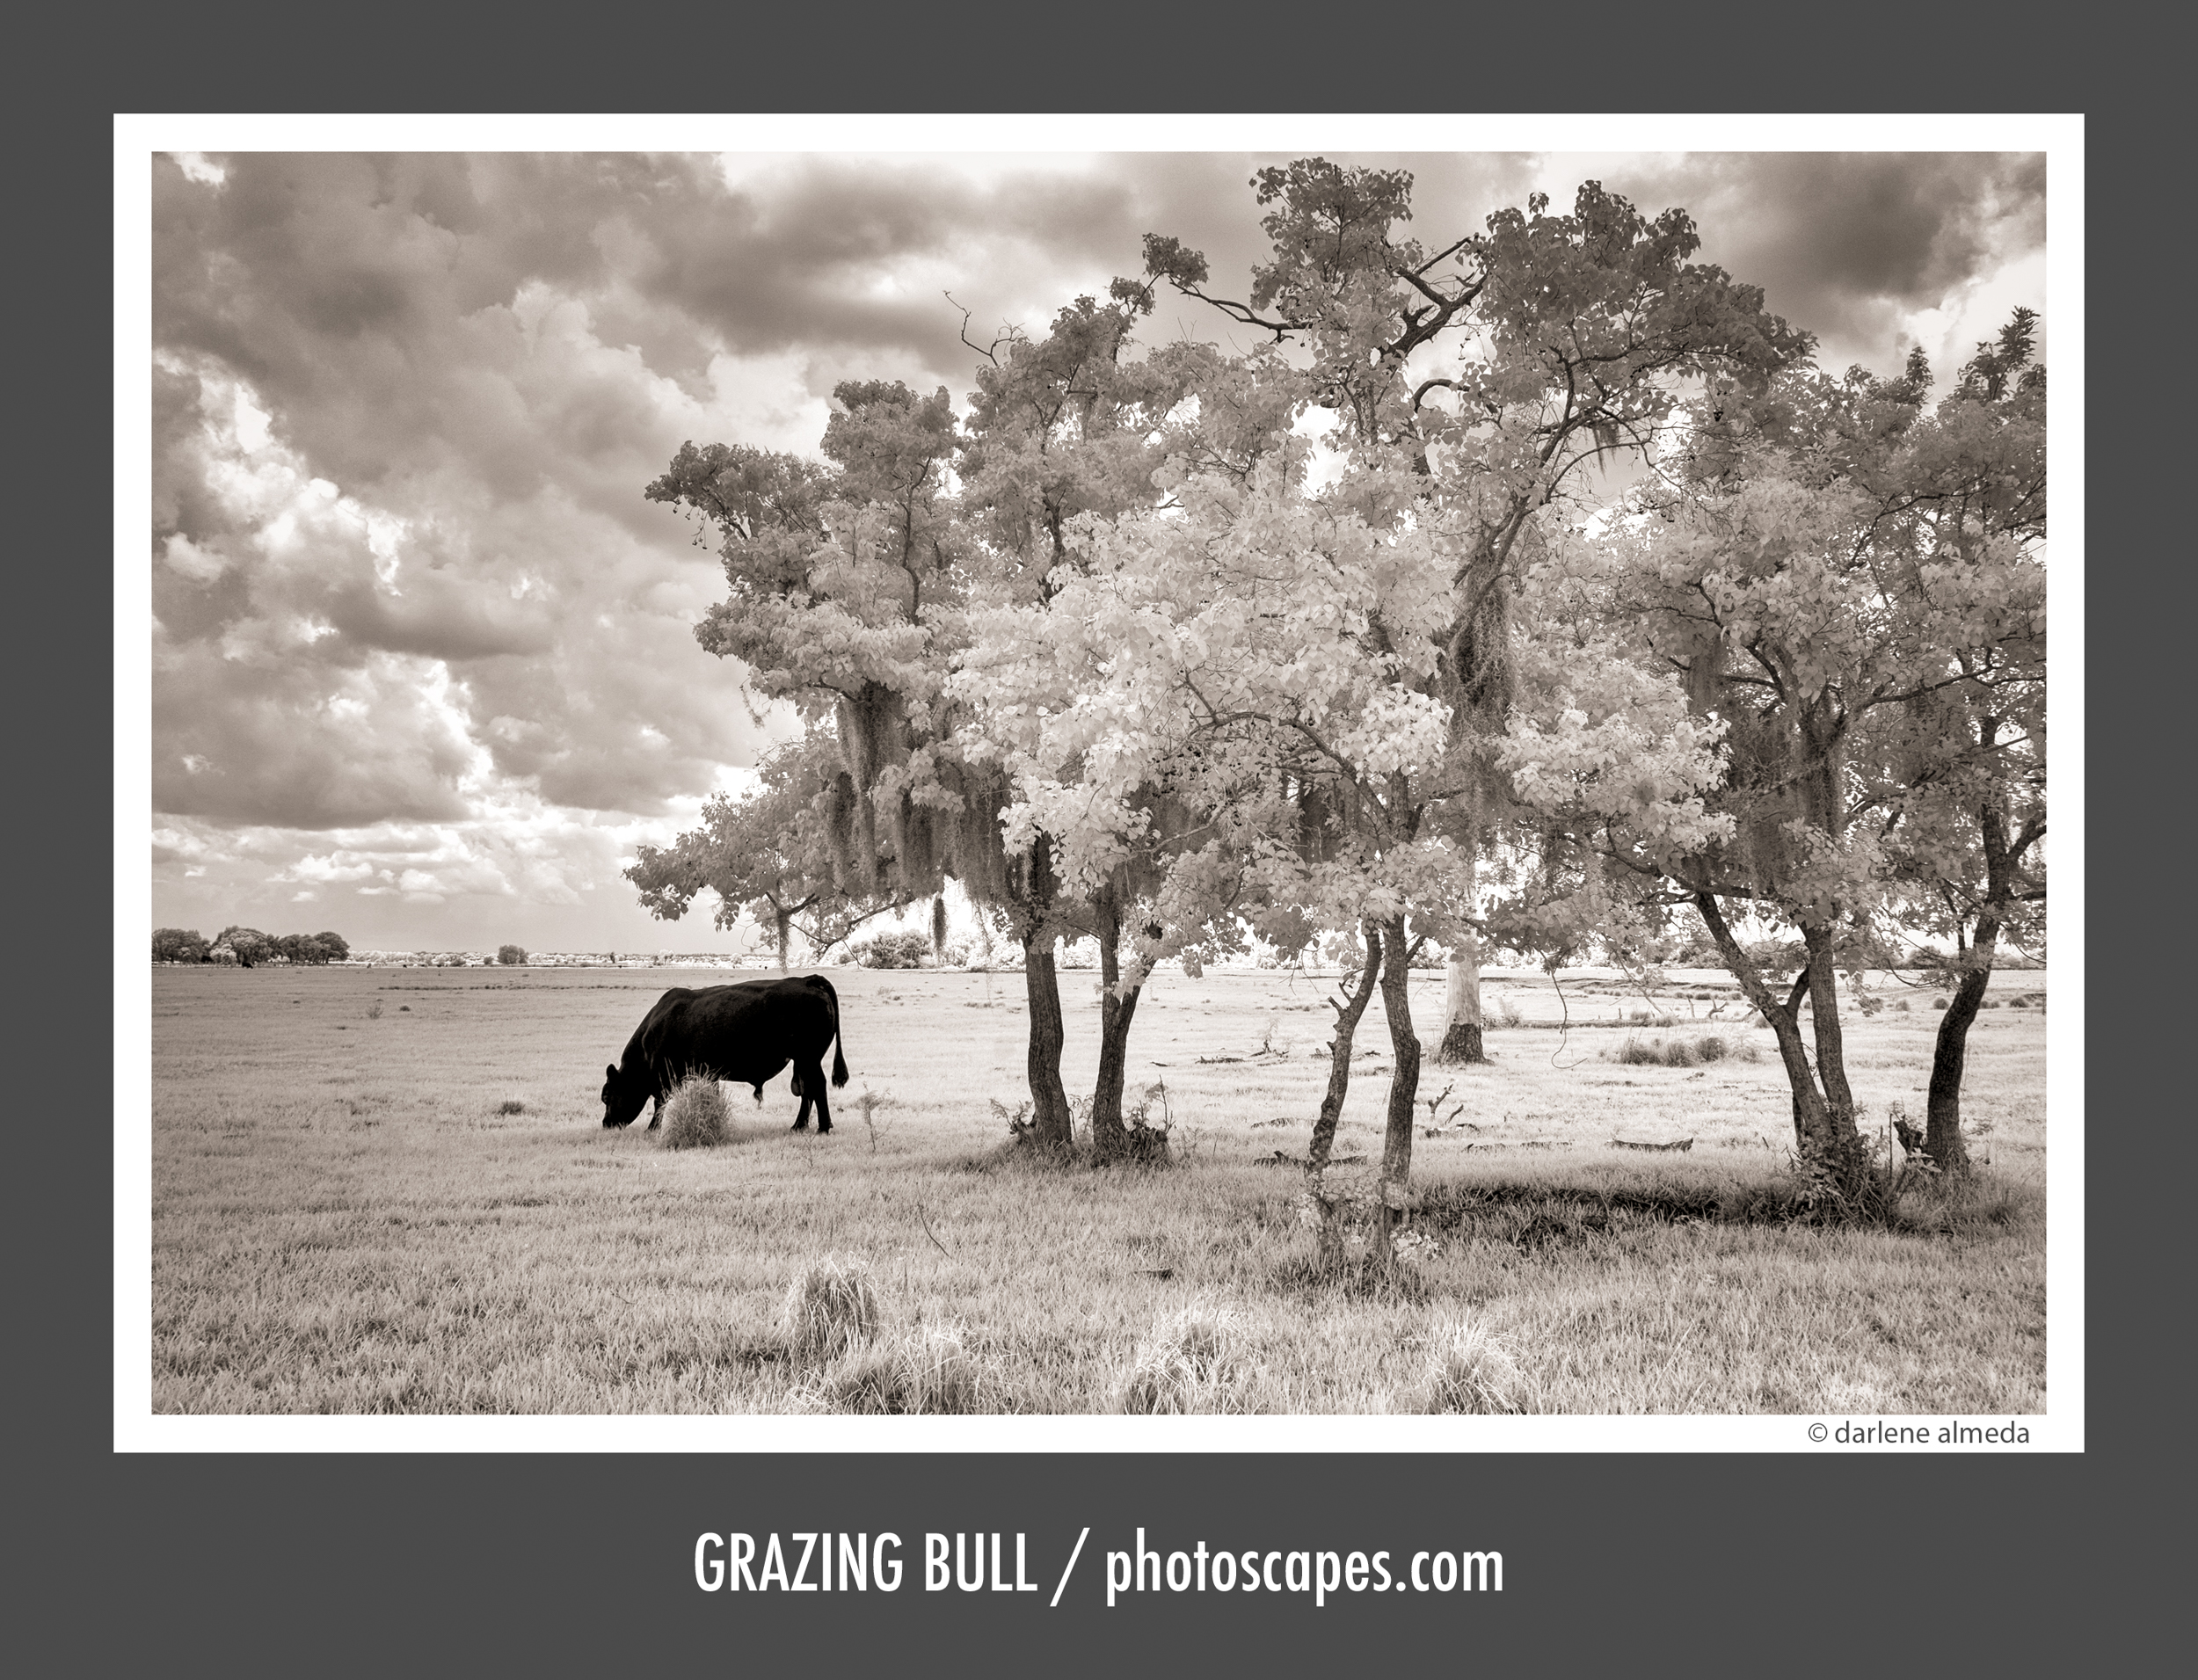
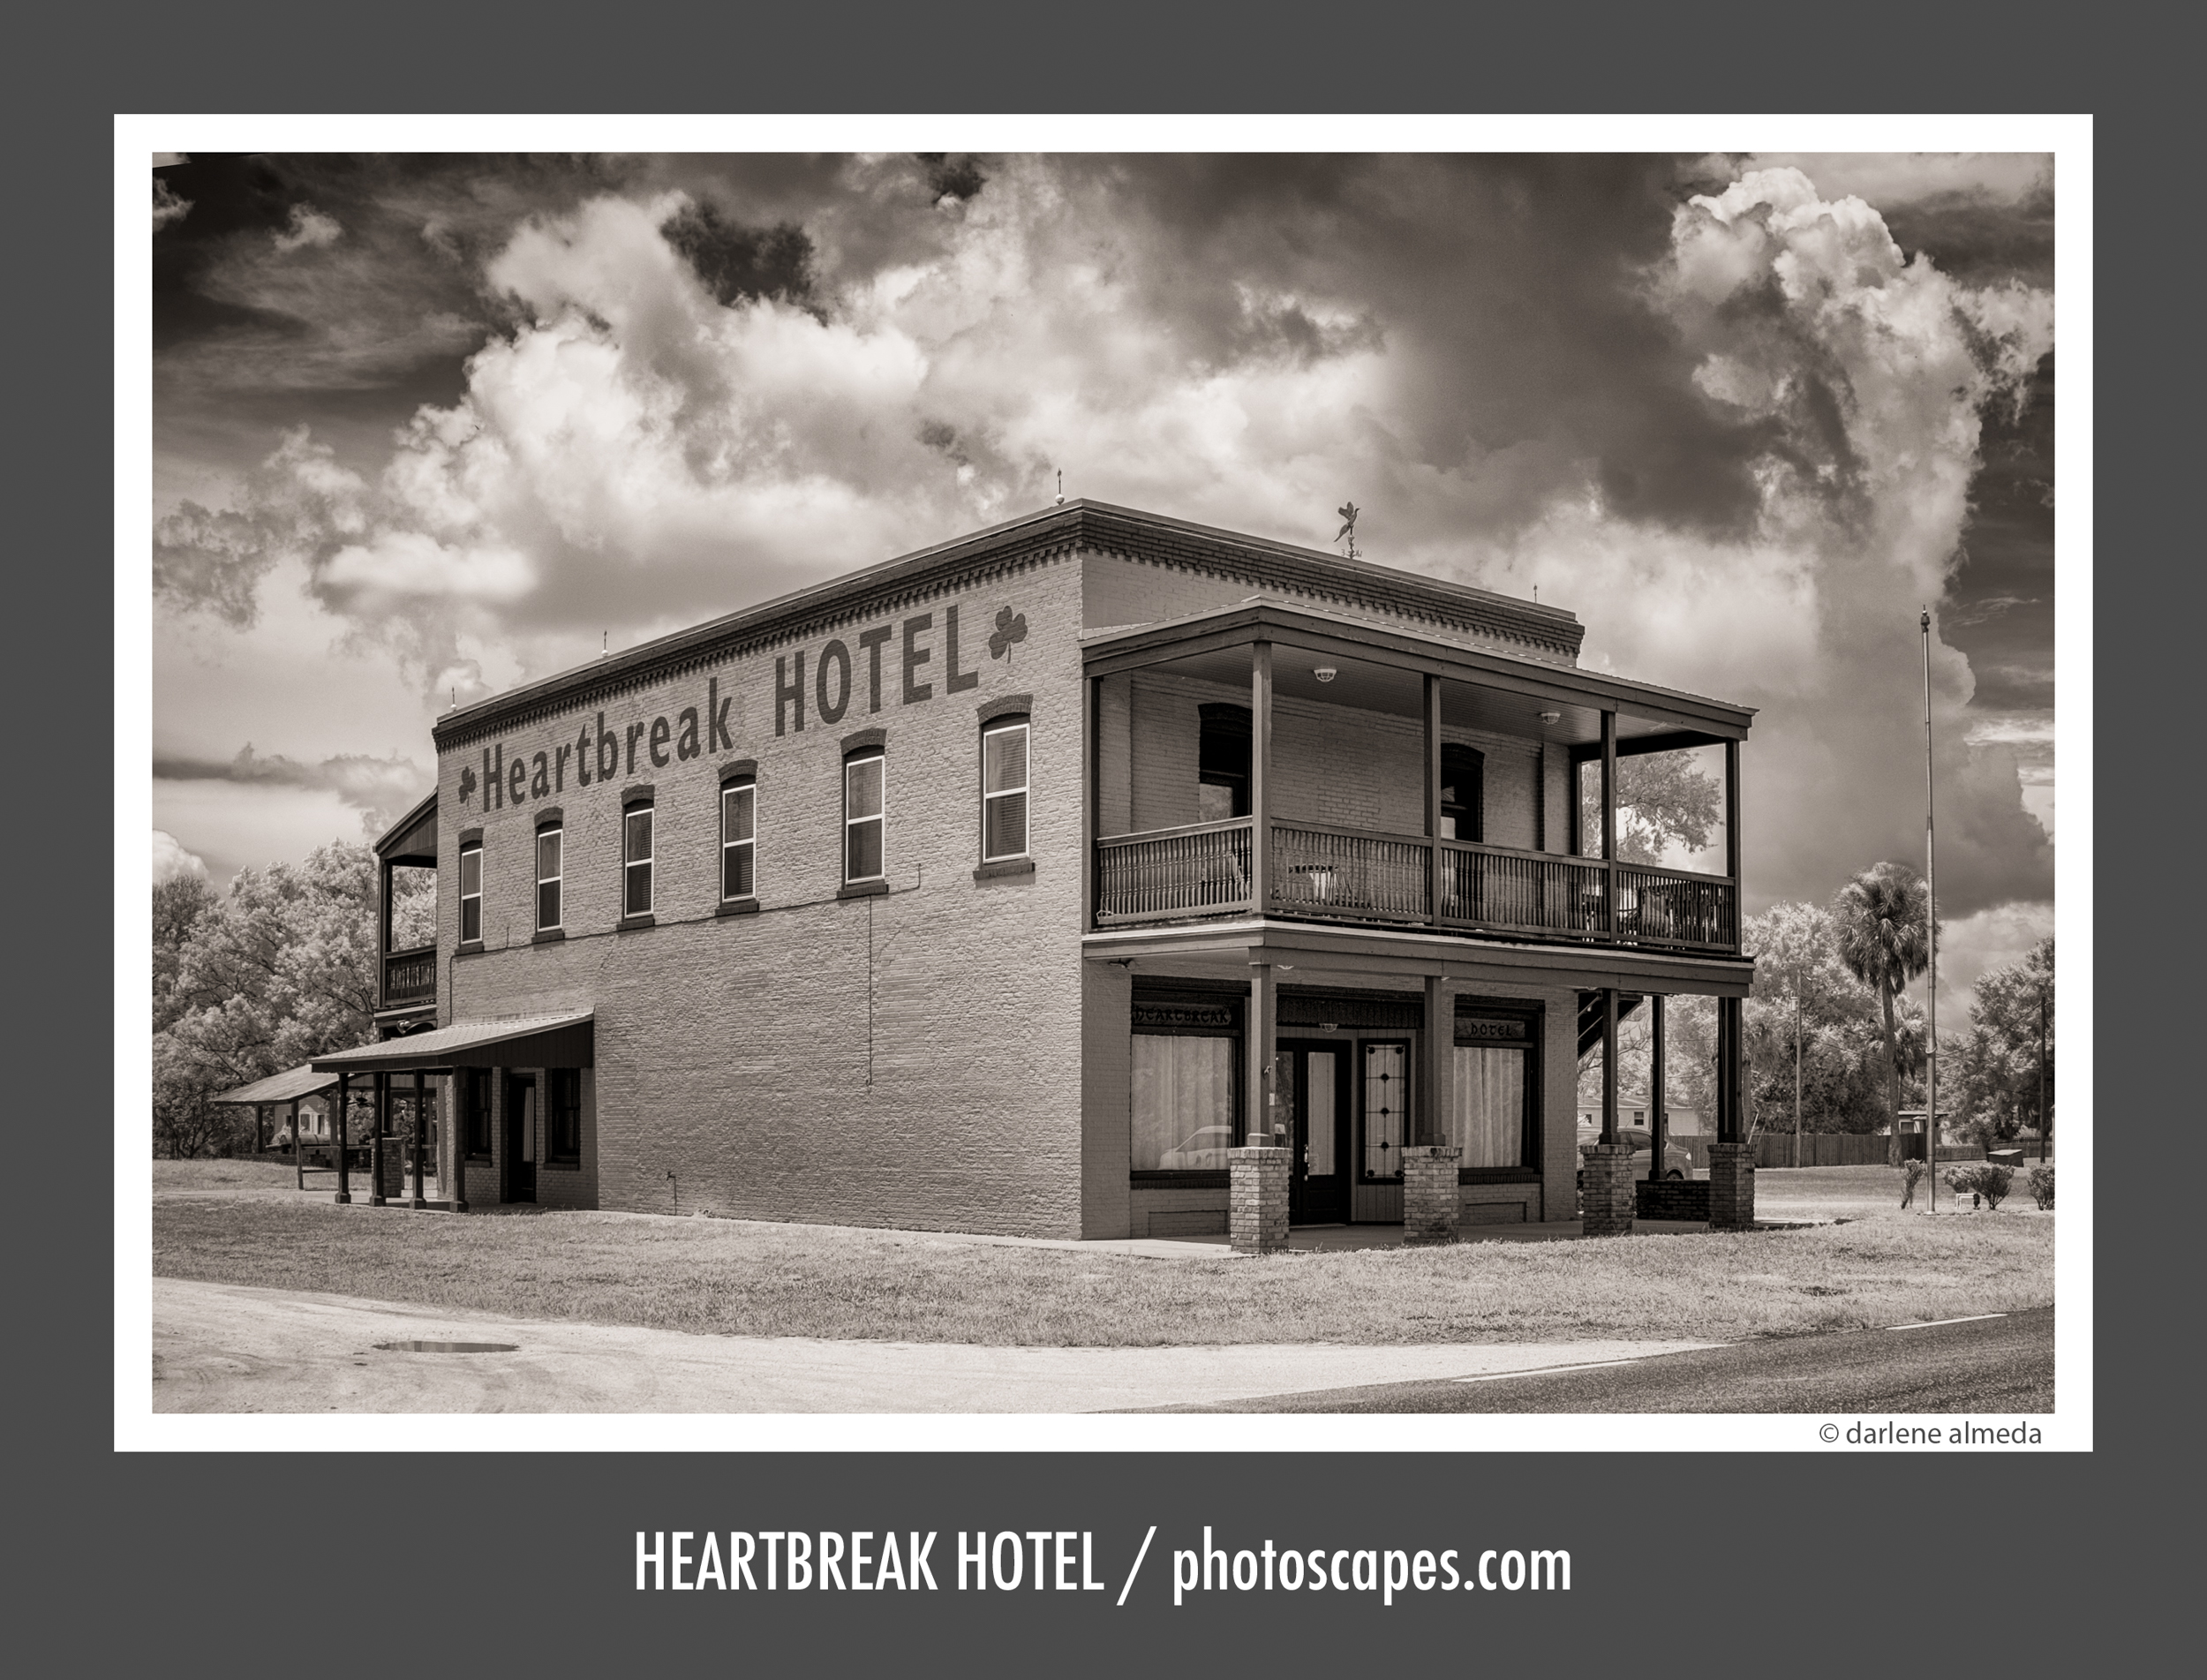
This article continues that journey, explaining why I chose the Fujifilm X-E2 and the lenses I use—along with example images, a concise post-processing workflow, and a helpful video link. It’s not a deep technical dive; it’s an overview for photographers curious about IR, especially those who favor black-and-white infrared for its expressive potential.
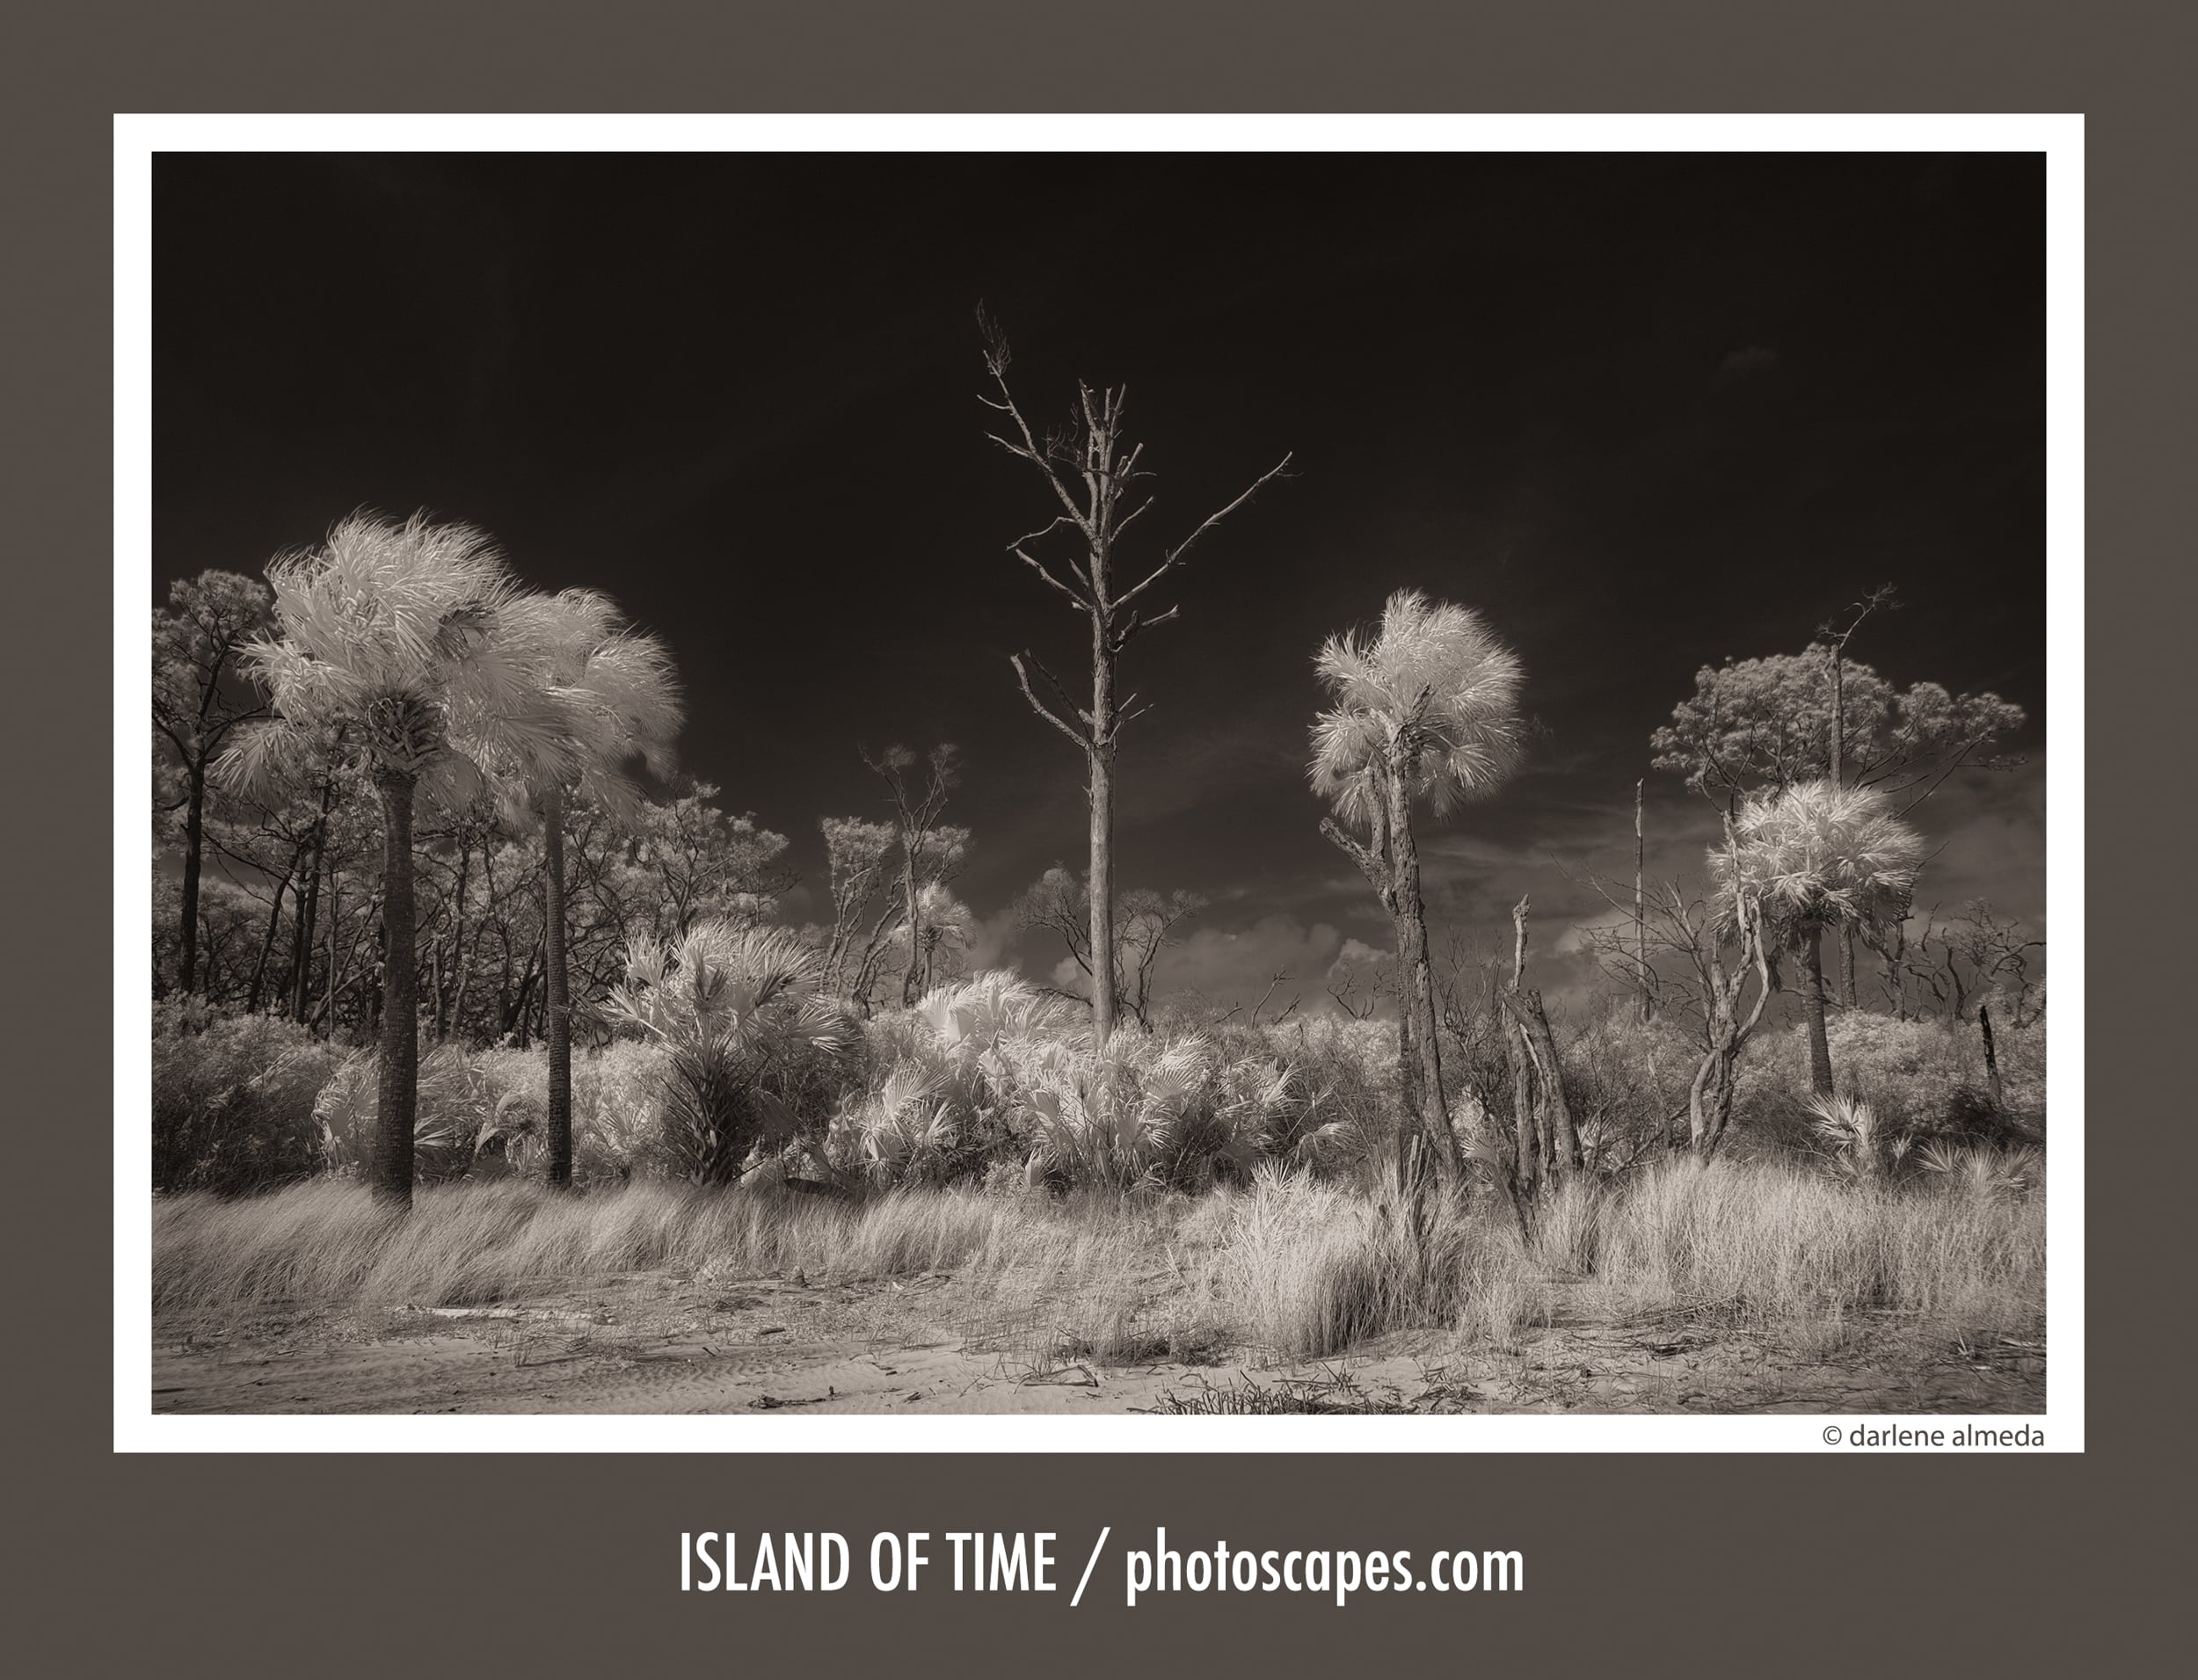
ISLAND OF TIME | Fujifilm X-E2 (IR 590nm) + XF 14/2.8
Why I’m Drawn to IR Photography
I’ve always loved black-and-white. Straight digital BW rarely moves me like film, but BW infrared does; its tonal separation can be surreal, luminous, and quietly atmospheric.
Color IR can feel sci-fi, yet converted carefully to BW, it becomes expressive and elegant.
After testing different conversion filters, the 590nm “Super Color” range fit my esthetics. It preserves enough visible light for flexible post work while remaining superb for monochrome output—perfect for the way I like to shape tones.
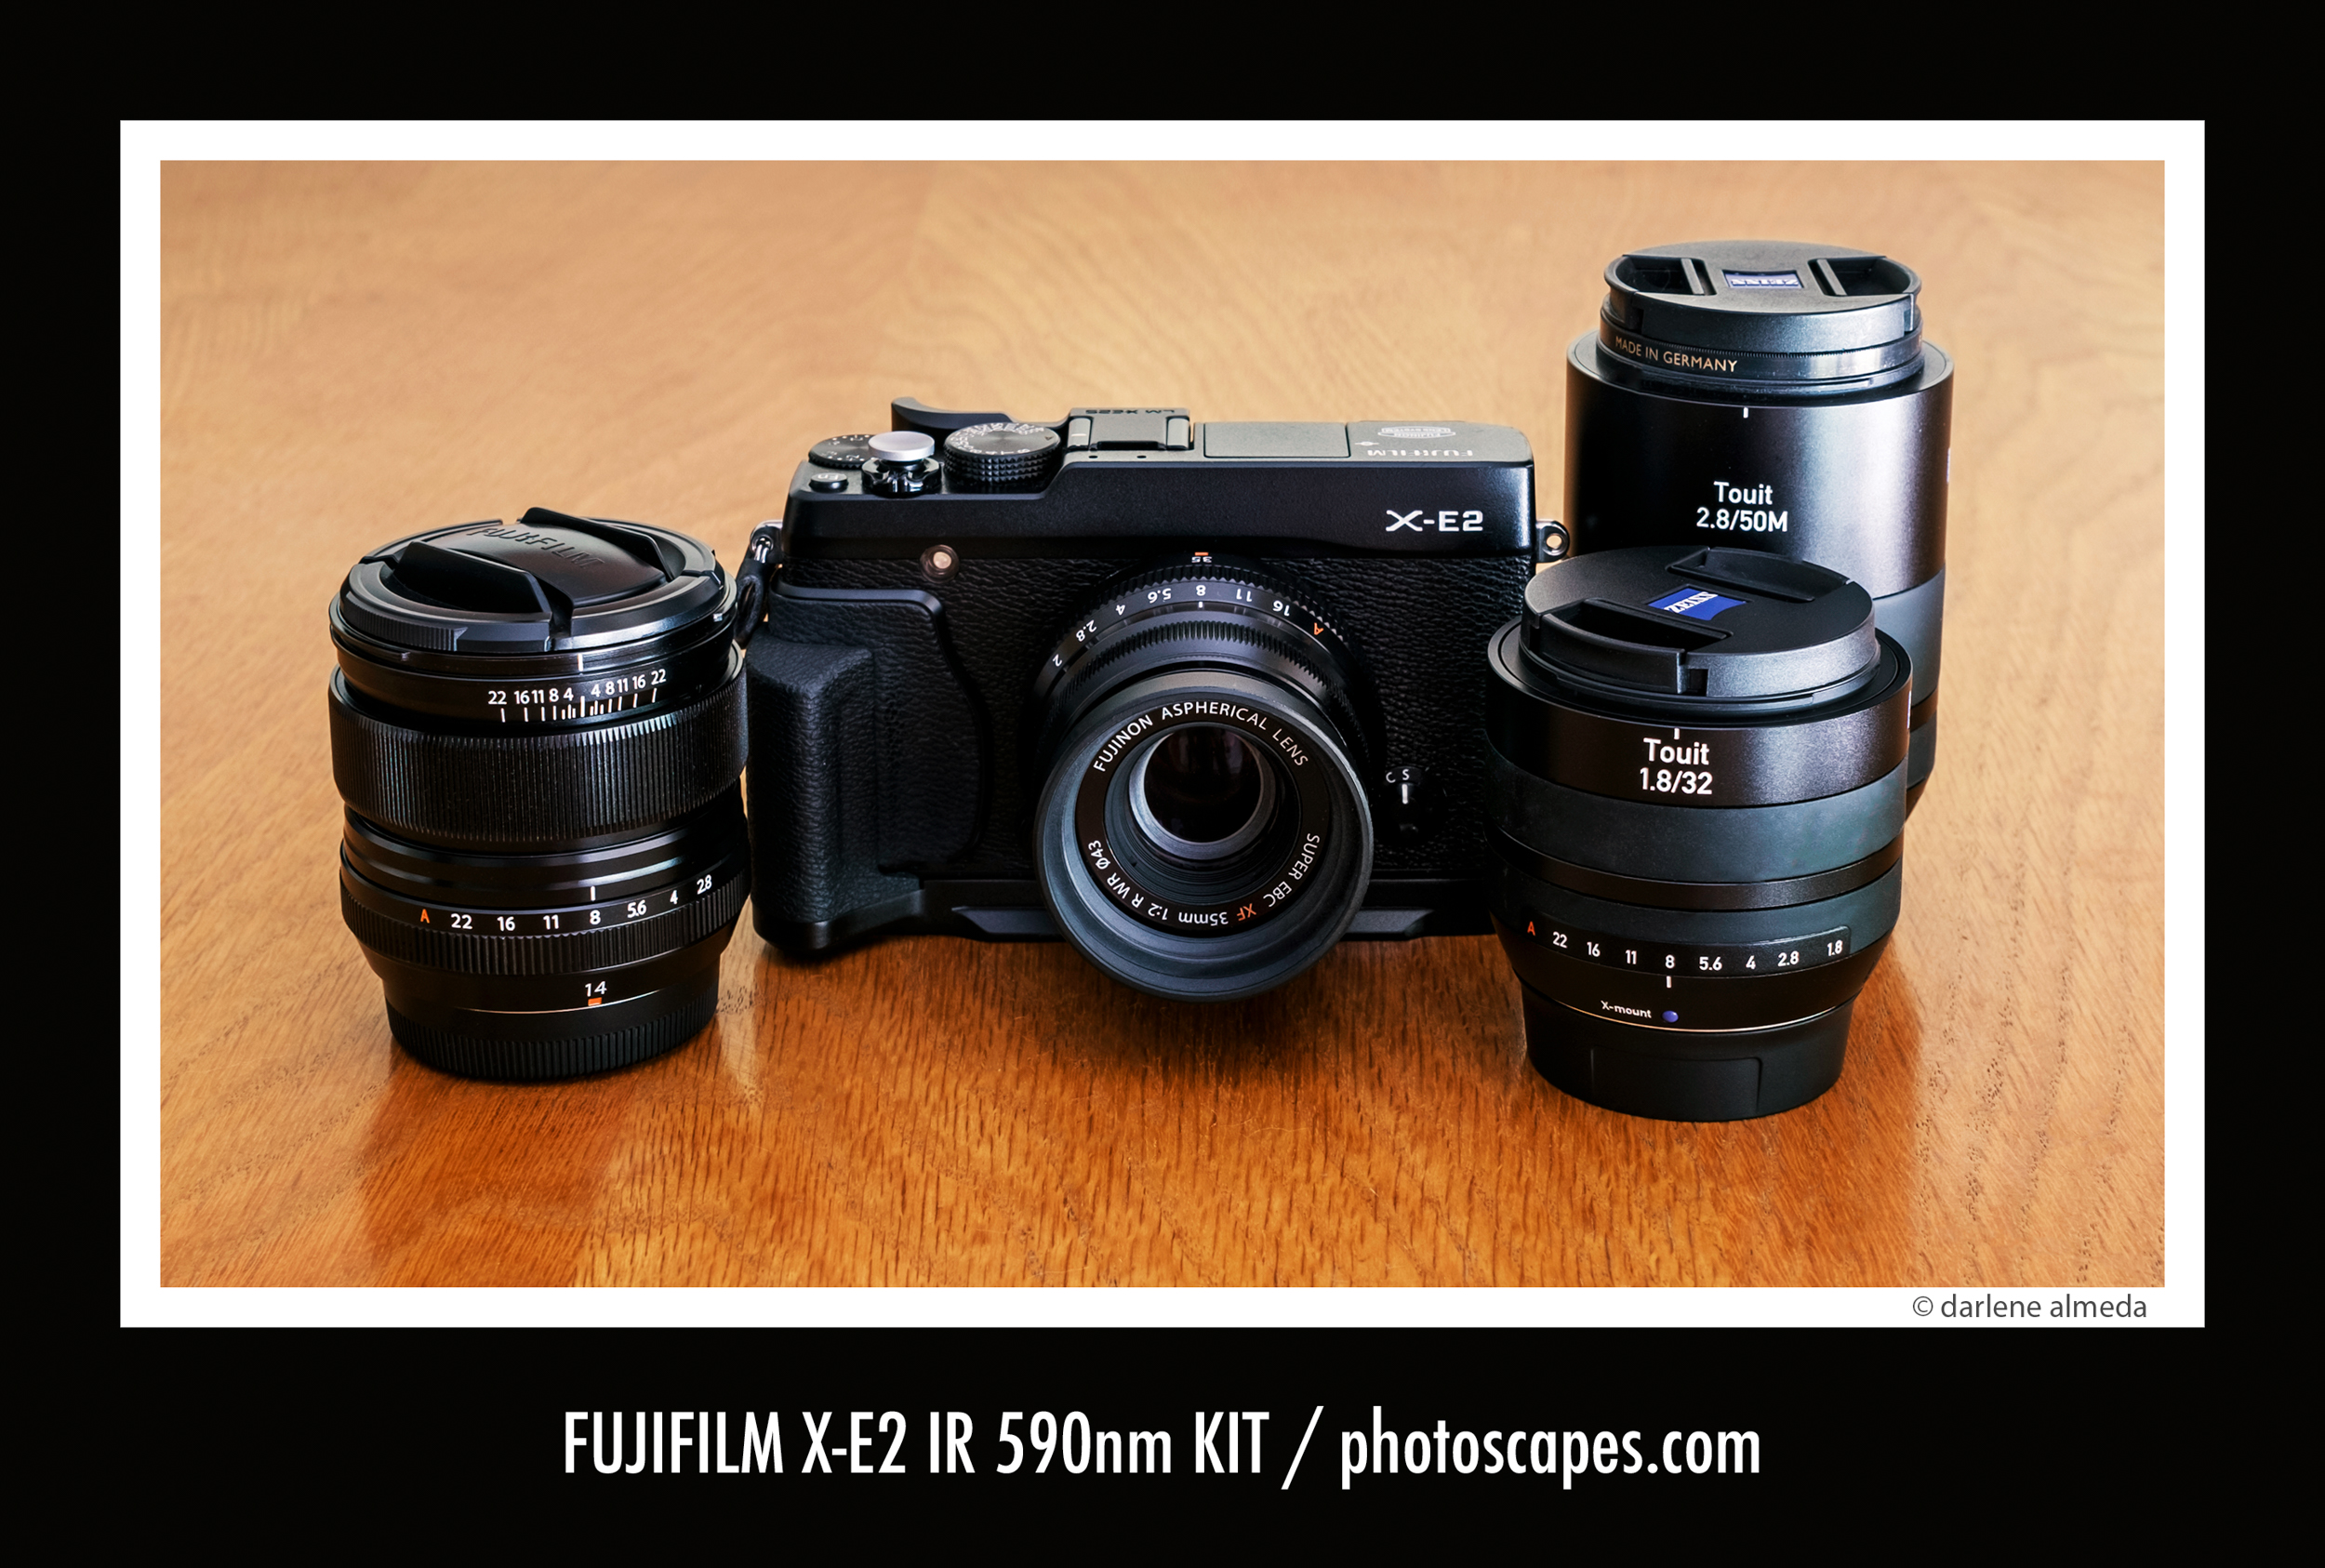
FUJIFILM XE-2 IR 590nm ] [ XF 14/2.8 & 35/2 ] [ Zeiss Touit 32/1.8 & 50M/2.8
Why I Chose the Fujifilm X-E2
I wanted a compact mirrorless body known to play nicely with IR and full-spectrum conversions. Shared batteries and lenses with my Fuji kit were a must for camper-van travel. The X-E2’s rangefinder style, EVF BW preview, and familiar ergonomics sealed it.
I found a mint X-E2 on the used market, sent it for conversion, and it quickly became my dedicated IR camera.
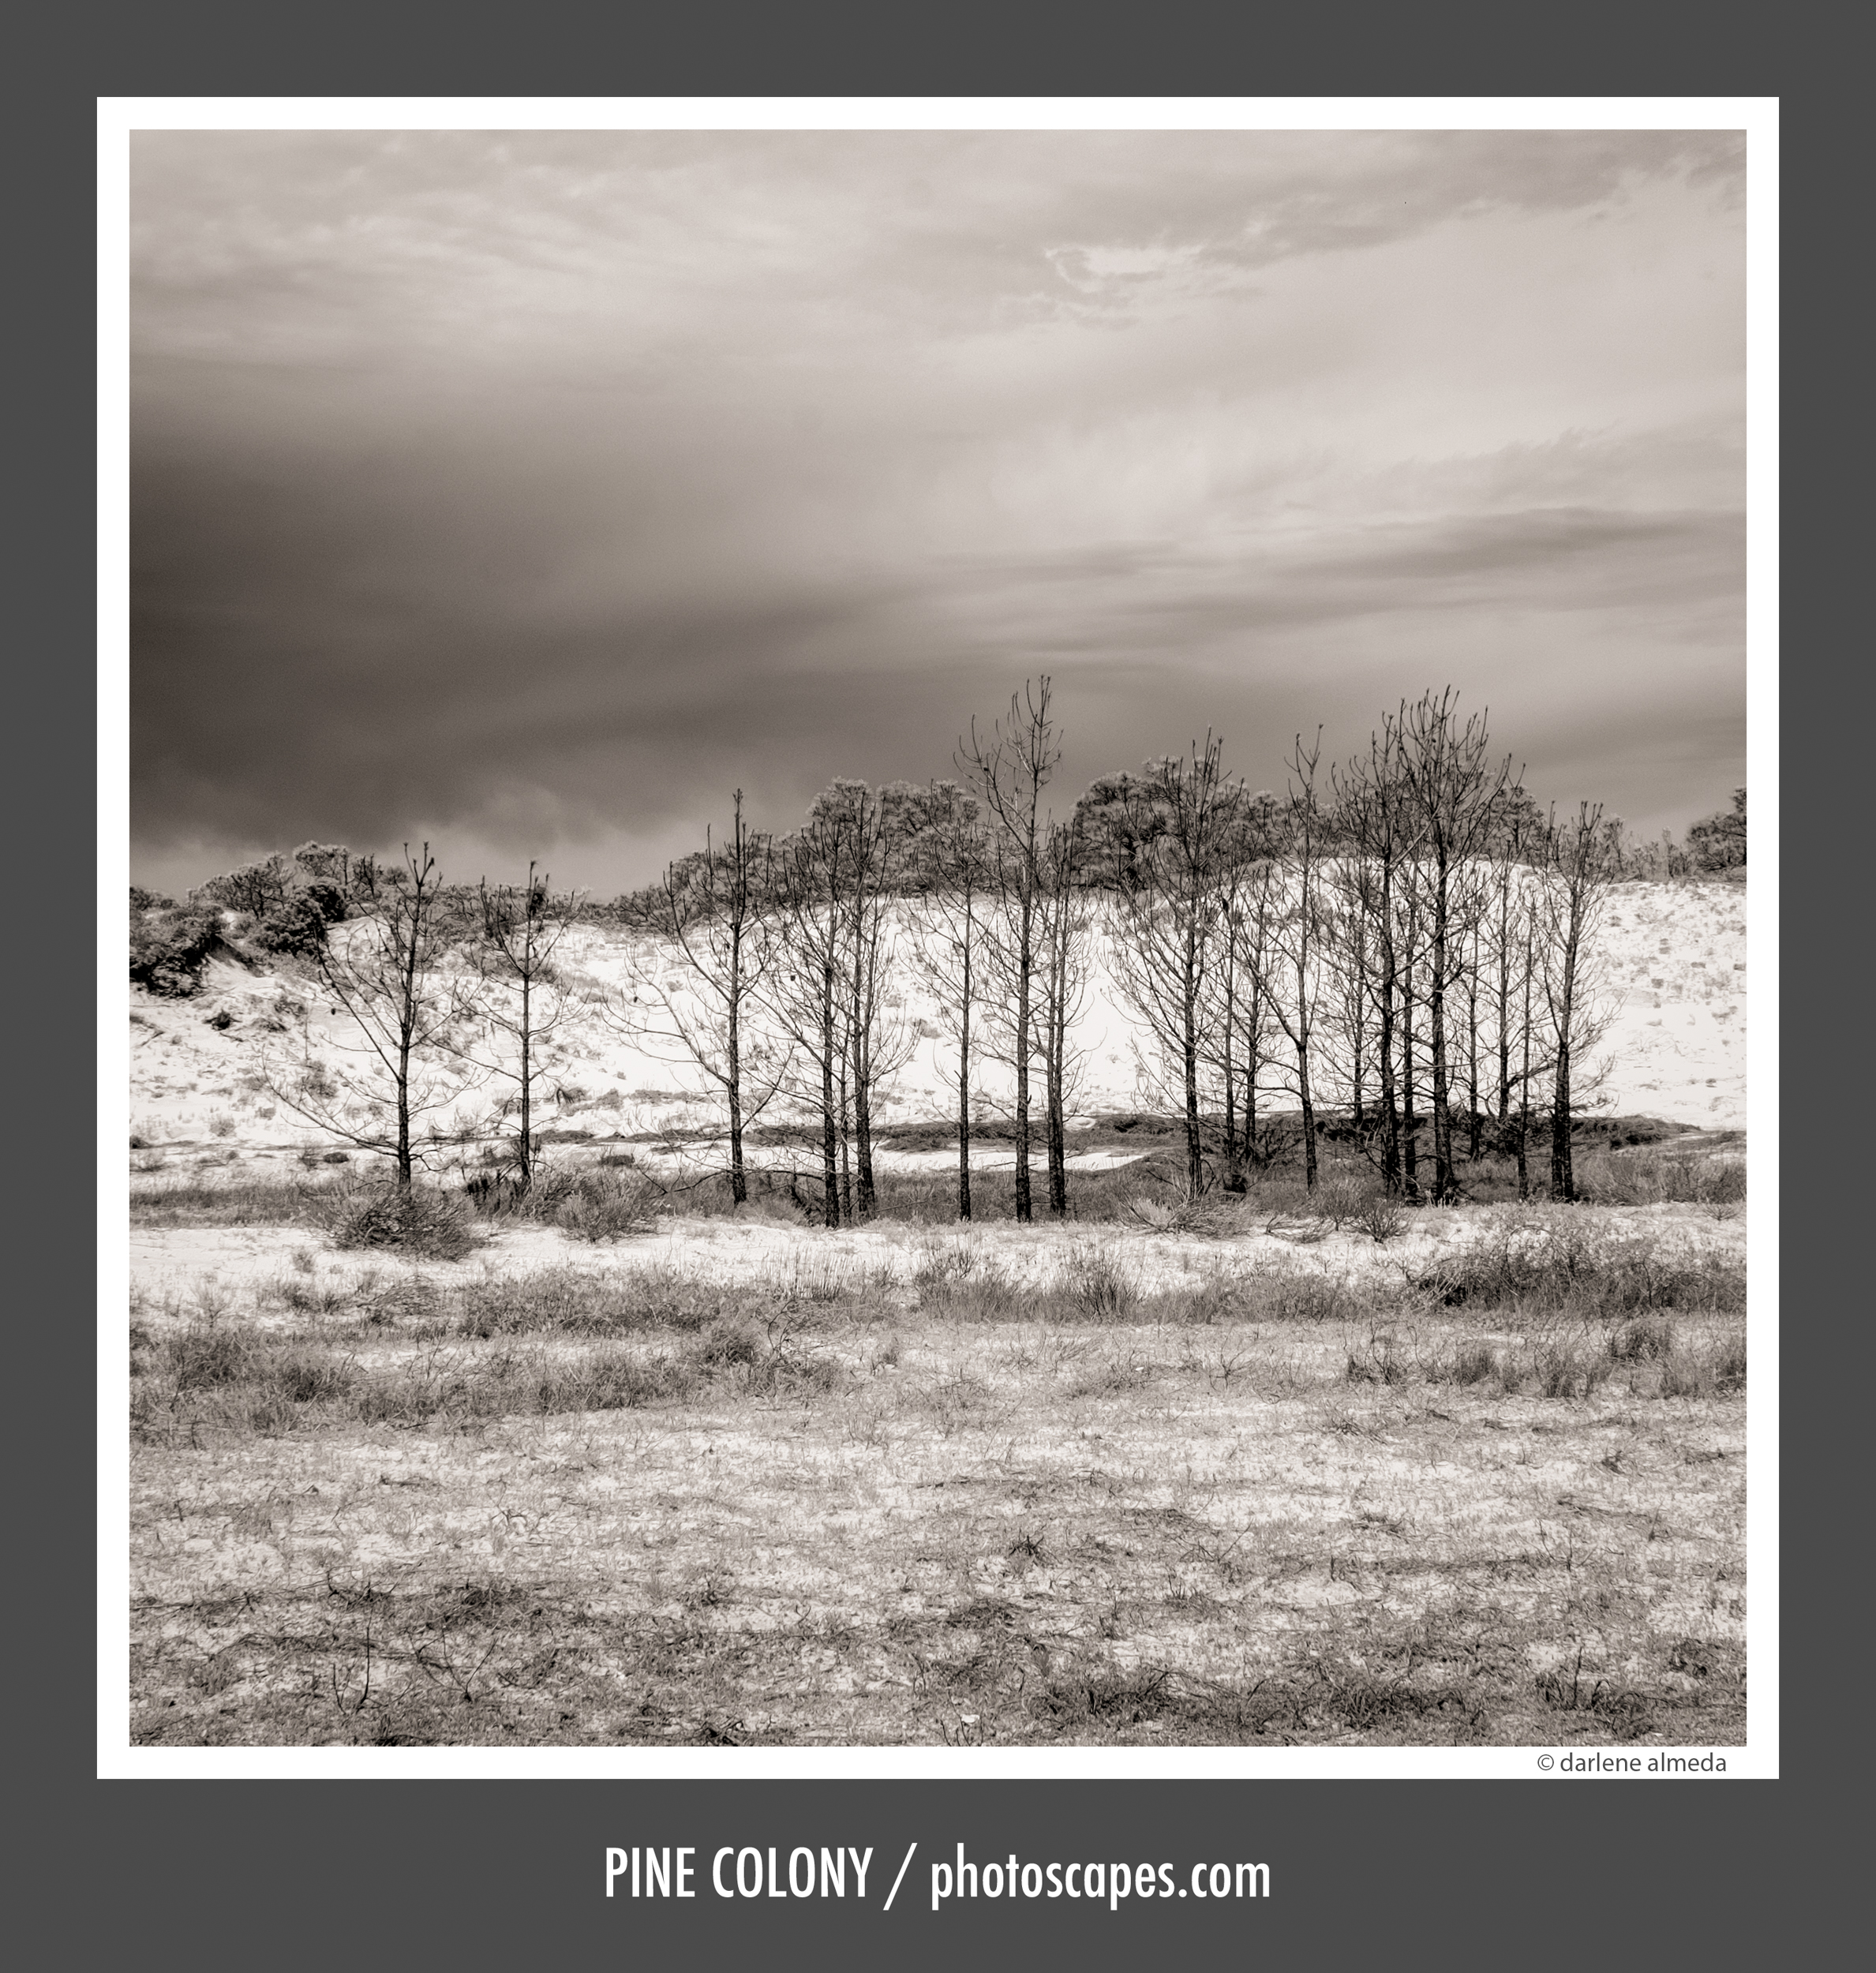
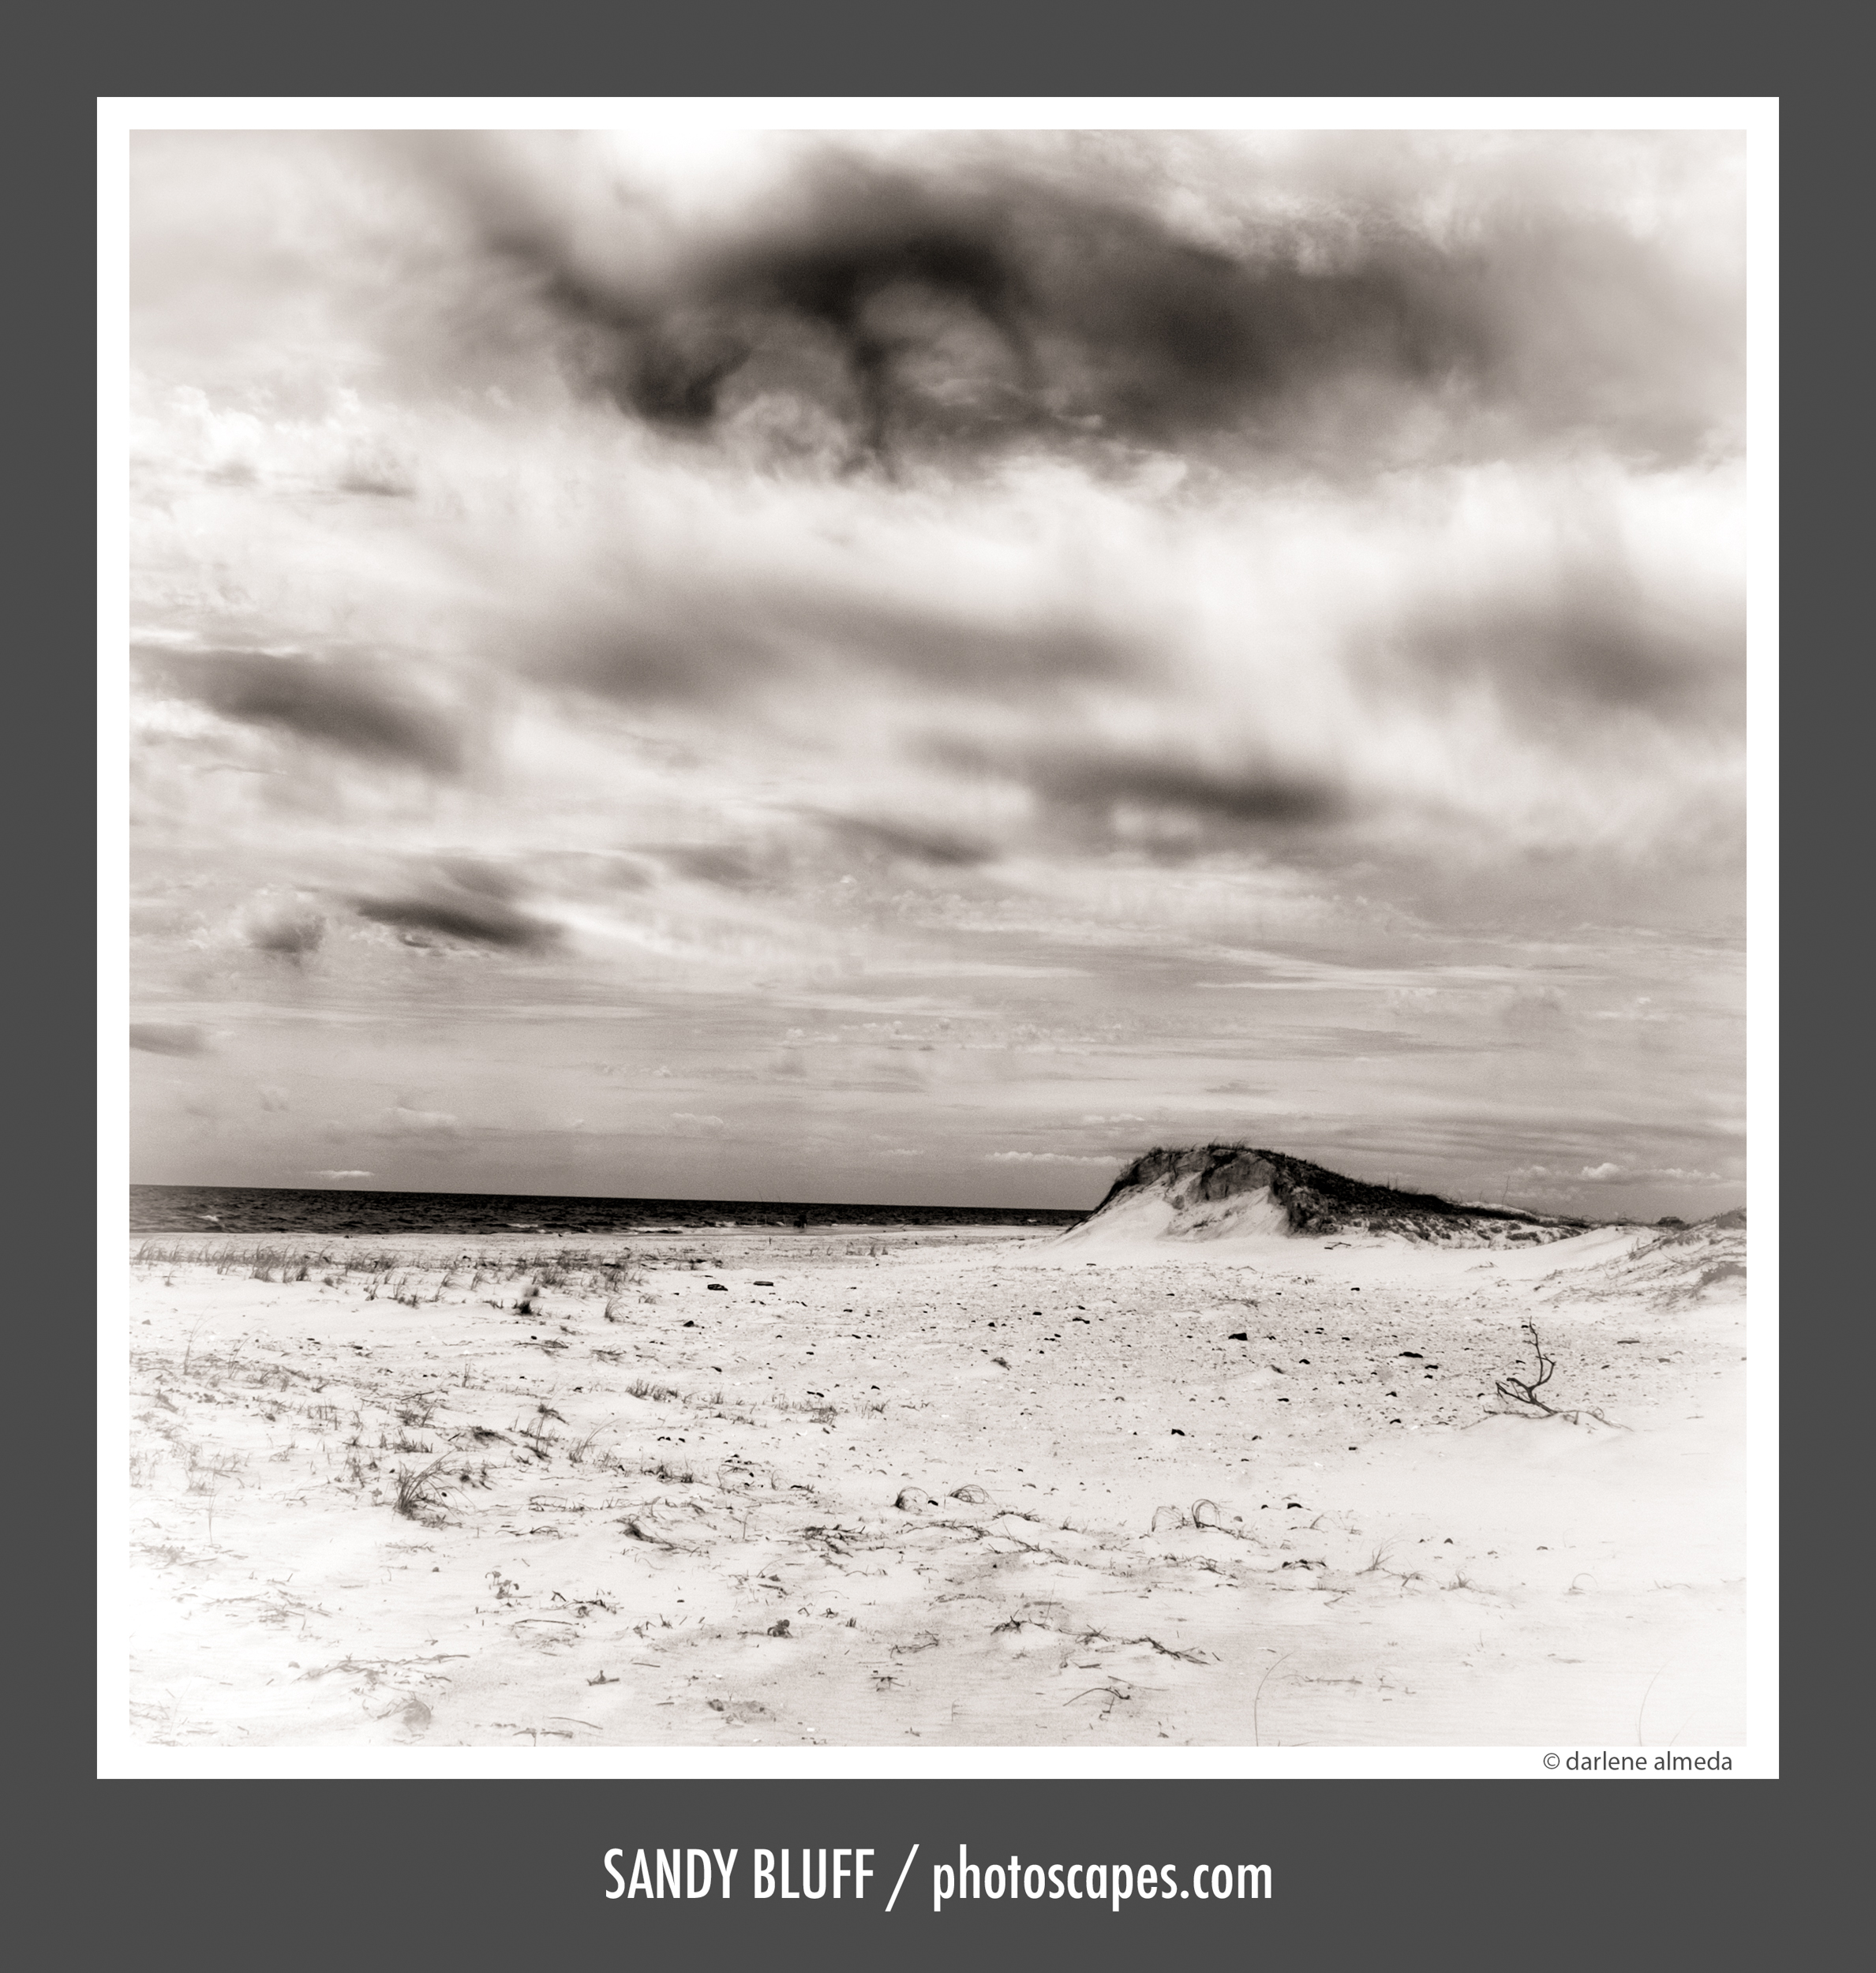
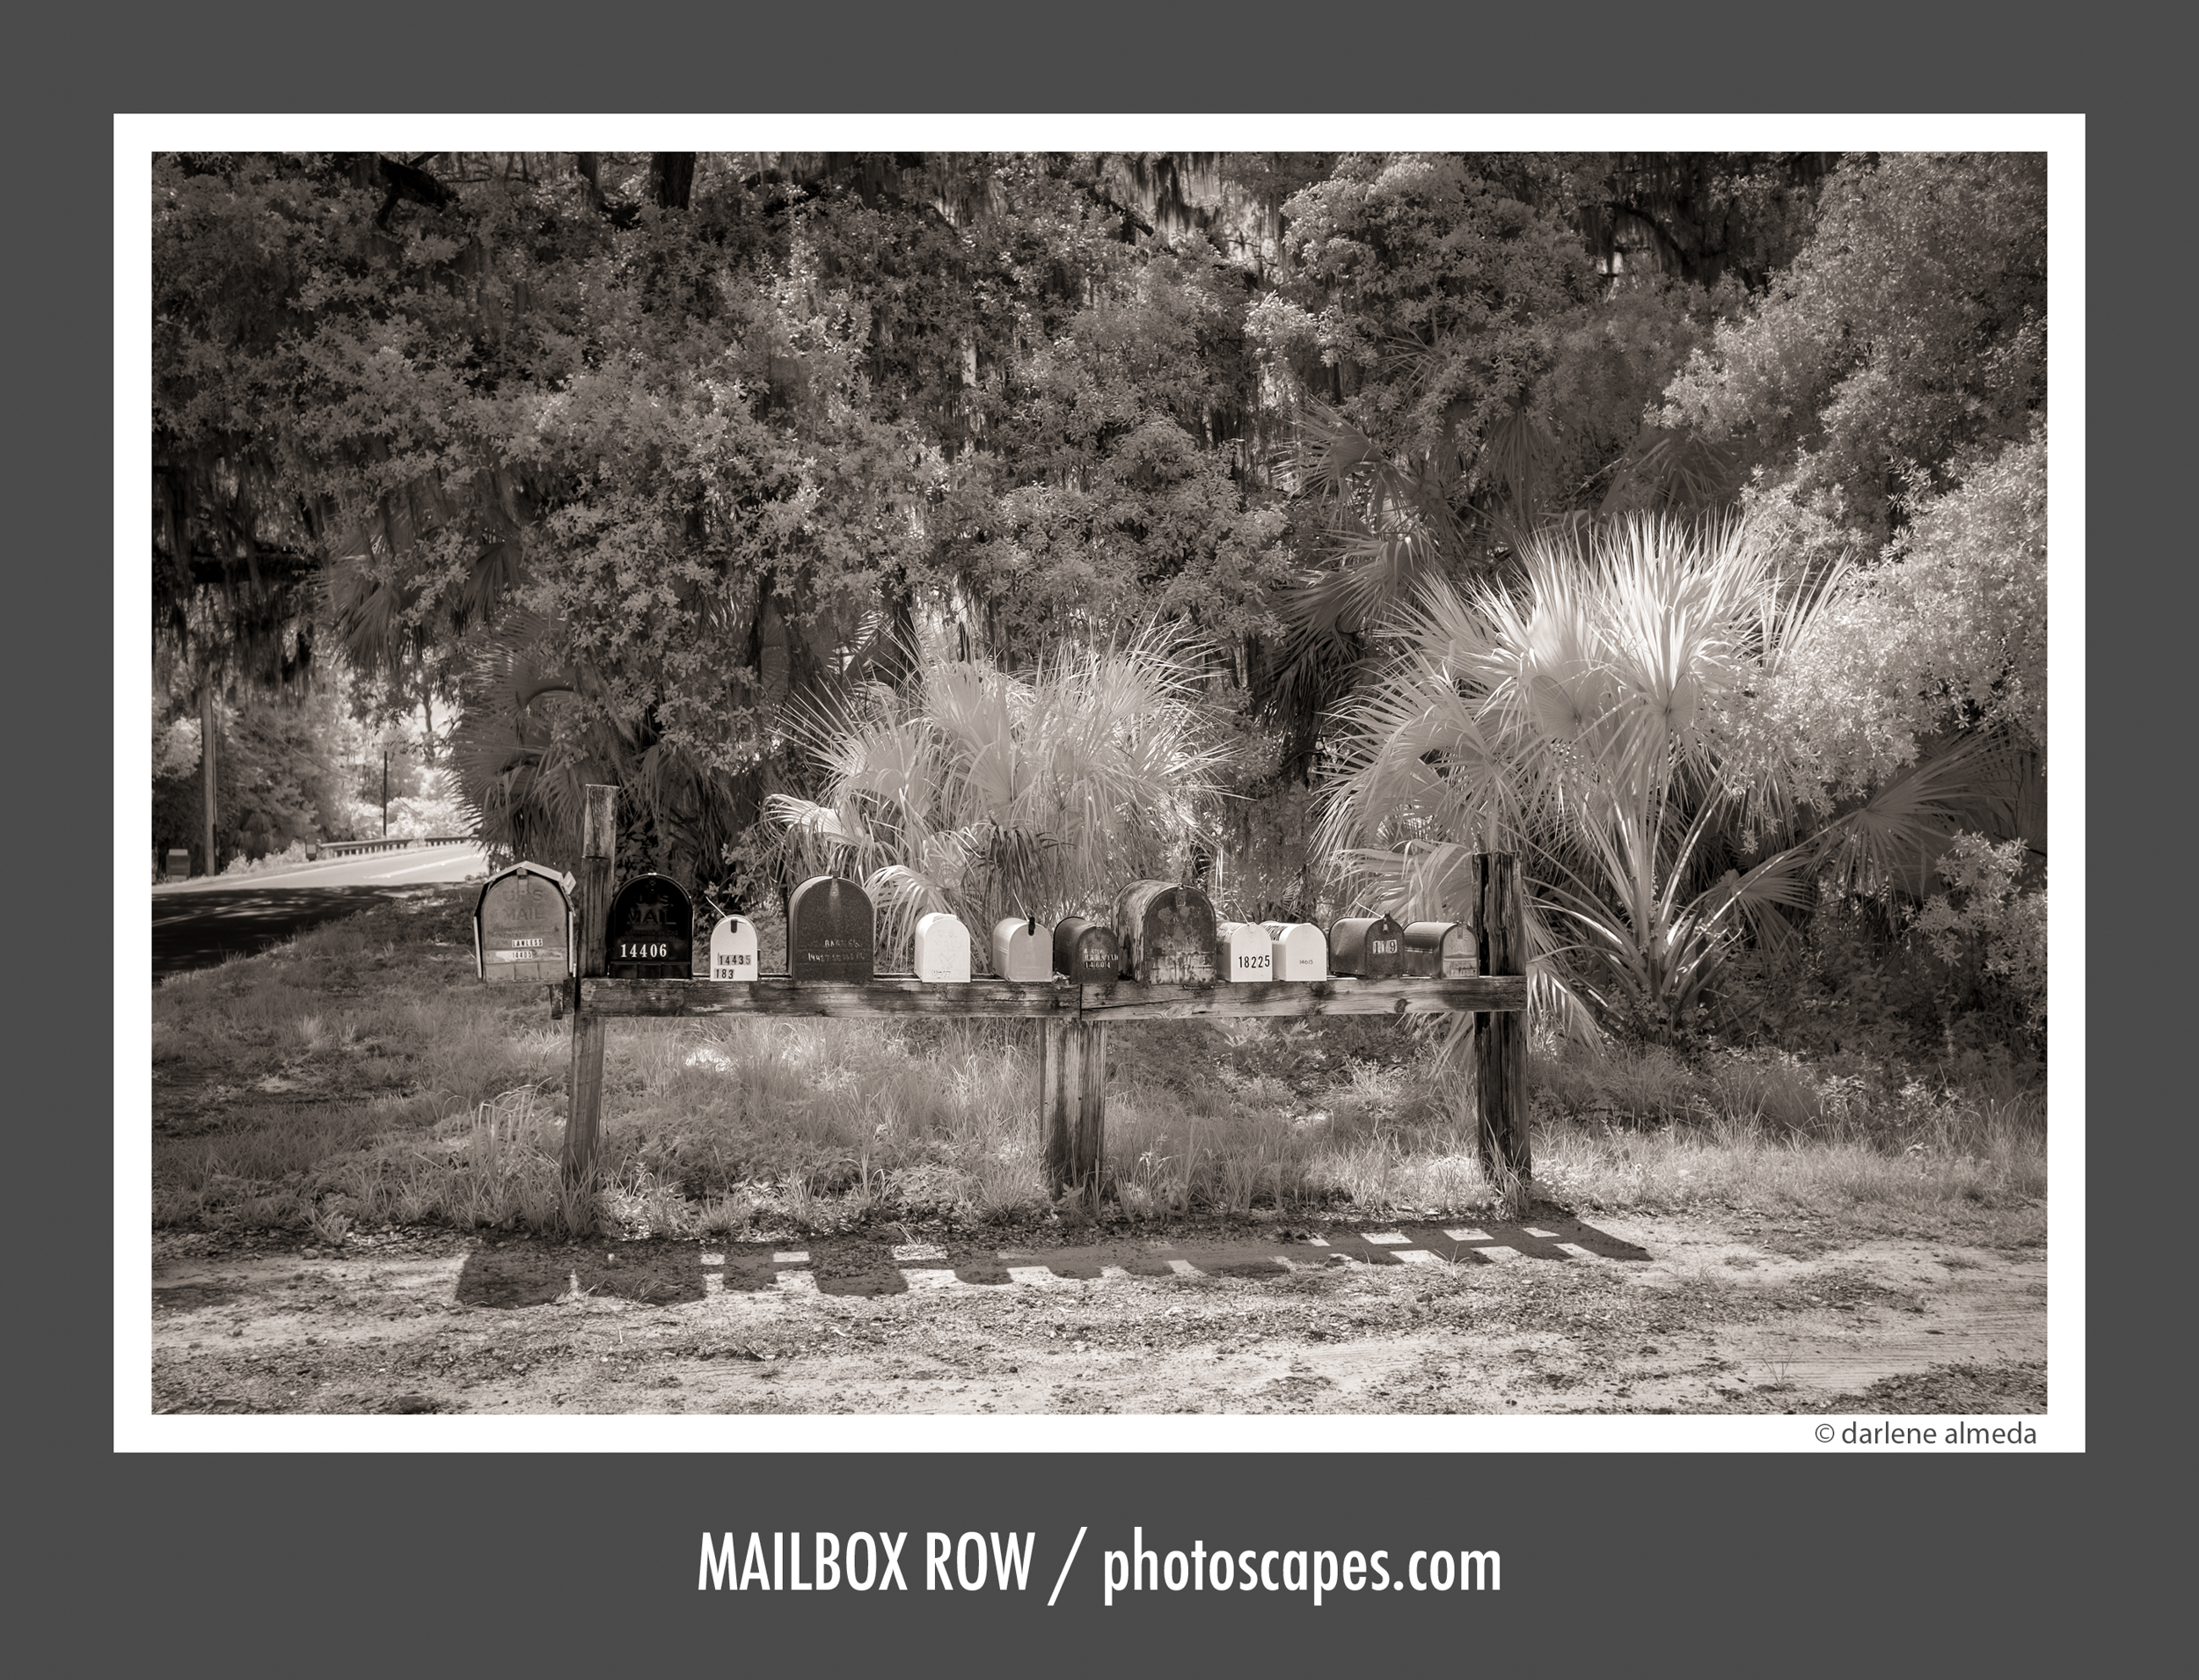
BLACK & WHITE IR IMAGES | Fuji XE-2 (IR 590nm)
IR Camera Conversion Process
A student’s results from LifePixel convinced me to convert the X-E2. Turnaround was about two weeks, cost roughly ~$300 with shipping/insurance, and the camera returned spotless. I’ve had zero issues since.
Kolari Vision is another reputable choice. Both offer multiple filter strengths (590, 665, 720, 830nm) and full-spectrum options. I chose Super Color IR 590nm for flexibility and monochrome tonality.
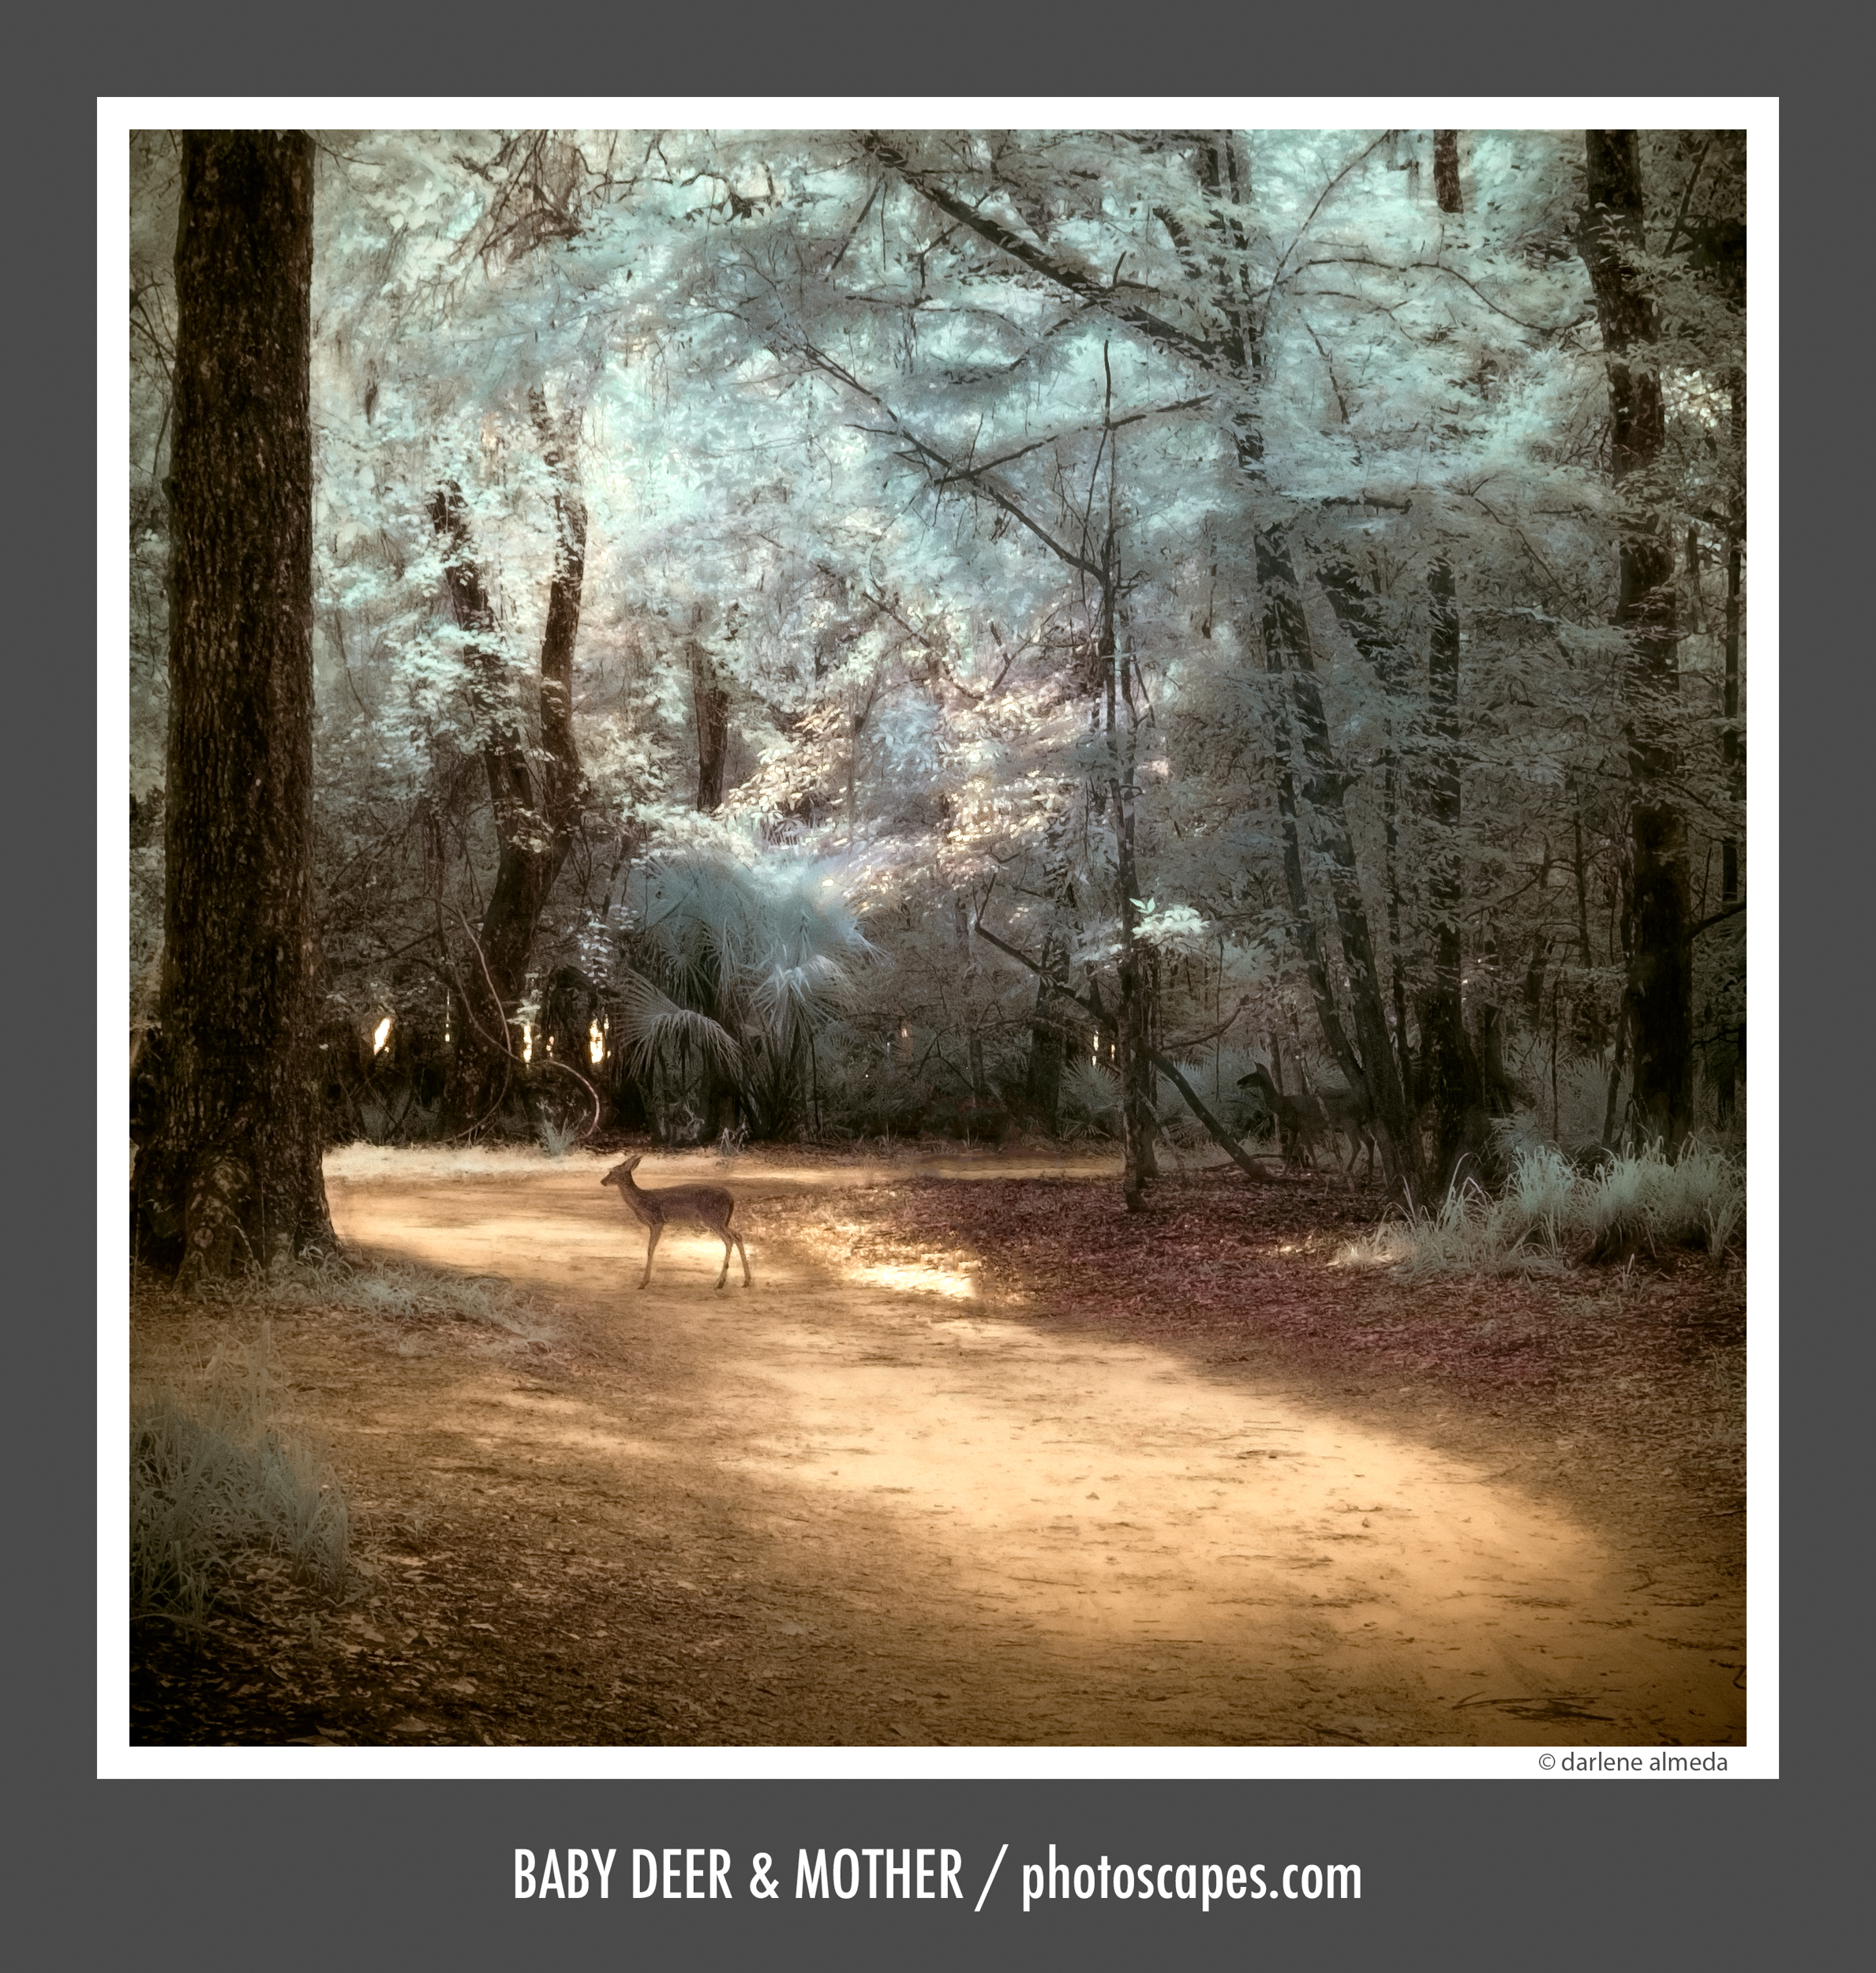
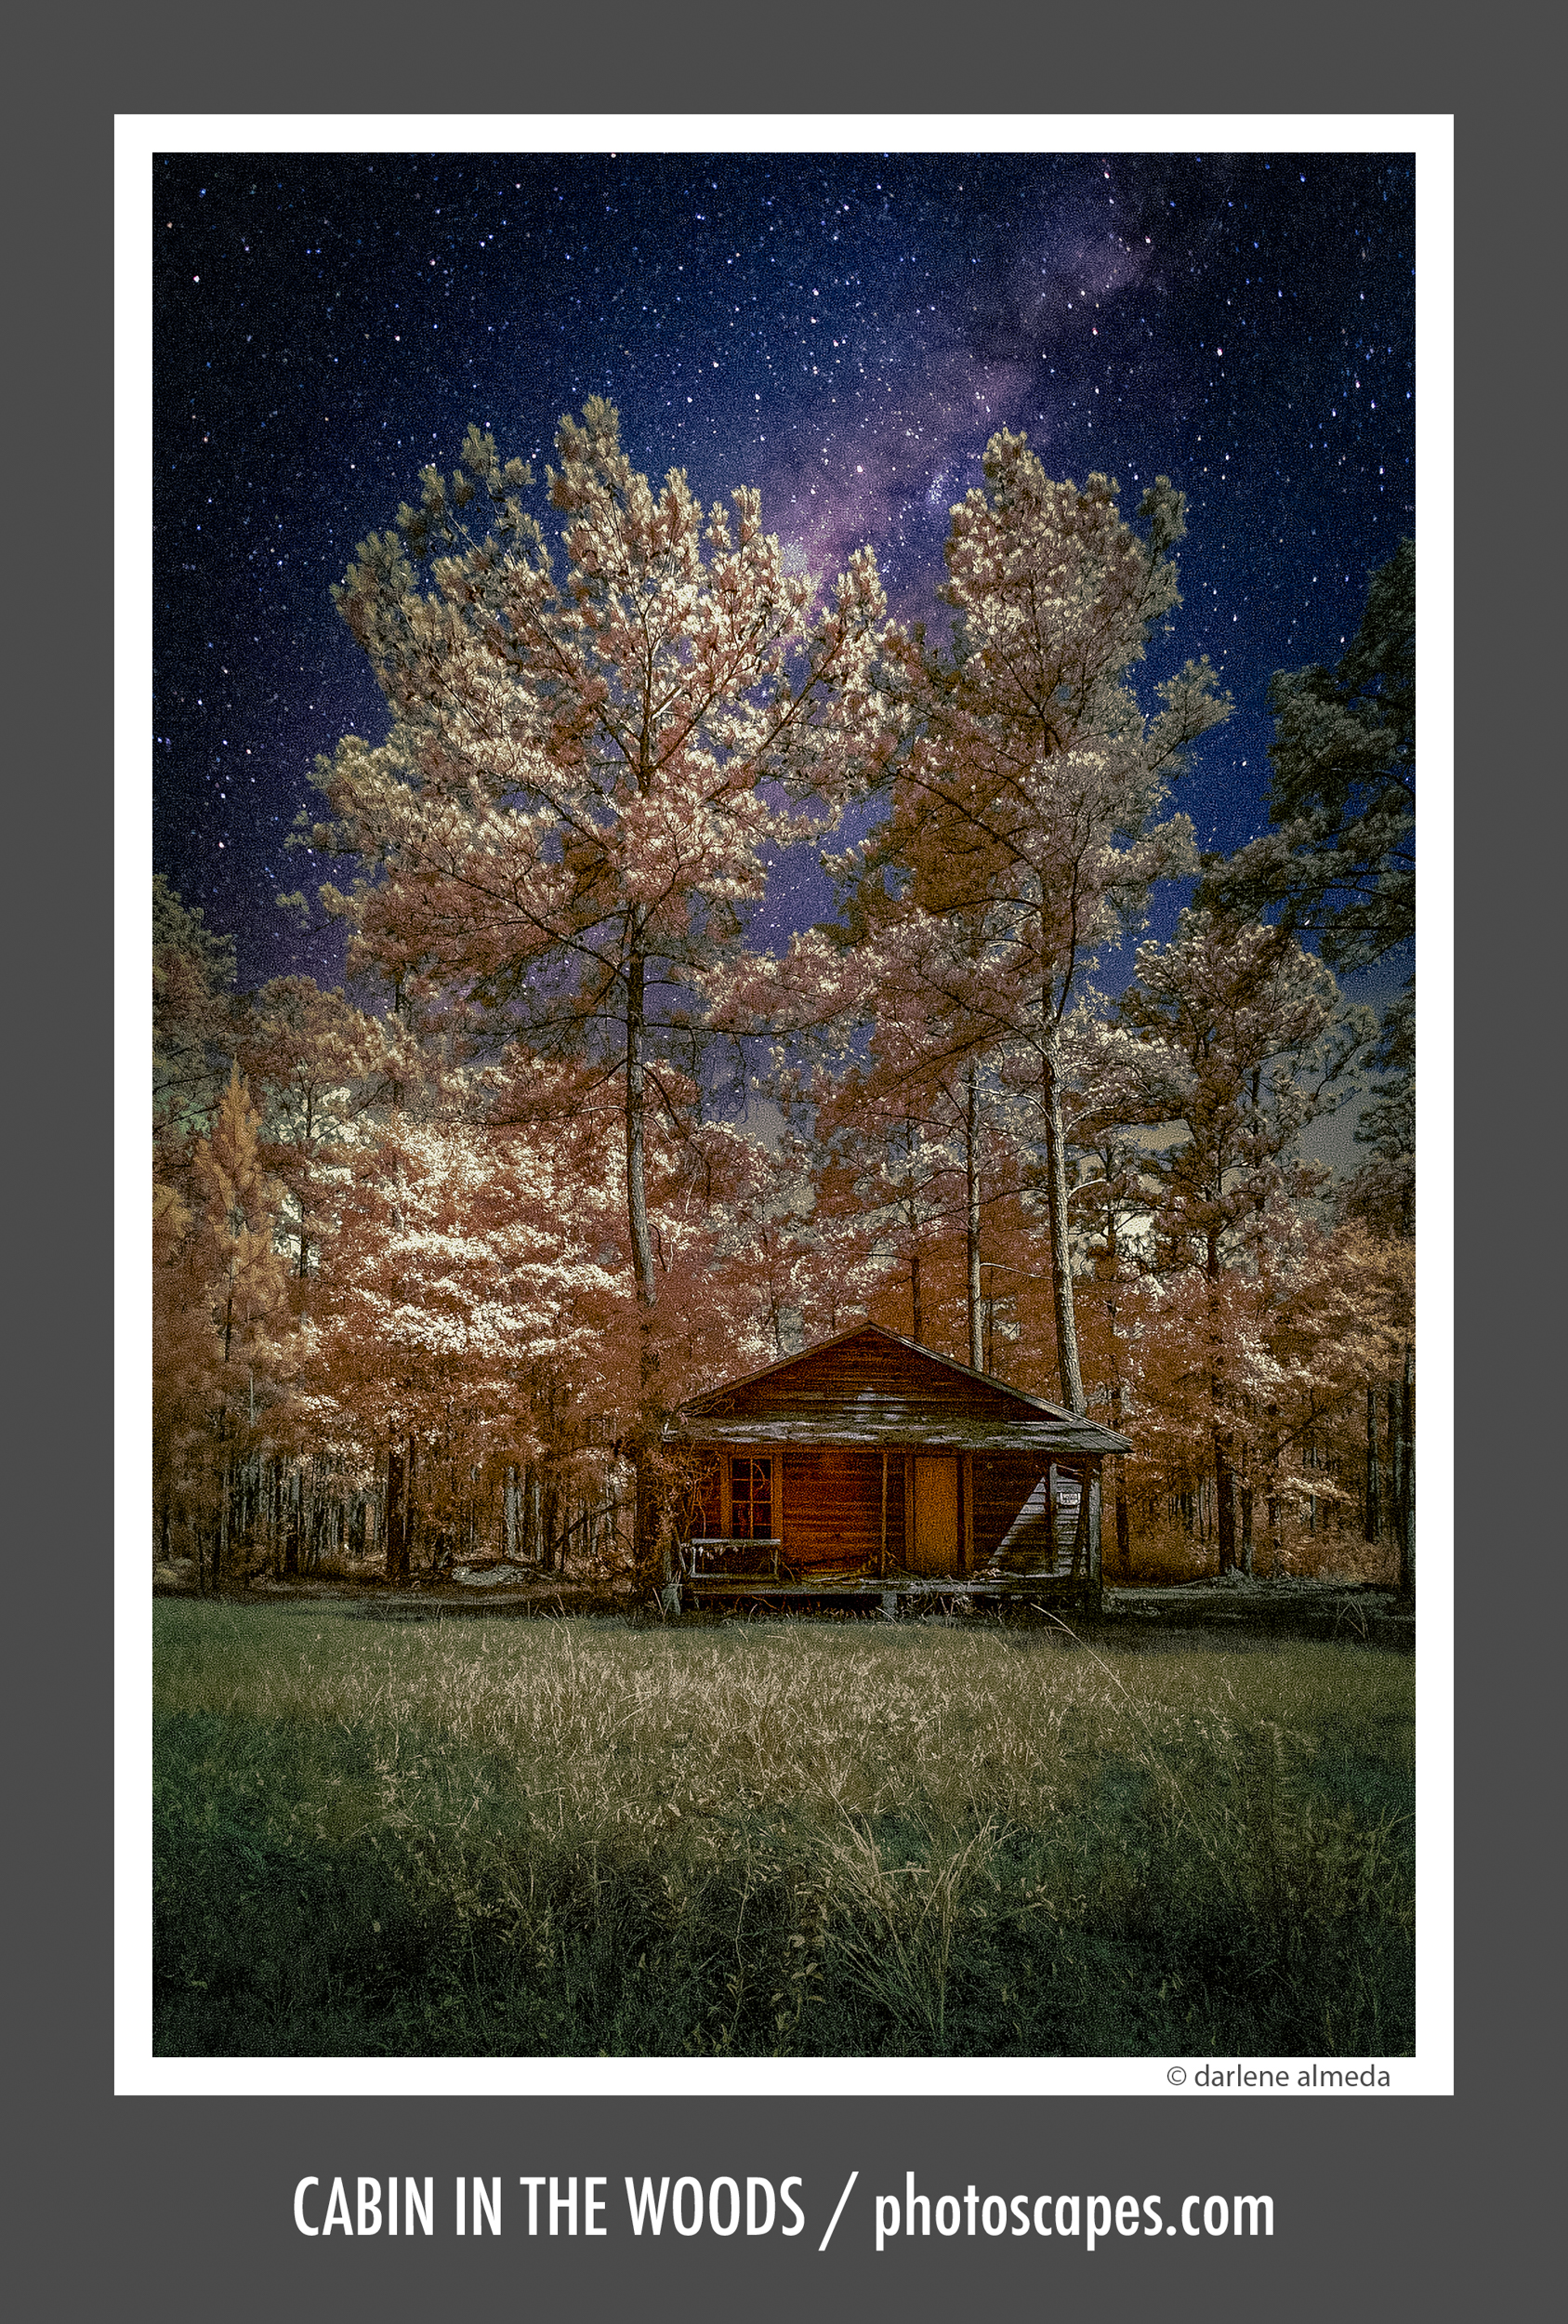
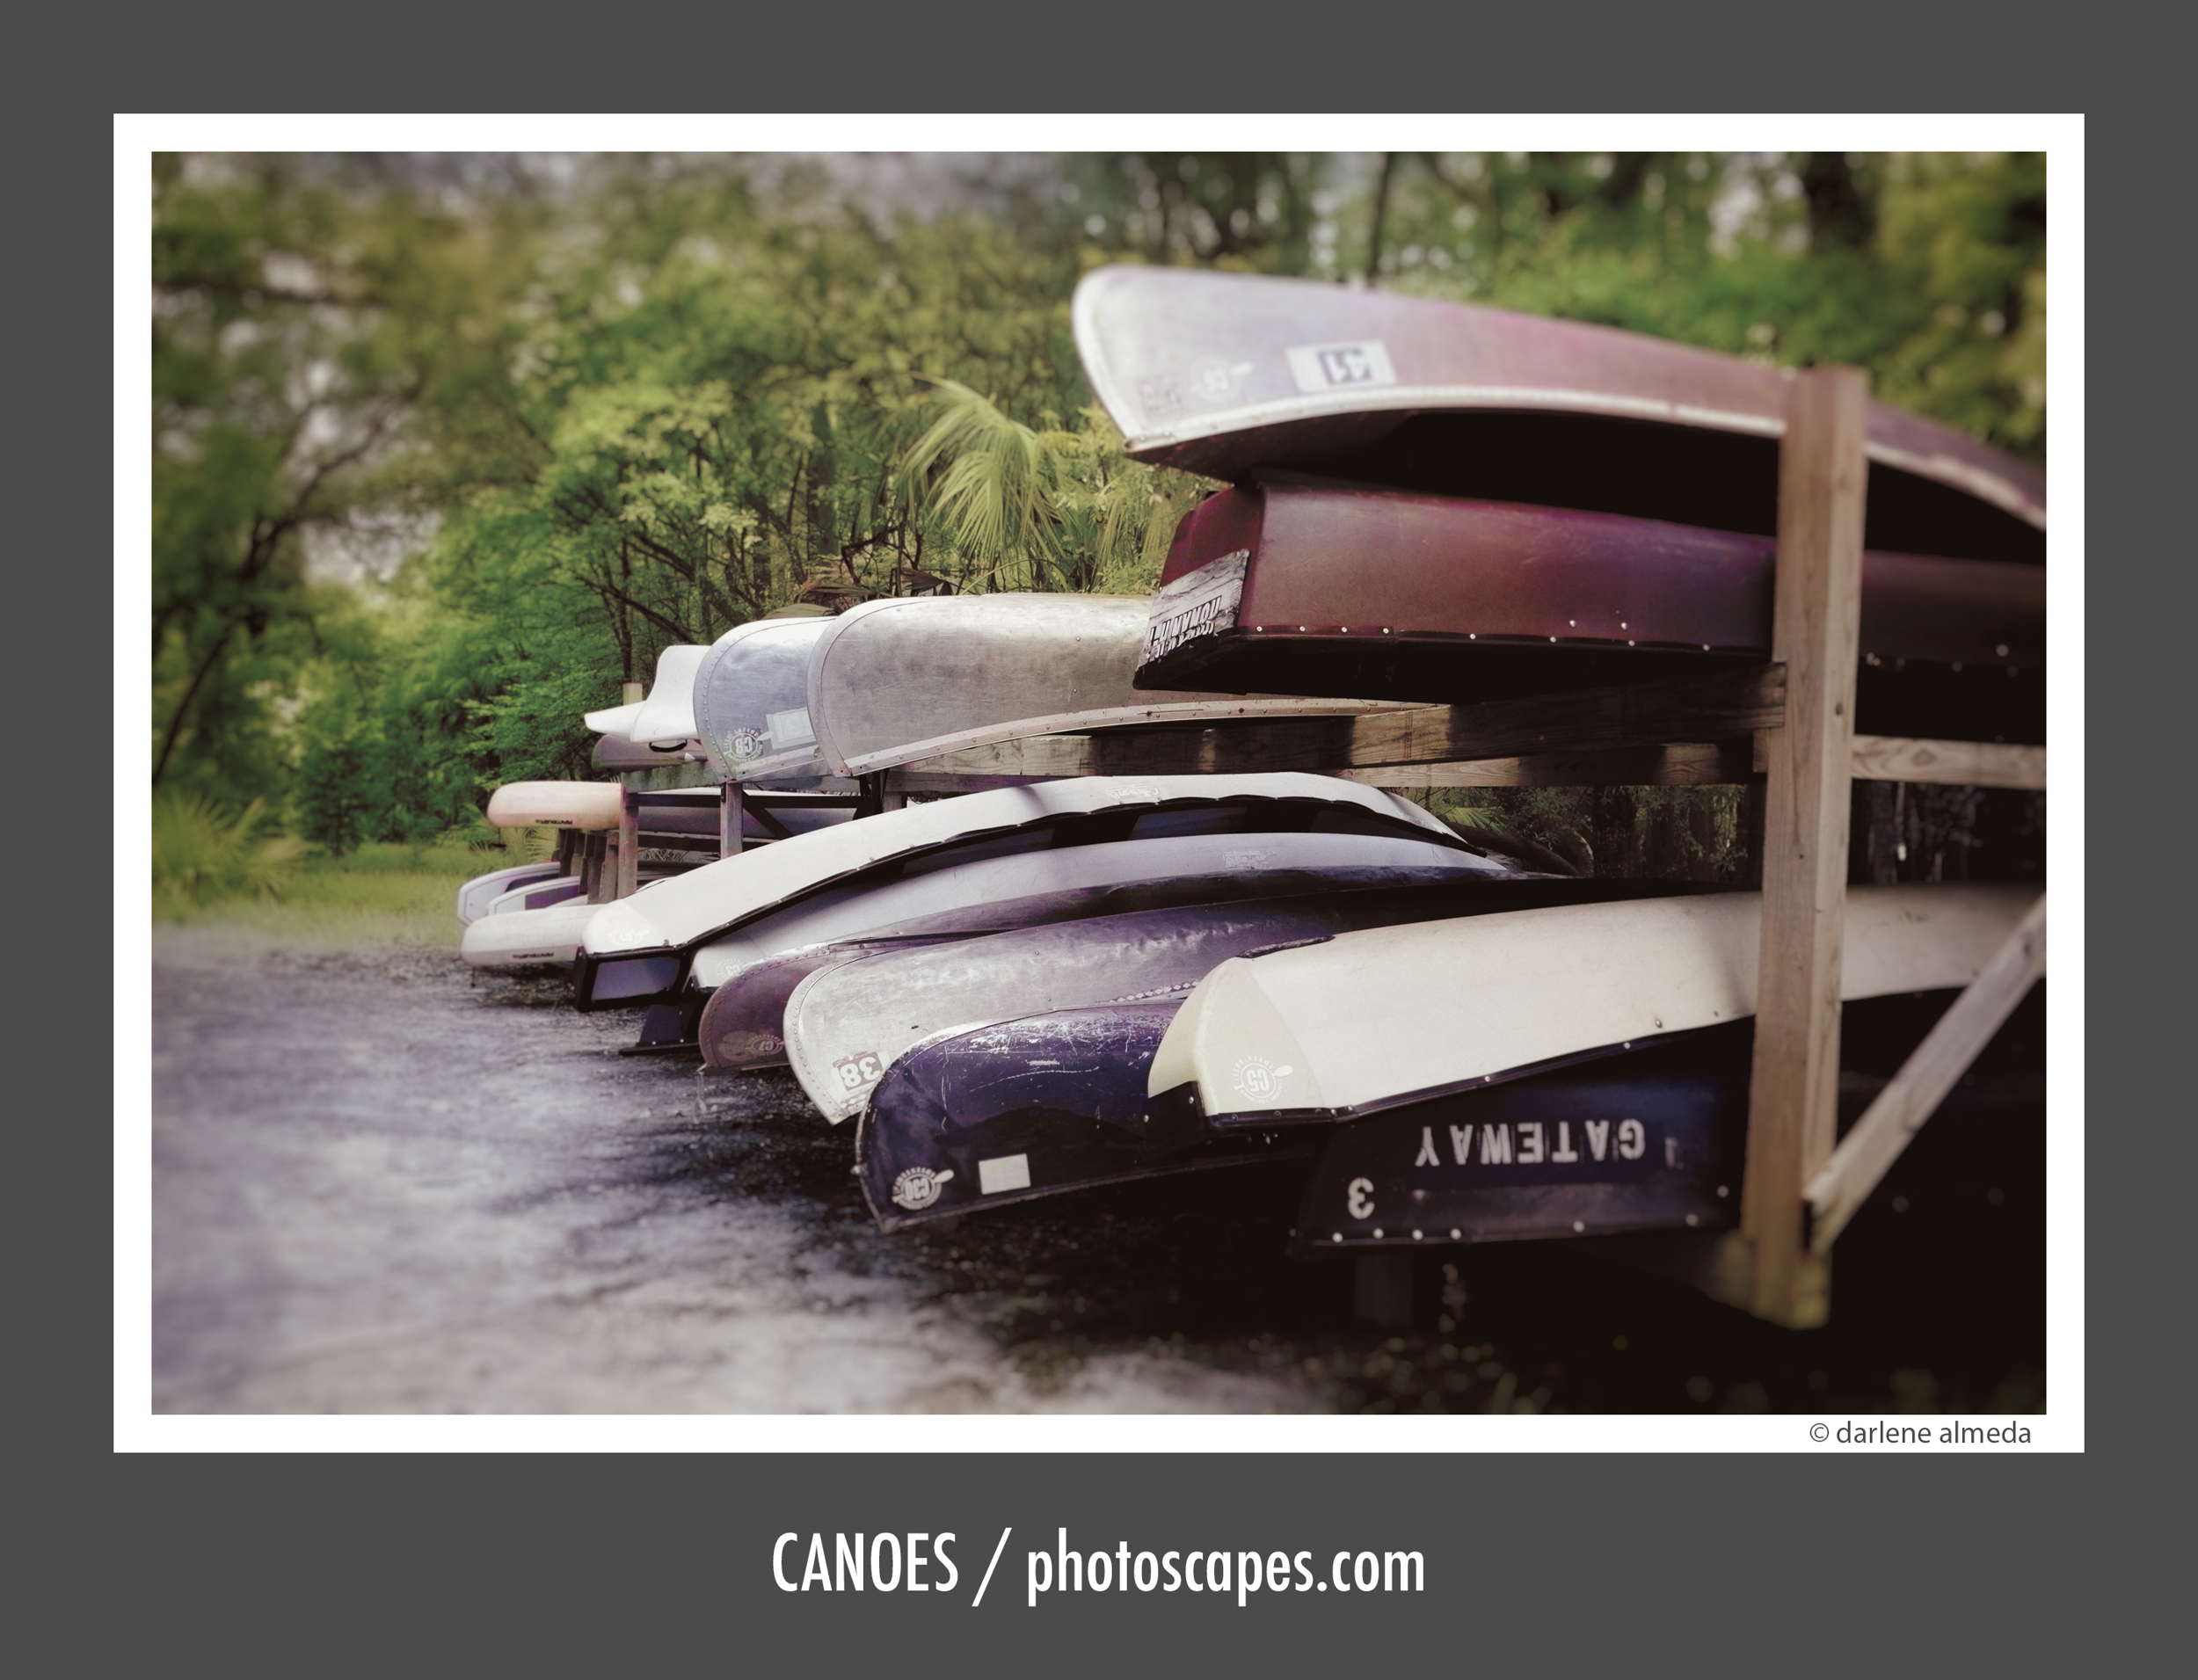
COLOR IR IMAGES | Fuji XE-2 (IR 590nm)
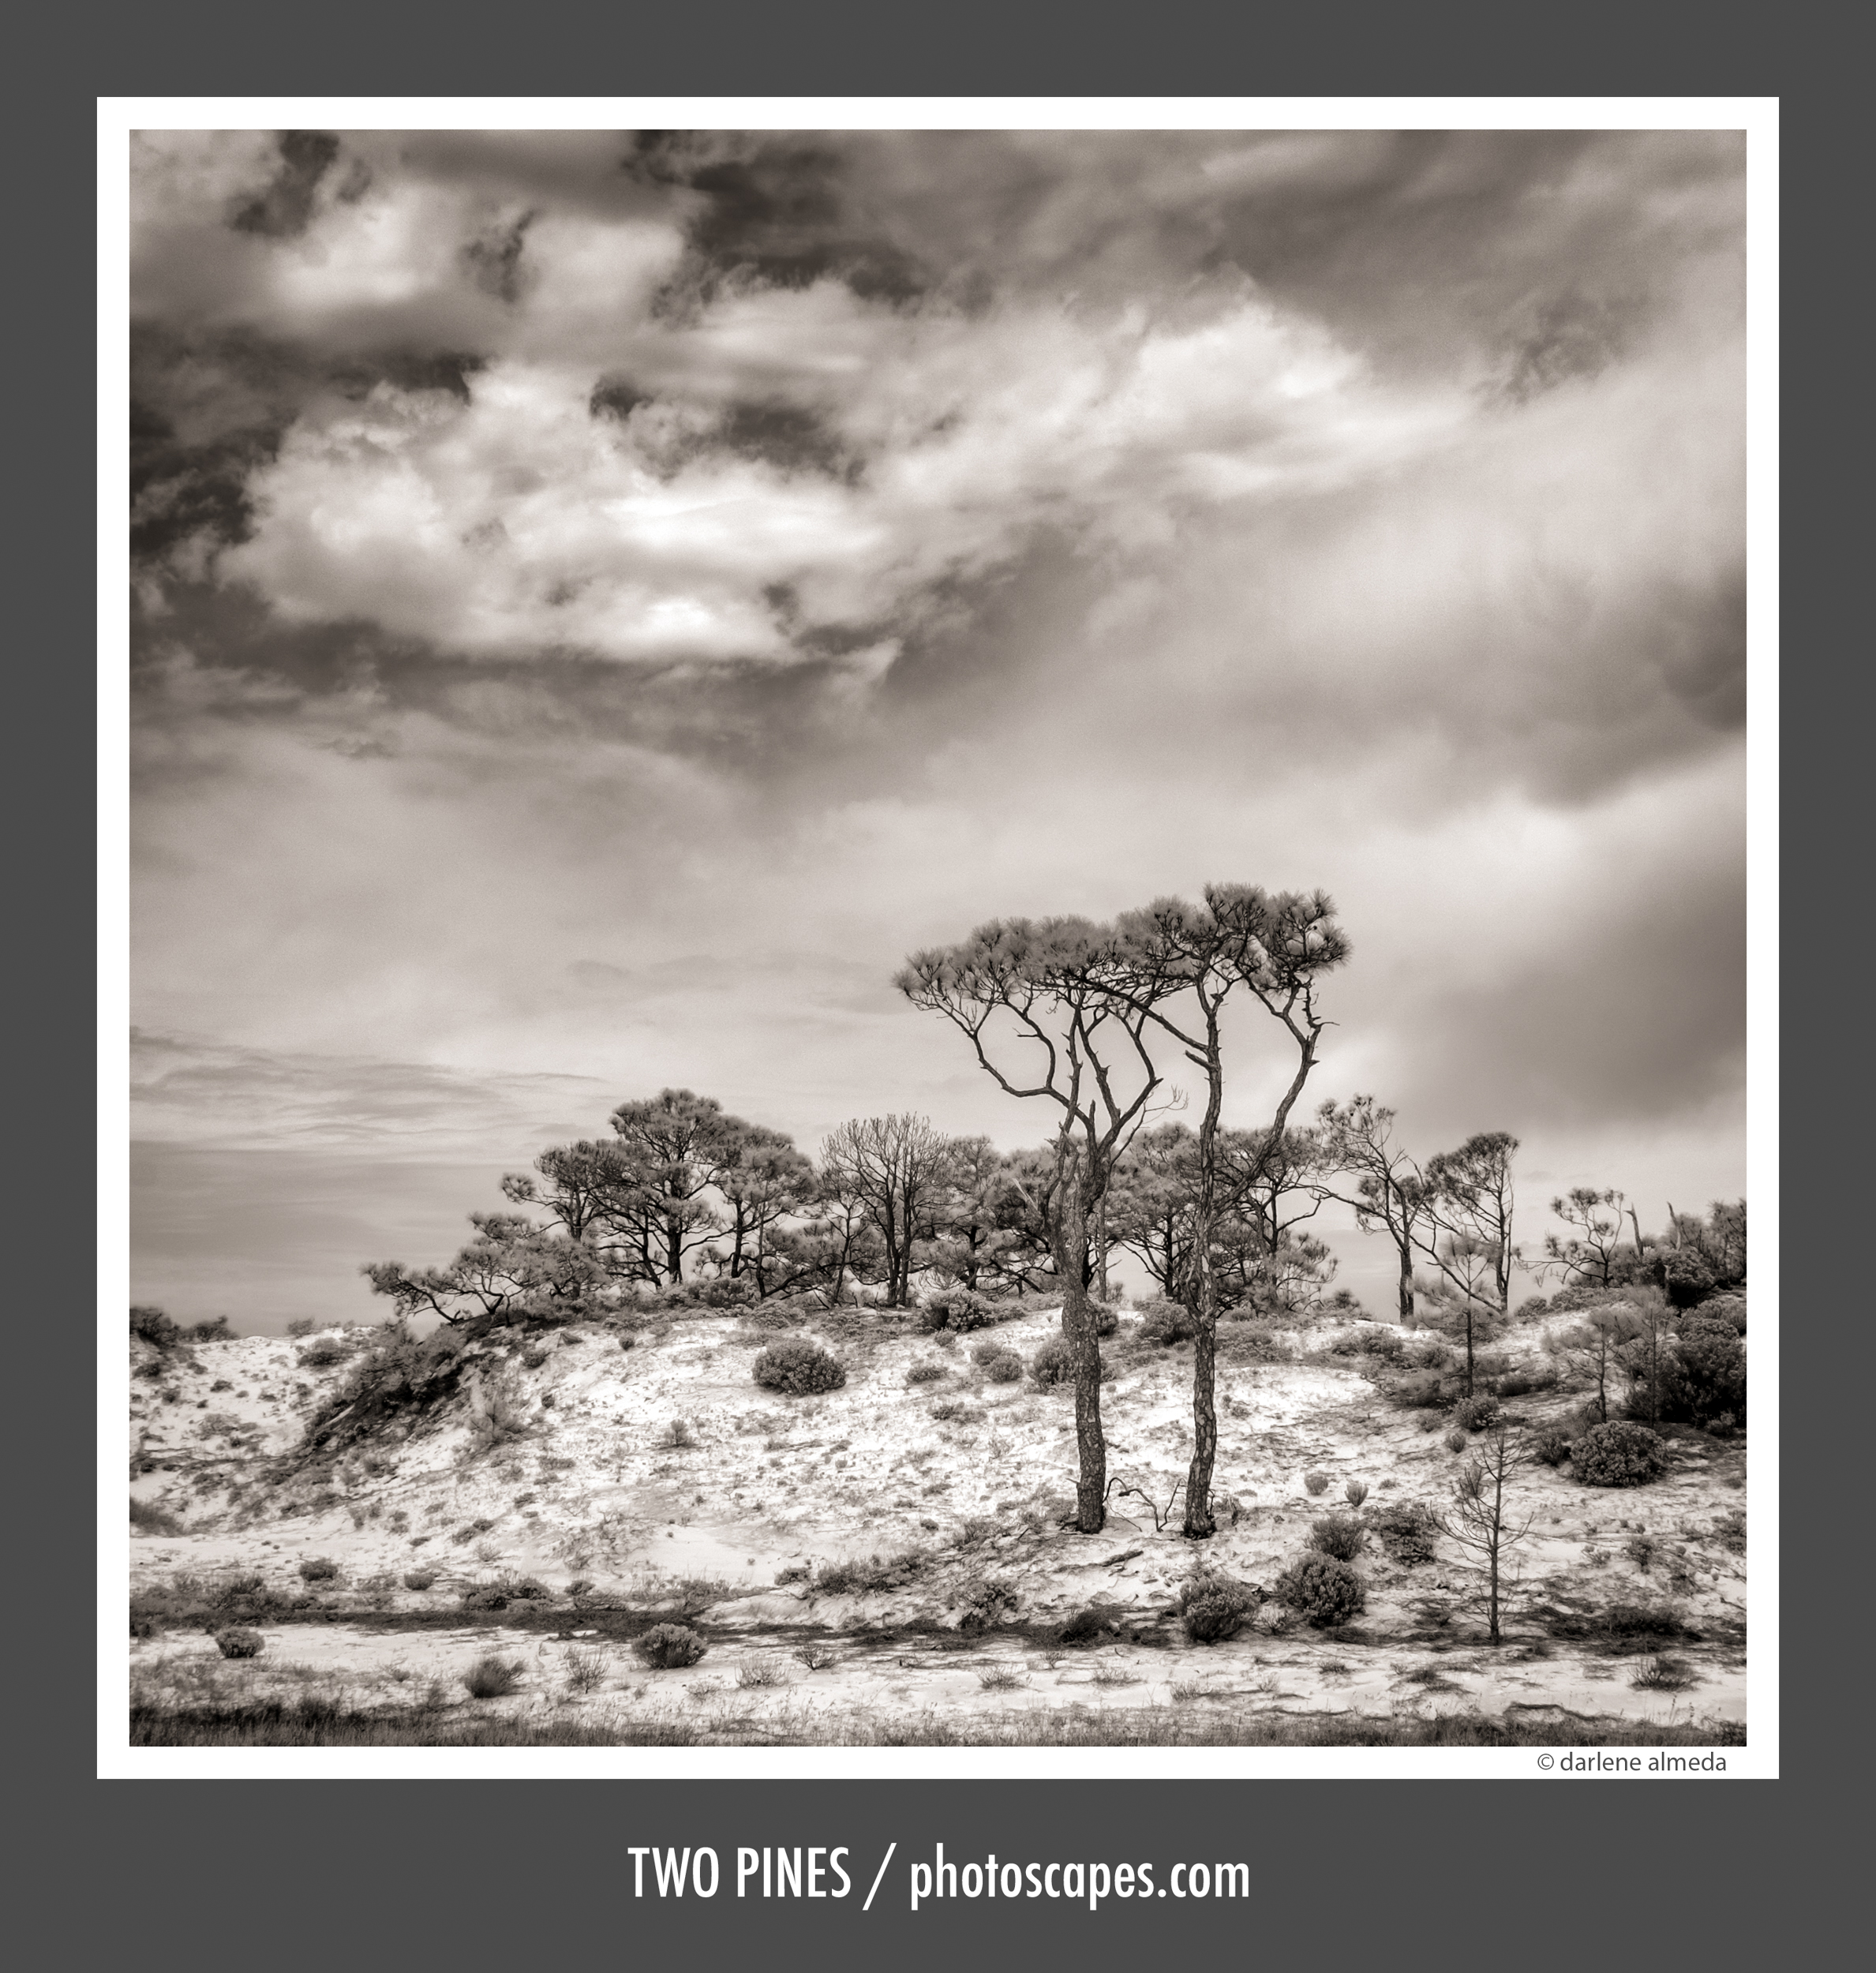
TWO PINES | Fujifilm X-E2 (IR 590nm) + Zeiss 32/1.8
Filter Options
Think of 590nm like using color filters in BW film: it gives you material to shape contrast later. If you prefer straight BW IR with less post, consider 830nm. For maximum experimentation, Full Spectrum plus external filters covers UV → visible → IR, though it’s pricier and more complex.
My travel split is simple: X-Pro3/907x for color; X-E2 (590nm) for BW IR.
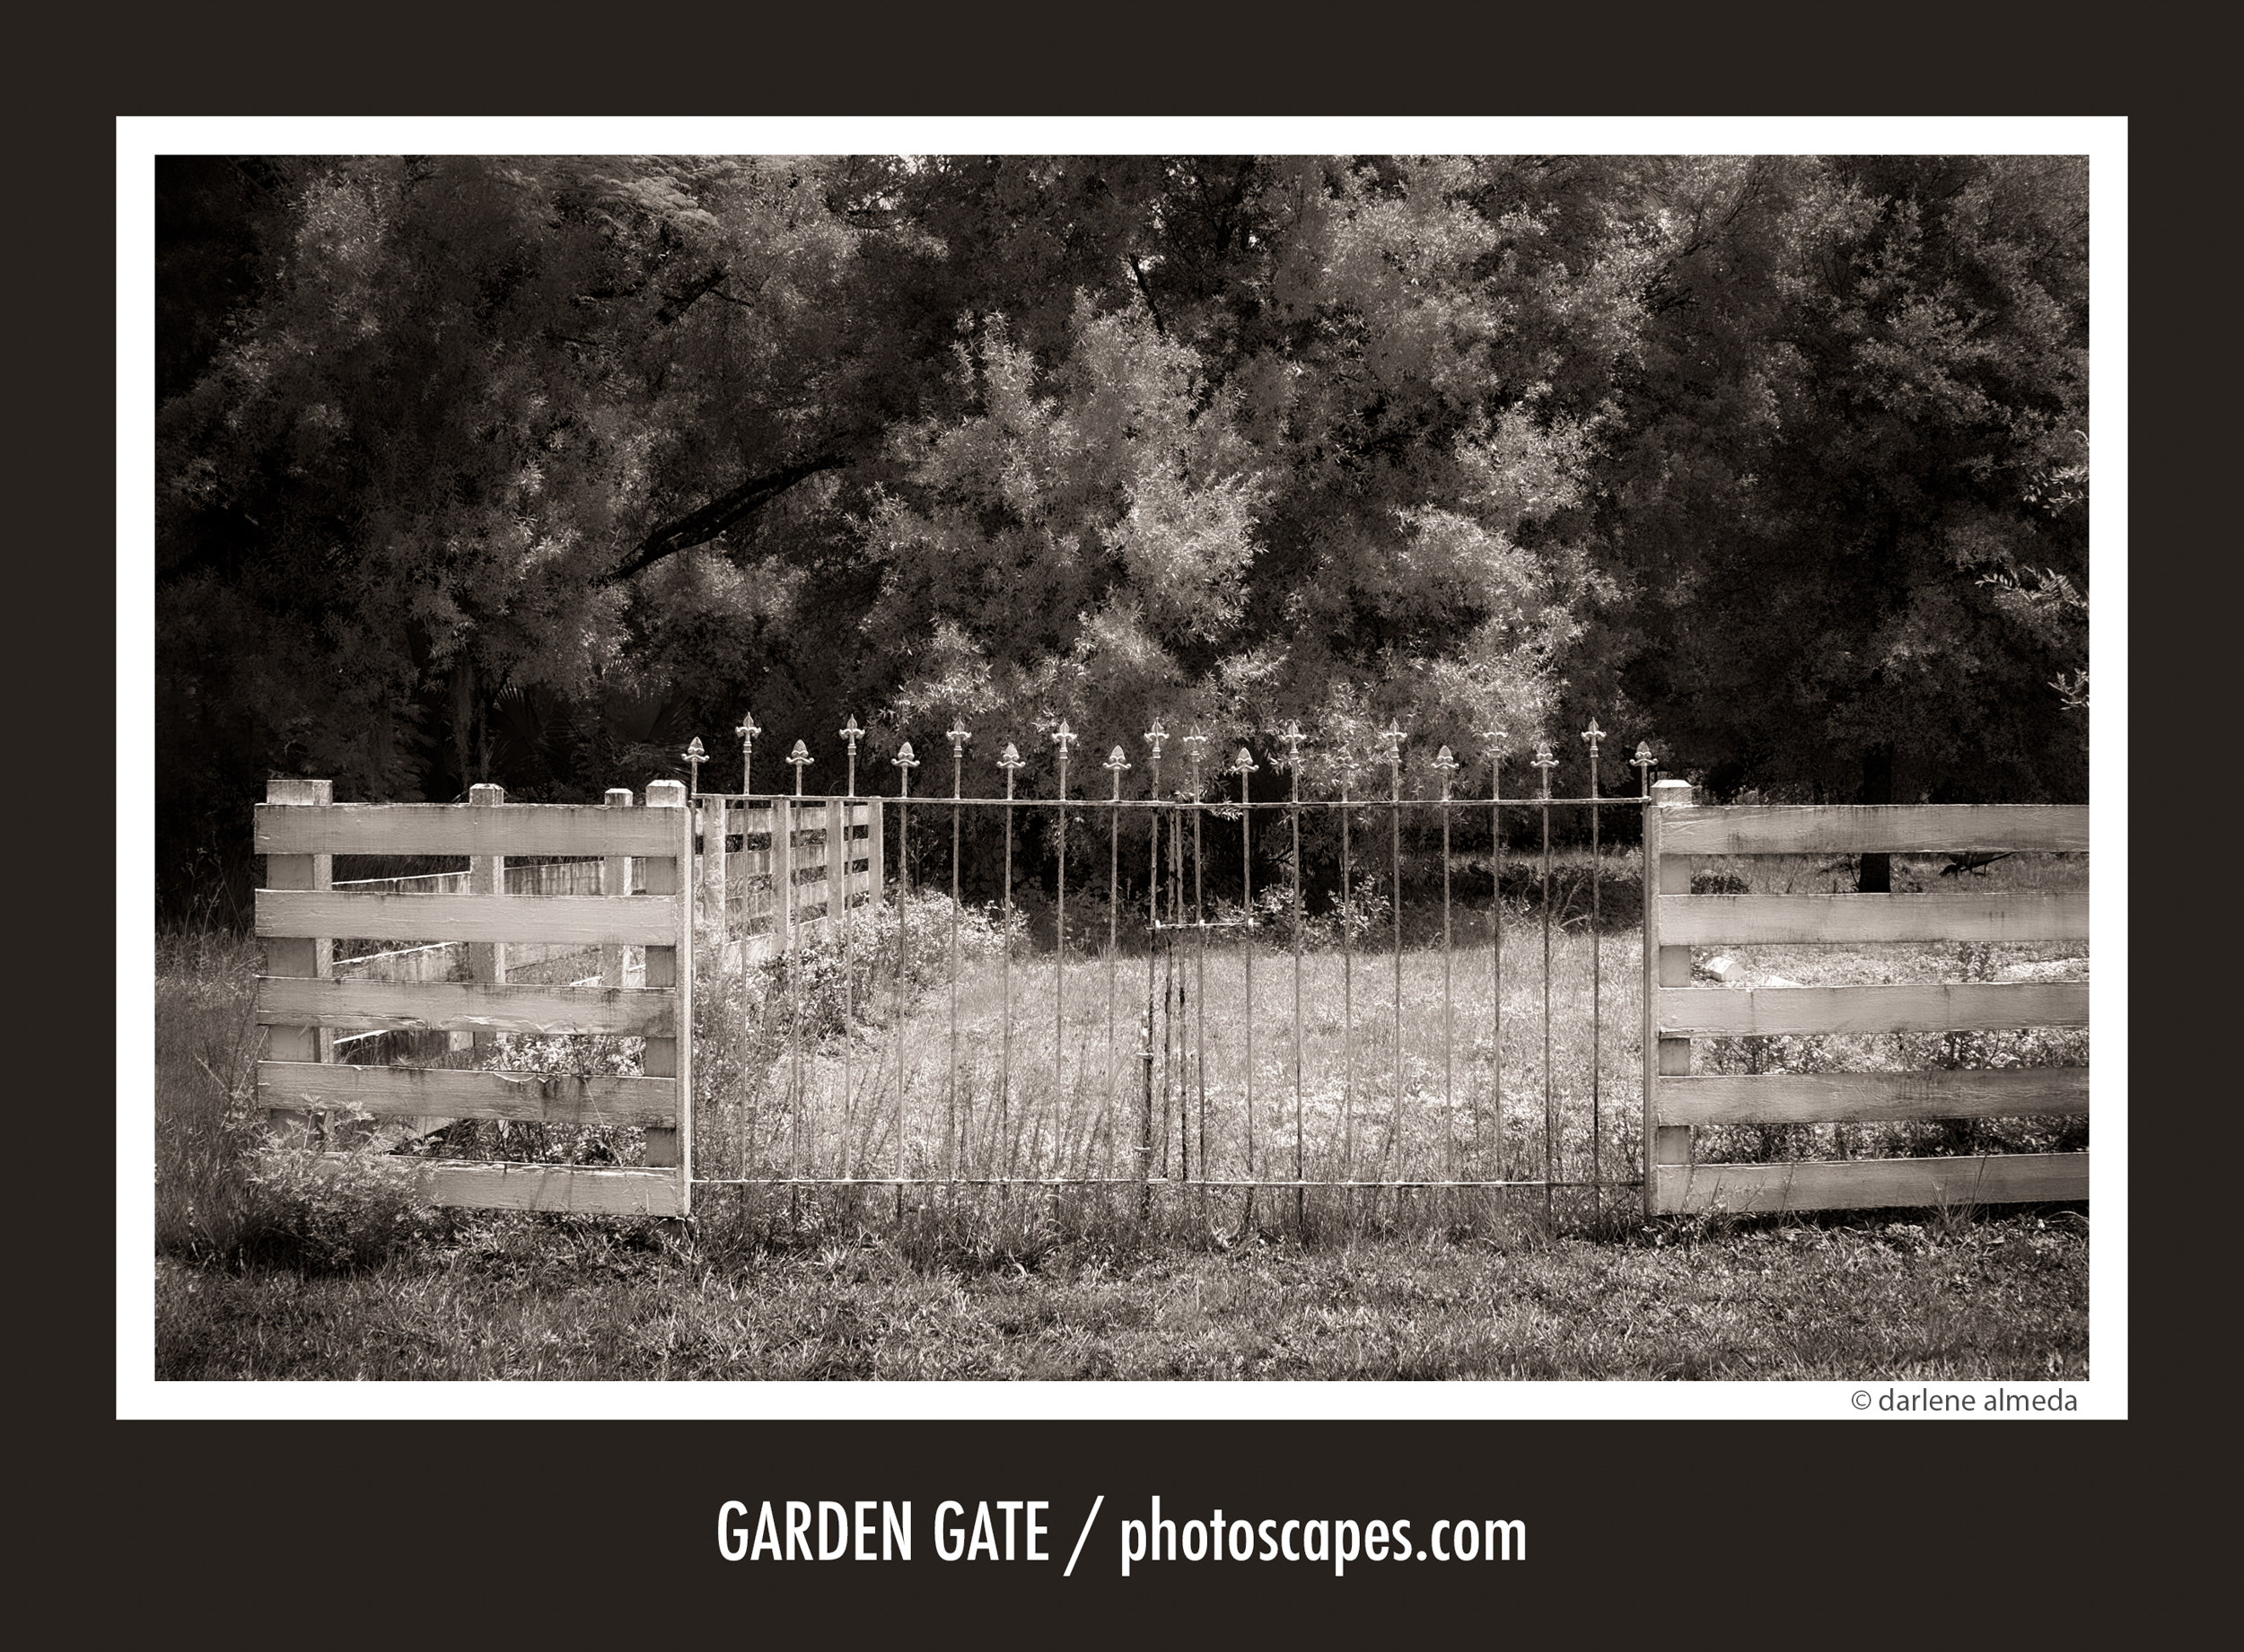
GARDEN GATE | Fujifilm X-E2 (IR 590nm) + XF 23/2
IR Shooting & Lens Notes
I travel light: a technical camera (4×5 film & digital) and a Fuji APS-C kit. One reminder, many zoom lenses produce hotspots on converted bodies due to internal reflections/coatings.
Primes have been more reliable for me.
- XF 14/2.8 – favorite wide, clean and consistent.
- XF 23/2 & XF 35/2 – excellent performers, small and sharp.
- Zeiss 32/1.8 – lovely on X-Pro3; occasional hotspots on X-E2.
- Zeiss 50/2.8 Macro – fine below f/8; also my digitizing lens.
The 14-23-35 trio covers most landscapes while keeping the kit compact and dependable.
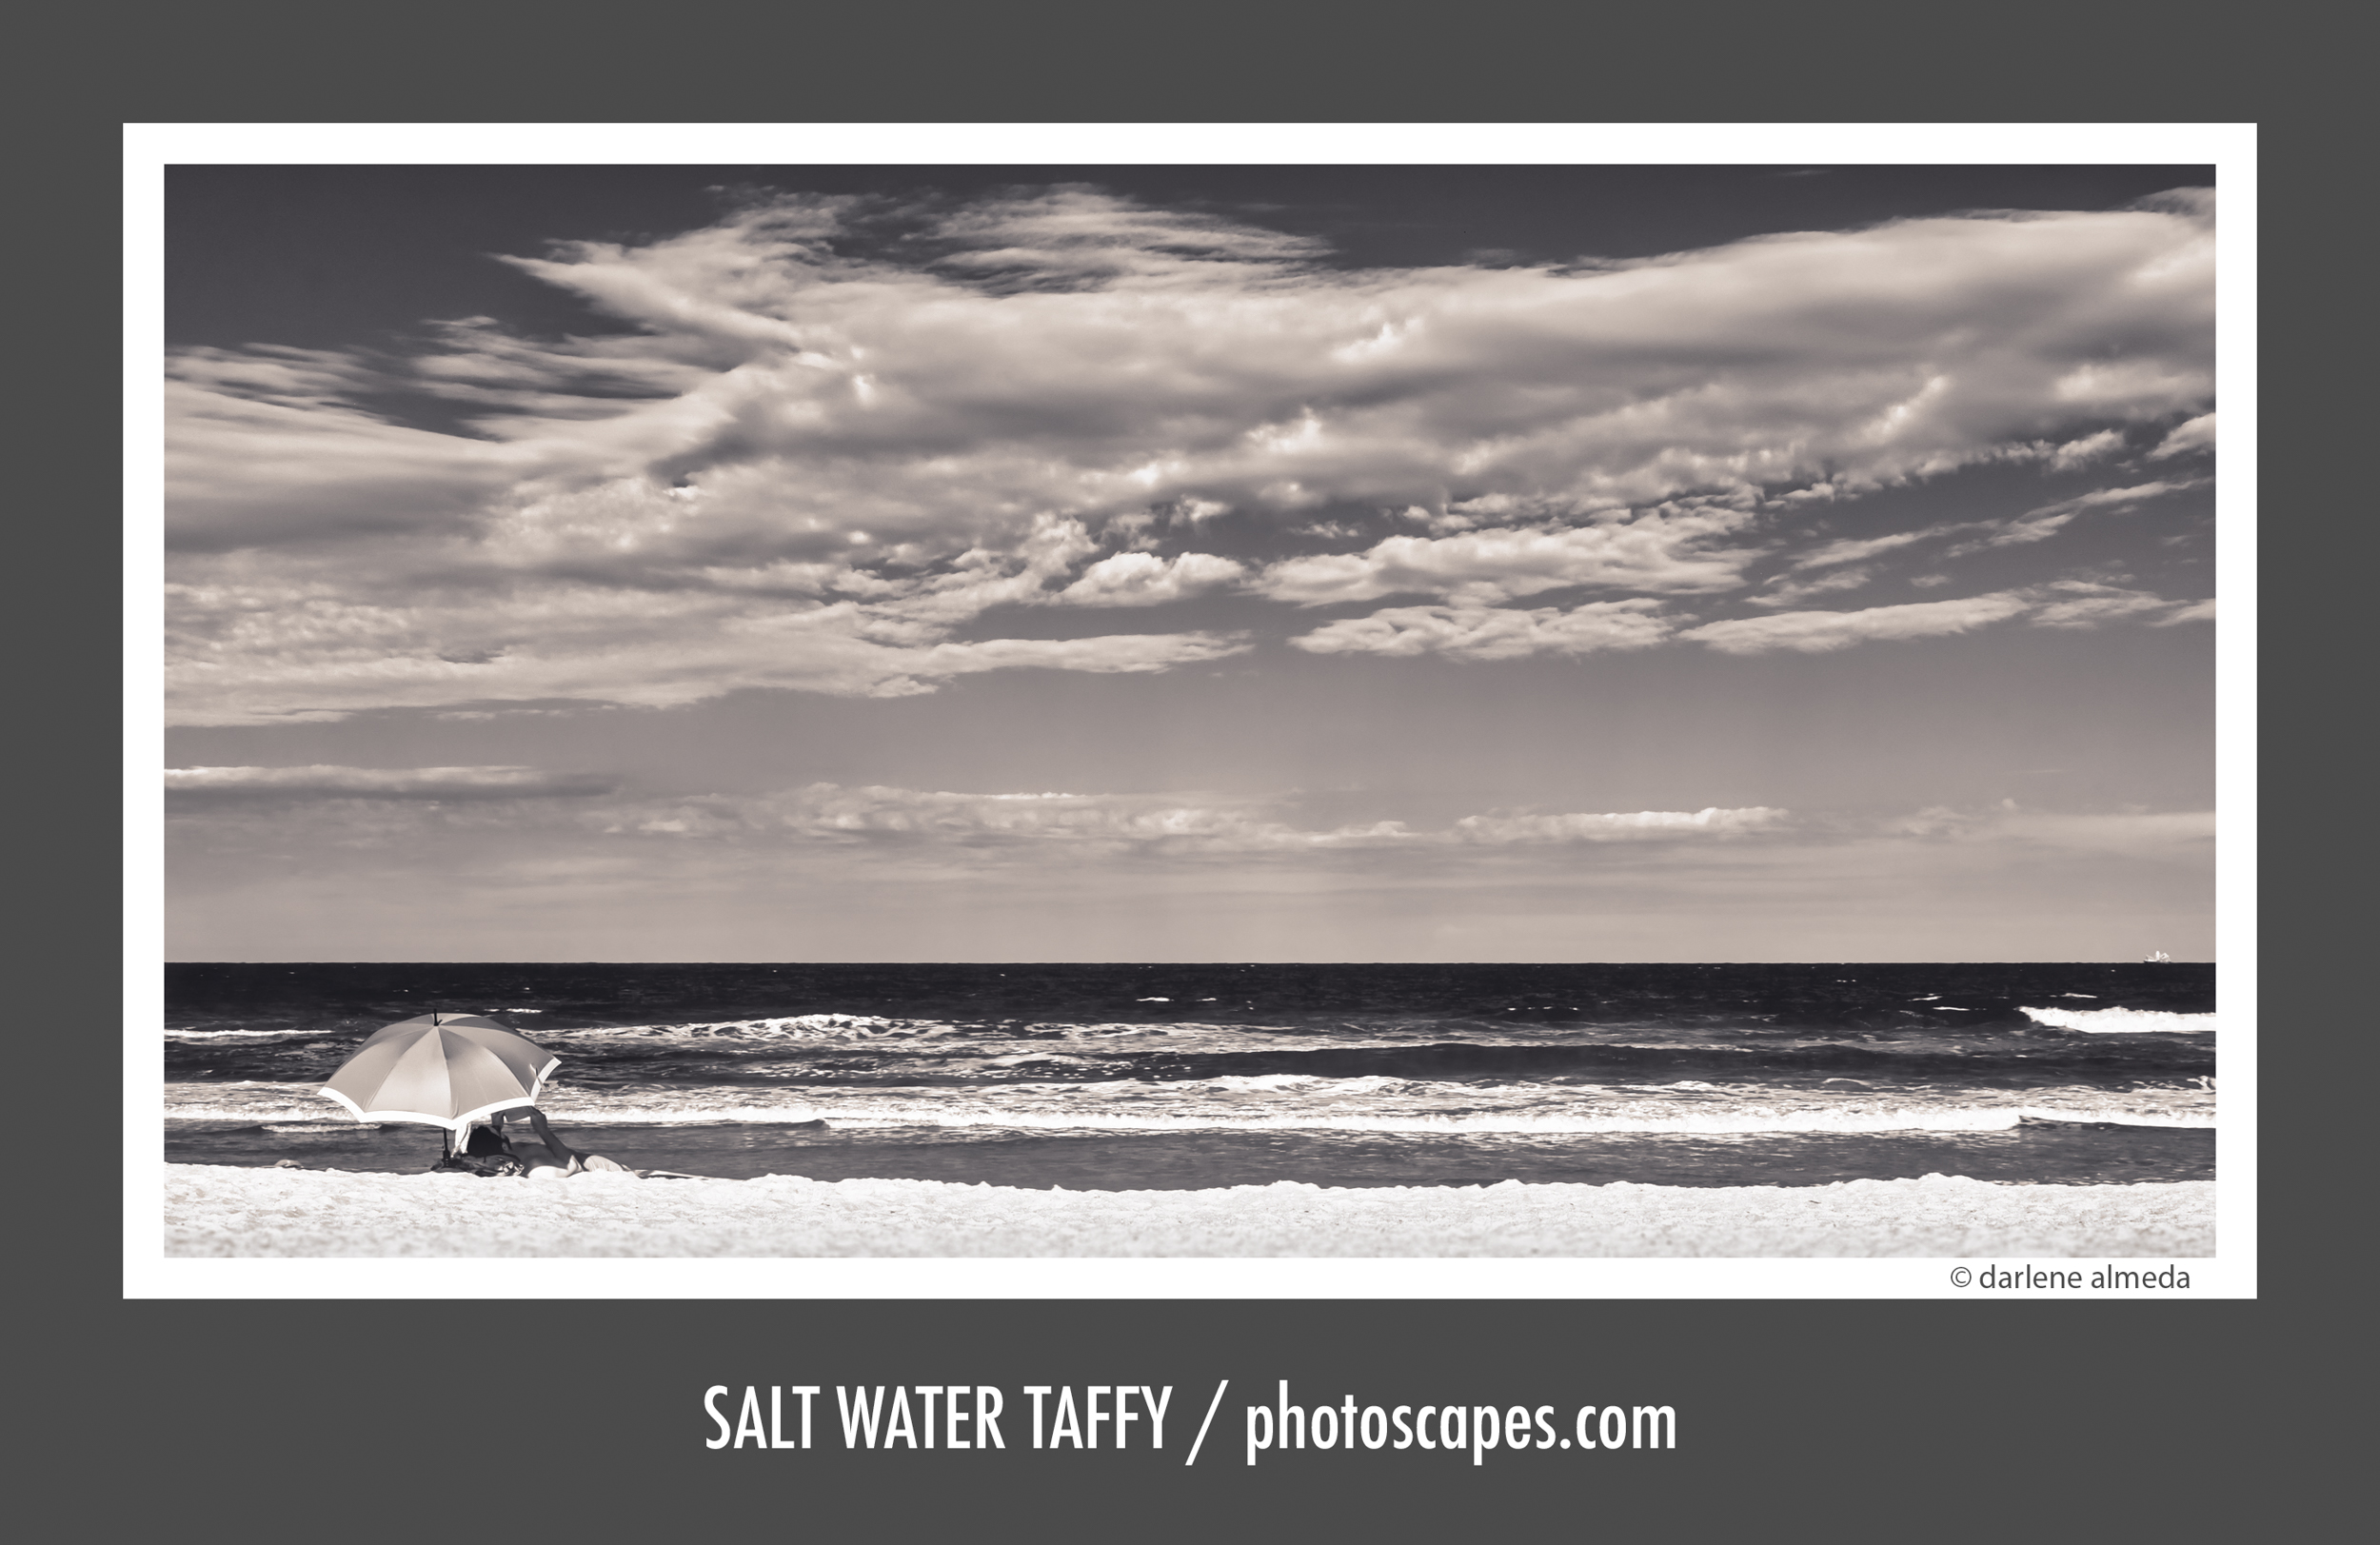
SALT WATER TAFFY | Fujifilm X-E2 (IR 590nm) + XF 35/2
Some Lens Advice
Test every lens for hotspots under different light and apertures before a trip. Some issues are occasional; others are persistent. If a lens repeatedly ruins files, I retire it from my IR kit.
Post-processing BW IR is its own craft—ordinary scenes in visible light often become quietly magical in infrared.
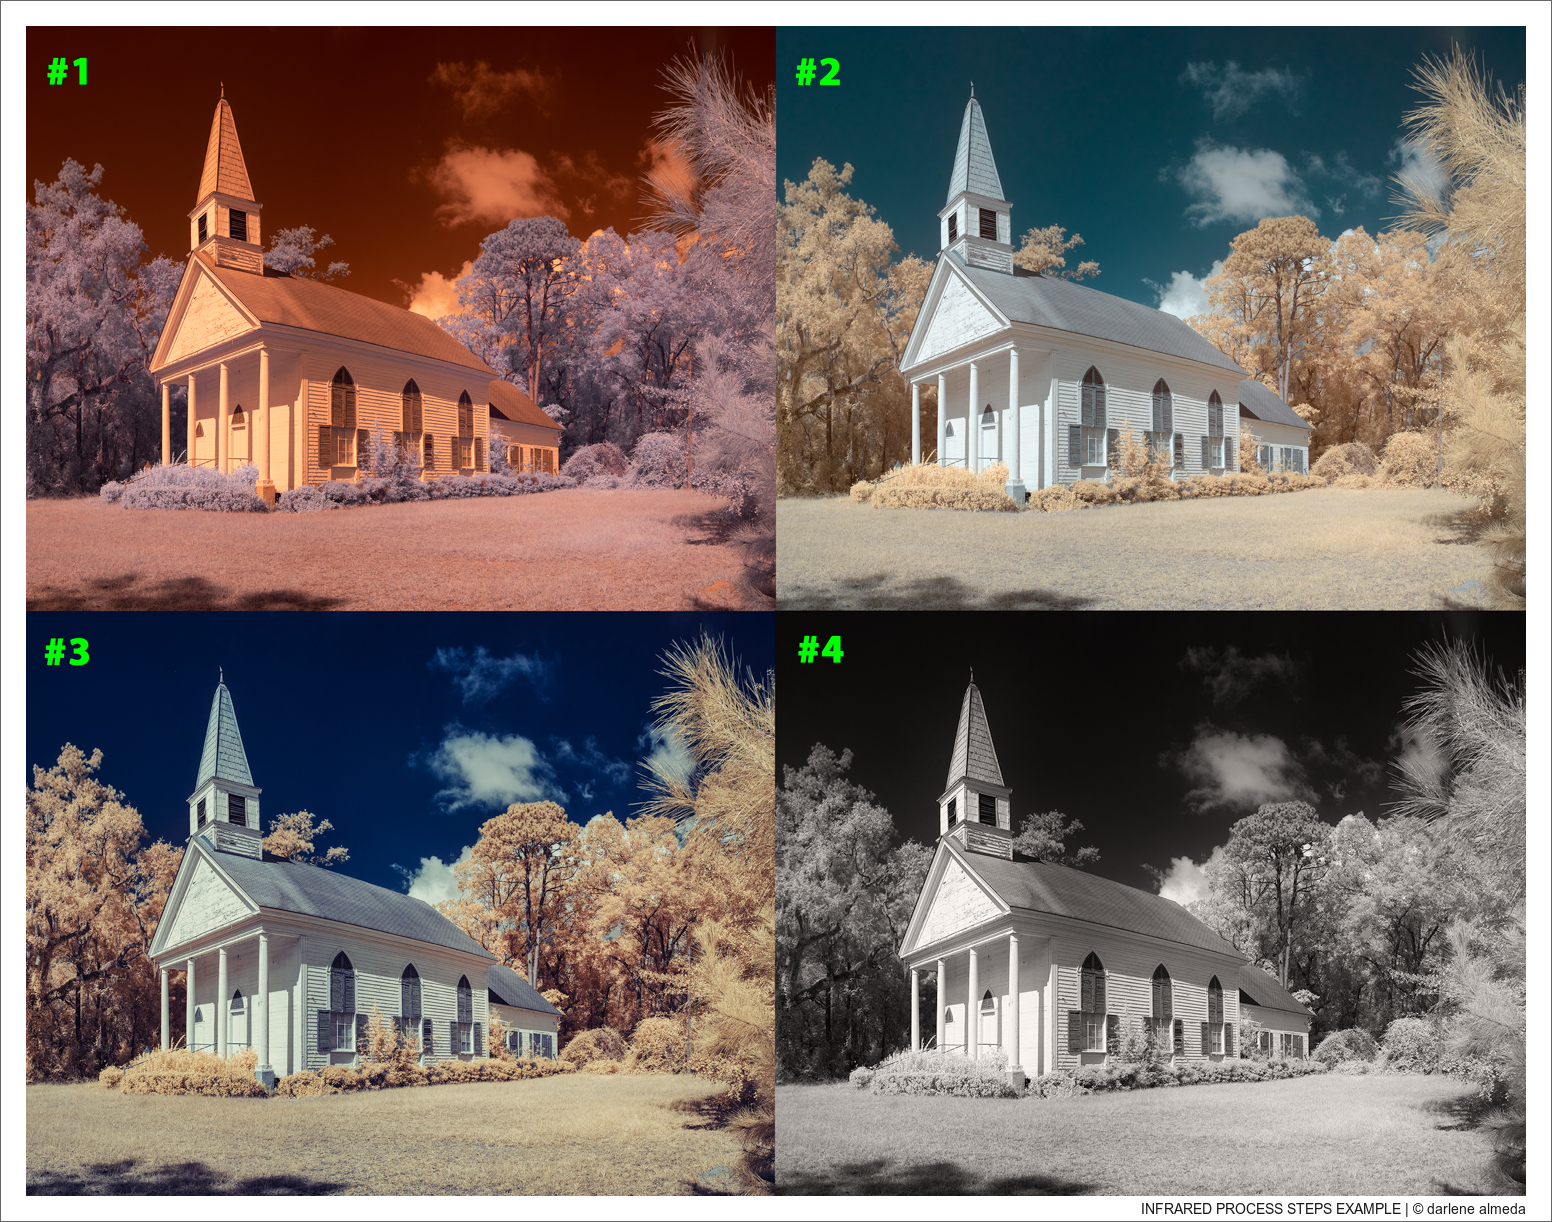
INFRARED PROCESS STEPS EXAMPLE: Fujifilm X-E2 (590nm) + XF 23/2
Post-Processing Infrared Images
- RAW out of camera (no processing).
- Custom white balance; red/blue channel swap in Photoshop.
- Lightroom: refine contrast, color, and WB.
- Final BW conversion in Nik Silver Efex Pro.
This four-stage demo took under 30 minutes. Photoshop was used only for the channel swap and the comparison graphic; all tonal work happened in Lightroom. IR processing is like seasoning—small, repeated adjustments until it tastes right.
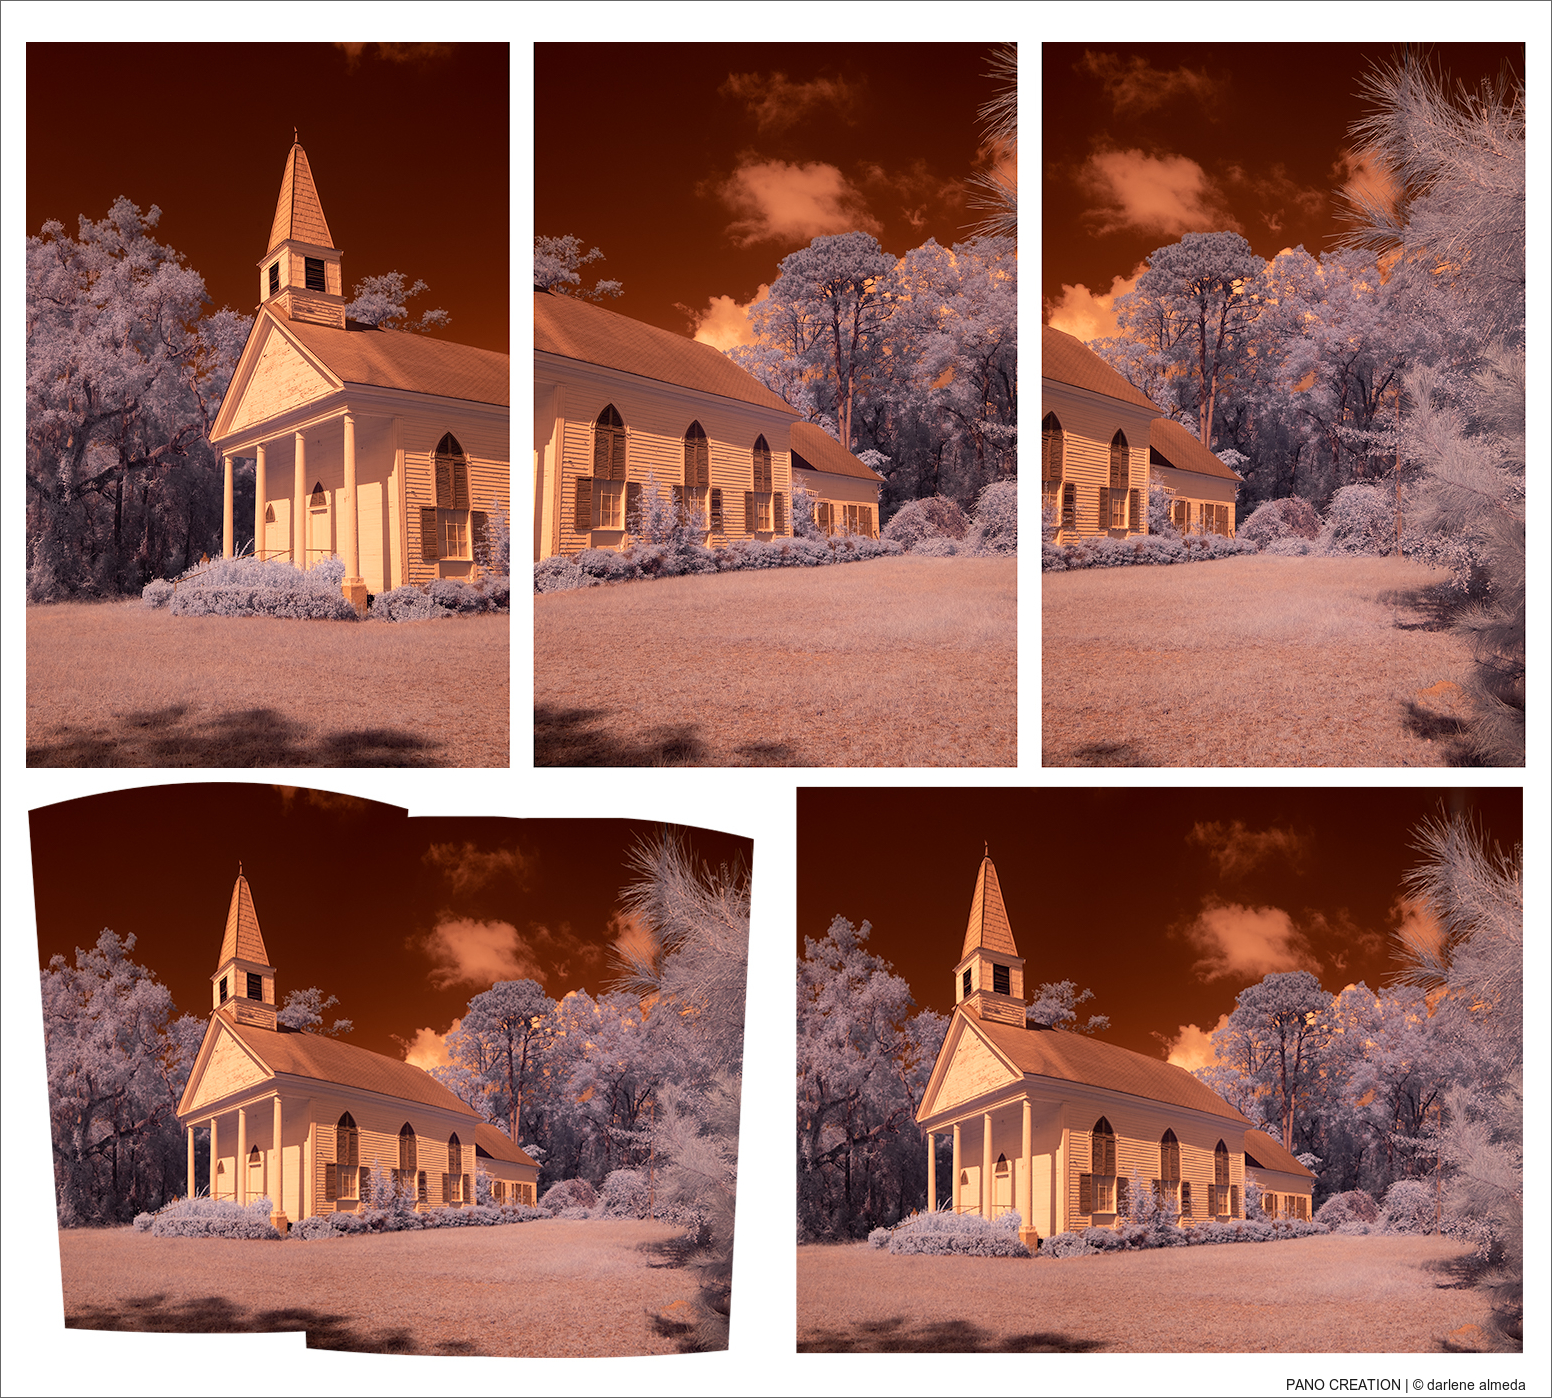
The example panorama was shot handheld during a teaching session. Good overlap and even light let Lightroom stitch it easily—imperfect yet effective for demonstrating IR panos.
HANDHELD IR PANO EXAMPLE: Fujifilm X-E2 (590nm) + XF 23/2
Lightroom IR Processing Video & More
- Edit Infrared Photography in Lightroom Classic — Rob Shea
- Infrared Photography — Wanderlust Imagery (Timothy Moon)
Both are excellent starting points; Timothy Moon is a gifted artist, instructor, and storyteller.
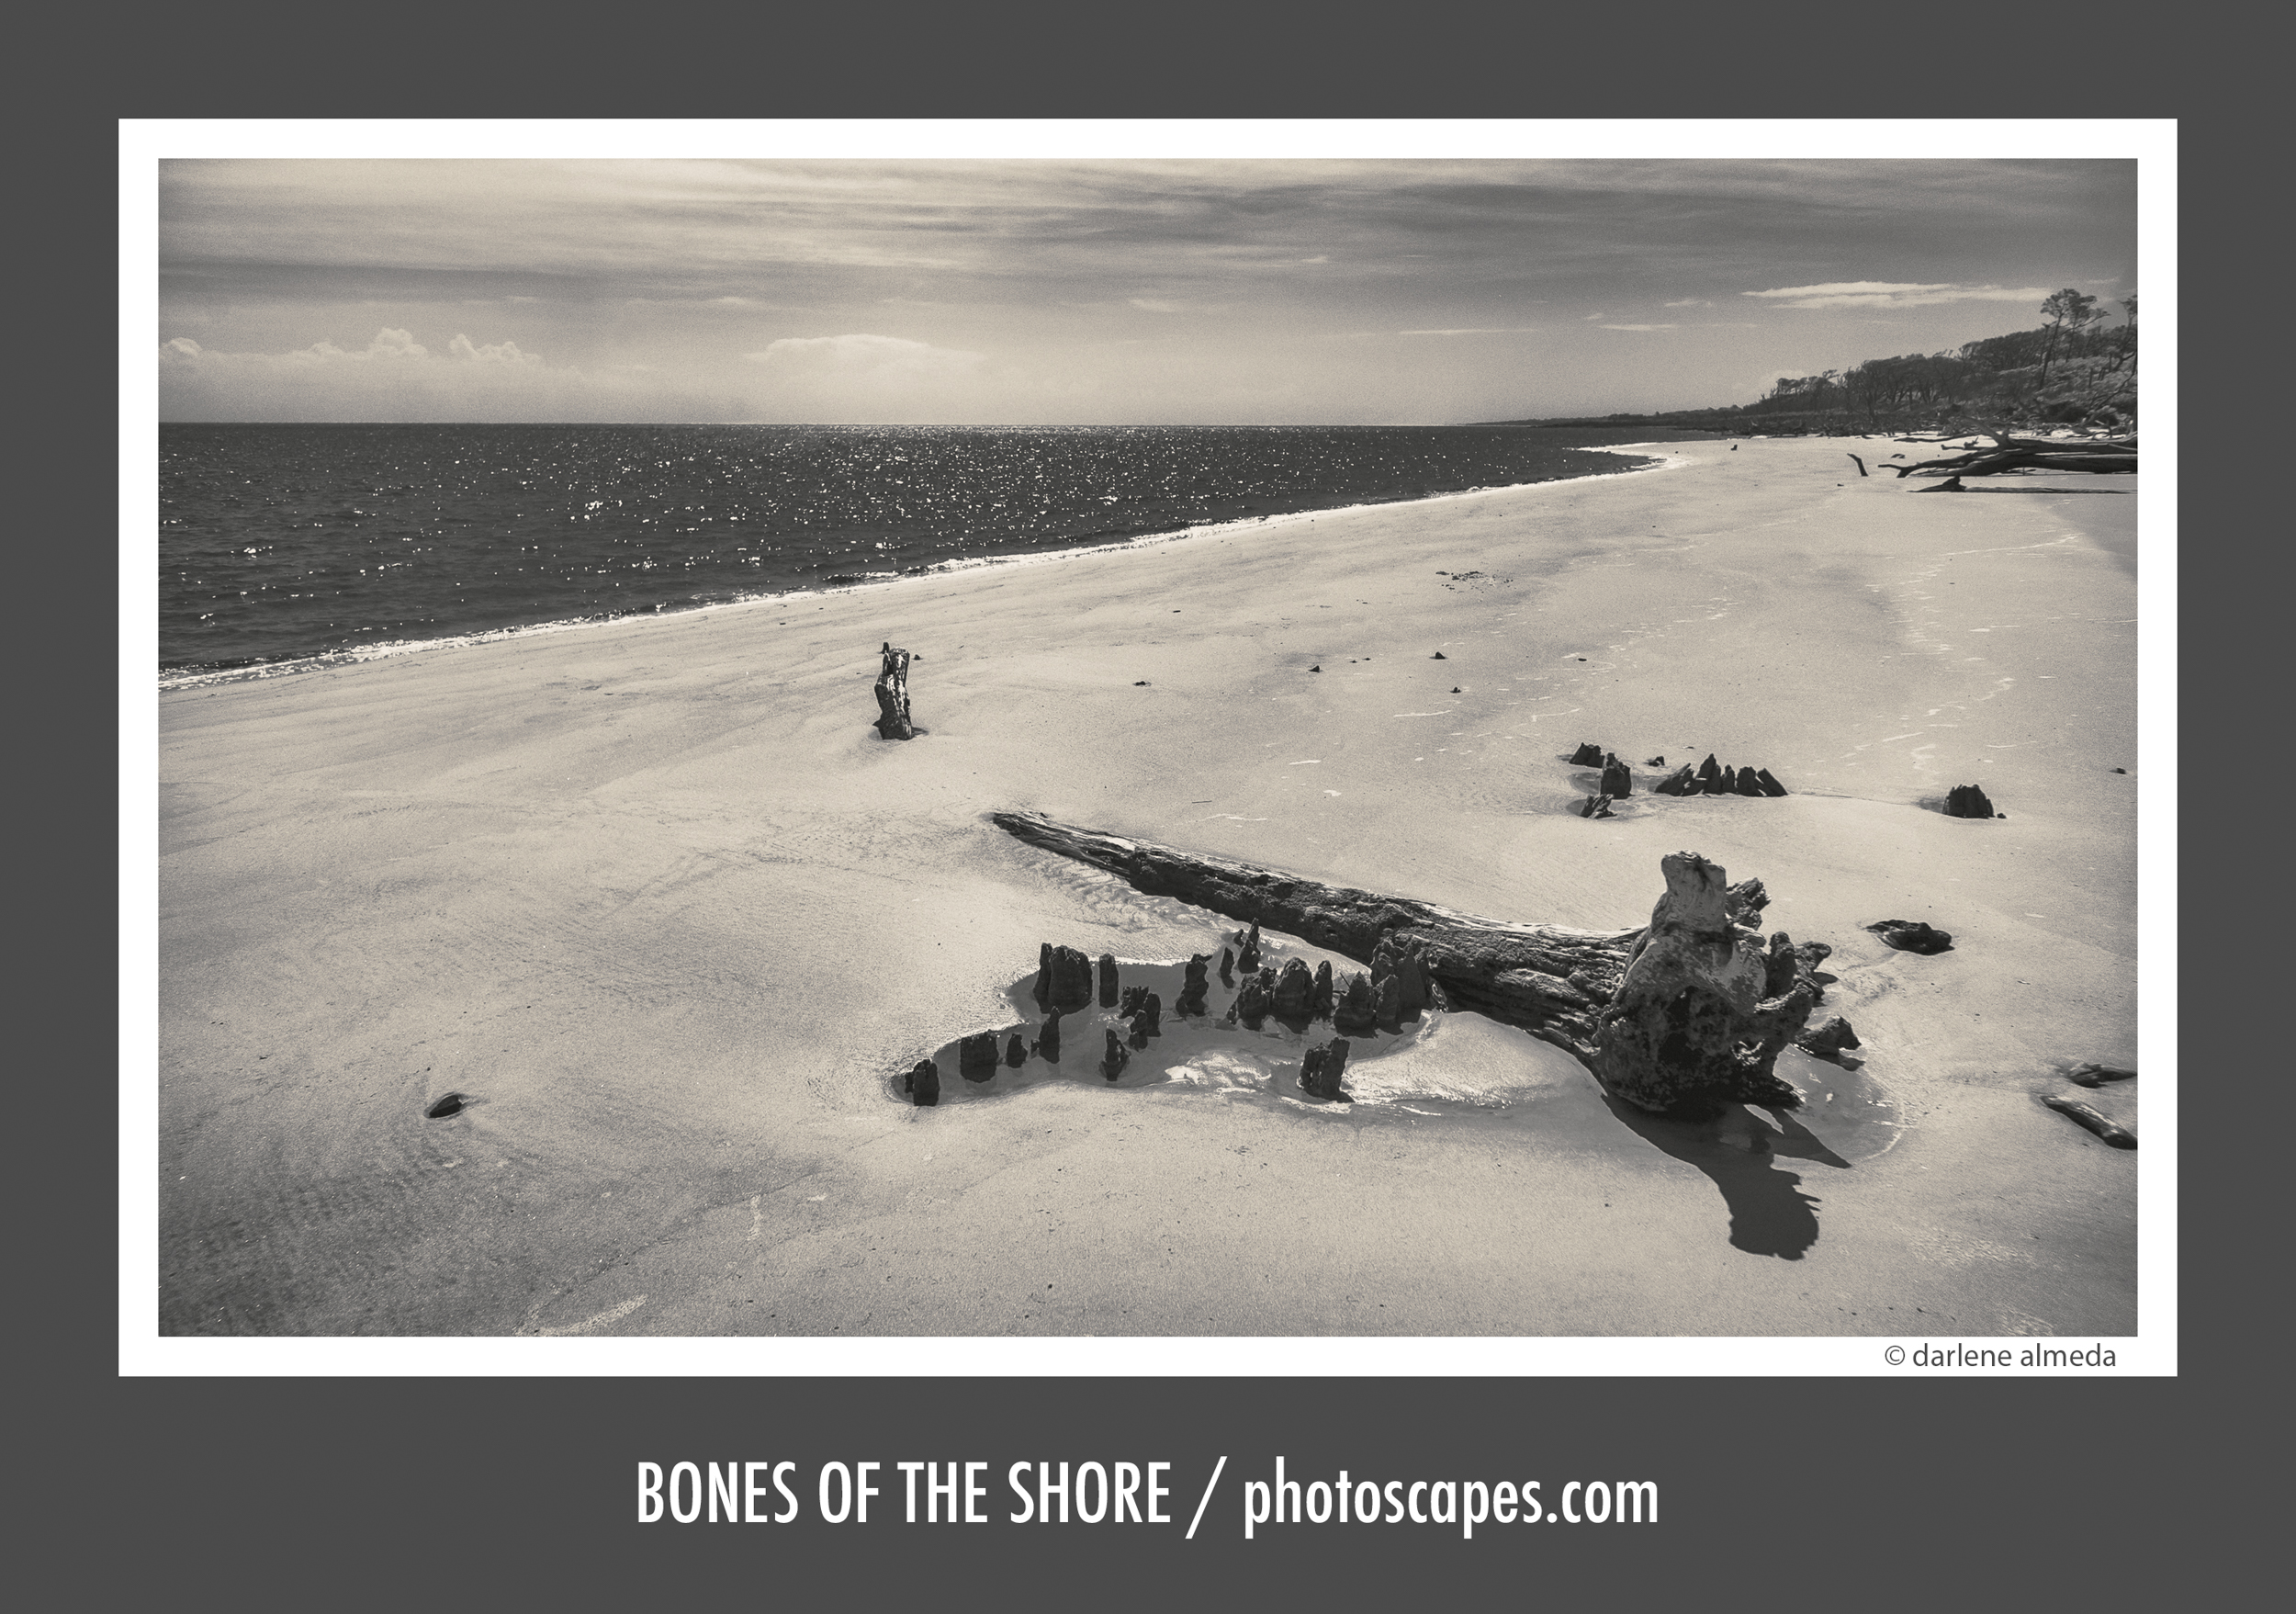
BONES OF THE SHORE | Fujifilm X-E2 (IR 590nm) + XF 14/2.8
Closing Thoughts
Infrared—color or monochrome—can expand your vision in surprising ways. A dedicated IR body keeps experimentation easy without disrupting my usual workflow. My X-E2 (590nm) is a companion for discovering the unseen, and most days my intent is simple: create luminous, sometimes mysterious, but always honest black-and-white photographs. And every so often, I give IR color a shout-out too.
Thanks for reading, and be well.

