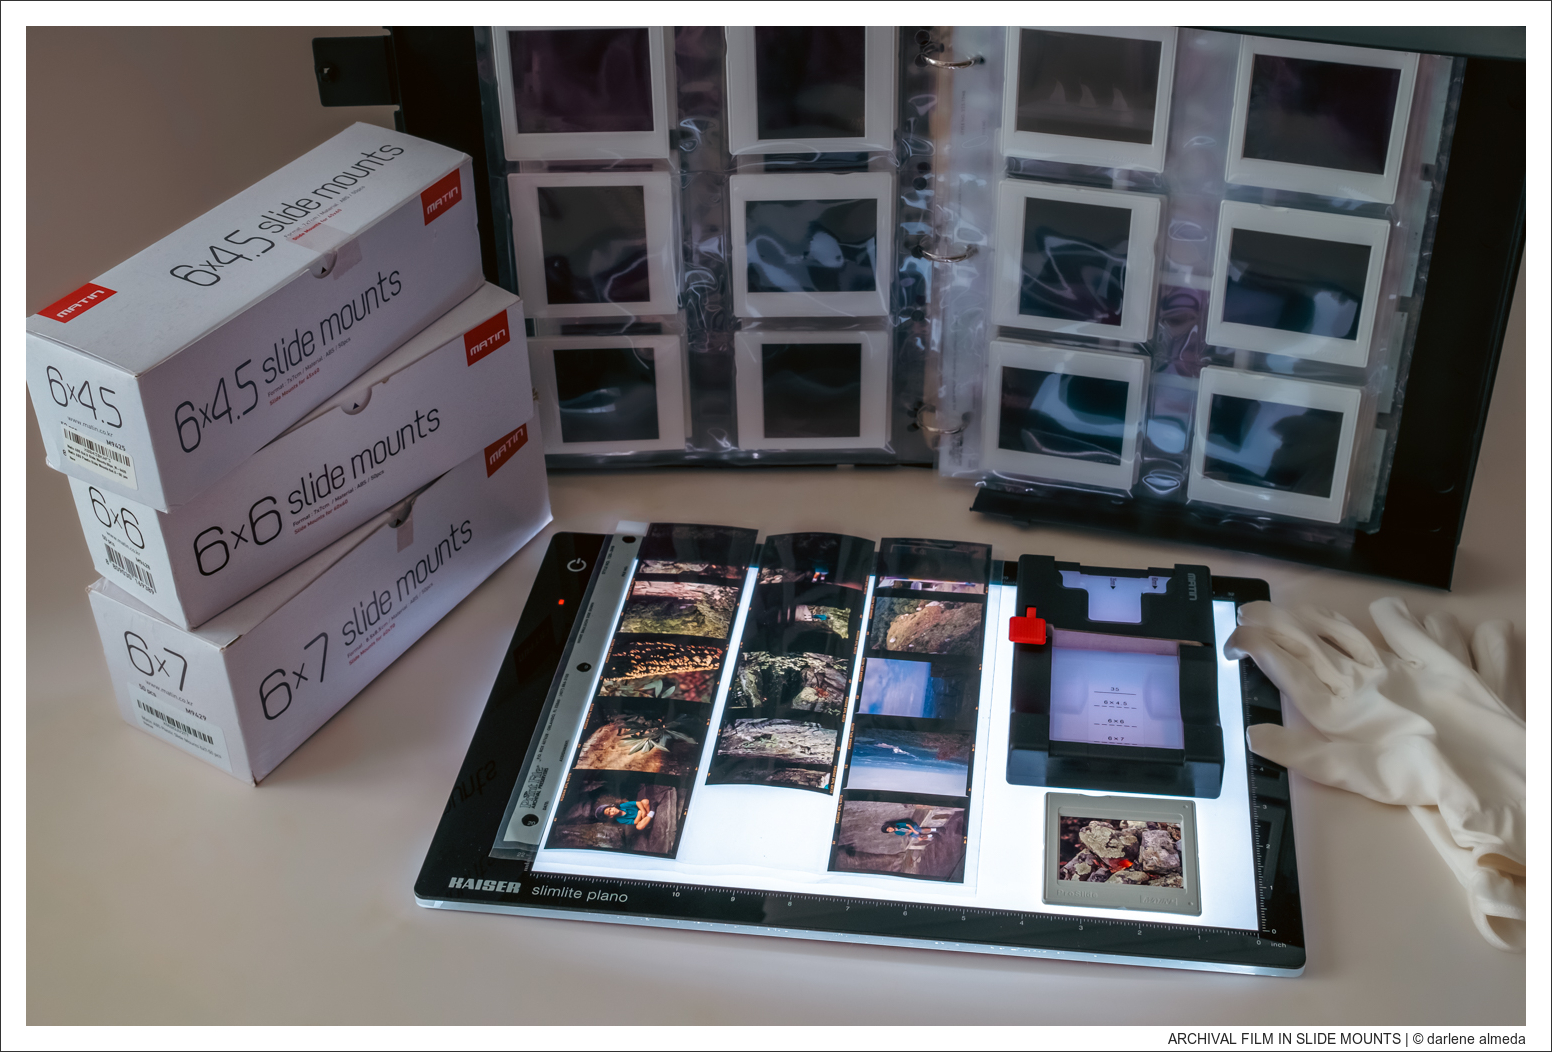
Have you ever struggled to cut film accurately? No matter the size, slicing perfectly between the frames can feel a bit nerve-wracking. For years, I relied on the smallest, sharpest scissors I could find, and while that worked for basic needs, it fell short when I wanted to mount my prized film—whether for my portfolio or personal favorites—into slide mounts for archiving. Achieving the precision required for proper slide mounting demands more than just careful snipping. In this article, I’ll share how I achieve clean, accurate cuts with ease—eliminating the stress entirely.
Why Use Slide Mounts in the First Place?
First, I prefer to digitize individual frames rather than the entire roll of film. This allows for greater control and precision over the scanning process. Second, because I develop my own film, I don’t send it out for digitization, which makes handling the film myself essential.
Third, the digitizing equipment I use accommodates slide-mounted frames—whether 120 or 135 film—which makes the process more efficient. Mounted slides are safer to handle, easier to keep clean, and minimize the risk of dust or fingerprints.
Finally, filing individual slide mounts into archival pages and storage notebooks is a system I genuinely enjoy. It keeps my film well-organized, accessible and safely preserved—making archiving both practical and satisfying.
The Two Tools I Use
Achieving precise cuts in film doesn’t require expensive equipment, especially if you already own a lightbox. I currently use a Kaiser Slimlite Plano lightbox, but I’ve also used more affordable, non-color-corrected models, which suffice for film-cutting purposes.
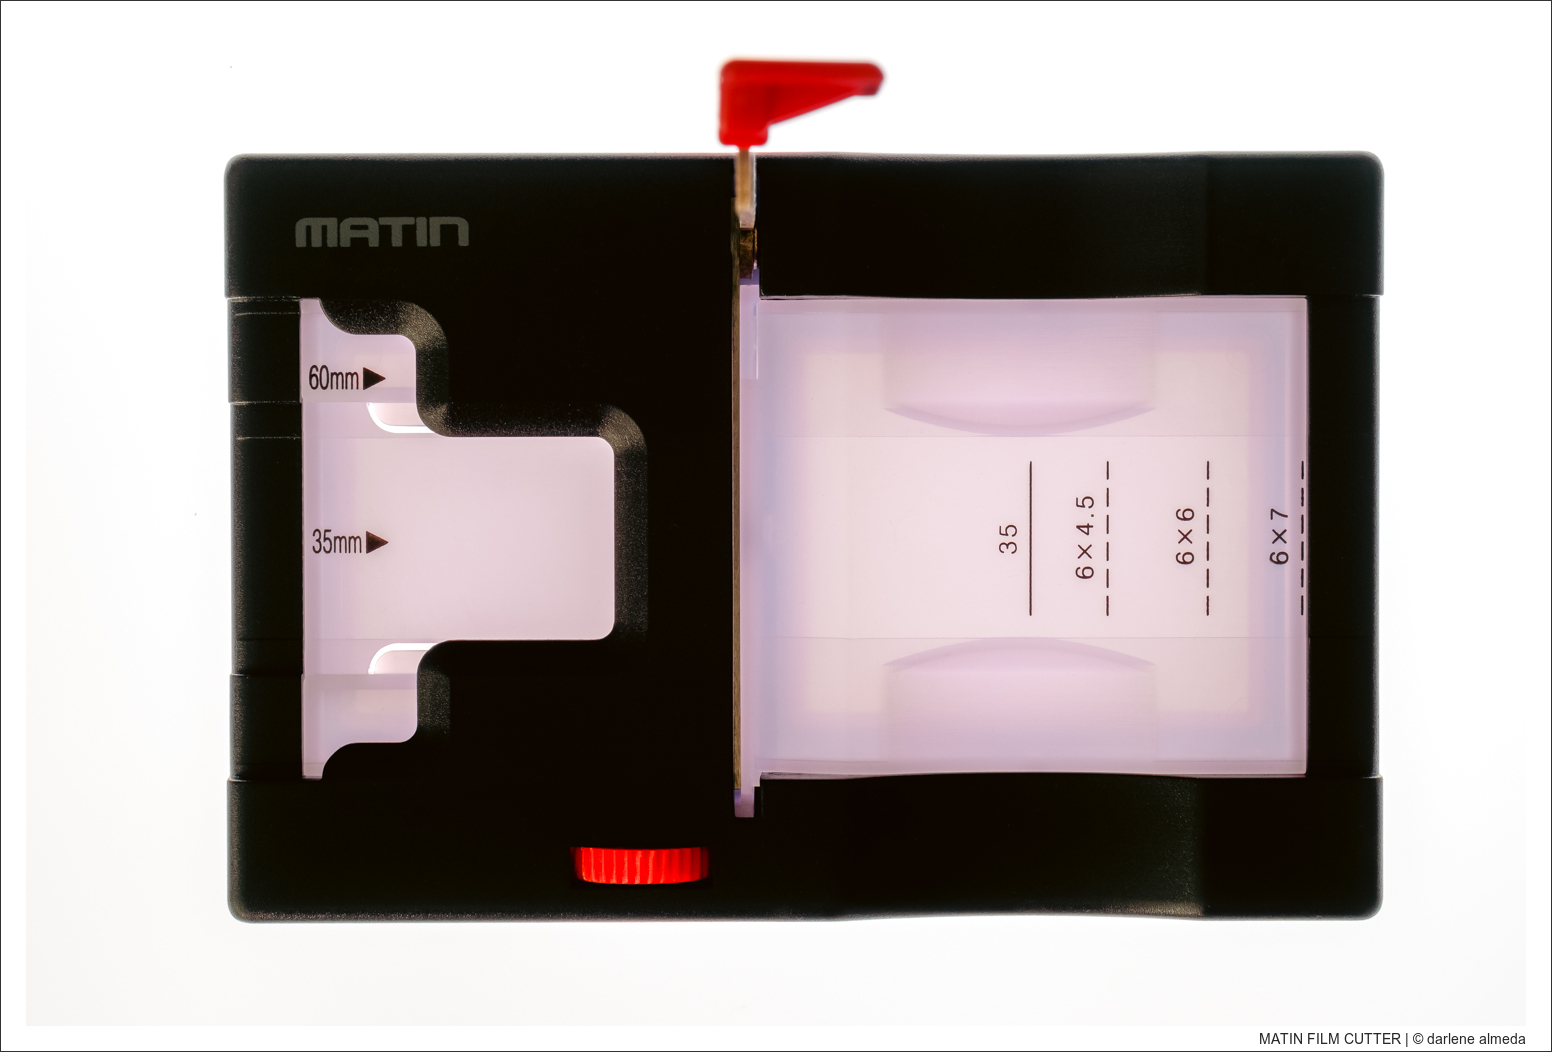
The other essential tool is the Matin Multiple Slide Film Cutter. Before purchasing it on Amazon, I encountered mixed reviews—some negative, some positive. Despite my reservations, I decided to try it, reassured by Amazon’s return policy and the lack of availability from my usual photography suppliers. I’m glad I did; the cutter has performed exceptionally well for me. It’s possible that some defective units exist or that user error accounts for the negative feedback, but in my experience, it has been a reliable tool.
You start by placing the Matin Slide Cutter directly on top of the lightbox (shown above) to begin the cutting process. The light shining through the film makes it easy to see the edges of each frame clearly, ensuring precision. I’ll walk you through the step-by-step cutting process next.
How to Precisely Cut Film with the Matkin Cutter
1. Set Up
Place the Matin Cutter on top of your lightbox. The illuminated surface allows you to clearly see the film frames and guides for accurate alignment.
2. Feed the Film
– Start by sliding your film into the cutter.
– For 35mm film, use the center guide.
– For 120 film, align it with the 60mm guide.
– Push the film in gently until it stops—this ensures the starting position is accurate.
3. Position the Film Using the Guides
– Use the red turning wheel to slowly advance the film to its designated size.
– The guides on the opposite side of the cutter help you align the frames precisely:
– 35mm – Center guide
– 6×4.5, 6×6, and 6×7 – Align to their respective 120 film guides.
4. Cut the Film
Once the film is properly positioned:
– Pull down the cutter arm using the red tab.
– The blade slices cleanly through the film, ensuring an even and precise cut.
Examples in Action
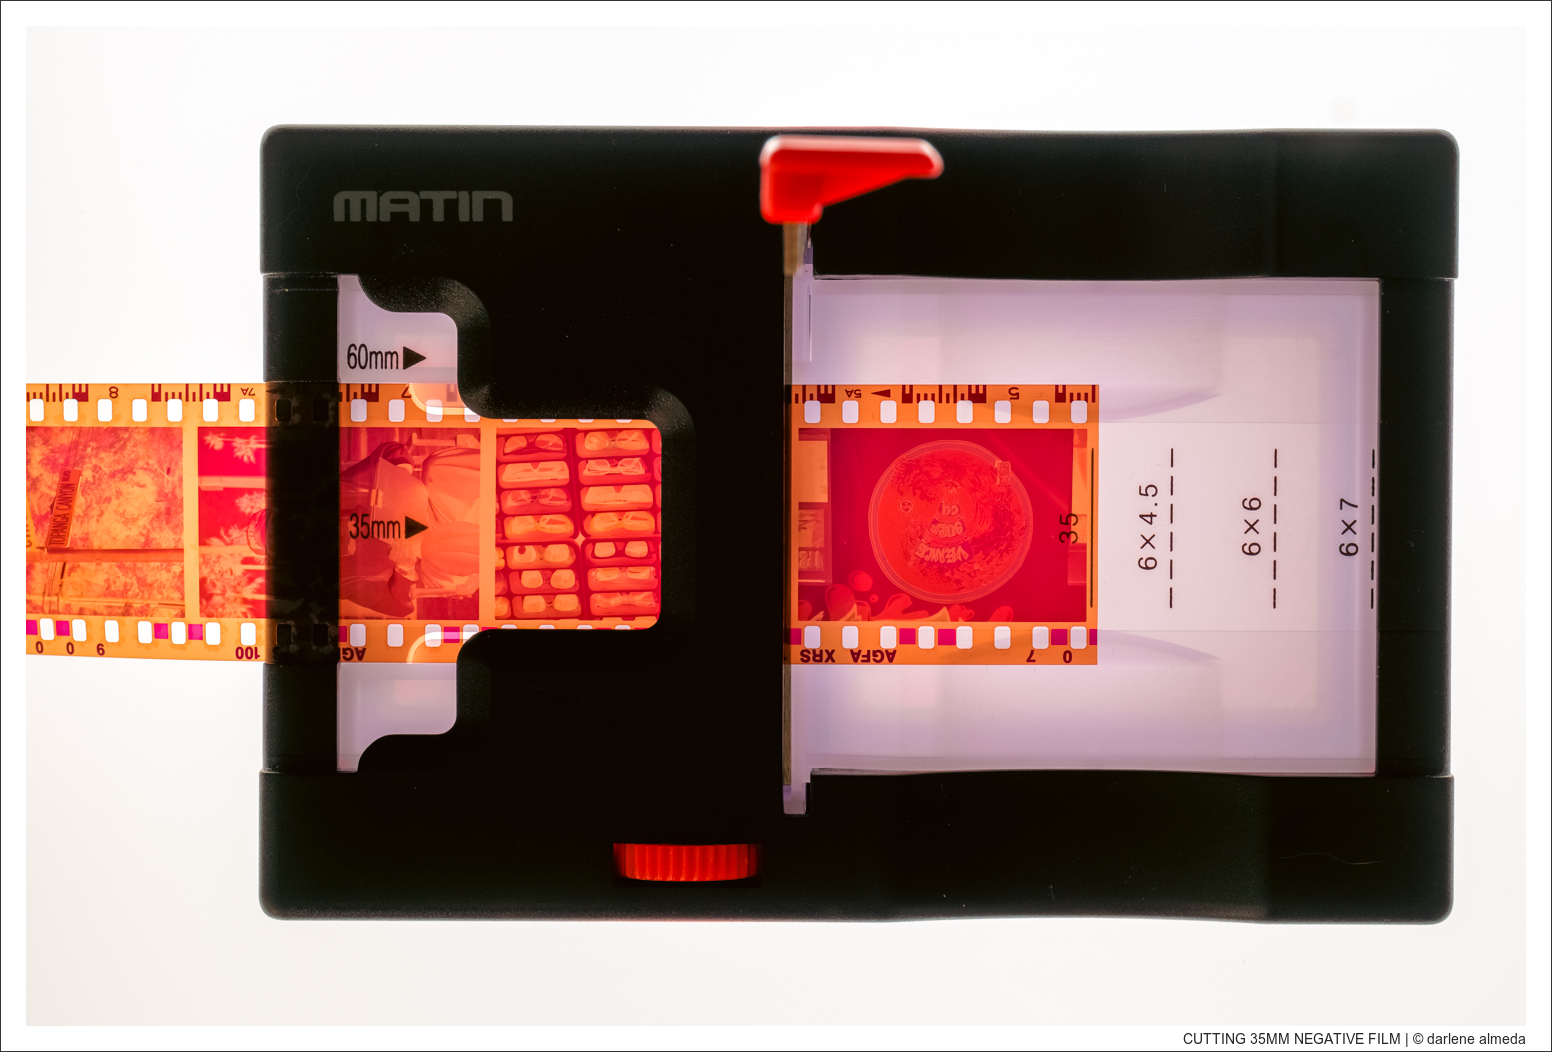
35mm Agfa XRS 100 film, aligned and ready to cut to the 35mm guide.
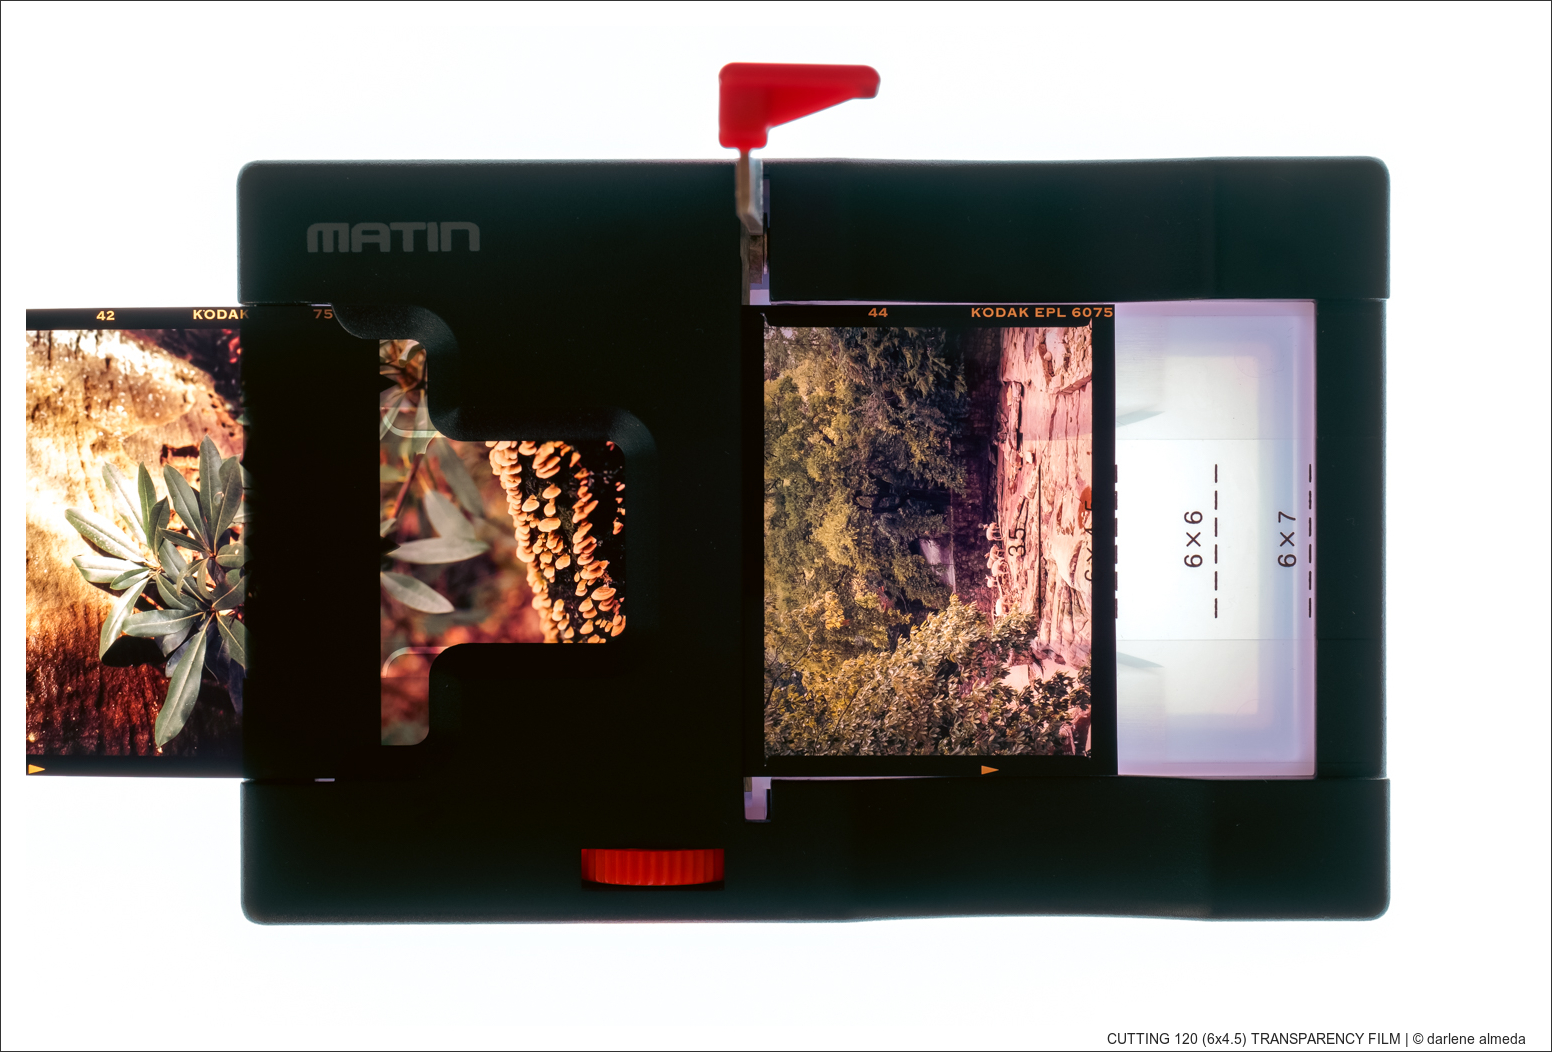
Kodak Ektachrome (6×4.5) film in position.
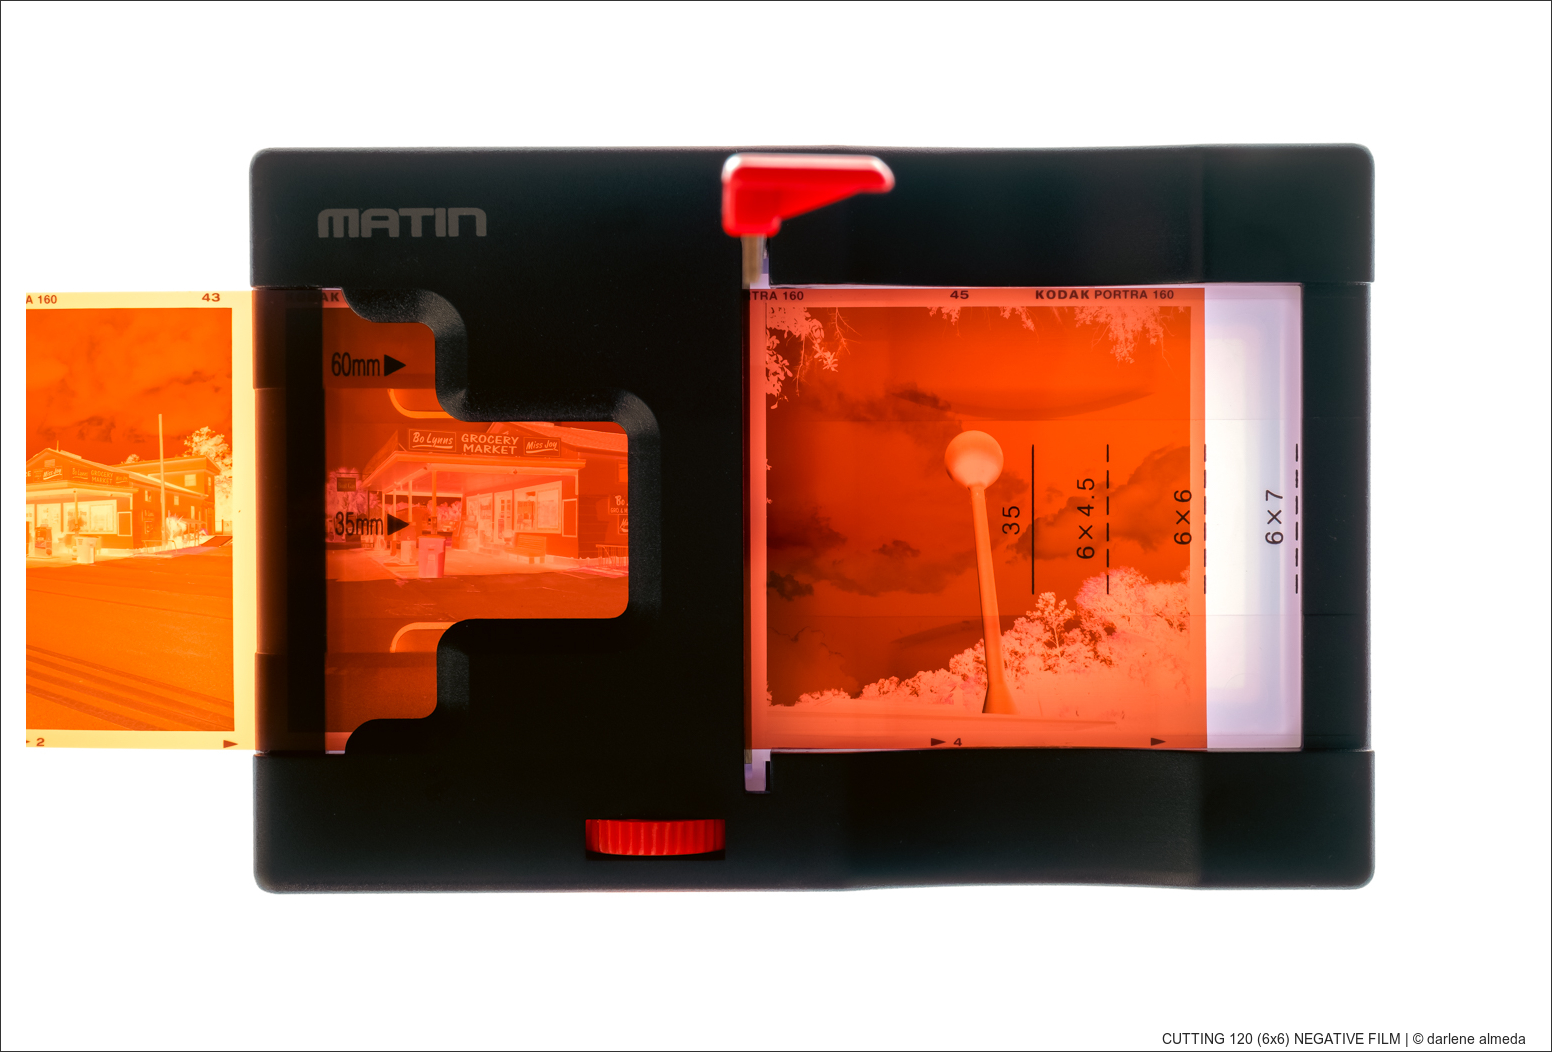
Kodak Portra (6×6) film aligned with its guide.
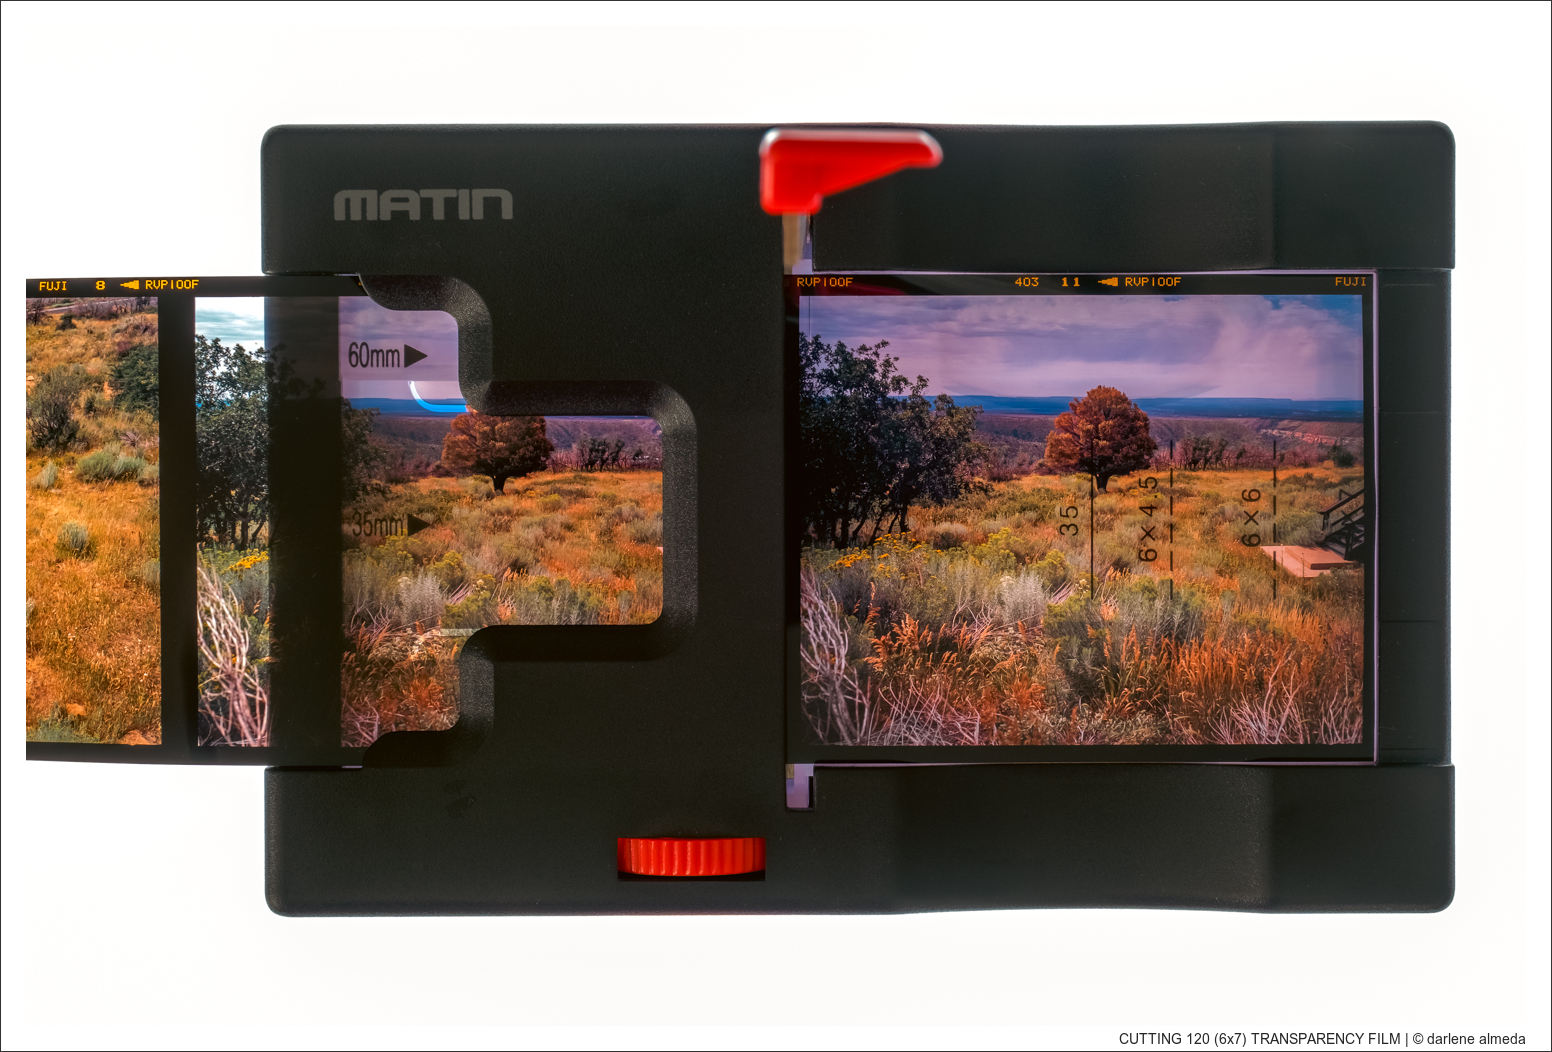
Fuji Velvia 100 (6×7) film, set for cutting at the appropriate guide.
By following these steps and aligning your film carefully with the guides, the Matin Cutter ensures clean, precise cuts every time, whether you’re working with 35mm or medium-format film.
Full Cut and Slide Mount Example
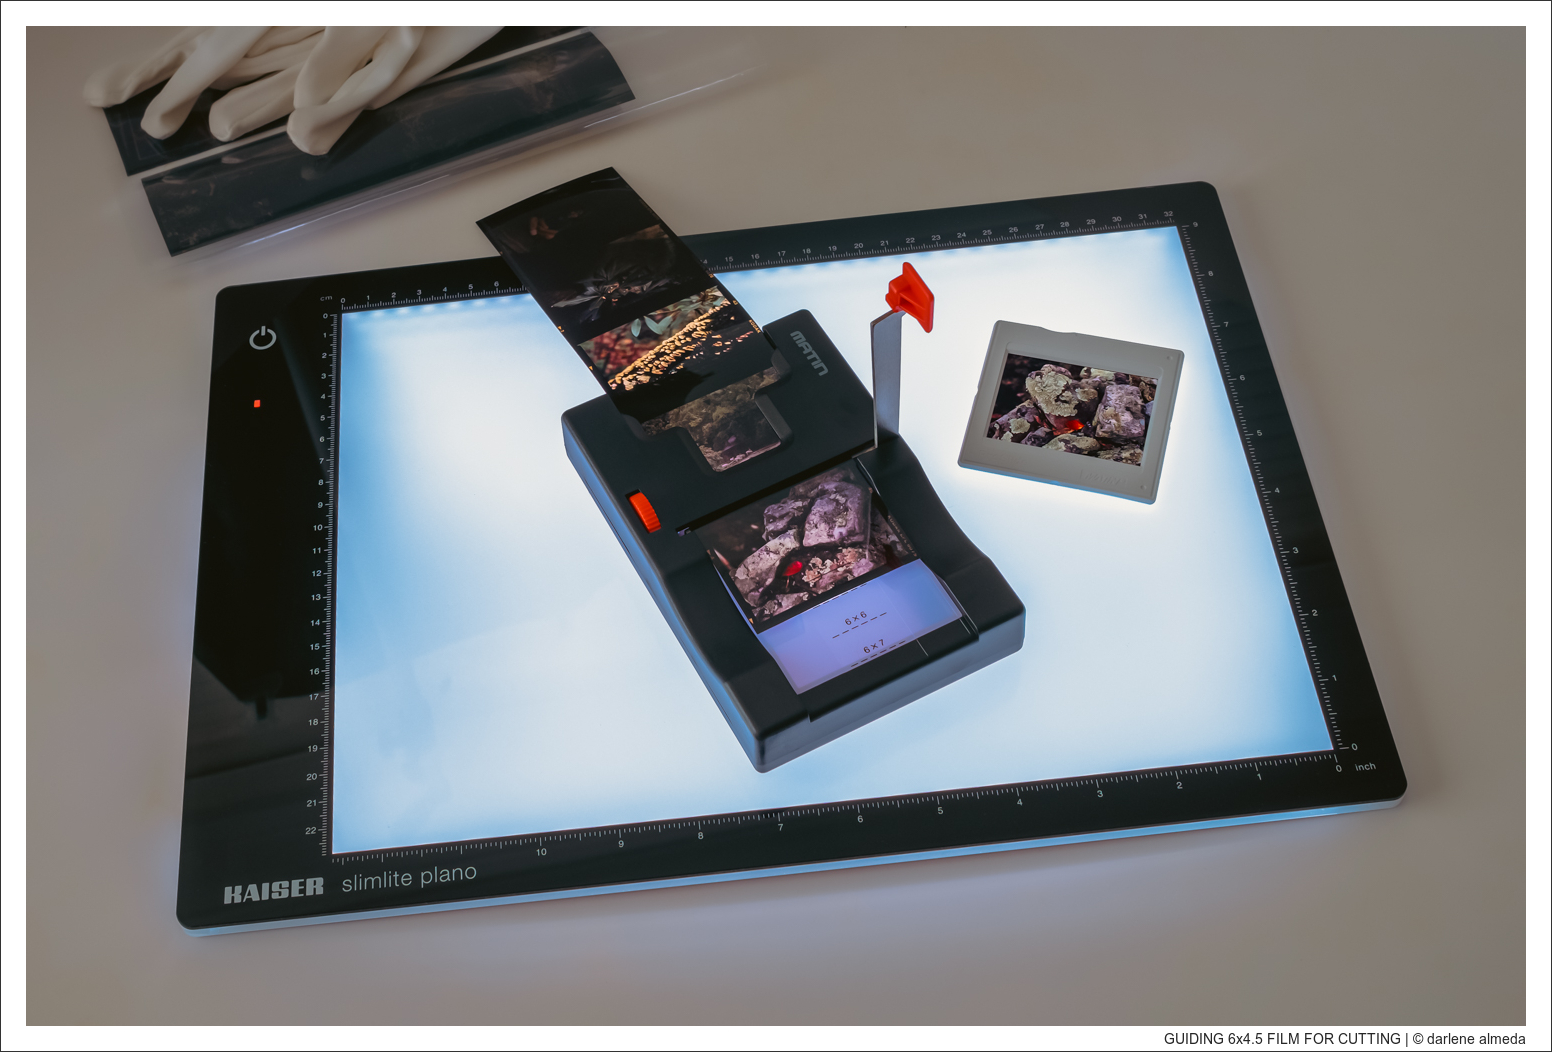
1. Position the Film
– Place the 6×4.5 transparency in the Matin Cutter and align it carefully using the 6×4.5 guide
– The lightbox beneath helps ensure you can see the frame edges clearly.
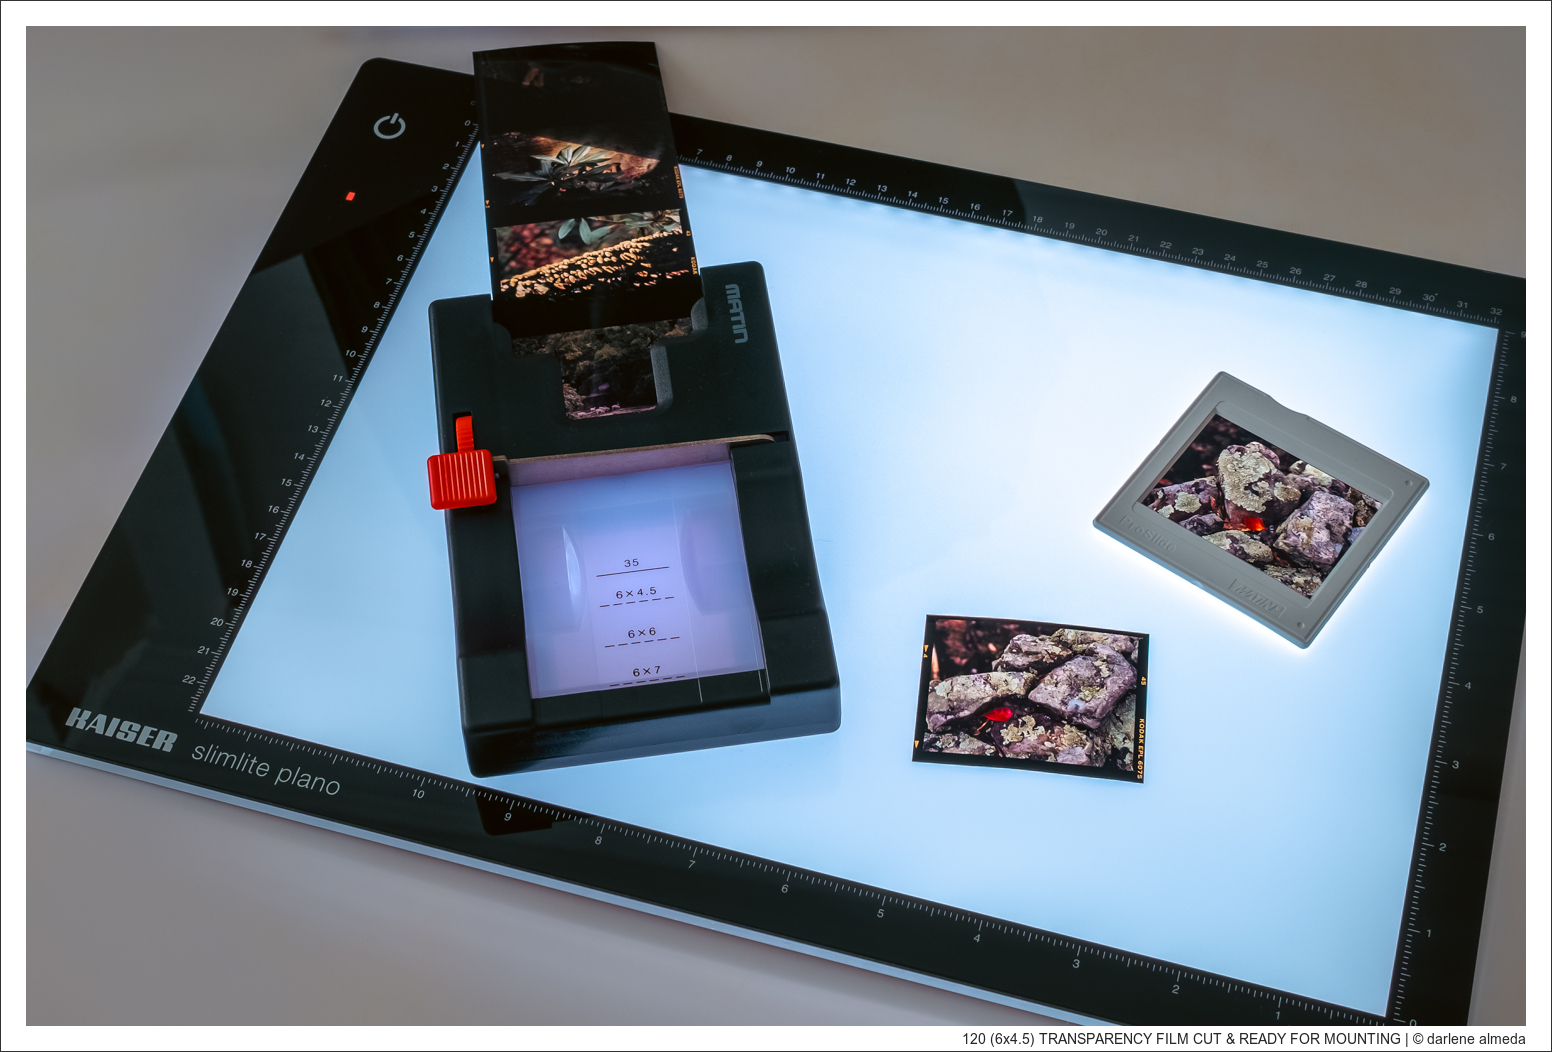
2. Cut the Film
– Slowly advance the film with the red turning wheel until the frame lines up perfectly.
– Pull down the cutter arm using the red tab to make a clean, precise cut.
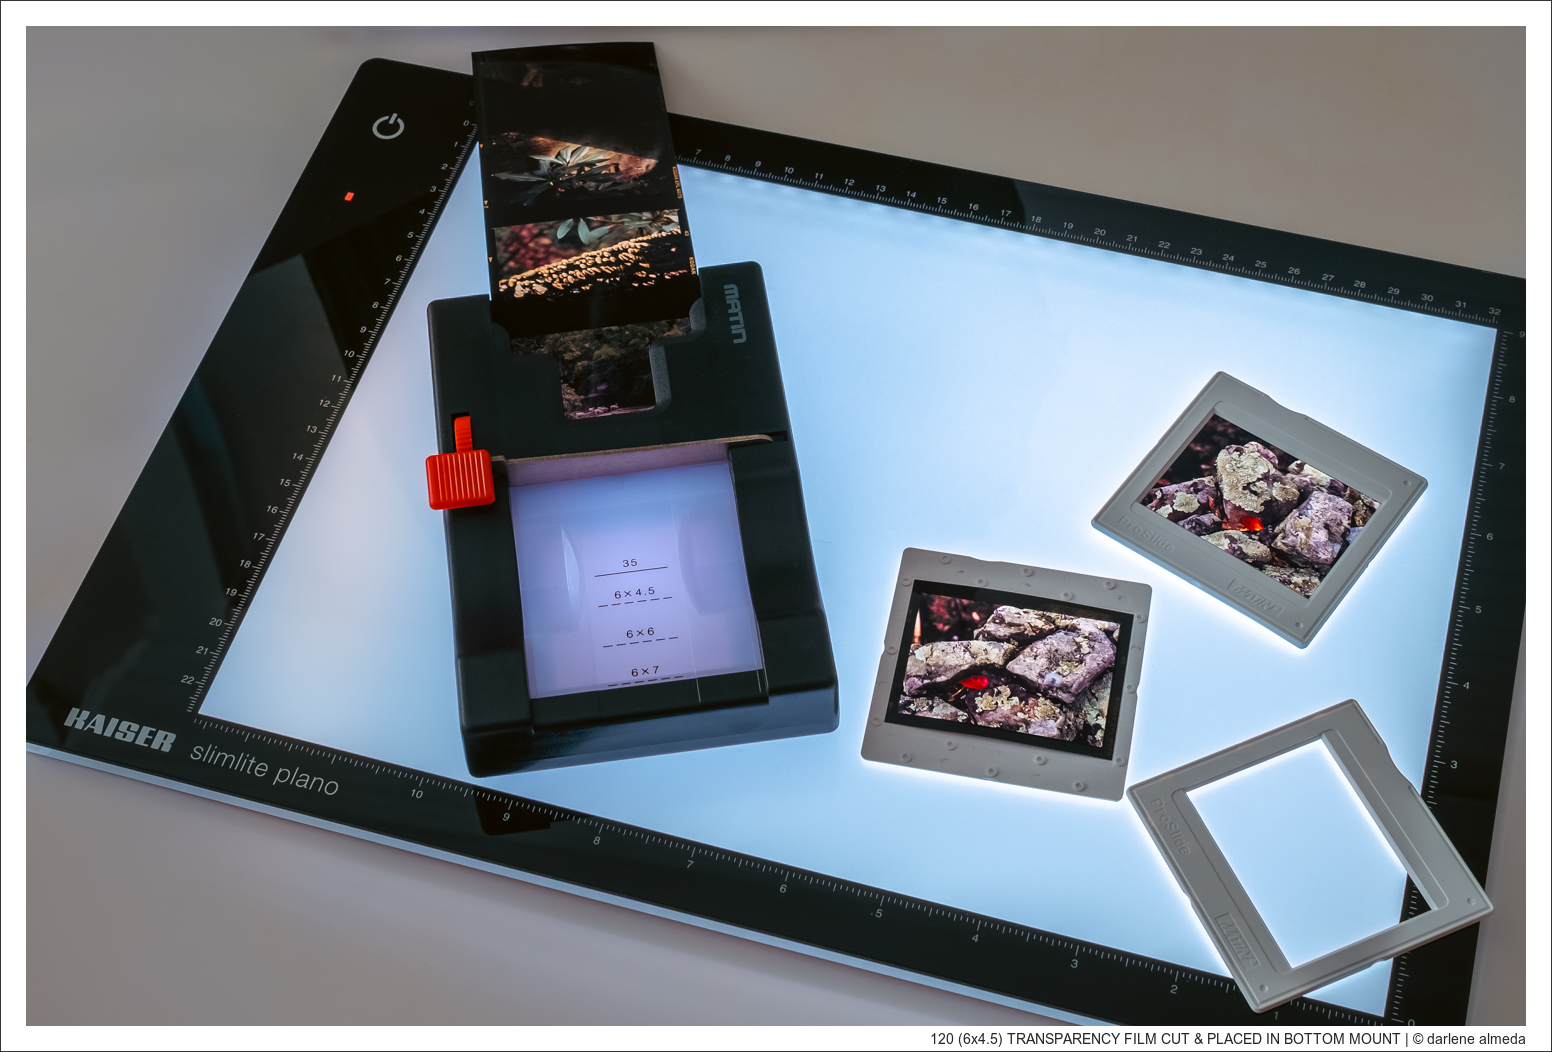
3. Prepare the Slide Mount
– Open the appropriate 6×4.5 slide mount (ensure it matches the film size for a snug fit).
– Place the freshly cut transparency inside, aligning it evenly within the mount’s edges.
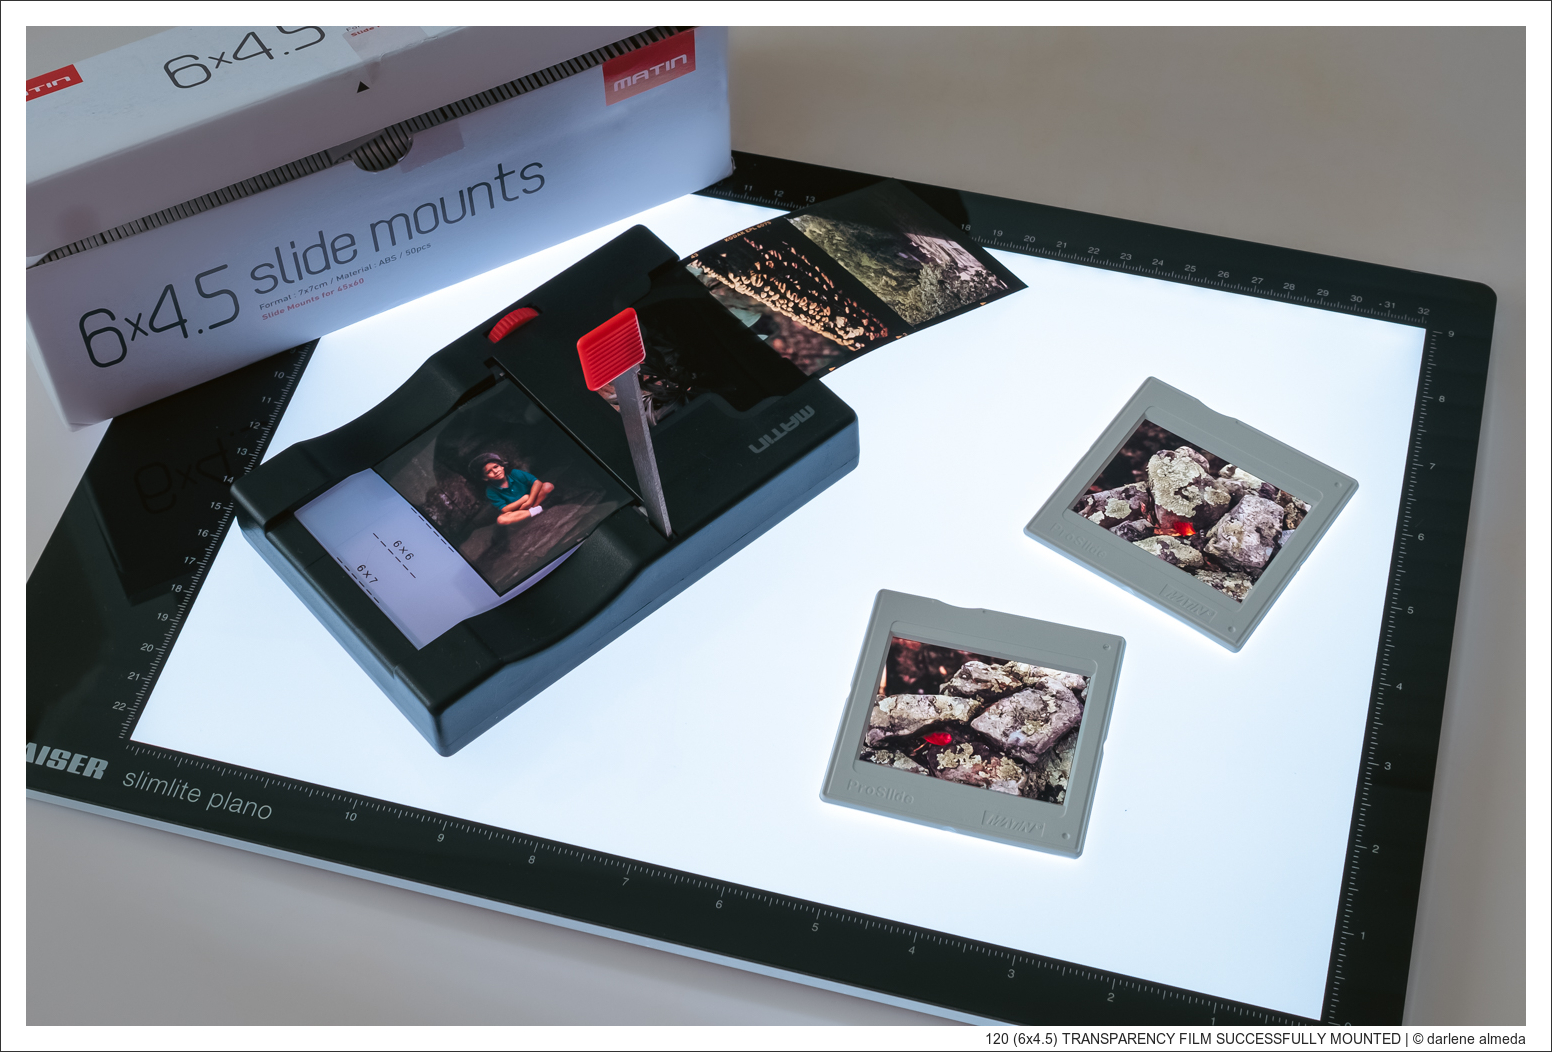
4. Seal the Mount
– Close the slide mount securely to hold the film in place.

5. Final Check
– Inspect the mounted frame against the lightbox to confirm alignment and ensure there are no dust particles or fingerprints on the film.
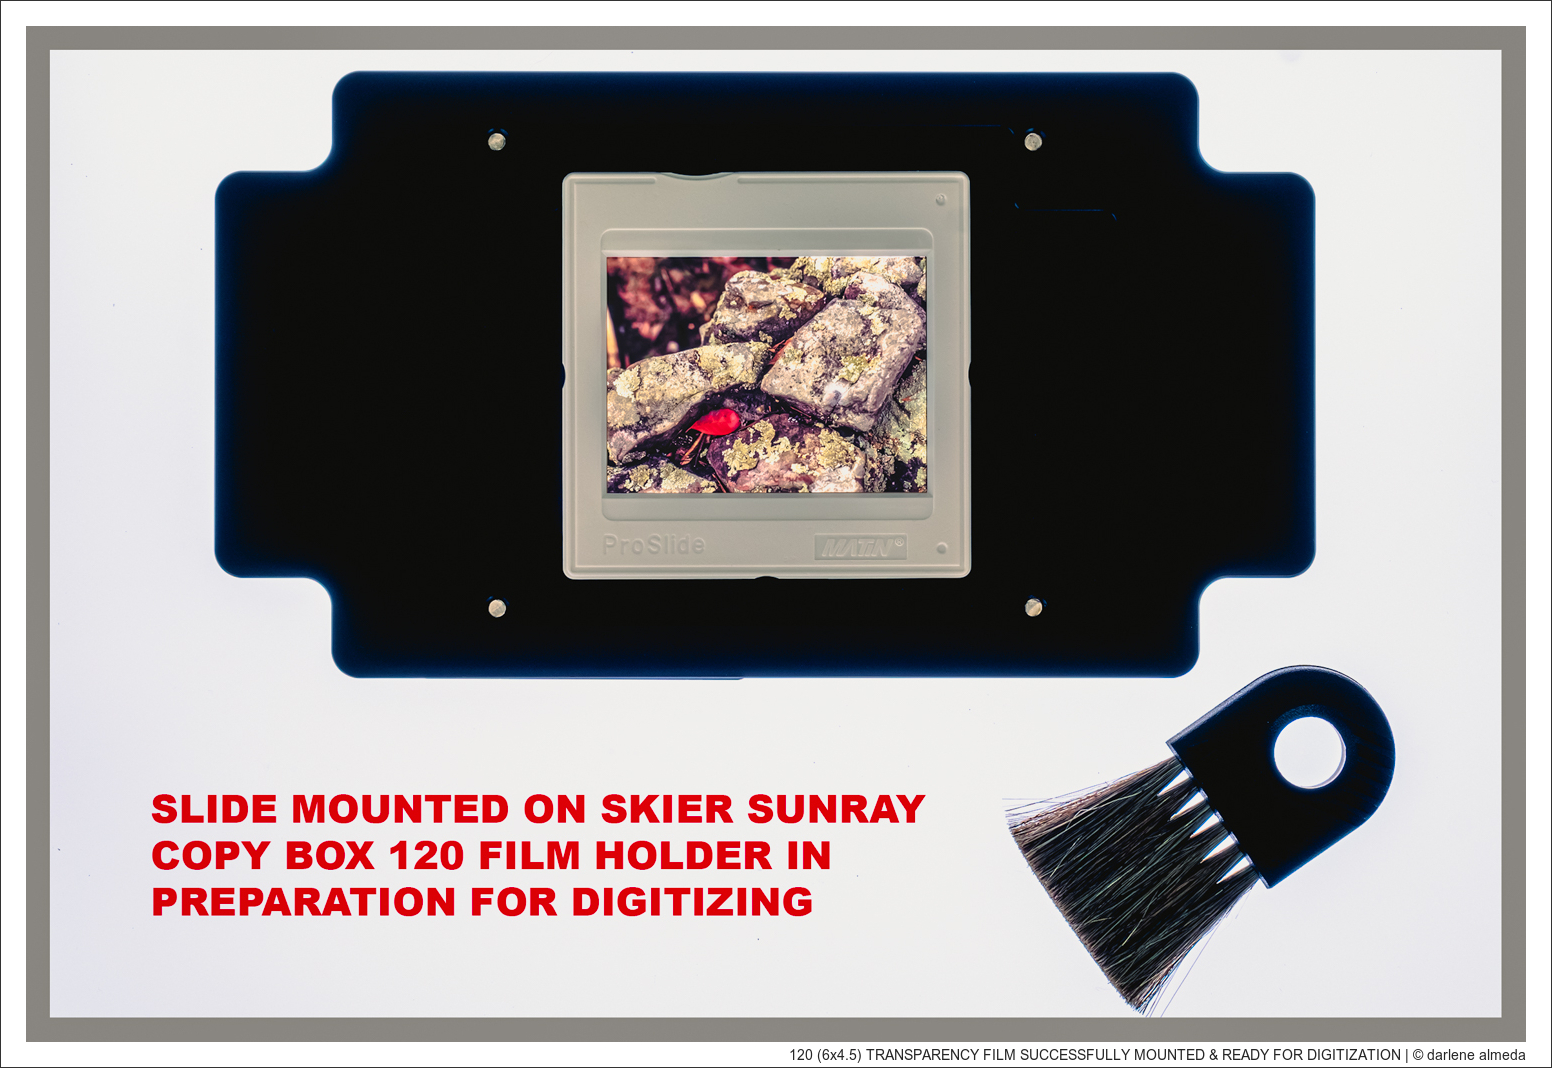
Closing Comments
Handling your film with care ensures its longevity and showcases your work with the respect it deserves. With these techniques, you can confidently preserve your images, knowing each frame is cut to perfection.
