TLDR:
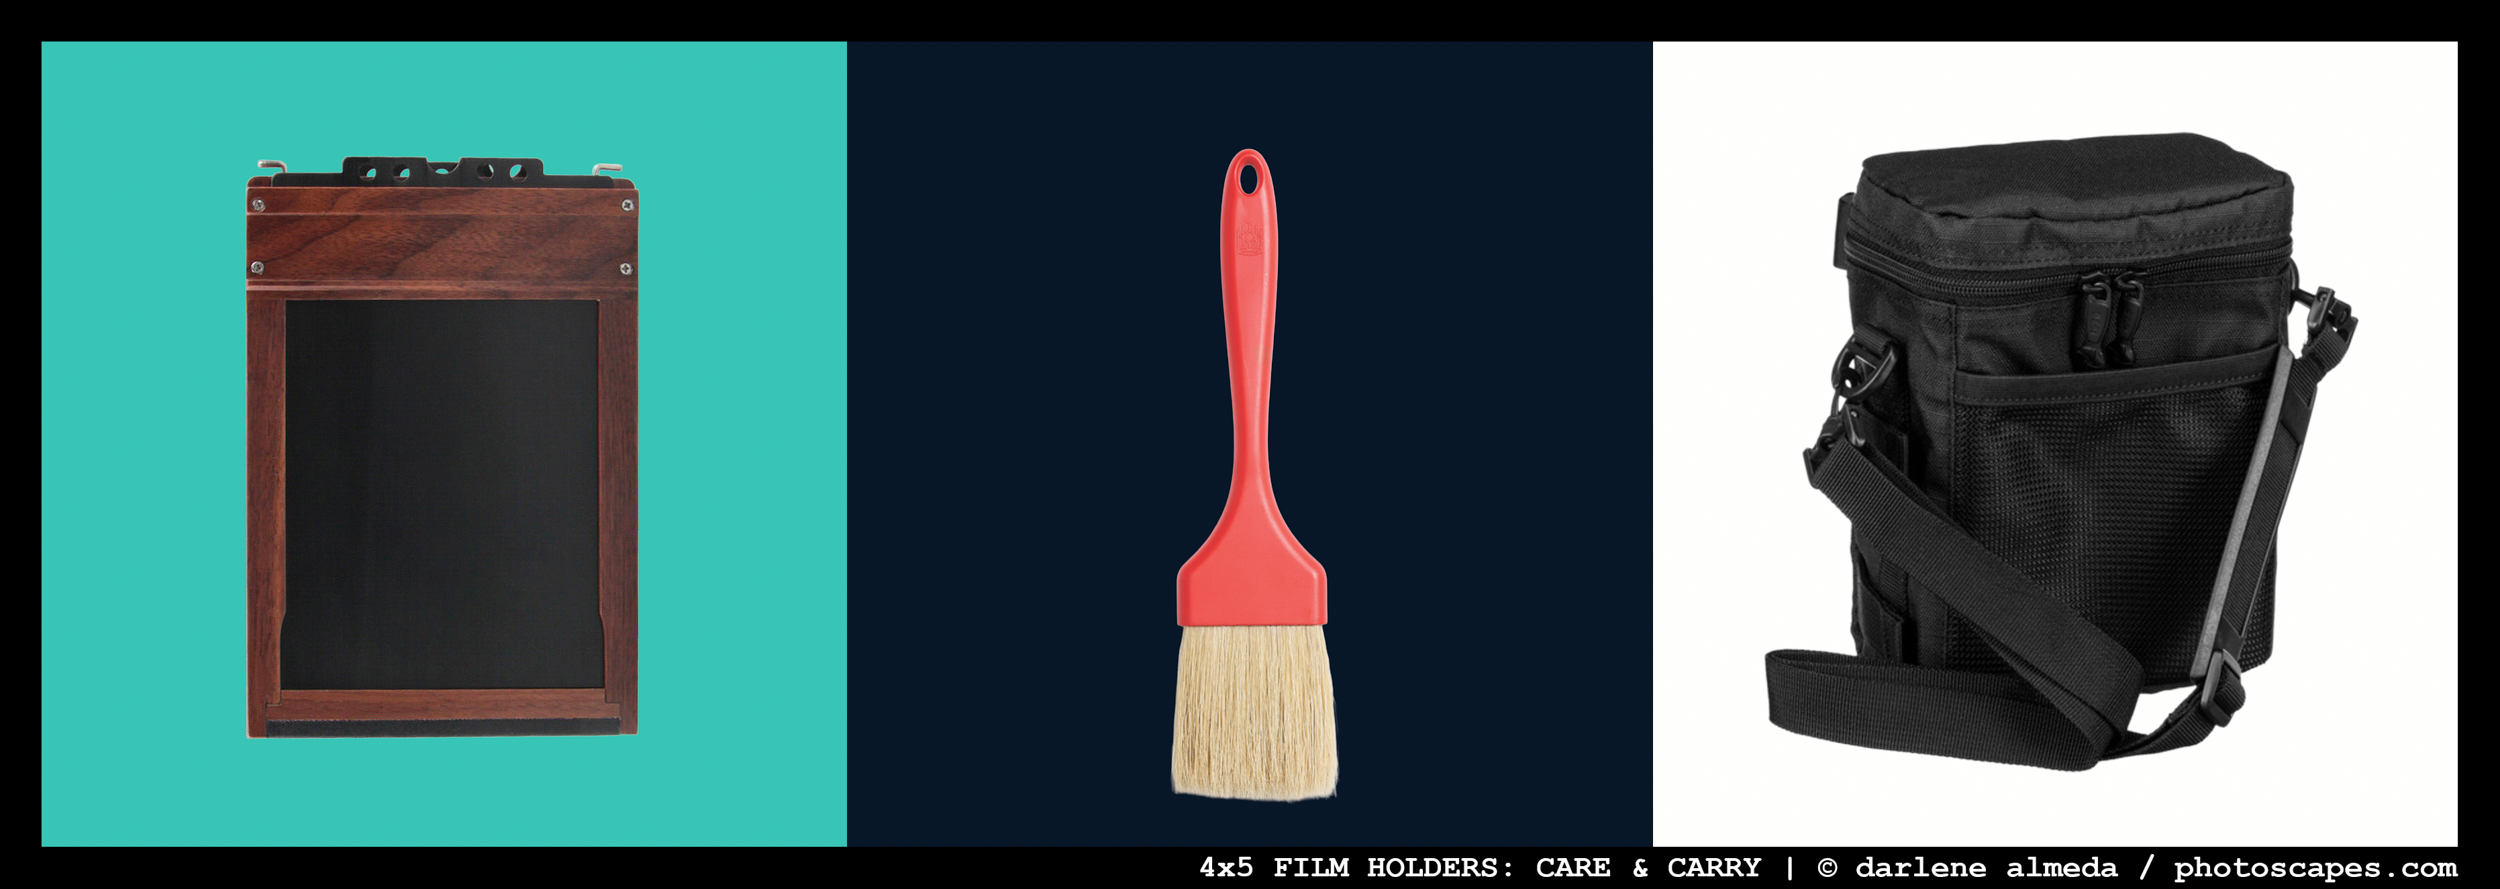
4×5 FILM HOLDER + PASTRY BRUSH + F.64 4×5 FILM HOLDER CASE
Intro
In photography school, I learned to use a pastry brush to clean dust from my film holders. It’s simple, inexpensive, and still works beautifully decades later. Before each loading session, I gently sweep the holders to remove any stray particles—dust is the enemy of a clean negative. A soft, natural-bristle brush like this one will do the trick.
Once the film is loaded, protection becomes the priority. For years, I relied on zip-lock bags. Later, I moved to F.64 cases, which offered more structure and padding. These days, I prefer Stone Photo Gear’s Double and Triple Sleeves because they fit snugly in my field packs, guard against humidity, and survive the bumps of travel.
Whatever system you choose, make sure it shields your holders from dust, moisture, and light while keeping everything organized for quick access in the field.
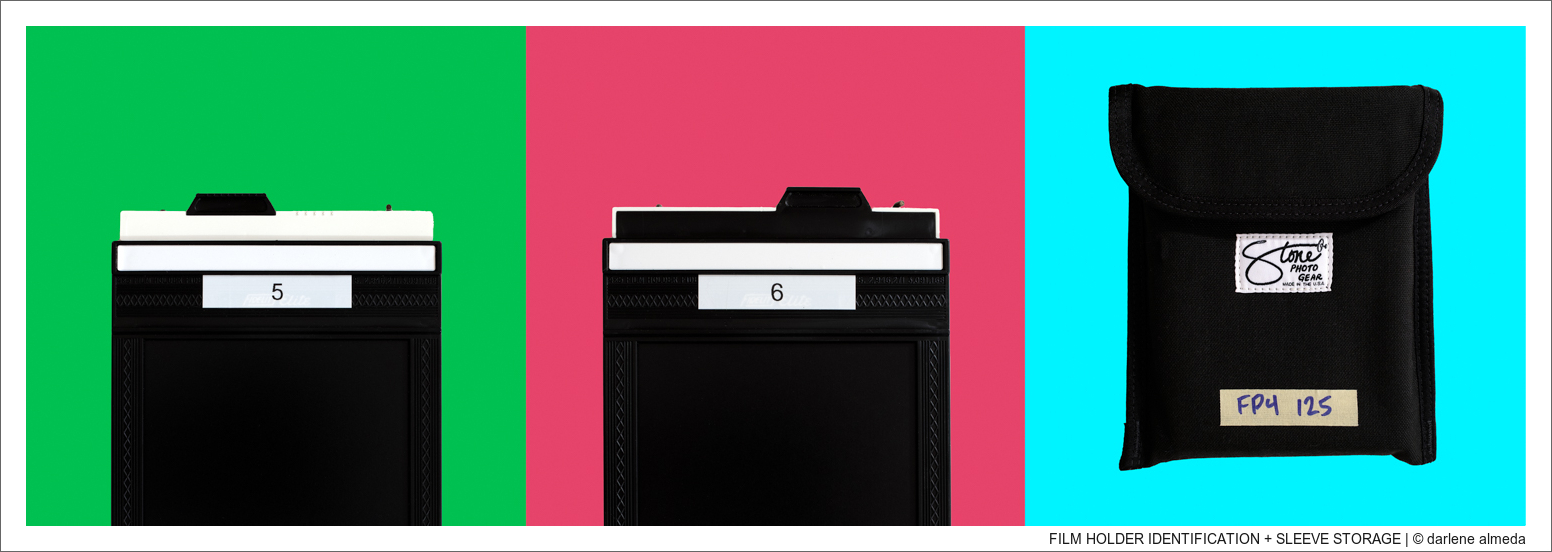
#5 NOT EXPOSED + #6 EXPOSED + SLEEVE w/FP4 125 NOT EXPOSED
Film & Holder Identification
Film identification is vital when shooting sheet film—it’s unsettling not knowing which holder carries exposed film. I use a simple system that’s foolproof and inexpensive.
Never leave a loaded holder in direct sunlight, even for a moment. Some darkslides aren’t as opaque as assumed, and light leaks can sneak in through the edges.
I number all my working holders with labels made from a P-Touch Label Maker. The labels stay put without gumming up the surface and are easy to remove if I ever need to re-number. It’s far better than inheriting someone else’s permanent-marker graffiti from a used holder.
Before I load film, I make sure the darkslide’s white strip faces outward—this means unexposed. After shooting, I flip the darkslide to show the black strip—this means exposed. It’s a clear, visual reminder even in low light.
To track film type and exposure status, I use a short strip of masking tape on each sleeve. The tape lists film type and ISO; when I finish a shoot, I move it from the bottom of the sleeve to the flap. It becomes my quick, tactile checklist of what’s ready for development.
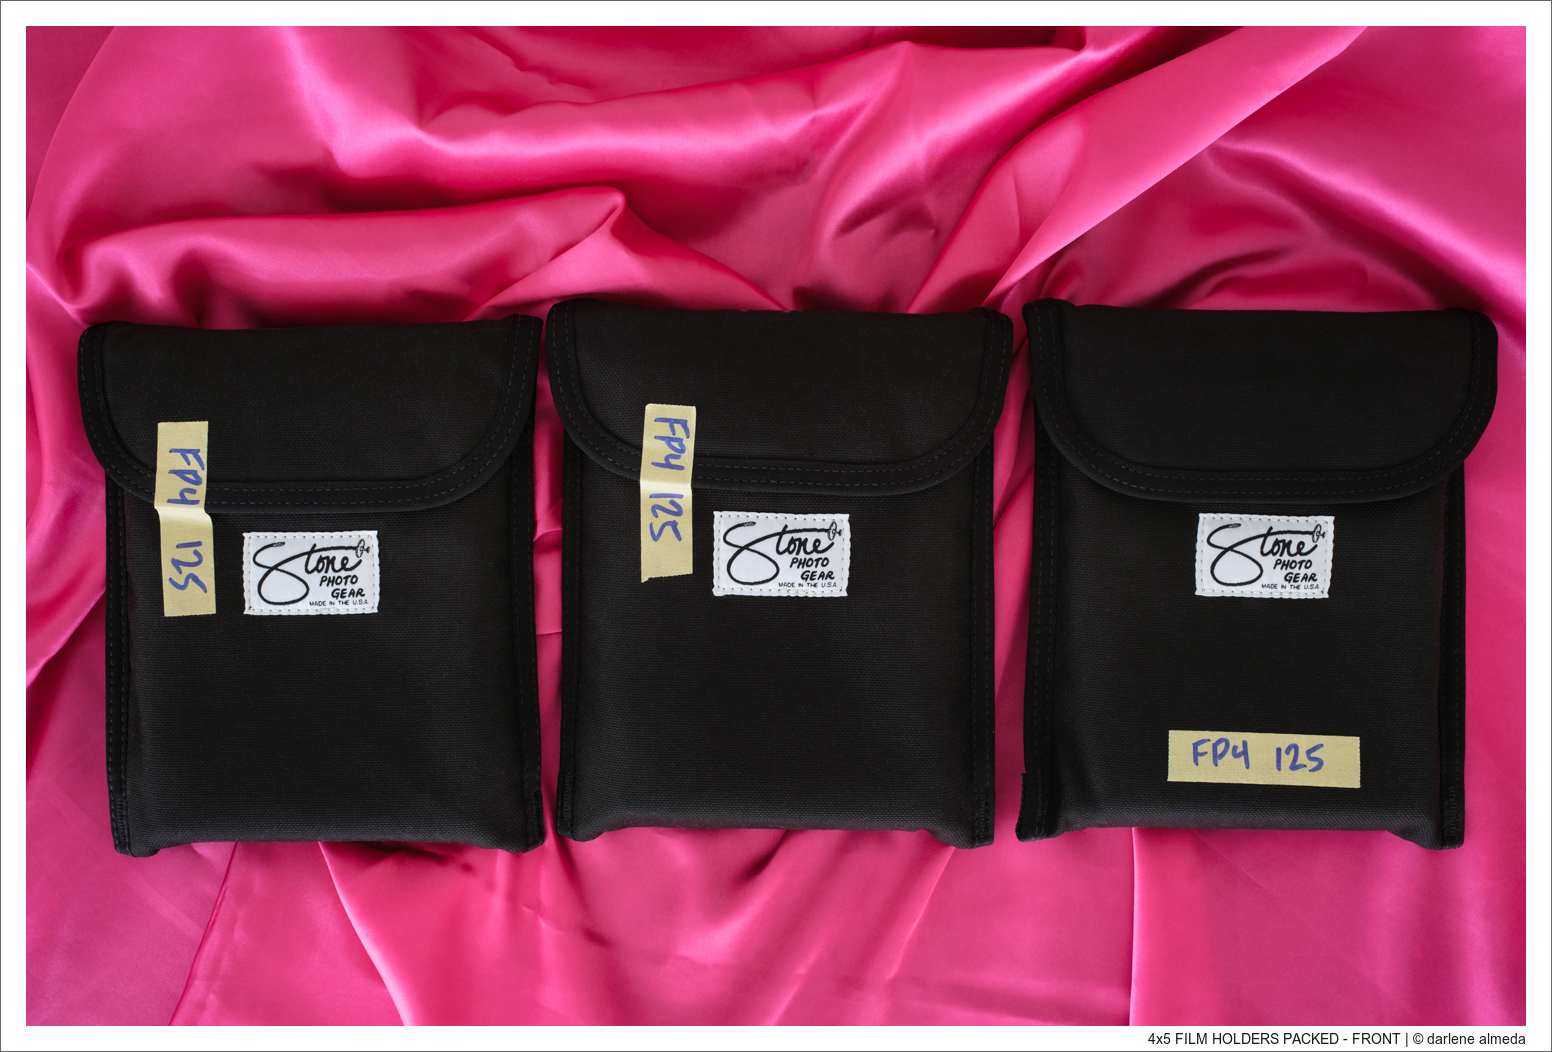
TWO DOUBLE SLEEVES WITH EXPOSED FILM & ONE SLEEVE UNEXPOSED
Checking Off Exposures
I use two types of tape on my film-holder sleeves to stay organized:
- Cloth tape at the top — labeled with holder numbers (e.g., 1–4, 5–8) using a silver metallic marker.
- Masking tape at the bottom — labeled with film type.
When a holder has been fully exposed, I simply move the masking tape up and place it over the Velcro flap. That becomes my visual cue that everything inside is ready for development.
The sleeves stay in my pack in numeric order, making it easy to track exposures throughout the day. The masking tape also doubles as a tiny notepad—handy for jotting quick notes on location. It’s a simple, low-tech system, but incredibly efficient, especially on multi-day shoots with multiple film stocks. These small touches save time later and keep the workflow smooth from capture to development.
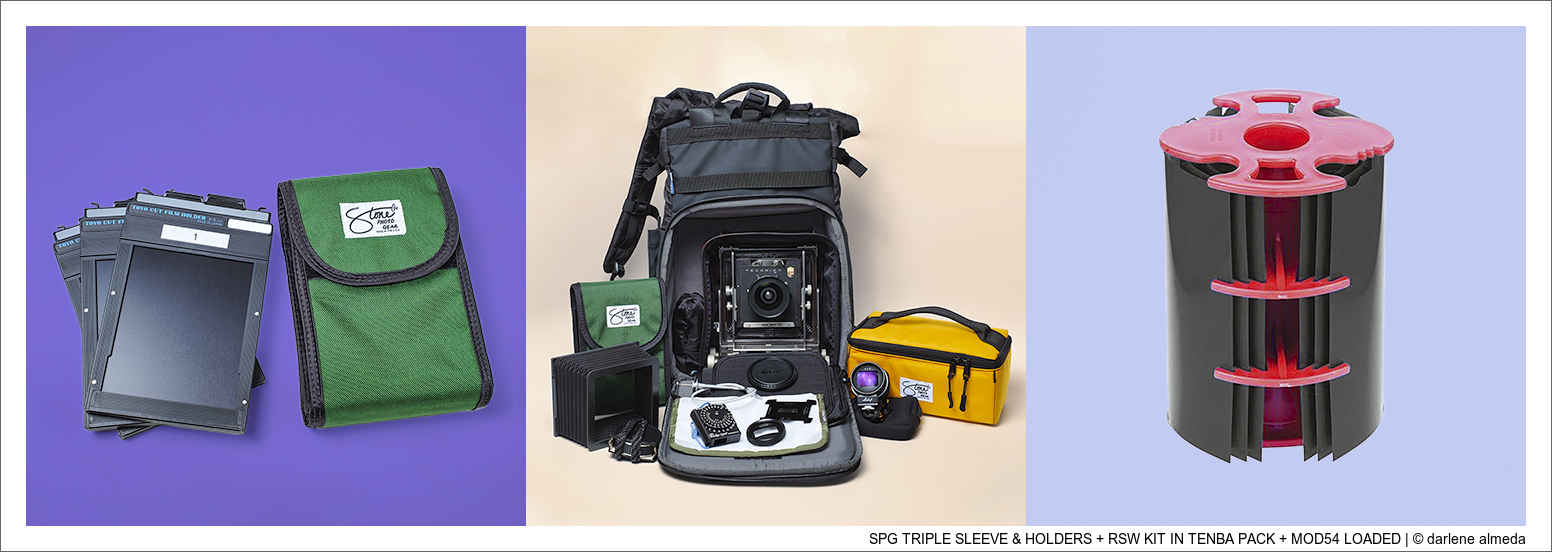
SPG TRIPLE SLEEVE & HOLDERS + RSW KIT IN TENBA PACK + MOD54 LOADED
The Delight of the Triple Sleeve Case
The Stone Photo Gear Triple Sleeve is one of my favorite discoveries. Each sleeve holds three 4×5 film holders—exactly six sheets of film. That happens to match the capacity of the MOD54 4×5 film processor, which fits inside a Paterson tank. The pairing is perfect for a compact, efficient workflow in the field.
My Ebony RSW lives inside a Tenba Fulton V2 16L Backpack with the Triple Sleeve nested securely inside. When fully loaded—with camera, three lenses, film, and accessories—it’s still my lightest 4×5 setup to date. A delight to carry, especially when hiking to a remote location.
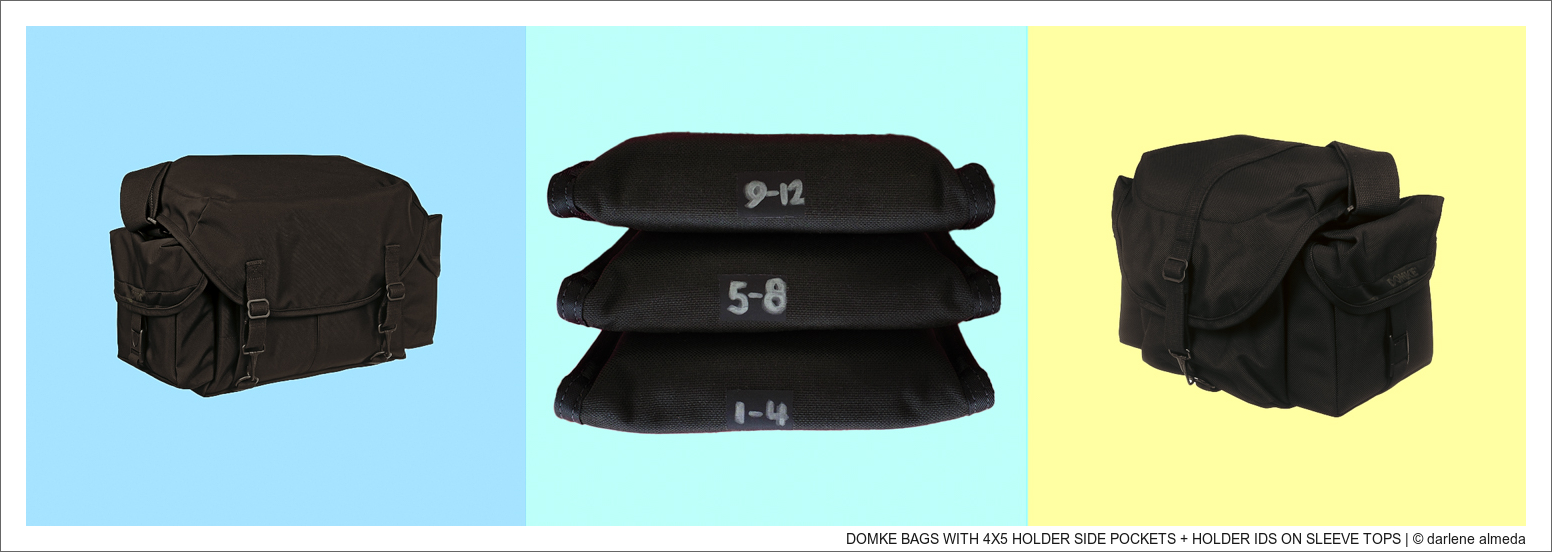
DOMKE BAGS WITH 4×5 HOLDER SIDE POCKETS + HOLDER IDs ON SLEEVE TOPS
Cases with Built-In Film Holder Pockets
For many years, I used an Ebony Camera Bag with built-in 4×5 film-holder pockets. When that bag wore out, I switched to the Domke J-1 Journalist Shoulder Bag and later added the Domke J-3, which is slightly smaller but equally practical.
The side pockets on these models of Domke bags are ideal for film holders—especially because they are padded with removable foam. They’re lighter than carrying an extra F.64 case and have held up through years of use. When working on location with fifteen or more film holders, my Domke J-3 bag becomes ‘the’ film holder bag. It makes carrying and retrieving holders easy, safe, and fast.
GULF BREEZE: 4×5 PINHOLE NEGATIVE CROPPED TO 6×17
Conculsion
Whether you’re shooting large-format landscapes or tabletop still life, a consistent system for film holders makes all the difference. My approach evolved over decades of commercial and personal work, and it has never failed me: clean, protect, identify, and store.
Develop your own rhythm. Maybe you prefer a small notebook or a digital note app; maybe you use color-coded tape instead of labels. The method doesn’t matter as much as the consistency.
Our shared goal is to keep film safe, clean, and ready—so you always know what’s exposed, what’s not, and where each holder belongs.
I still find joy in the process of loading, labeling, and carrying my 4×5 gear. My Ebony RSW remains my favorite for on-location work, while my ONDU Rise Pinhole offers a slower, meditative pace. Sometimes I like sharp, sometimes I like soft—but I’m always grateful to have the film and tools ready when inspiration strikes.
Best to you on your own journey with 4×5.

