Author’s Note: Written over ten years ago, this post captures an early chapter in my infrared photography journey with the Sigma SD1 Merrill. I’ve kept it in the archives for those who enjoy experimenting with that unique camera. Today, I continue to explore invisible light using a 590 nm–converted Fujifilm X-E2, but the spirit of experimentation remains unchanged.
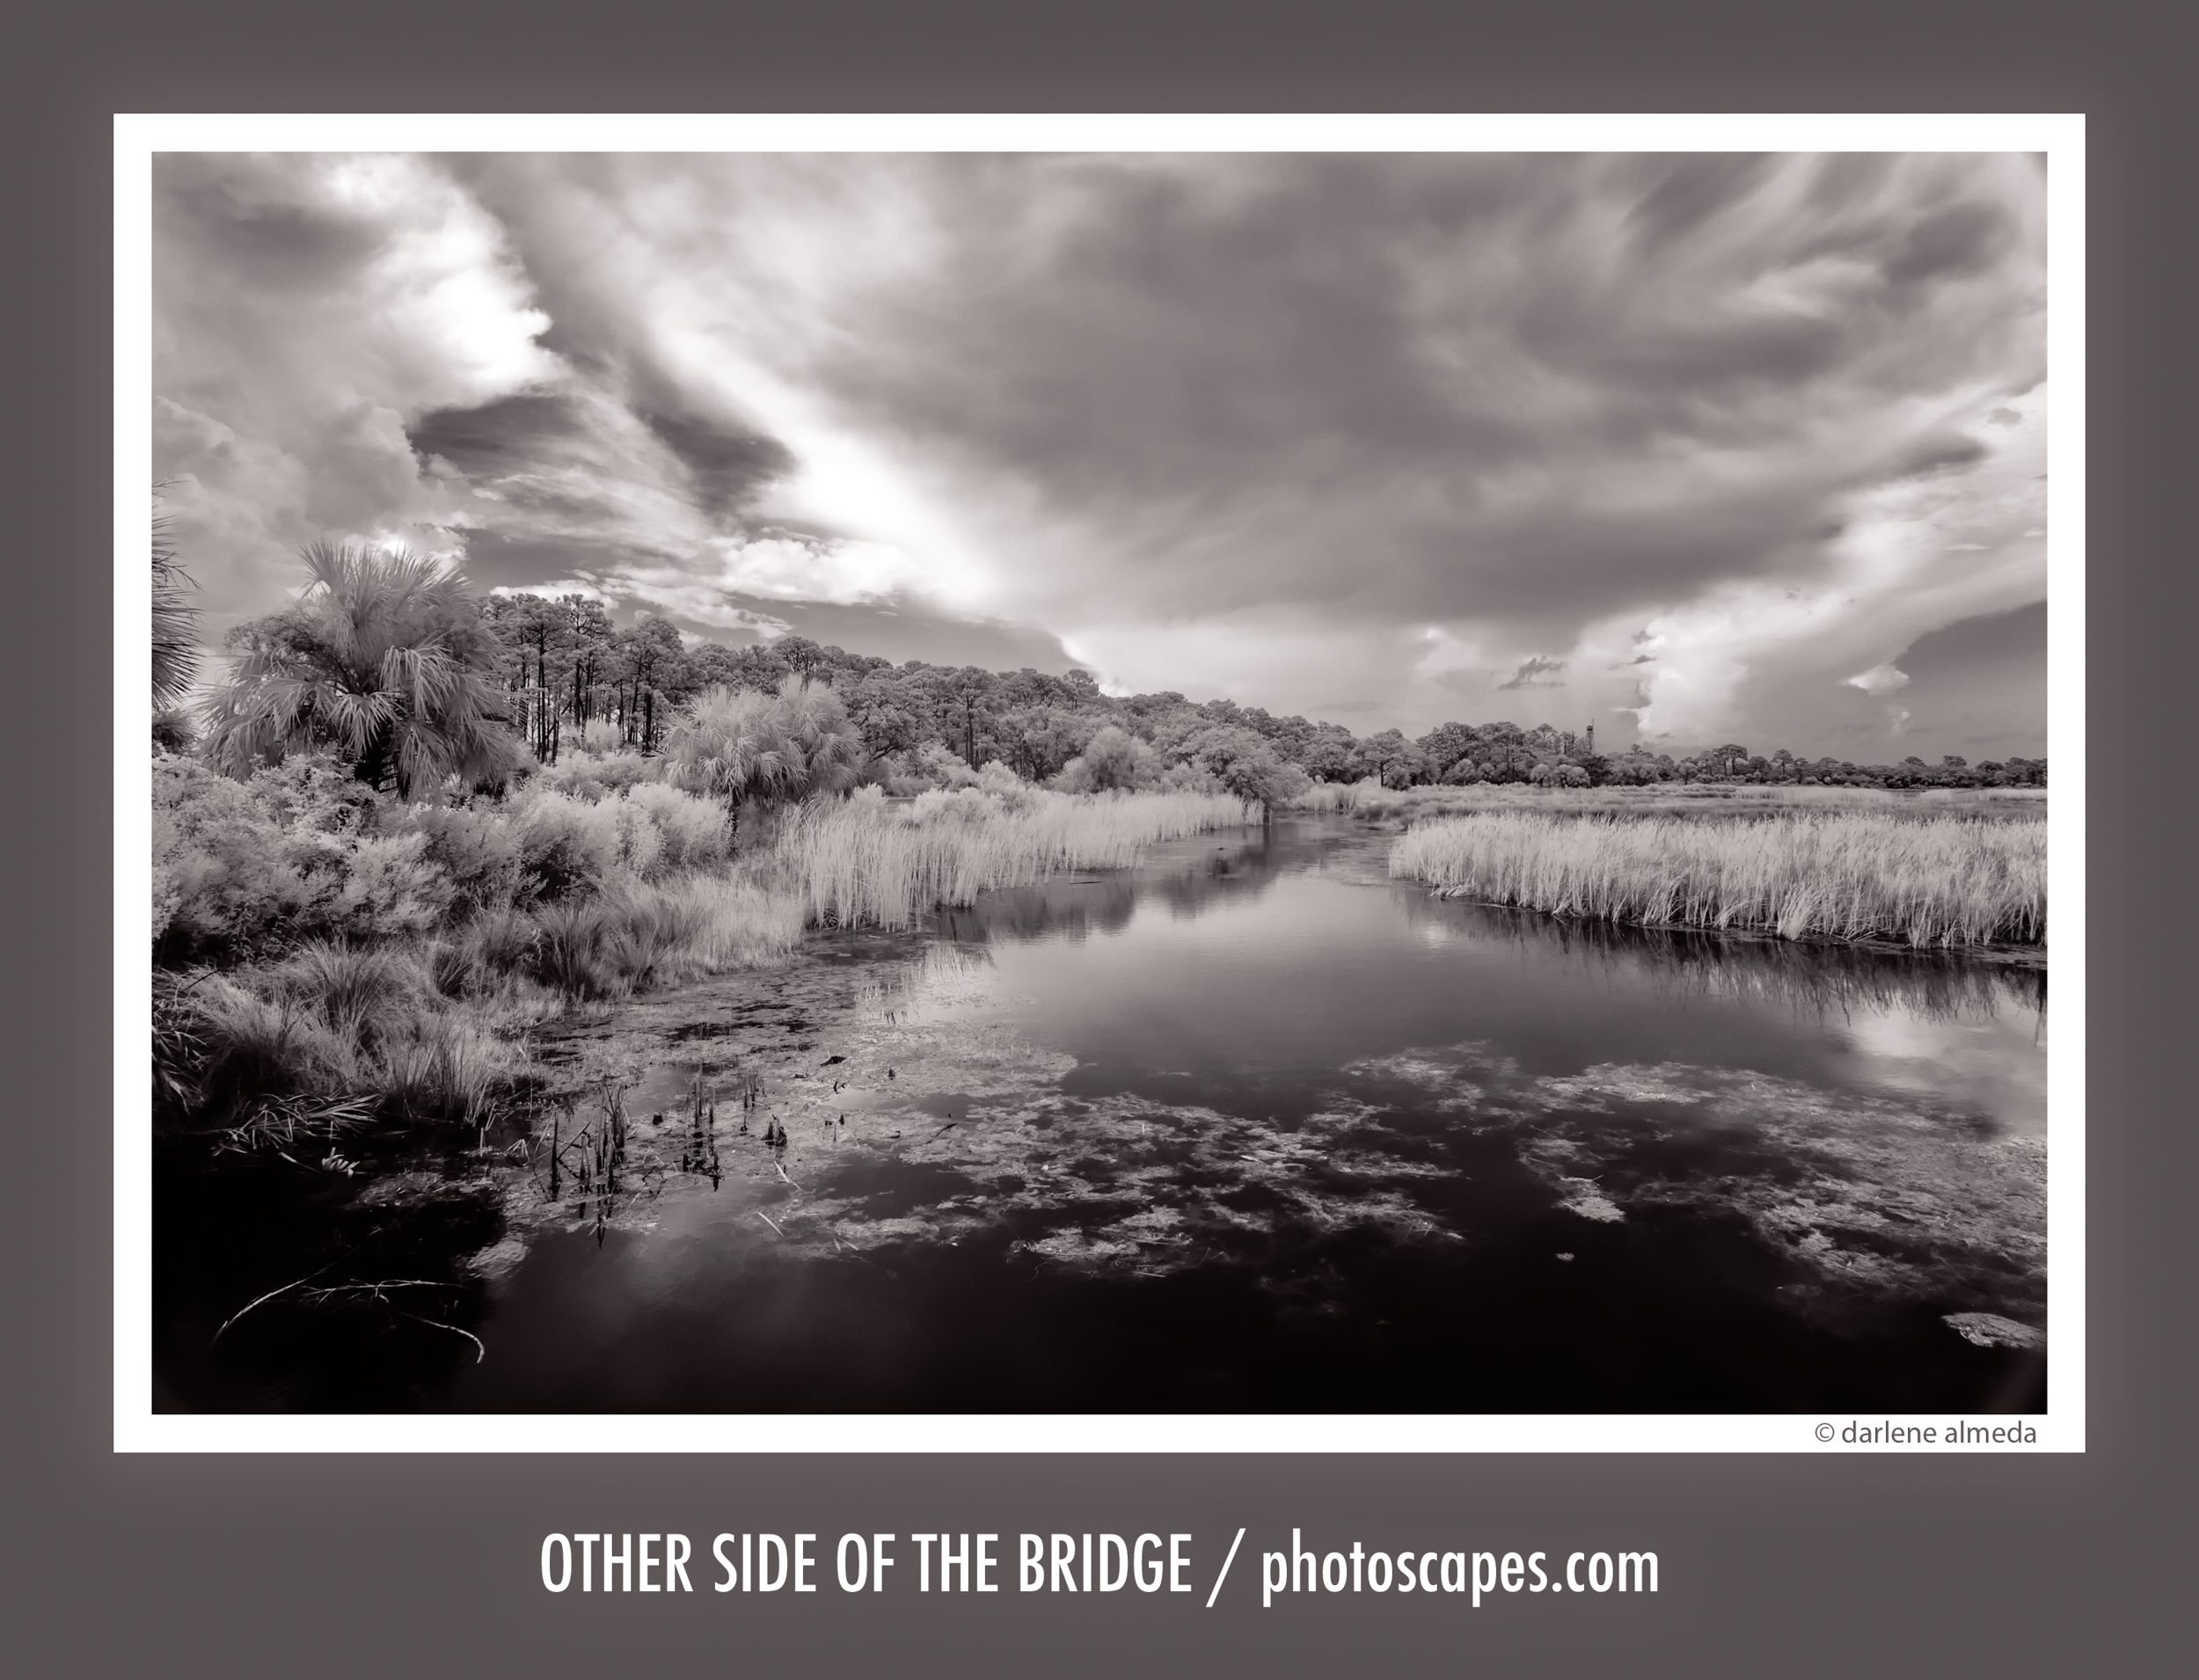
6:09 PM | The Other Side of the Bridge | Sigma 12-24mm II, 1/30 @ f/11
Exploring Infrared Photography: From Film to Digital
I first experimented with infrared (IR) photography in the mid-1990s using a Nikon F3 and the now-discontinued Kodak High-Speed Infrared film (Kodak HIE). Shooting IR film was challenging for several reasons: it had to be loaded and unloaded in total darkness, making field reloading nearly impossible, and of course, you couldn’t see your results until the film was processed.
Even today, IR photography presents its own set of challenges—whether shooting film or digital—because infrared light focuses at a slightly different point than visible light. To capture IR effectively, a dark, opaque infrared filter must be placed over the lens. This blocks most visible light while allowing only near-infrared wavelengths to reach the sensor or film. Unless your camera has been permanently modified with its internal IR-blocking filter removed, you’ll need to shoot through this external filter, which makes composition and focusing more difficult.
Older manual-focus lenses often included a small red index mark indicating the IR focus shift, but most modern lenses lack this feature. In those cases, stopping down the aperture increases depth of field and helps compensate for the shift.
Digital photography, however, has made infrared capture far more approachable. The ability to review images immediately on an LCD screen eliminates much of the guesswork in exposure and focus. You may still need to bracket exposures or pre-focus before attaching the filter, but that instant feedback transforms what was once a highly experimental process into something practical and enjoyable.
This article explores using the Sigma SD1 Merrill (SD1M) for digital infrared work. A unique feature of this camera is that its IR-blocking filter can be safely removed by the user, rare among DSLRs. Although most digital cameras contain built-in IR-blocking filters, their sensors still respond to a small amount of near-infrared light. When you attach an external IR filter that blocks visible light, the camera can still record that limited IR response, allowing for creative experimentation even without full sensor modification.
Infrared photography invites us to see the world differently—to reveal a hidden spectrum of light just beyond what our eyes can perceive. If you once tried IR film and found it frustrating, or if you’ve never ventured into this mysterious realm, today’s digital tools make it a rewarding exploration worth revisiting.
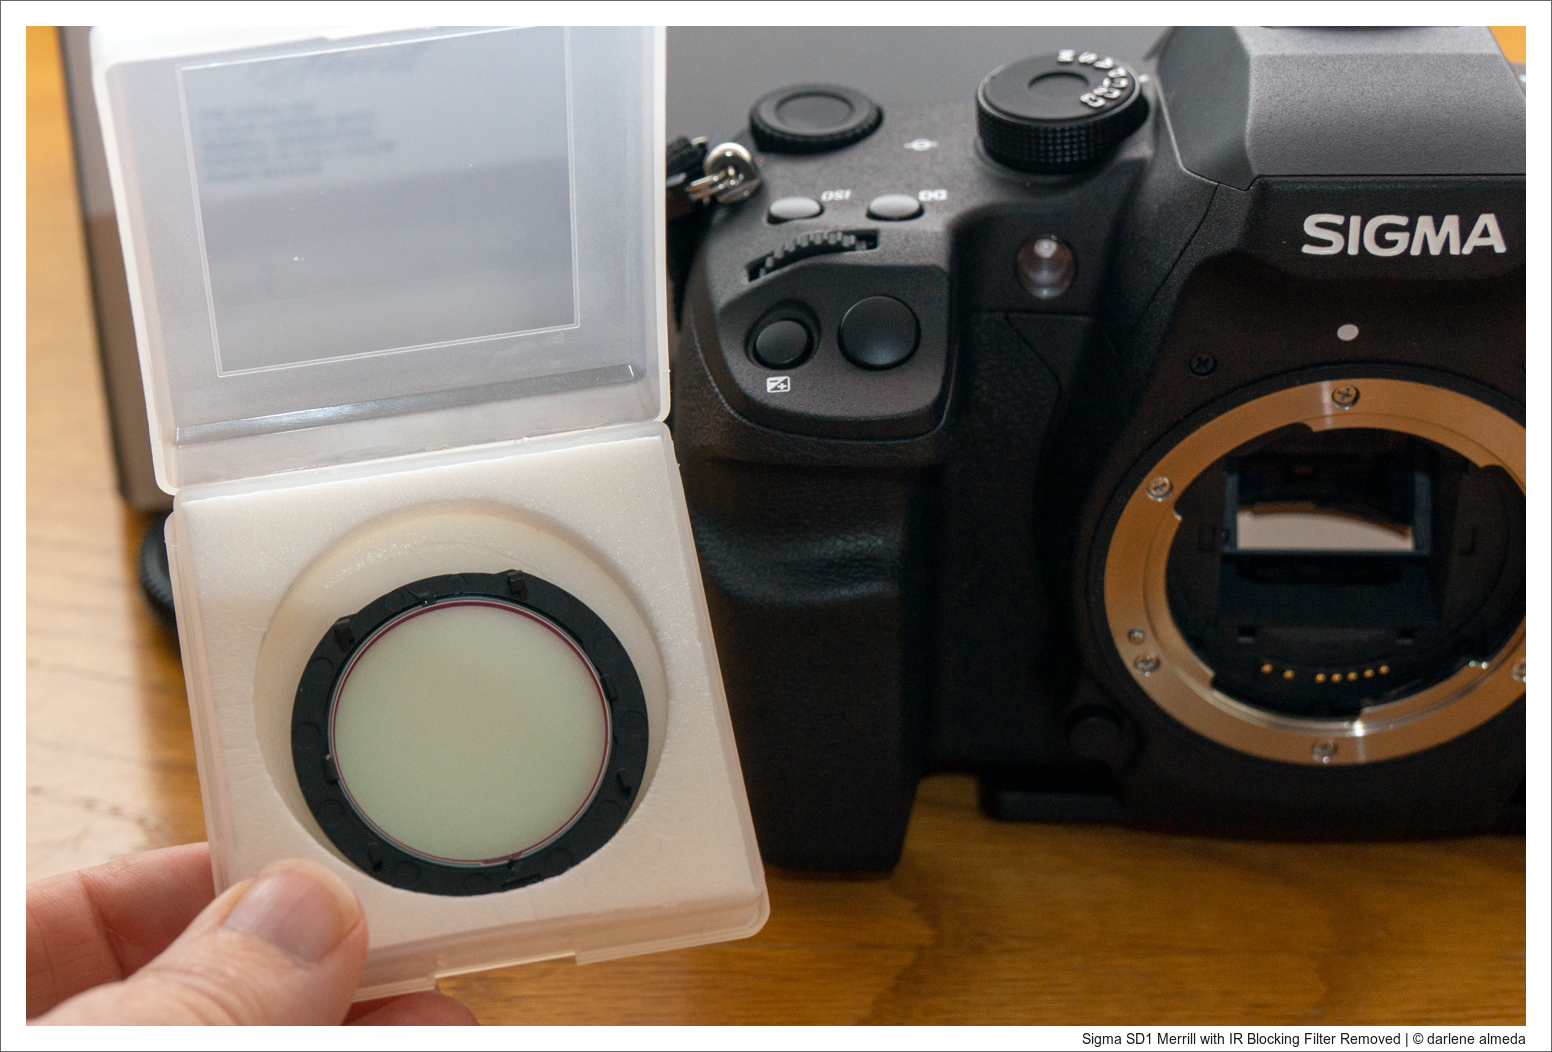
Sigma SD1 Merrill with IR Blocking Filter Removed
There are various degrees of IR filtration available, and I prefer to use the most popular filter which blocks visible light up to 720nm, a Hoya R72 filter. Since my wide-angle lens uses the largest filter (82mm), I only need to purchase the R72 in 82mm and then use step-up filter rings to use the same filter on all my lenses. I highly recommend purchasing filters this way.
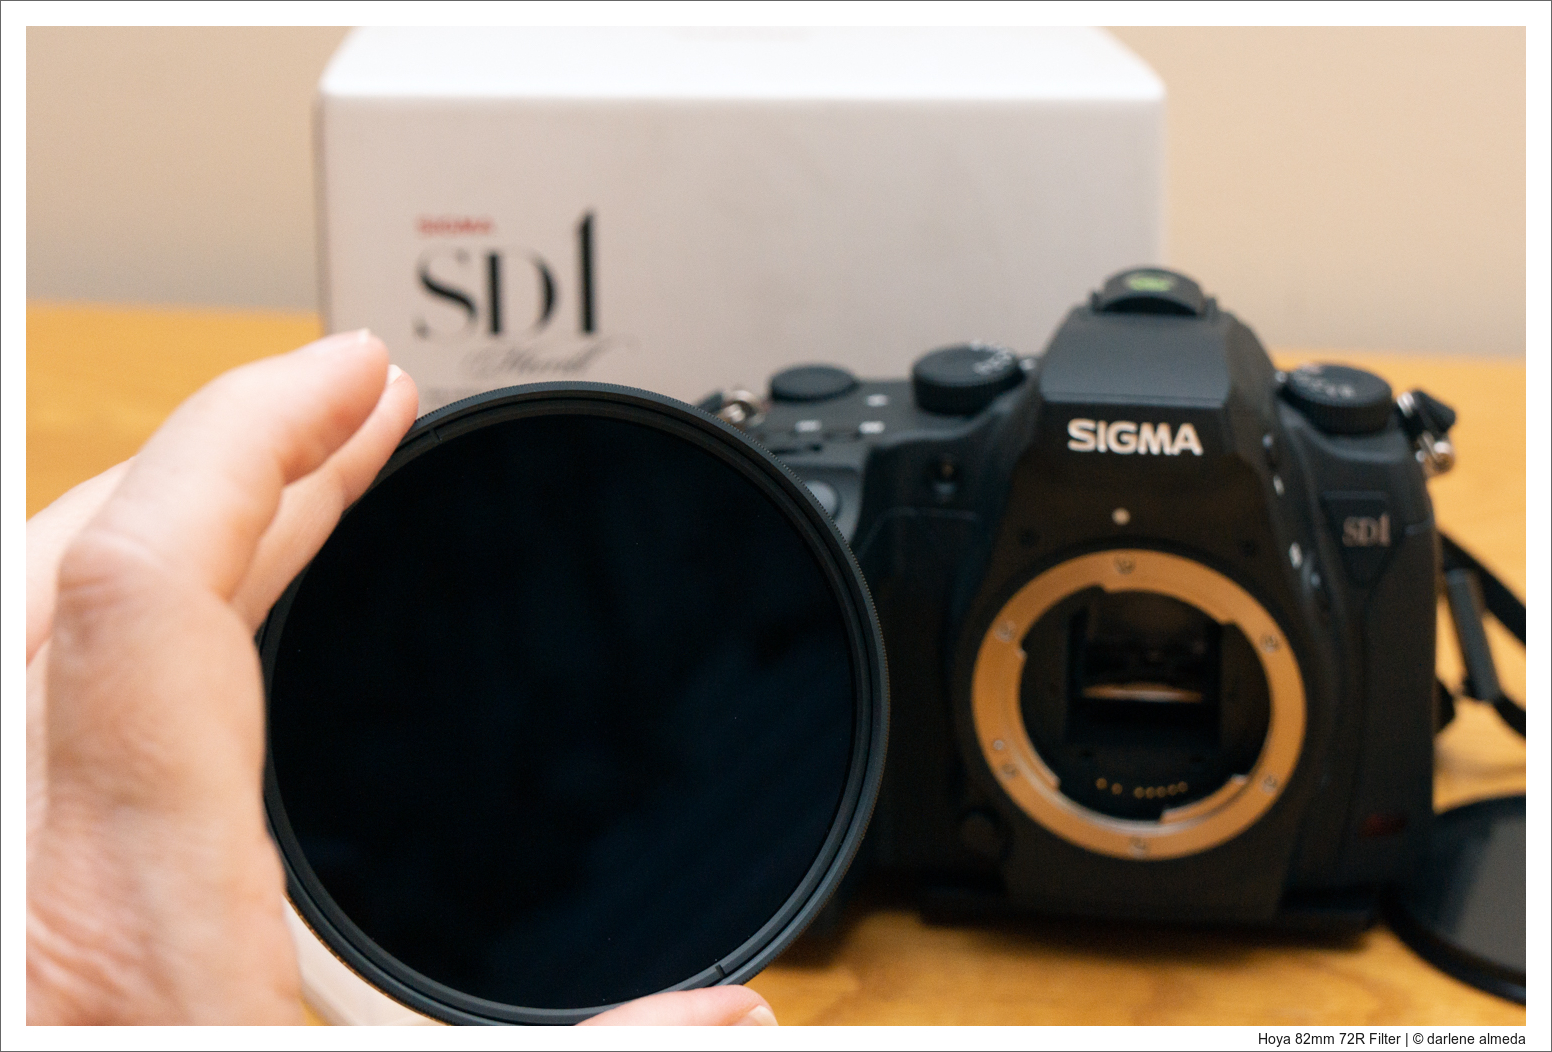
Hoya 82mm 72R Filter
Getting Started with SD1M Digital Infrared Photography
To begin shooting digital infrared, you’ll need four essentials: a digital camera, one or two lenses, an infrared (IR) filter, and a sturdy tripod. A tripod is non-negotiable—exposure times for IR photography are often long, even under bright sunlight, making handheld shooting impractical.
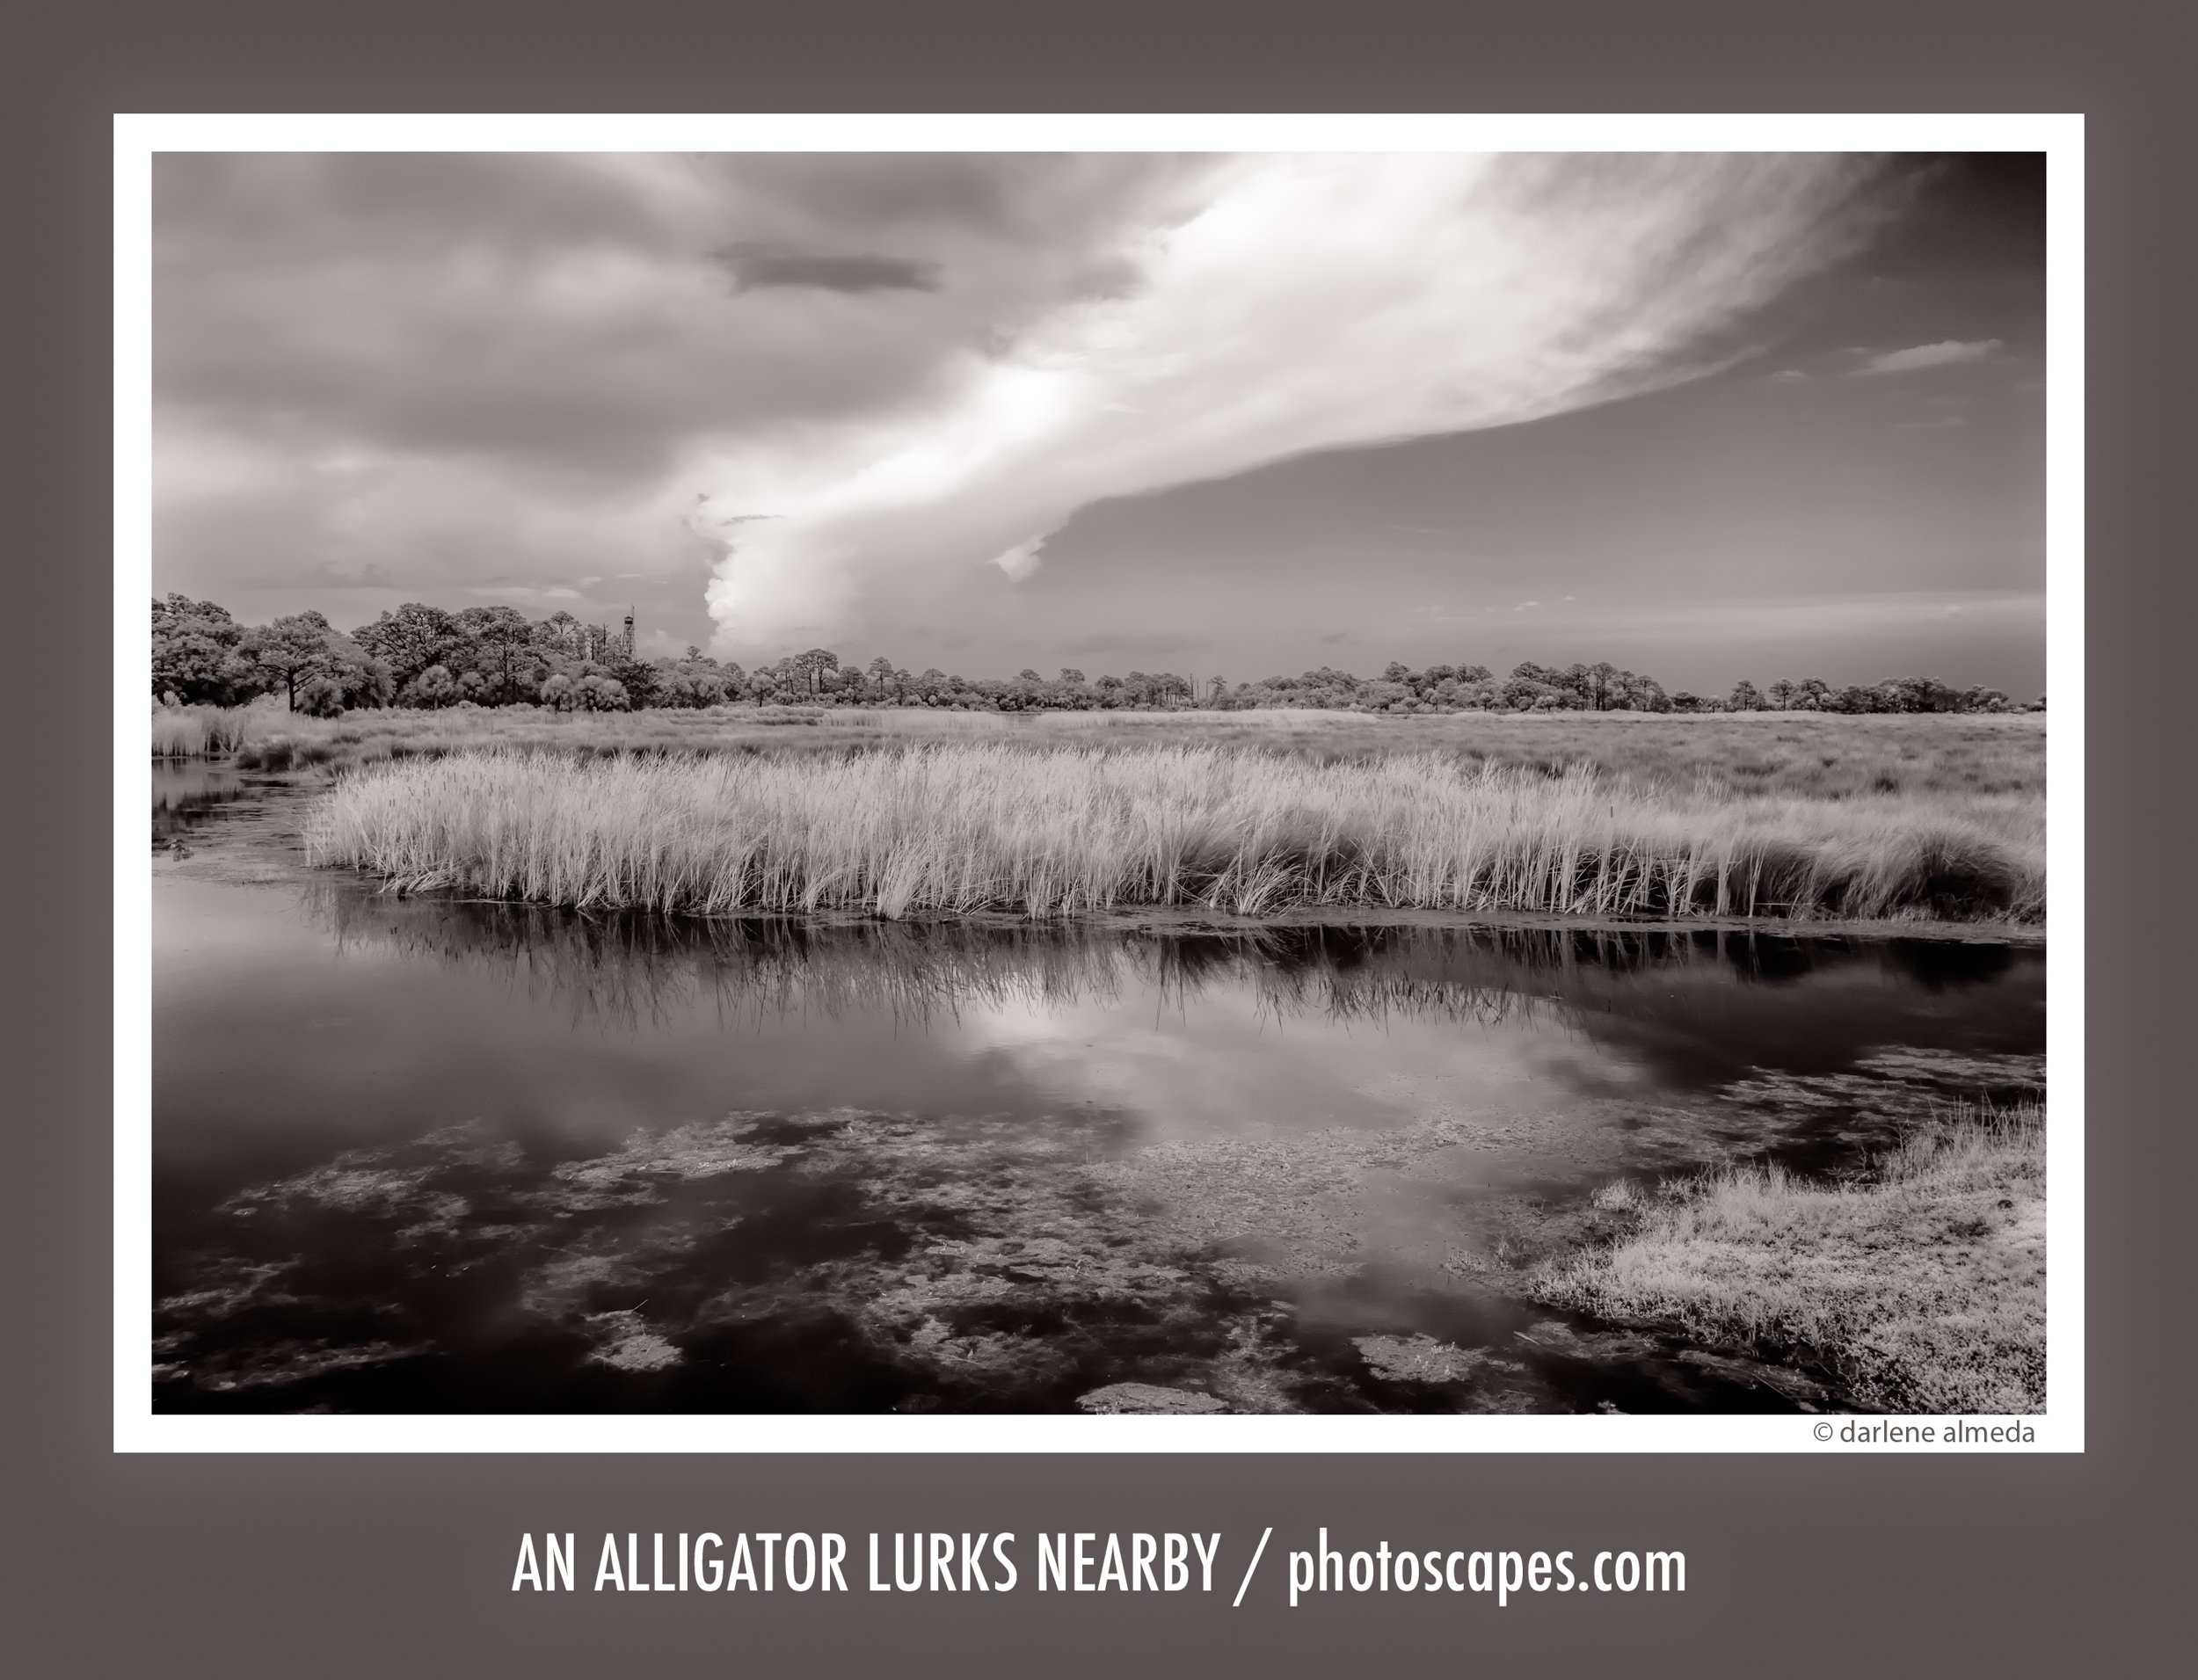
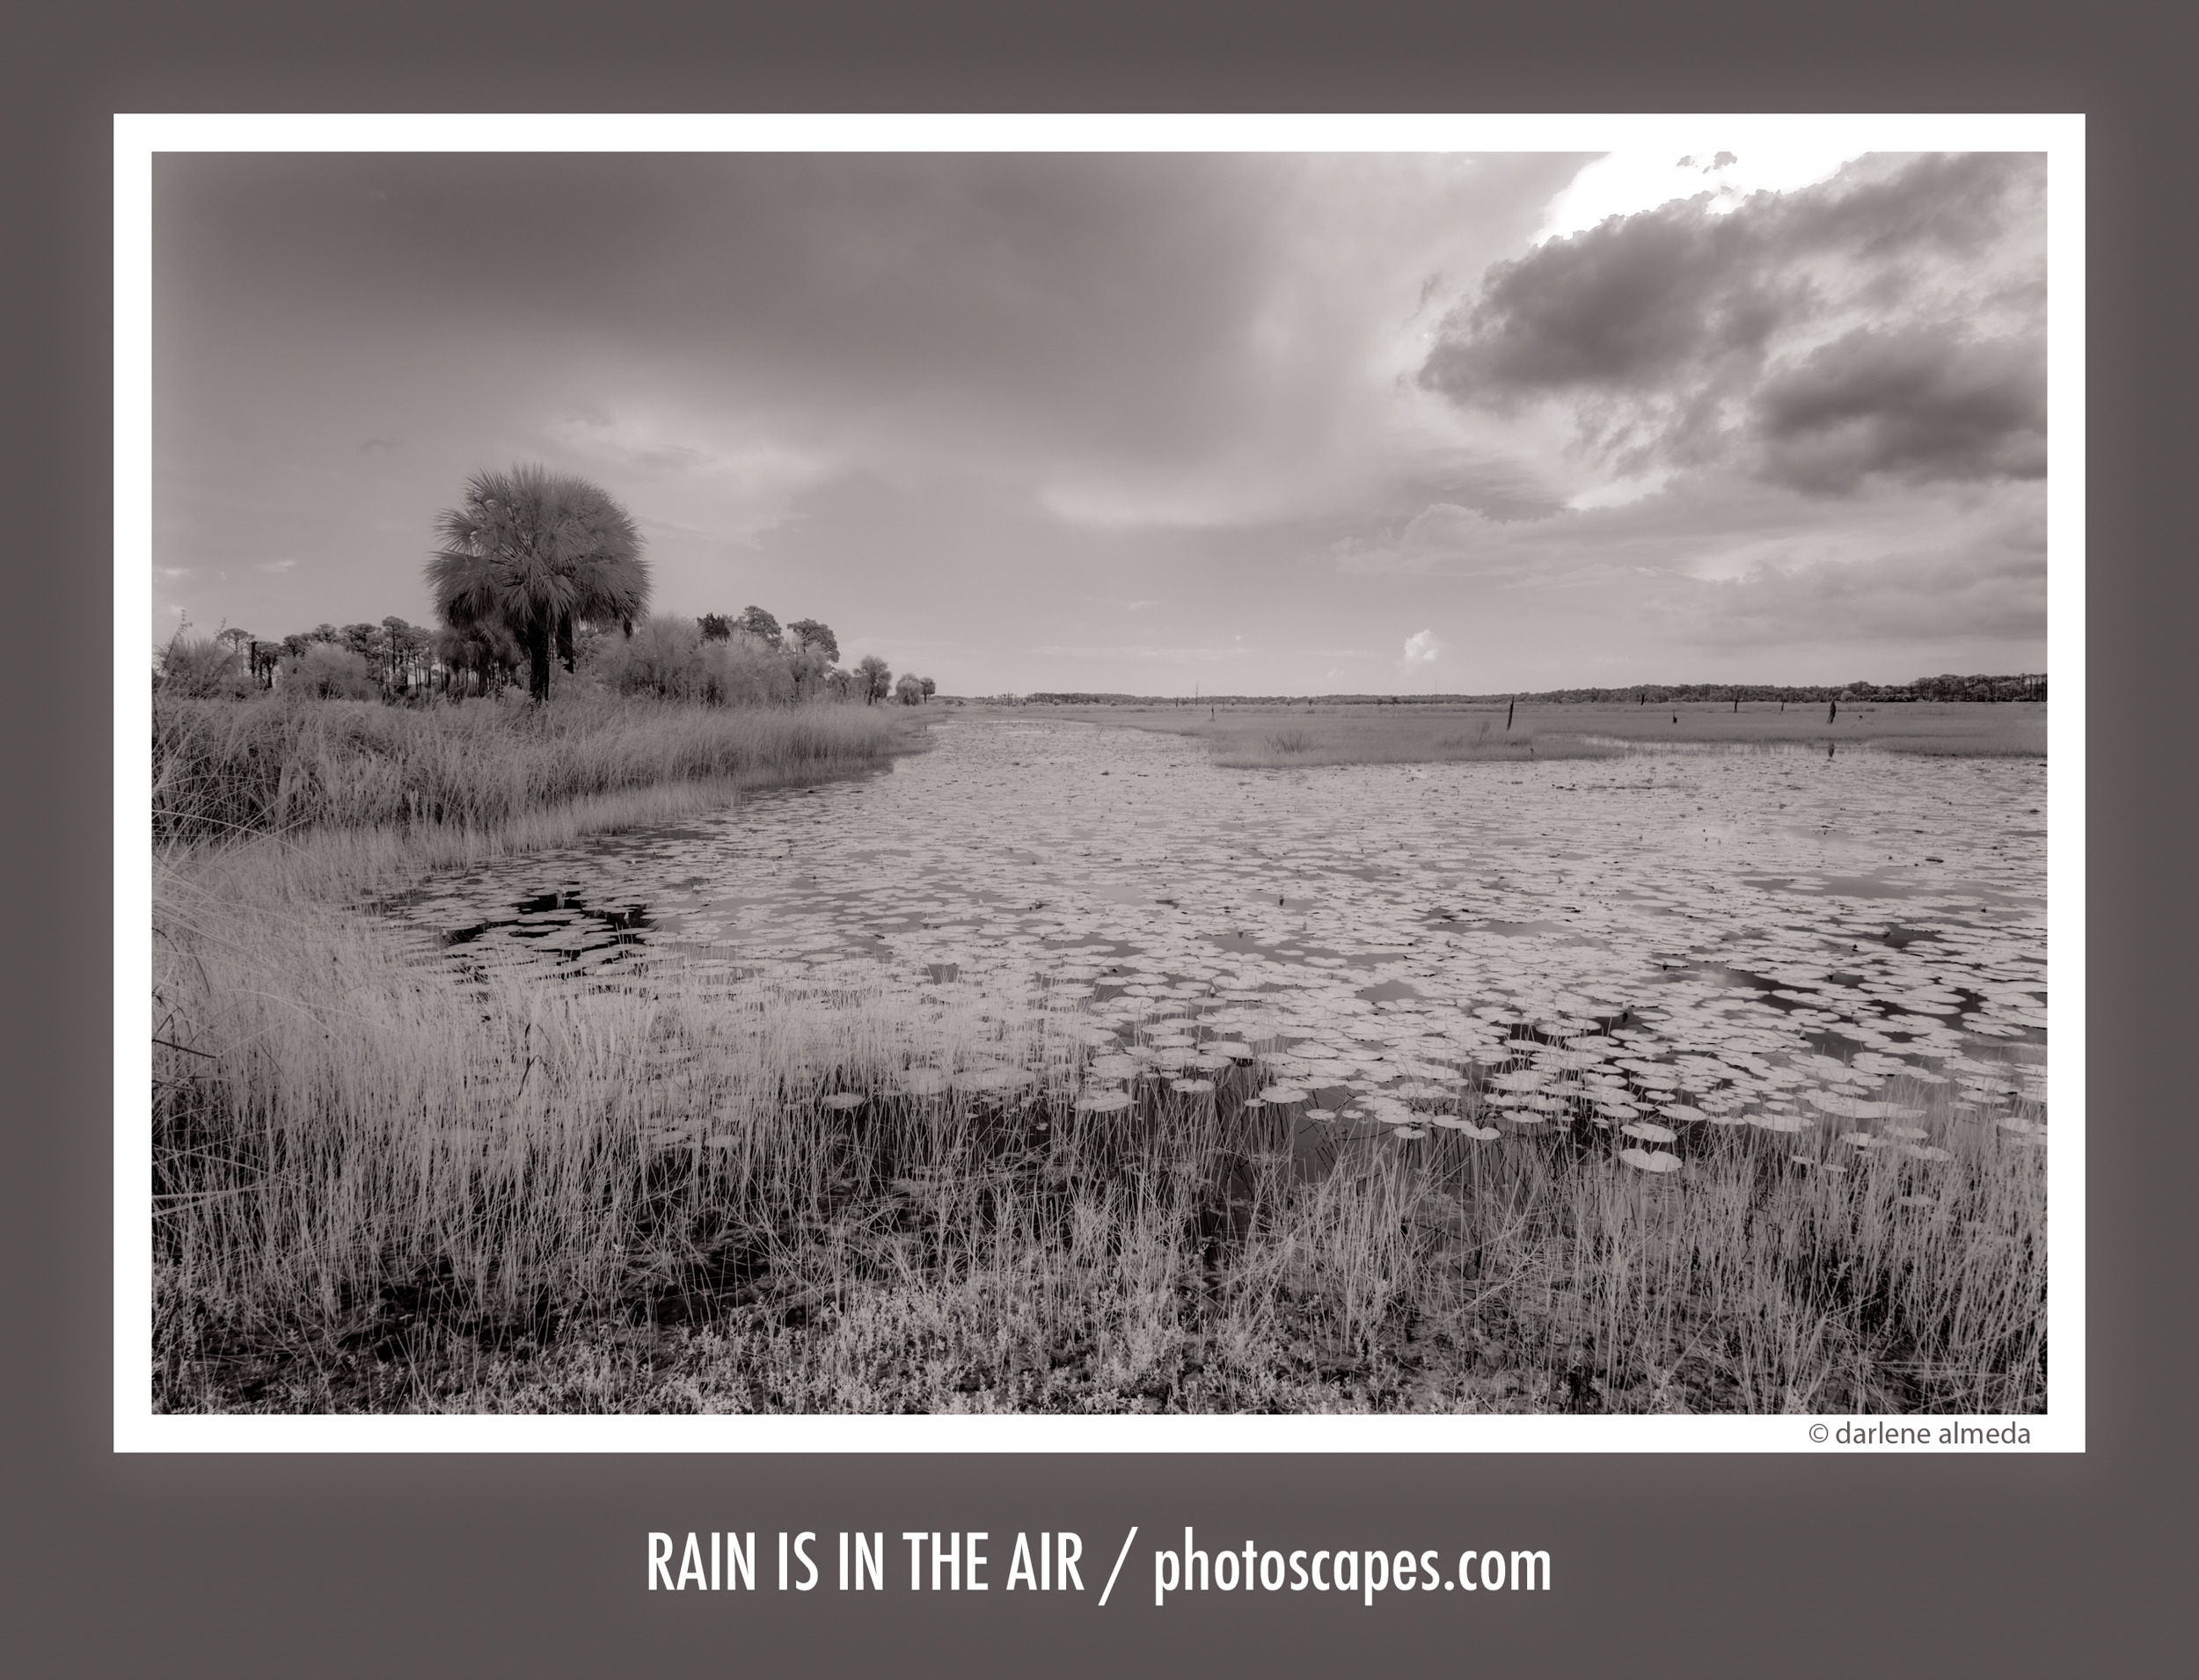
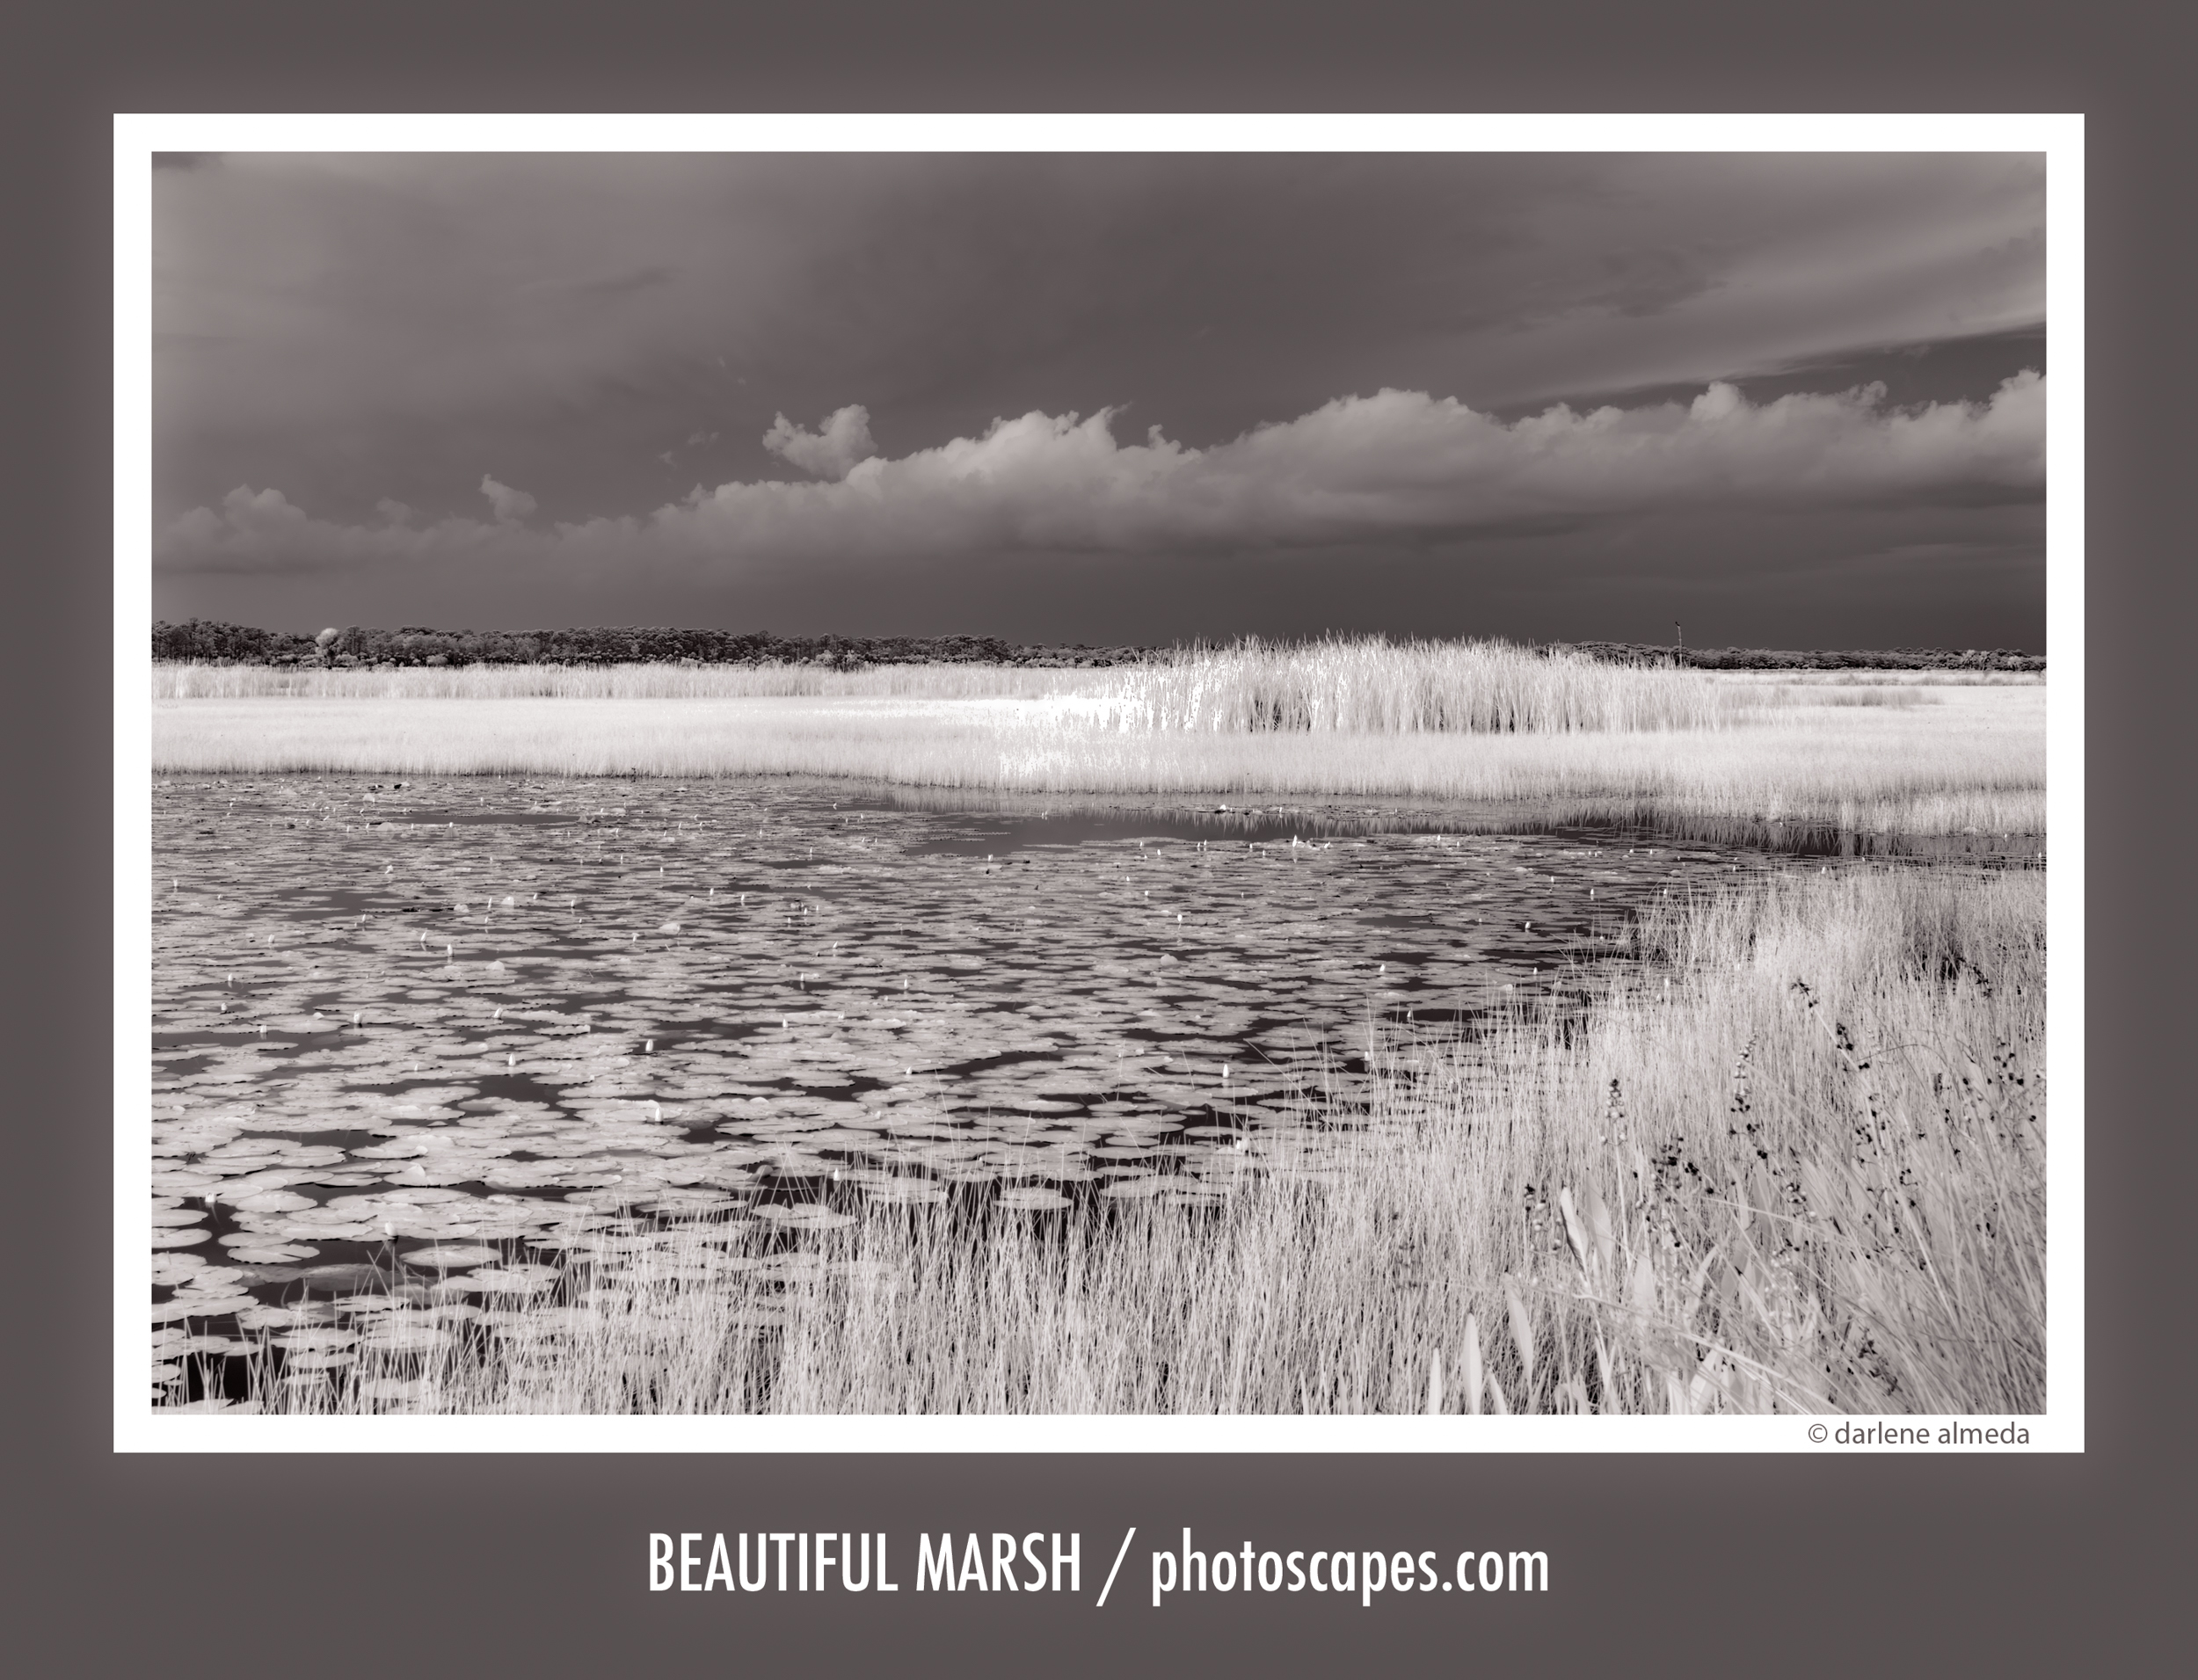
What follows is the story behind my recent return to infrared after years away from it. On July 2, 2015, I spent about an hour photographing with three lenses—12–24mm, 35mm, and 70mm macro. I had planned to shoot longer, but a sudden summer rain shortened the session. Still, it was enough time to get a sense of how my camera, lenses, and filters performed together.
Despite the weather, the session was productive. I’ve already uncovered a few quirks in how my gear responds to IR light and plan to head out again soon to test several new technical ideas. On that first outing, the drive to St. Marks National Wildlife Refuge was marked by a downpour that turned into a soft drizzle by the time I arrived. My first and last images were made in that delicate rain—a fitting reminder that infrared light reveals its own mood, even under stormy skies.
6:05 PM | Rain Has Stopped | Sigma 12-24mm II, 1/100 @ f/11
Field Test: First Impressions with the Sigma SD1 Merrill
At my first testing site, I set up the tripod, camera, and 12–24mm lens—initially without the IR filter attached. I began by setting the ISO to 100, since the SD1 Merrill can produce noticeable noise at higher sensitivities. I could have pushed it to ISO 400, but for this first session, I wanted to establish a clean baseline and work backward from optimal settings. Back in the film days, IR negatives were notoriously grainy; we now call it “noise,” but the character remains. Fortunately, today’s post-processing tools make it easier to tame that texture while preserving detail.
Once my exposure base was set, I composed through the viewfinder, used autofocus to lock focus, then switched to manual focus to prevent refocusing. I metered the scene using aperture priority (AE) at f/11, which returned a shutter speed of 1/250 second without the filter. Then came the real test: could the camera’s meter still function once the dense IR filter was mounted?
To my surprise—and delight—it did. With the filter attached, the meter gave a reading of 1/4 second, a dramatic change from the earlier 1/250. Whether it was accurate was another matter entirely, but it provided a good starting point. I set the camera manually to 1/4 sec at f/11 and bracketed three exposures at one-stop intervals (0, –1, +1). Then it was simply a matter of engaging mirror-up mode, triggering the remote release, and—like every photographer before digital previews—crossing my fingers.
From my research, a properly exposed IR image should appear deep red on the LCD screen, with rich shadows and smooth tonal gradation. Too much pink signals overexposure and possible loss of fine detail, while yellow highlights are a warning sign—blown areas that will not recover in post-processing.
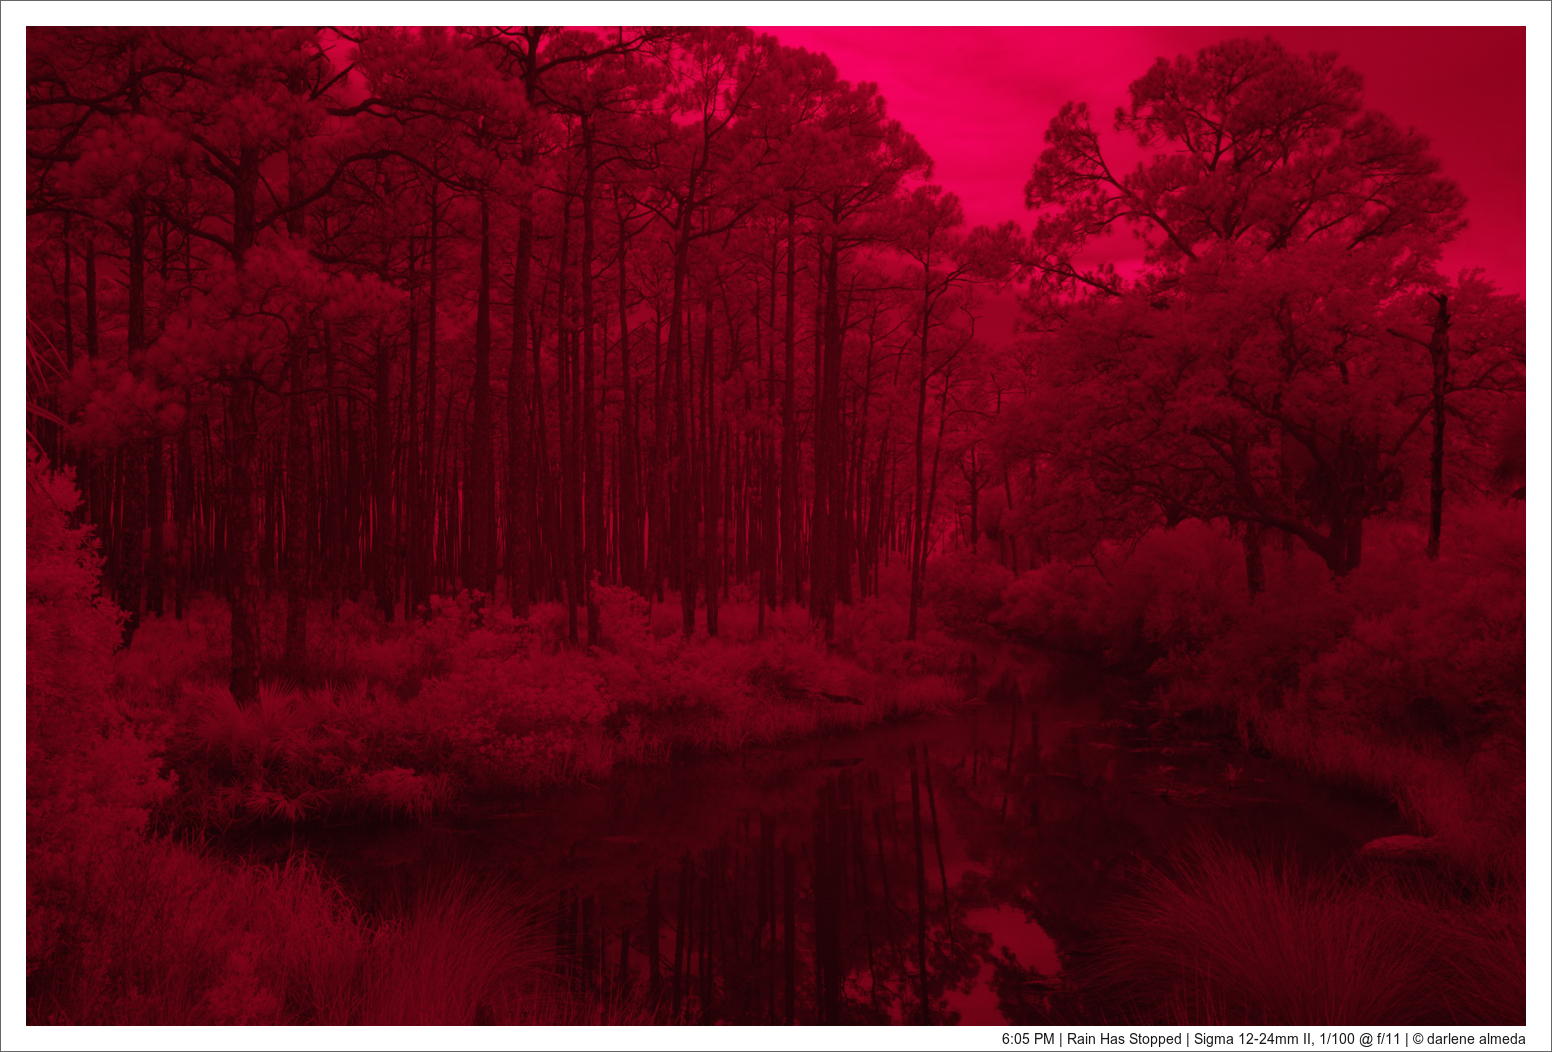
6:05 PM | Rain Has Stopped | Sigma 12-24mm II, 1/100 @ f/11
Live View Note
Since the Sigma SD1 Merrill does not offer live view, composition and focusing must be done entirely through the optical viewfinder before attaching the IR filter. This makes planning, bracketing, and careful setup essential when working in the field.
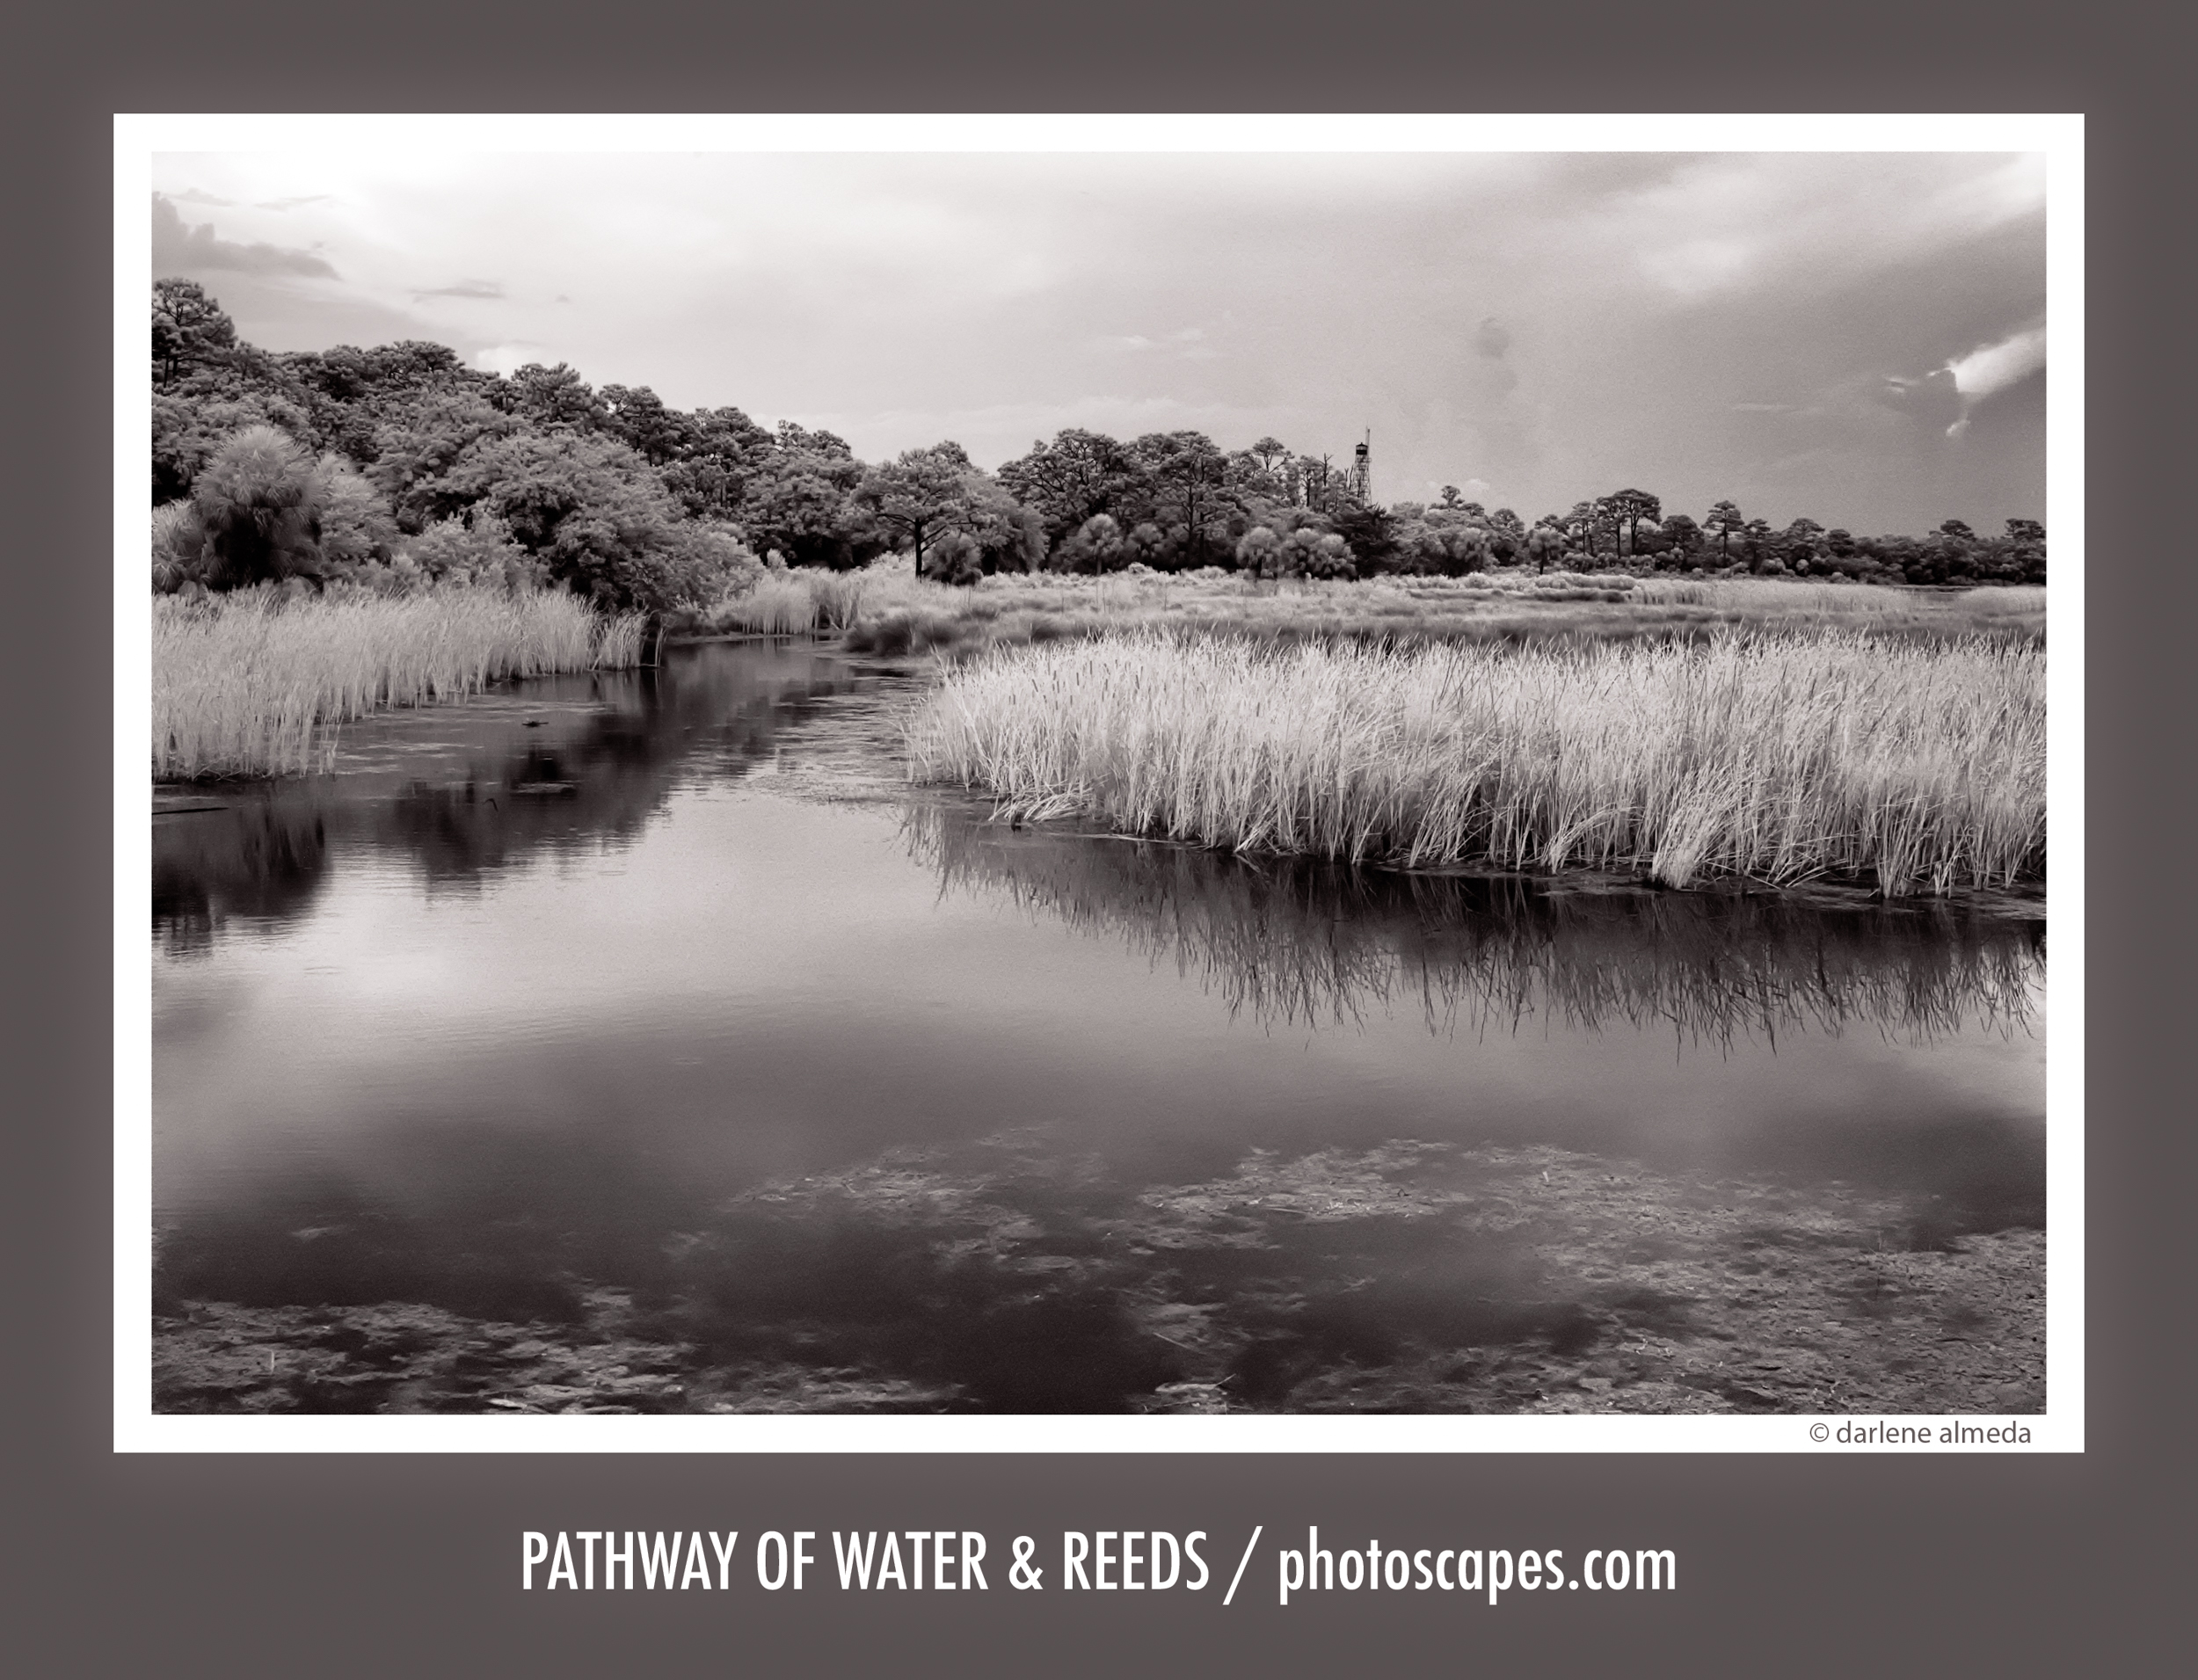
6:17 PM | Pathway of Water and Reeds | Sigma 35mm f1.4 Art, 1/200 @ f/11
Refining Exposure and Technique
My first test shots came out much too dark, so I adjusted the shutter speed incrementally until hints of pink and yellow began to appear on the LCD screen. That was the reminder I needed—infrared exposure is never an exact science. Each lens and each location can react differently to IR light, and patience quickly becomes your most valuable accessory. It also helps to be a little on the geeky side (guilty as charged).
After a few more attempts, I switched to the 35mm lens and started seeing results that felt closer to what I envisioned. My exposures were improving, and I could sense the process beginning to click. Then, as Florida weather tends to do, the storm returned—grumbling in the distance. I packed up the gear and moved on down the road to my next location.
There, I repeated the same careful steps: compose through the viewfinder, focus with AF, switch to manual focus, and take note of the meter reading before attaching the R72 IR filter. As expected, the exposure reading changed dramatically once the filter was in place. I double-checked that my bracketed sequence was still set (0, –1, +1), engaged mirror-up, and triggered the remote release, waiting for the telltale red preview to appear.
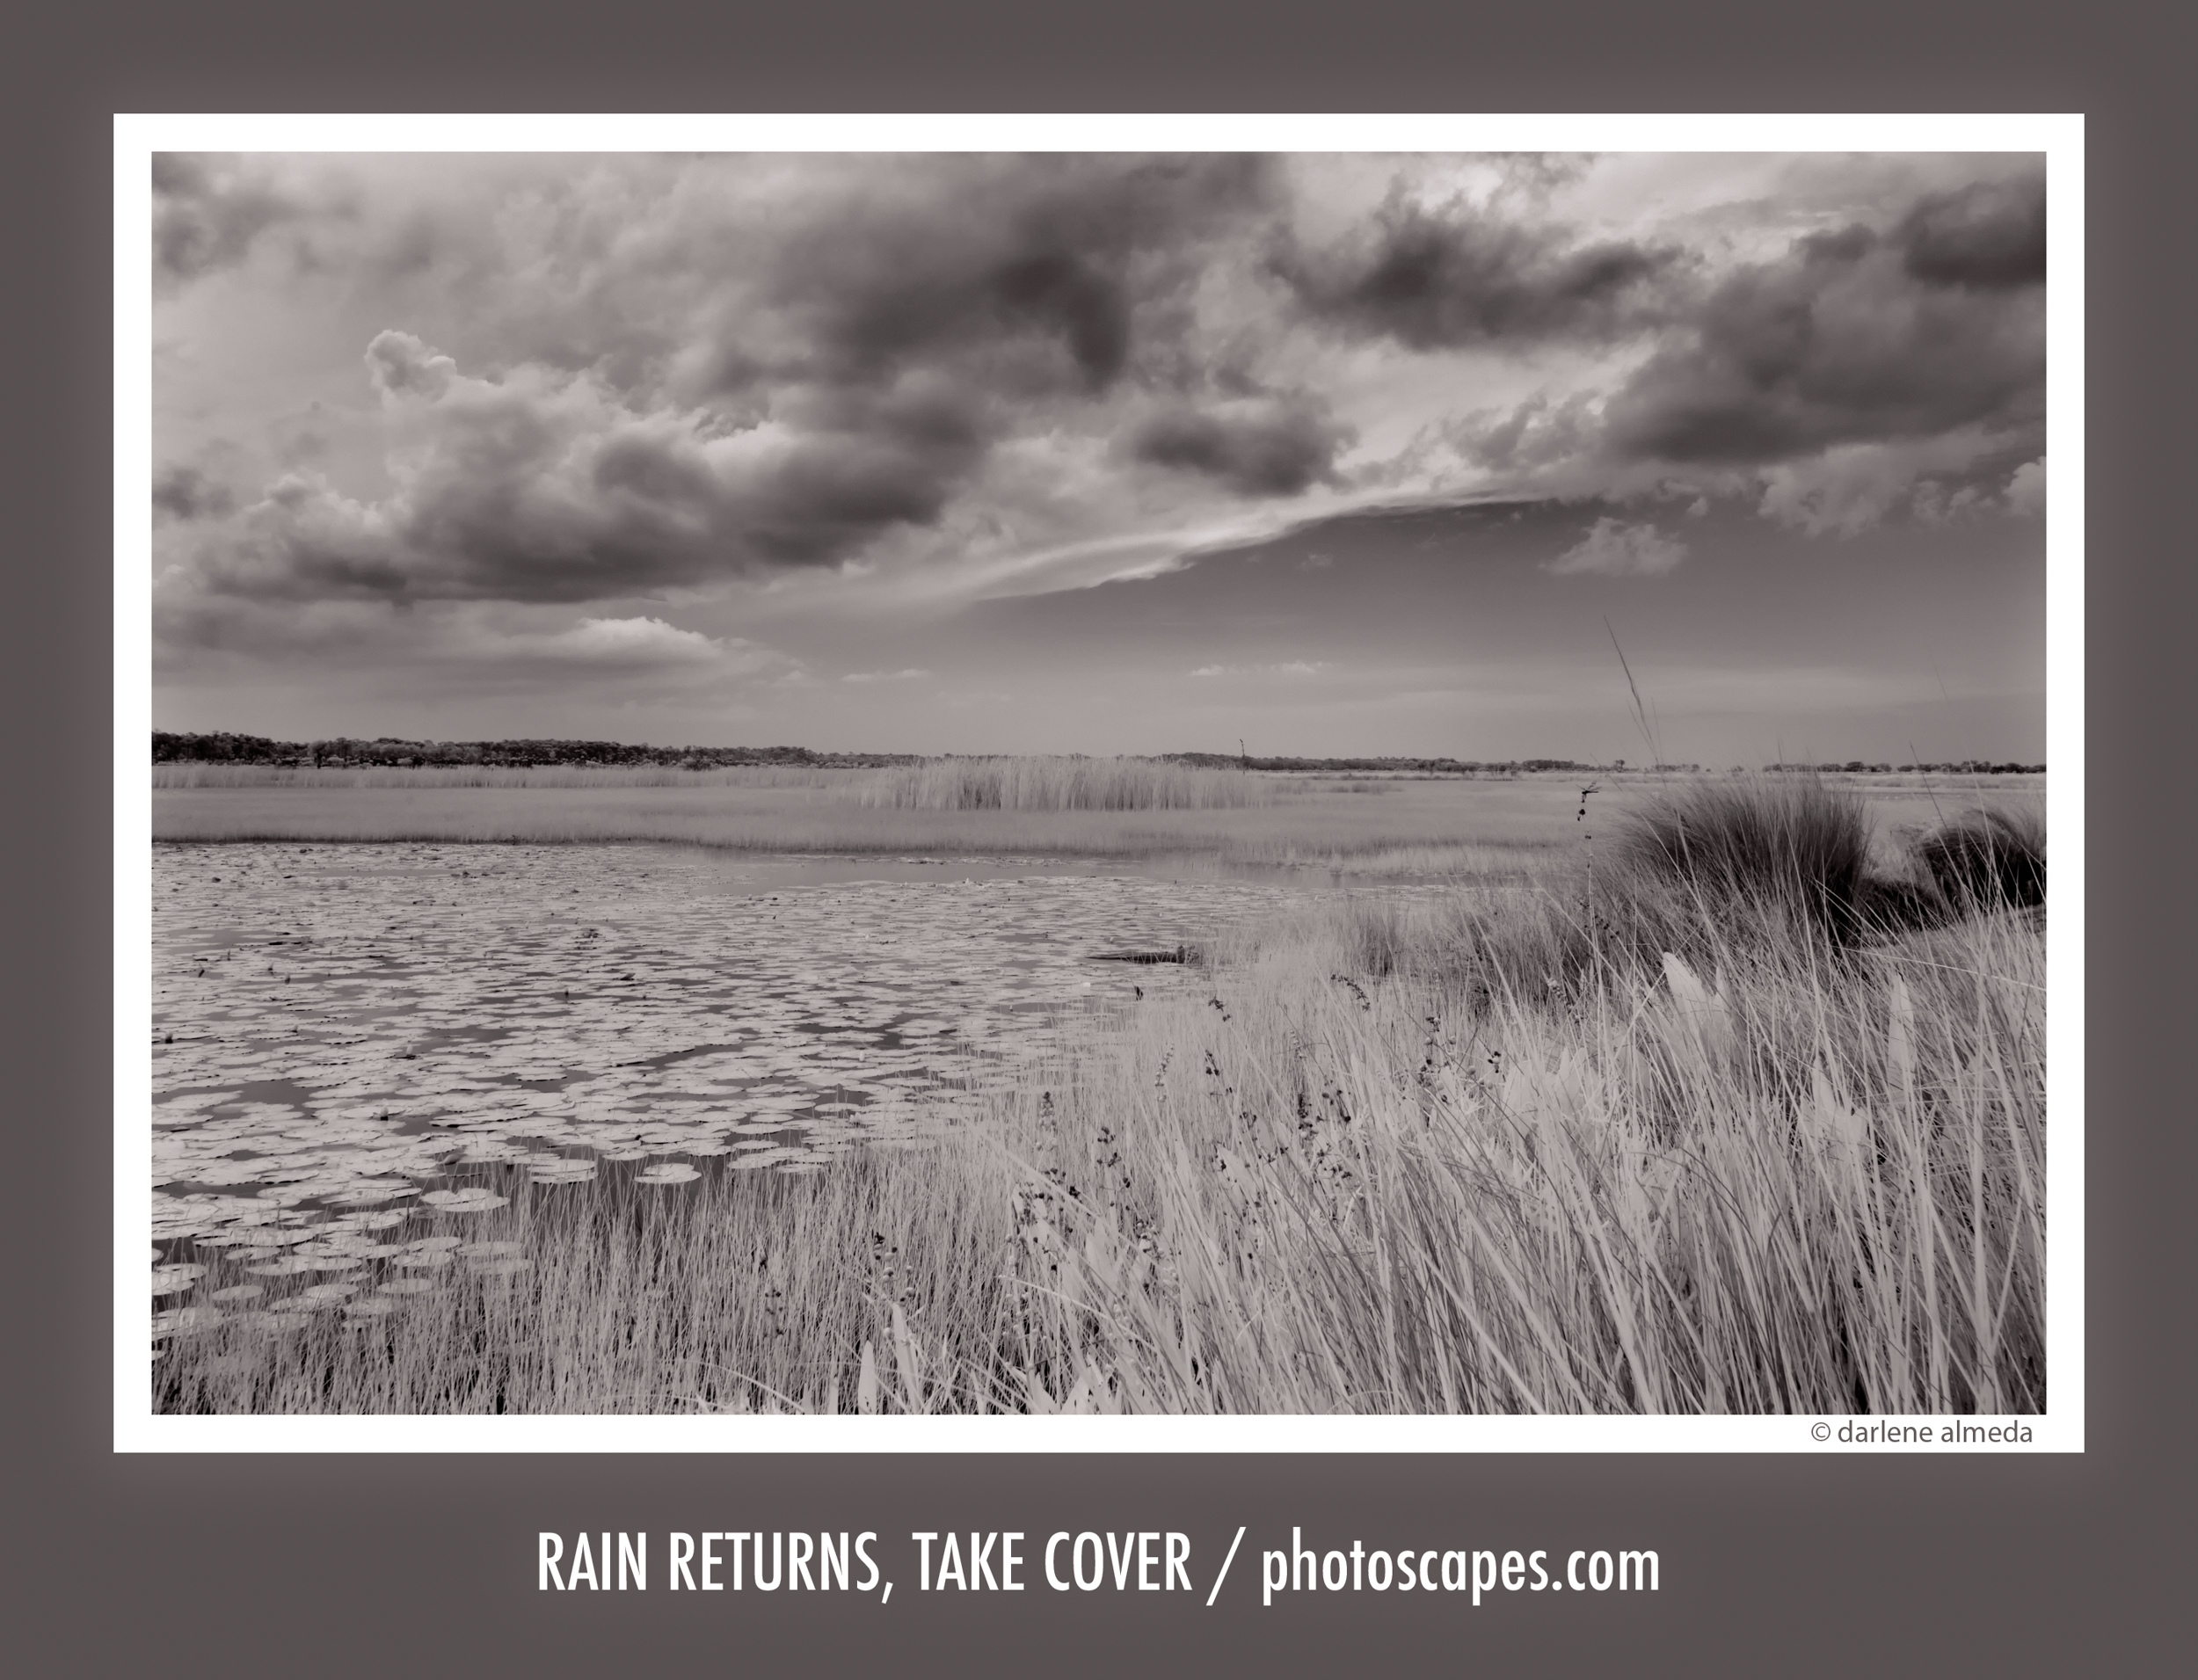
As before, I found that adjusting the shutter speed by one or two stops helped fine-tune tonality, bringing the preview image into that ideal deep red range. I finished the session with a few exposures using the 70mm macro lens, just as a light drizzle began to fall again—an atmospheric ending to a surprisingly productive day.
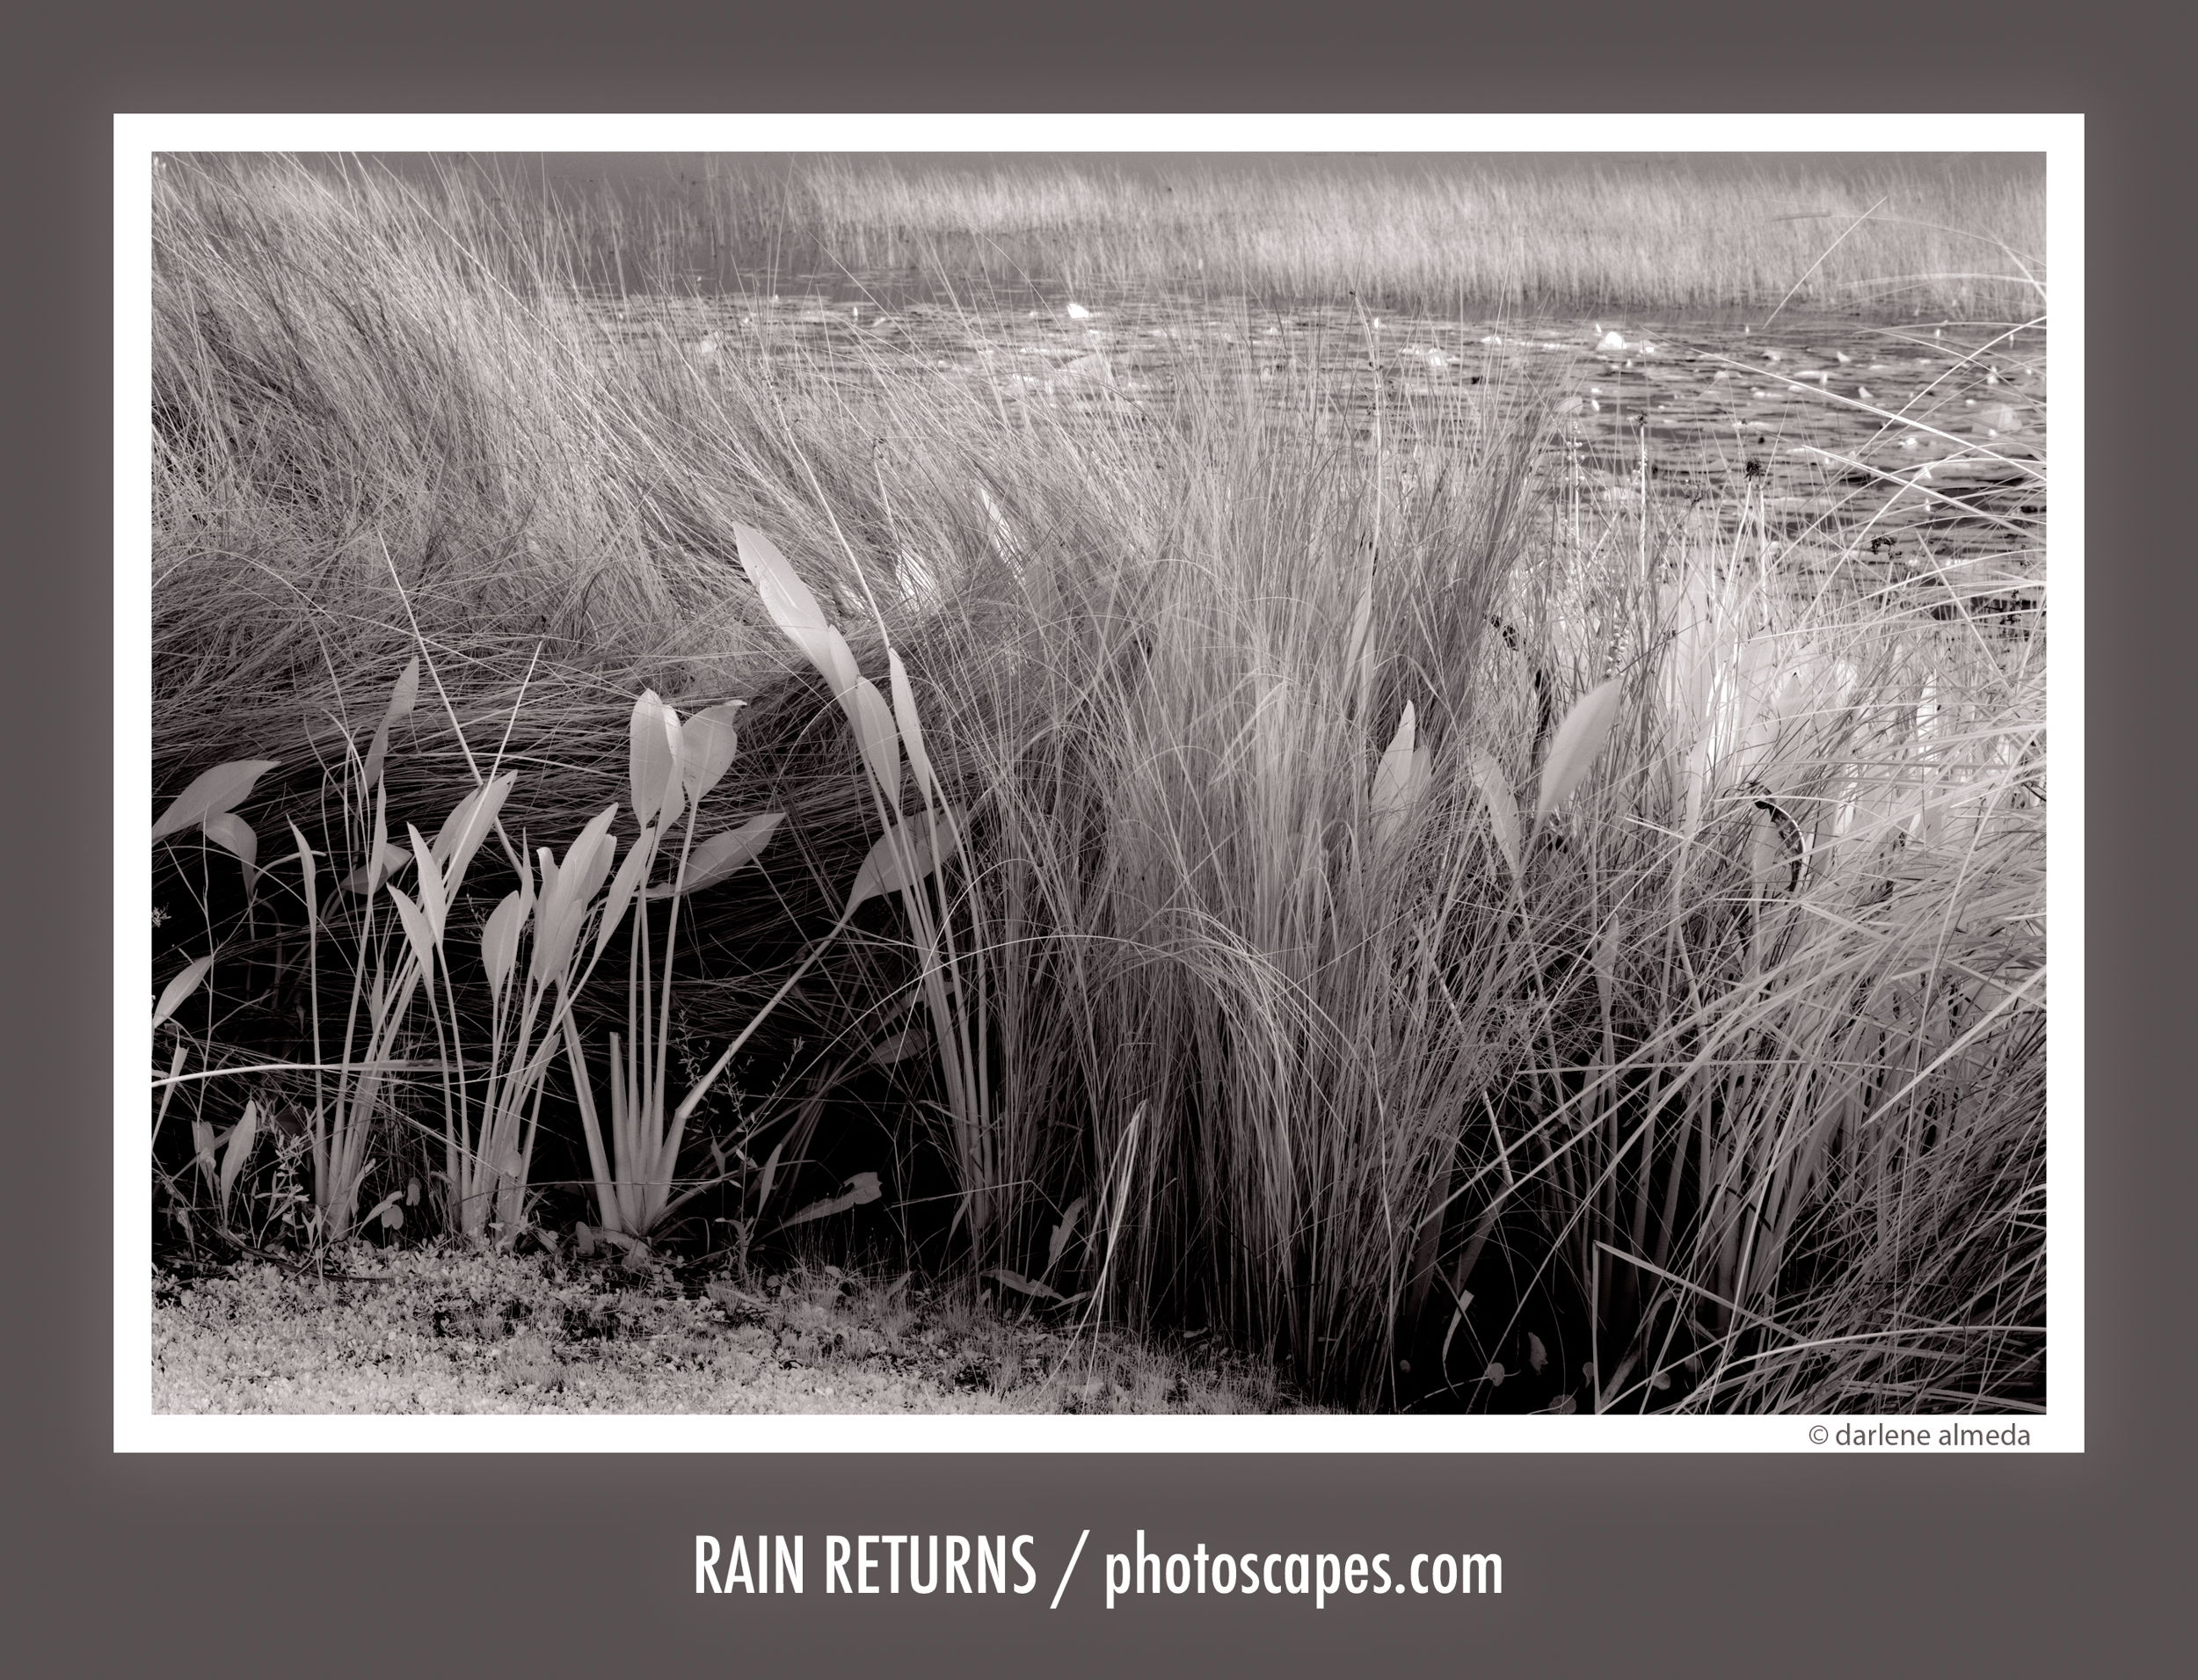
6:56 PM | Rain Returns, Take Cover | Sigma 70mm Macro, 1/6 @ f/11
Lens Behavior and Refining Technique
Infrared photography has its quirks, and one of them is lens hotspots—areas of unwanted brightness or diffusion that appear in the center of the frame. These can vary depending on the lens design and internal coatings, so it’s worth testing each lens in your kit before committing to a project. The Sigma 70mm macro, for example, has been reported by some photographers as prone to hotspots. Fortunately, I haven’t seen any issues in my own tests so far, though more shooting will tell for certain.
Below is my current Infrared Shooting Technique Checklist, a working guide that I continue to refine as my process evolves:
SD1M IR Shooting Technique Checklist
- Compose and look through the viewfinder.
- Use autofocus, then manual focus to lock it in.
- Note auto exposure reading, observe how it changes when IR filter is attached.
- Switch to manual mode, select desired aperture and shutter speed.
- Carefully attach the R72 filter to avoid nudging the lens out of focus.
- Set a three-exposure bracket (0, –1, +1).
- Enable mirror-up mode to minimize vibration.
- Trigger the remote release, then review the image preview.
- Examine LCD image, look for rich red tone, avoid too pink or yellow highlights.
- Adjust shutter speed, reshoot until image displays balanced red tonality.
It truly is a wonderful time to be a photographer—where tradition and innovation coexist, and where a hidden spectrum of light can once again capture our imagination.
In Part 2, I’ll explore post-processing infrared images, conduct another round of field tests, and share new results as this journey into digital IR continues.

