INTRO
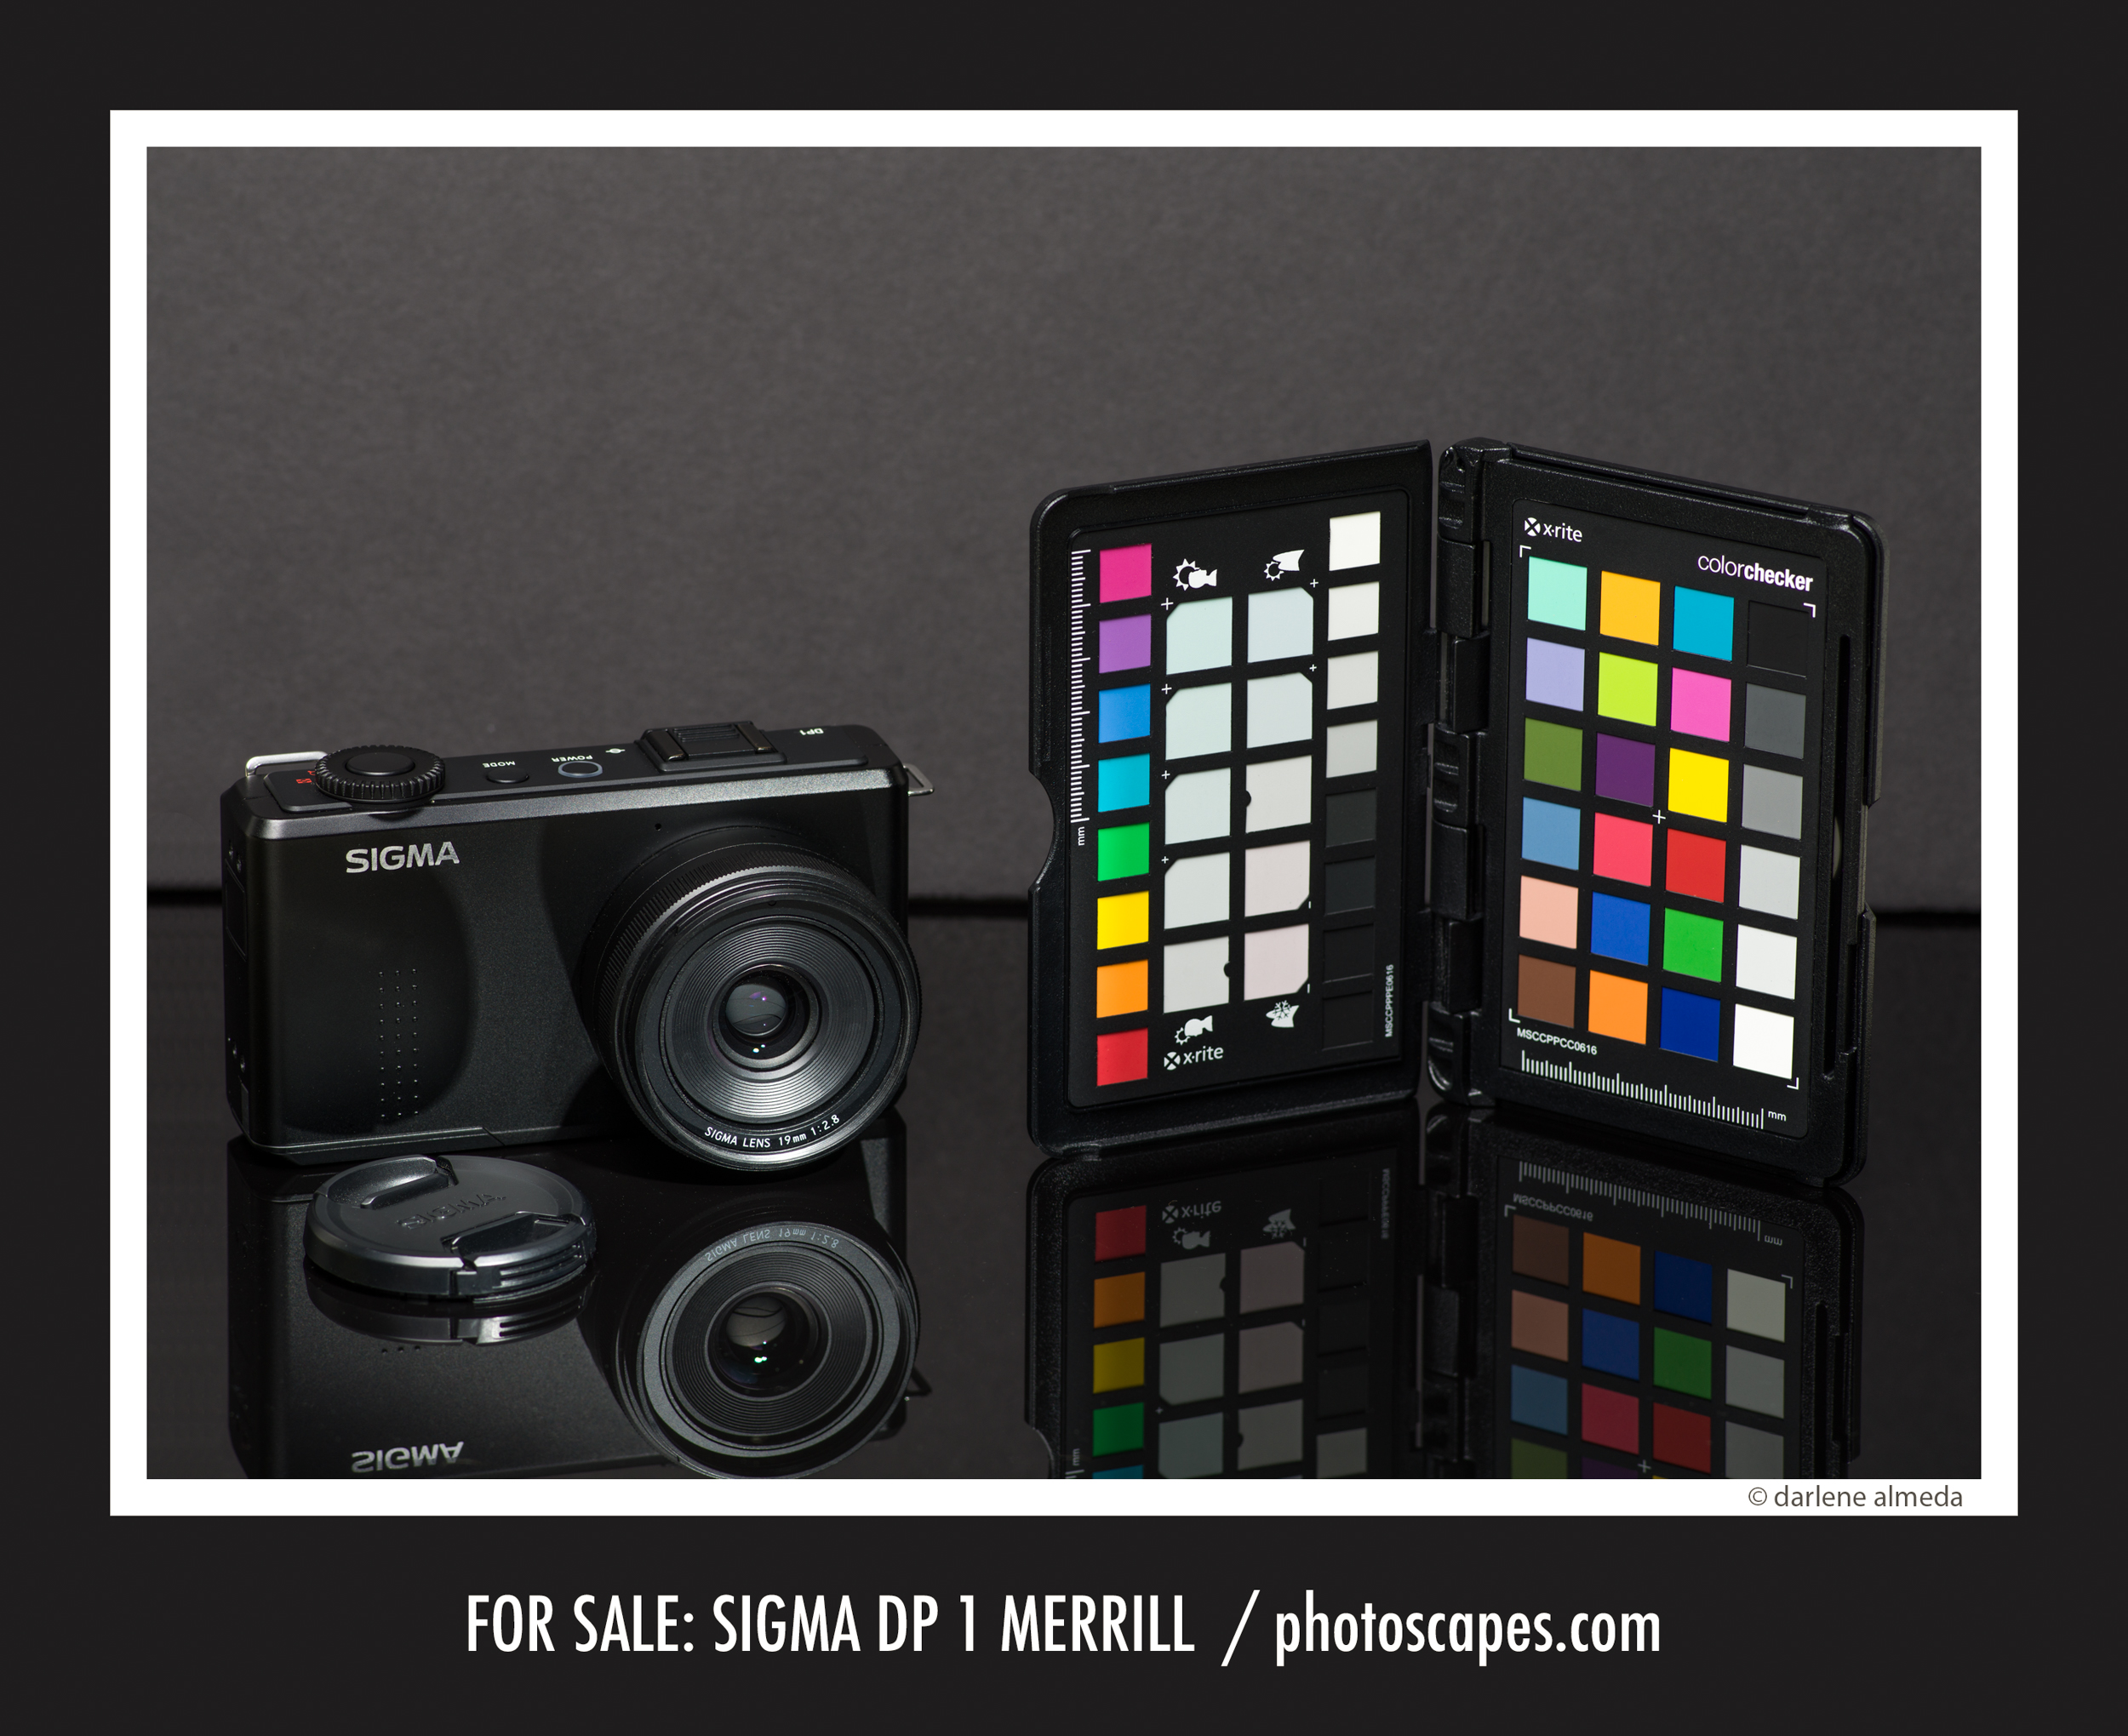
The Sigma DP Merrill cameras entered the photography scene with a scream. They were destined to be cult cameras due to their small size, Foveon sensor, and 45-megapixel resolution. Pictured above is the DP 1 Merrill. You can see just how small the DP Merrill cameras are when placed next to a color checker. Being a small camera has its advantages and disadvantages.
MY SIGMA CAMERA HISTORY
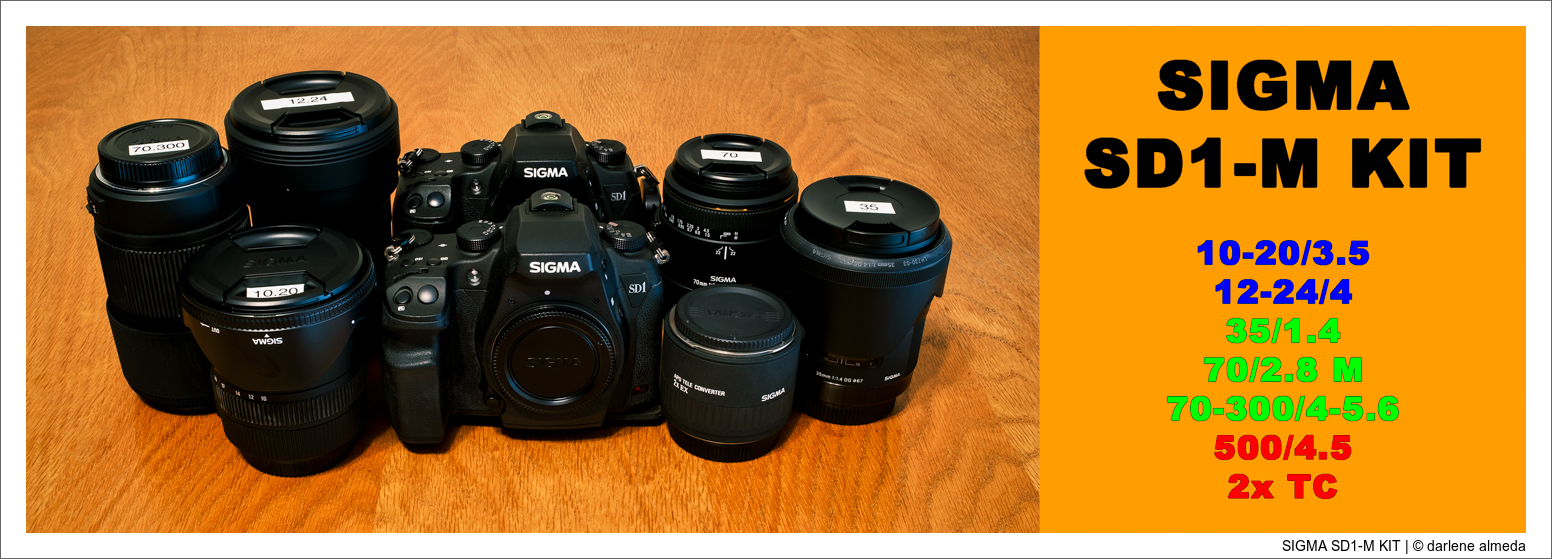
CAMERAS: DP1, DP2 & DP3 Merrills, SD1 Merrill, dp0 Quattro
LENSES: 10-20/3.5, 12-24/4, 35/1.4, 70/2.8 M, 70-300/4-5.6, 500/4.5
ACCESSORIES: 2x Teleconverter (SD1M), DP Merrill EVF, DP1M Optical Viewfinder
ACCESSORIES: DP2M Optical Viewfinder, DP3M Close-Up Filter-Lens
ACCESSORIES: LVF-11 LCD Viewfinder, Really Right Stuff “L” Brackets
DP MERRILL CAMERAS
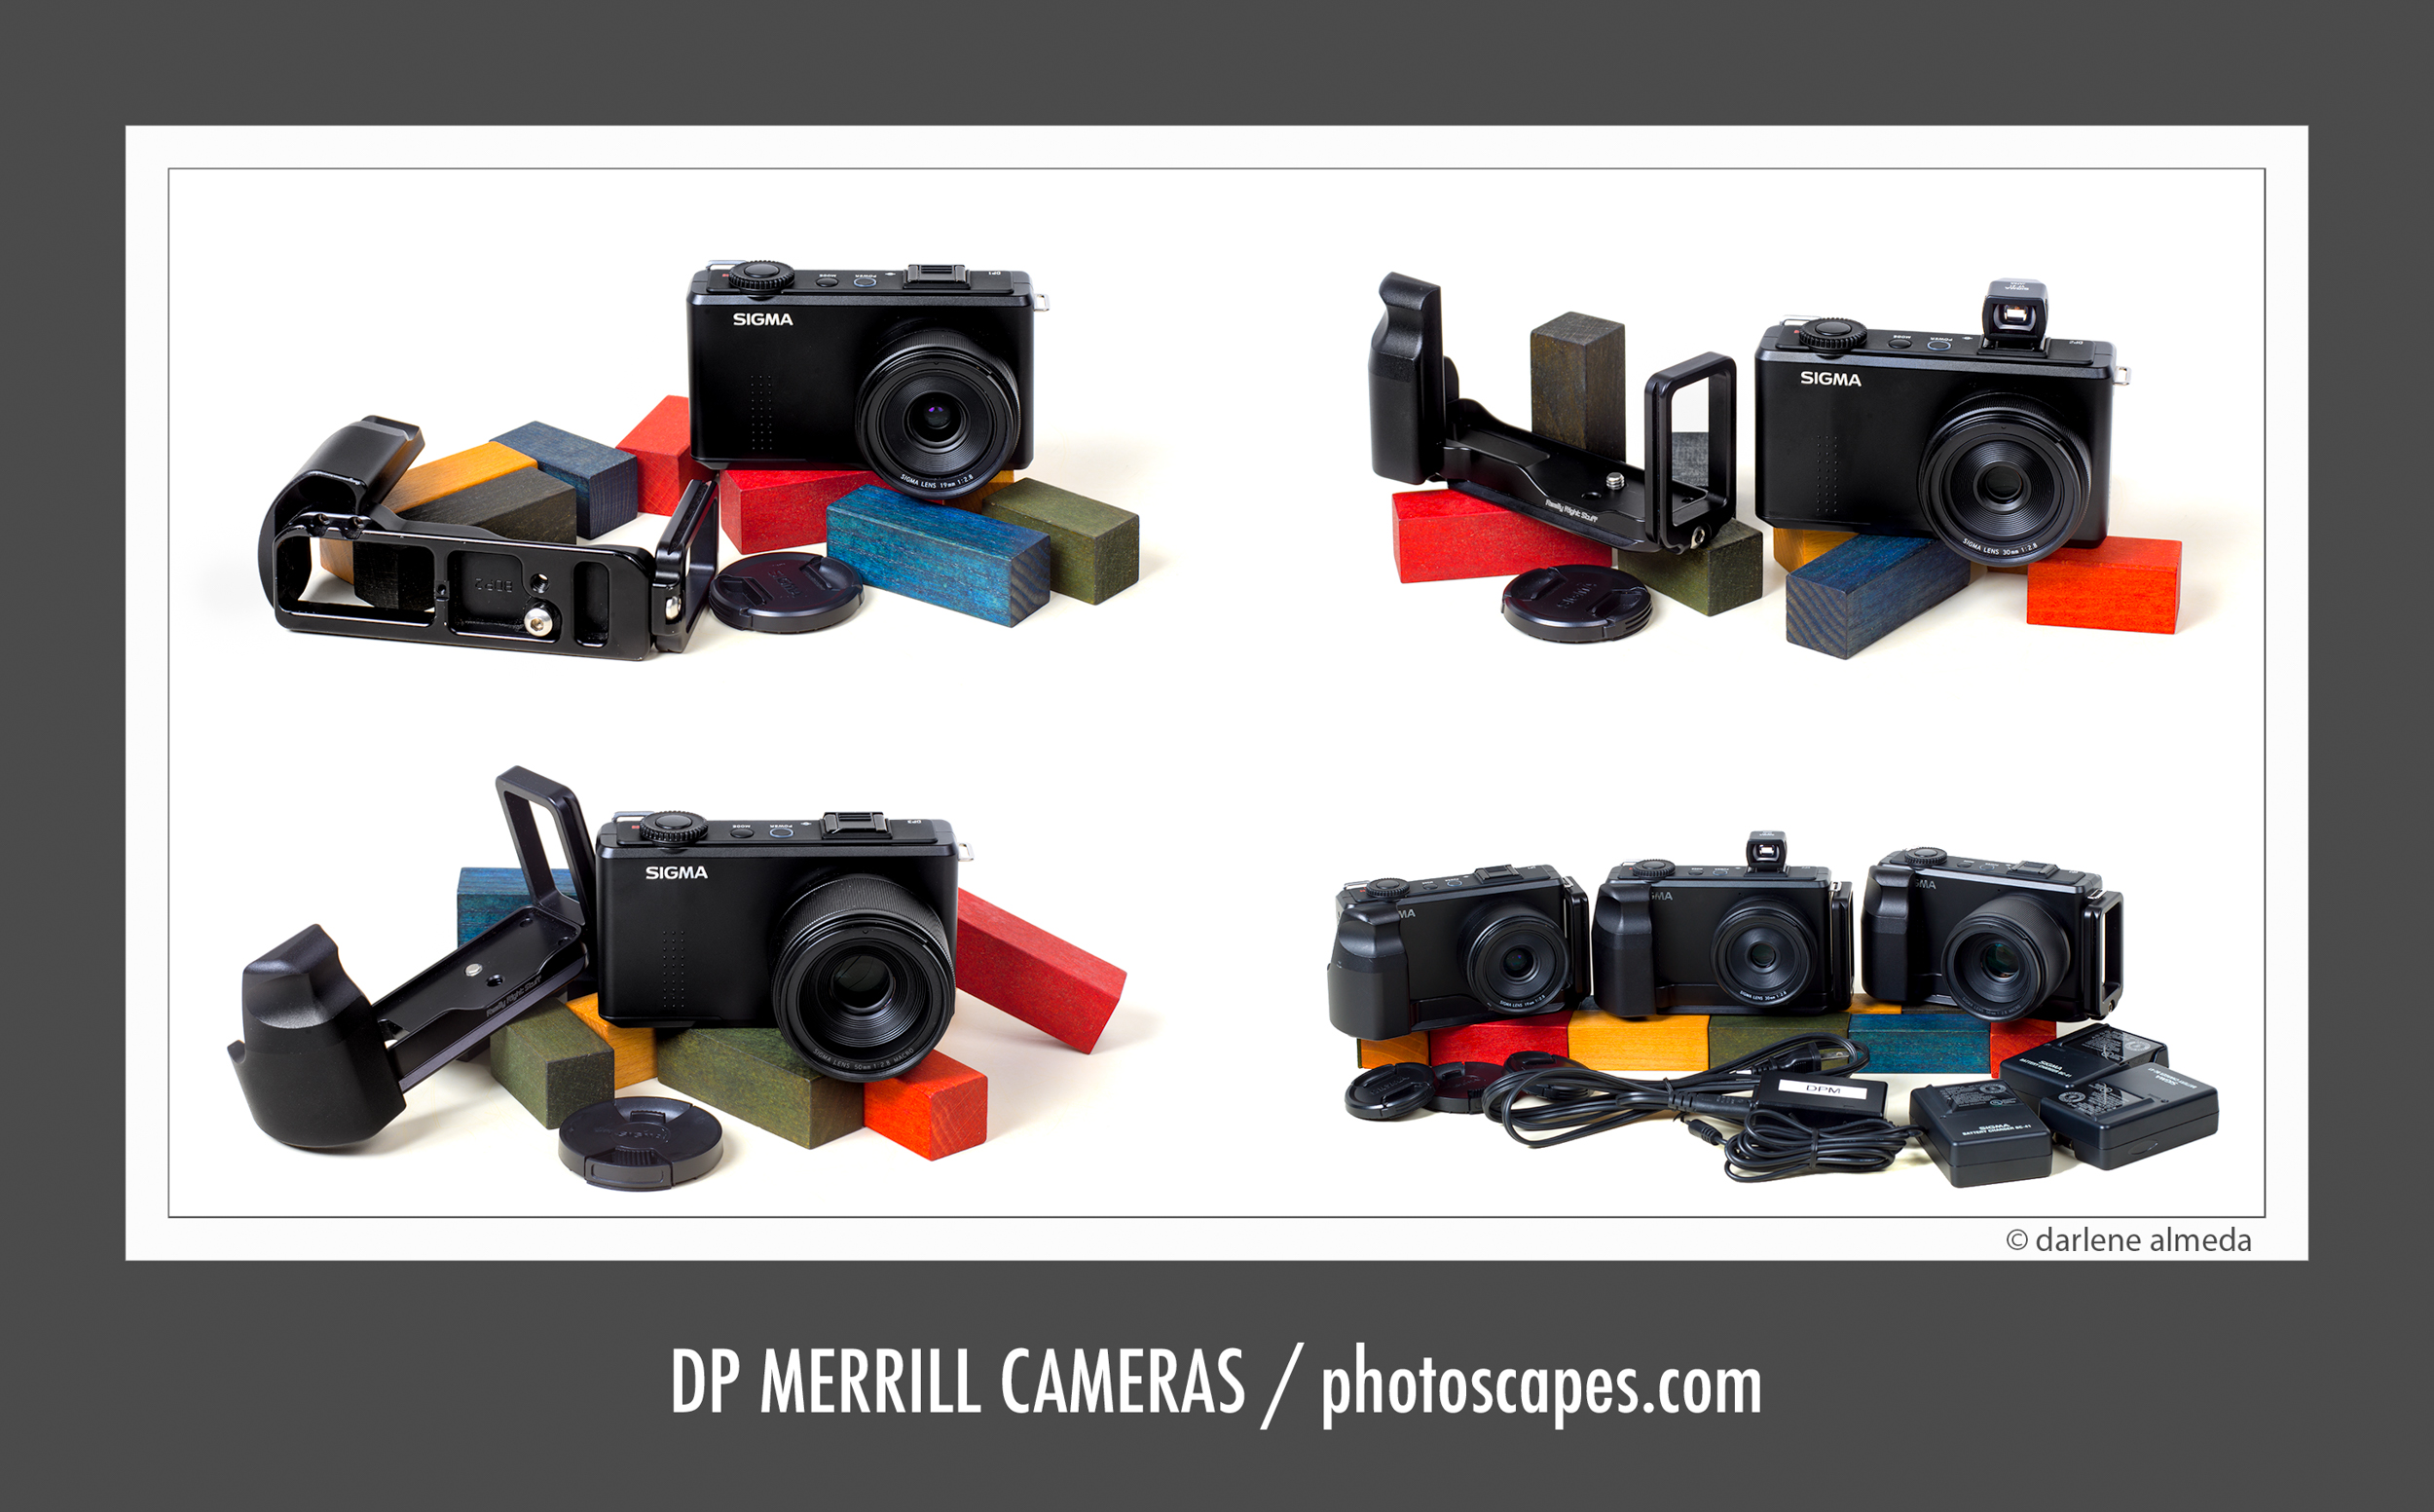
SIGMA DP MERRILL COLLECTION FOR SALE
The DP Merrill cameras have been popular cameras since their introduction in 2012. The DP1 Merrill & DP2 Merrill cameras were announced in February 2012, along with the SD1 Merrill. The DP3 Merrill was announced in January 2013. I must make the distinction when writing ‘Merrill’ because these are the series of cameras named after the inventor of the Foveon sensor, Dick Merrill. They have the same 15x 3MP APS-C Foveon sensor first seen in Sigma’s SD1 but in a more compact design with a fixed lens. Before the DP Merrill series, Sigma produced other named DP camera models (DP, DPs, DPx), but without the ‘Merrill’ model name and with different specs except for the SD-1 Merrill, which was simply a re-branded SD-1. Moving forward, all mentions of Sigma DP1, 2, & 3 Merrill cameras in this article will be referenced as DP1 M, DP2 M, & DP3 M.
IMAGE BY DP1 MERRILL: DESERT SANDS
The DP1 M has a fixed 19mm f/2.8 lens (28mm equivalent field-of-view); the DP2 M has a fixed 30mm f/2.8 lens (45mm equivalent field-of-view), and the DP3 M has a fixed 50mm f/2.8 lens (75mm equivalent field-of-view). Sigma marketed the cameras as having a 46 Megapixel Foveon X3 Direct Image Sensor, but their effective pixels are 15 megapixels coming off of an APS-C (24 x 16 mm) CMOS (Foveon X3) sensor. In layperson’s terms, the sensor is made with three 15.x megapixel layers that Sigma adds together and calls a 46-megapixel sensor 3(15.x) ~ 46, but the reality is that we end up with only 15 megapixels (15.x) to work with.
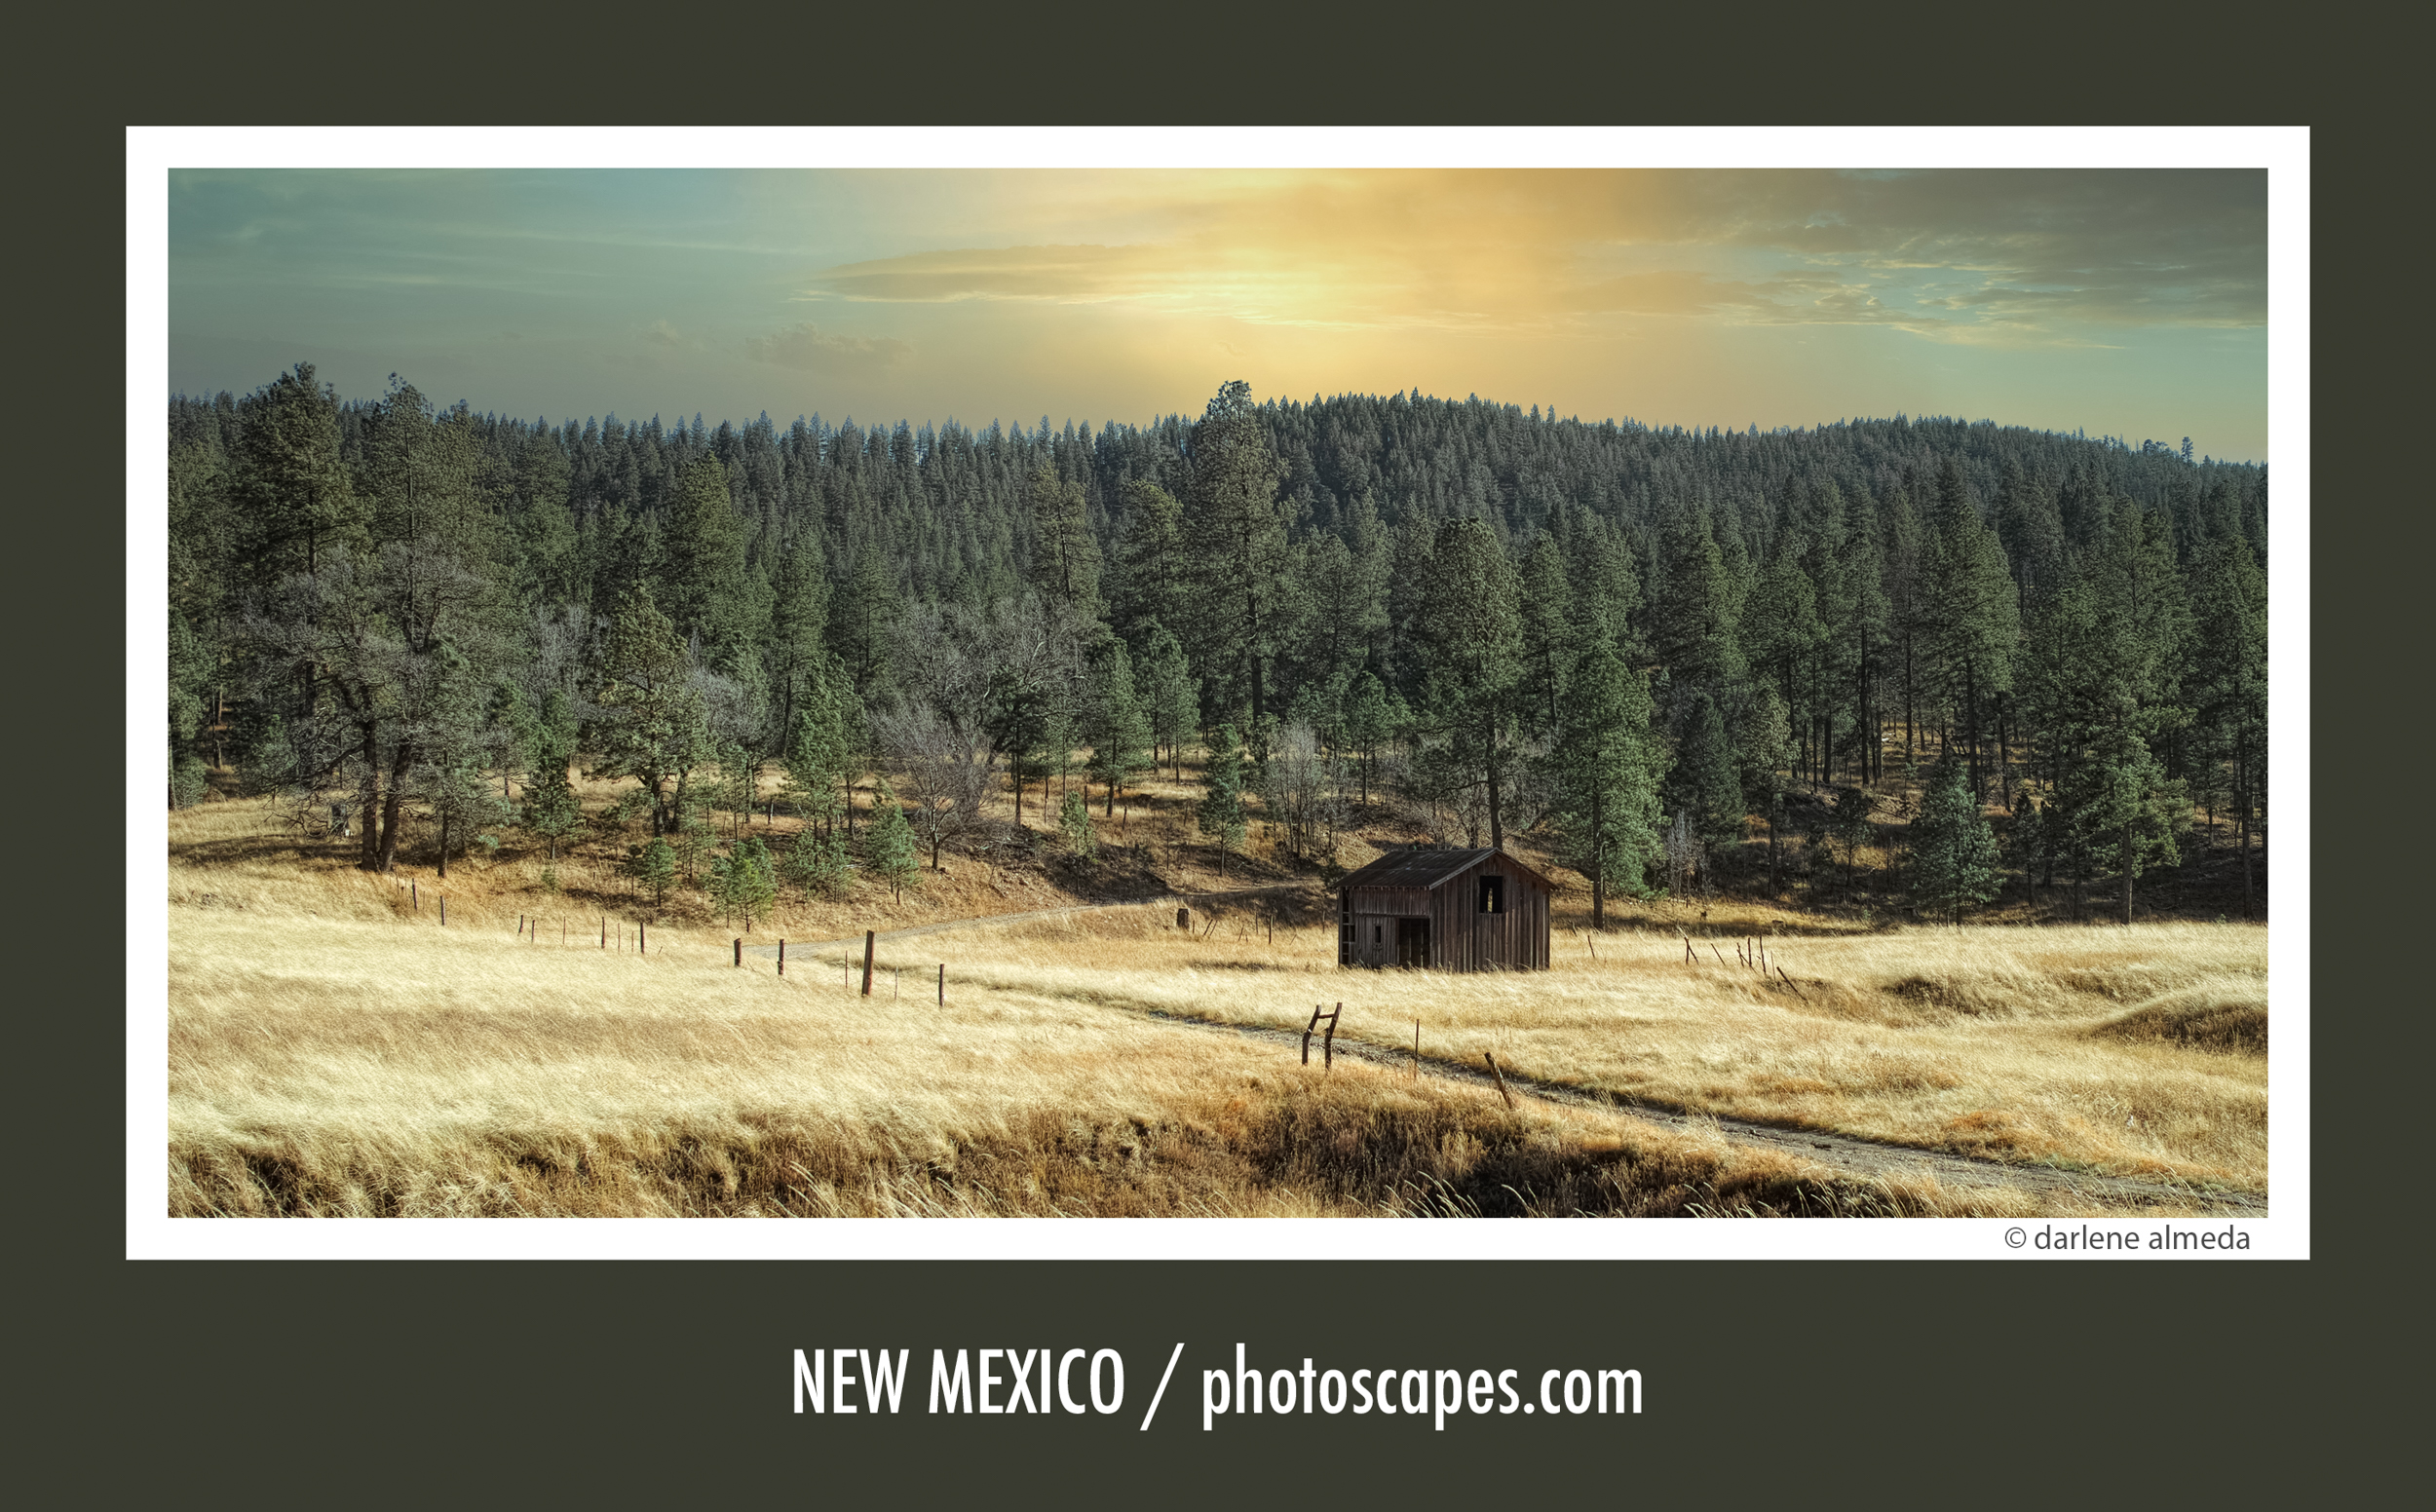
IMAGE BY DP2 MERRILL: NEW MEXICO
Unfair marketing? Well, if you are a pixel counter at the time of post-processing, you might be disappointed. The cameras can produce shockingly sharp images that enlarge very well up to 13×19″ from my experience (without the aid of an enlargement algorithm). If the entire 15 megapixels are used from a correctly exposed and sharply focused image, that might be where Sigma gets to market 46 megapixels. Still, the 50-megapixel files from my digital back can enlarge much more with smoother gradations and allow cropping as needed (I crop to square a lot), so take the 15-megapixels as the true size for enlargement purposes. I have heard of photographers using programs designed to enlarge files beyond their initial megapixel capture size with these 15-megapixel Foveon files that were happy with results up to 20×30″, but I do not play that way, so I cannot recommend it as an alternative to larger prints. Do some research about the largest size a 15-megapixel Foveon file has been enlarged to, as I am sure someone has published an article about it.
IMAGE BY DP3 MERRILL: WIND HORSES
To my eyes, the Foveon colors do not look CMOS. Their color depth and palette are something I have not seen produced by a CMOS or CCD sensor. My medium format 50 pixels back cannot replicate Foveon color depth, but the back-lit sensors in my Fujifilm cameras offer a unique look that a non-back-lit CMOS sensor does not, but still not Foveon color depth. There are many sensors in the APS-C size that can enlarge bigger than the Foveon’s 15-megapixel sensor, but then the size and weight of the DP Merrill cameras shine through. Put all this in a small, compact package with stellar lenses, and now we have a popular camera line for ‘some’ photographers. Oh, but there are quirks and drawbacks caused by this three-layer sensor and by the size and ergonomics of the camera bodies. Notice I have not called the DP Merrill cameras convenient to use.
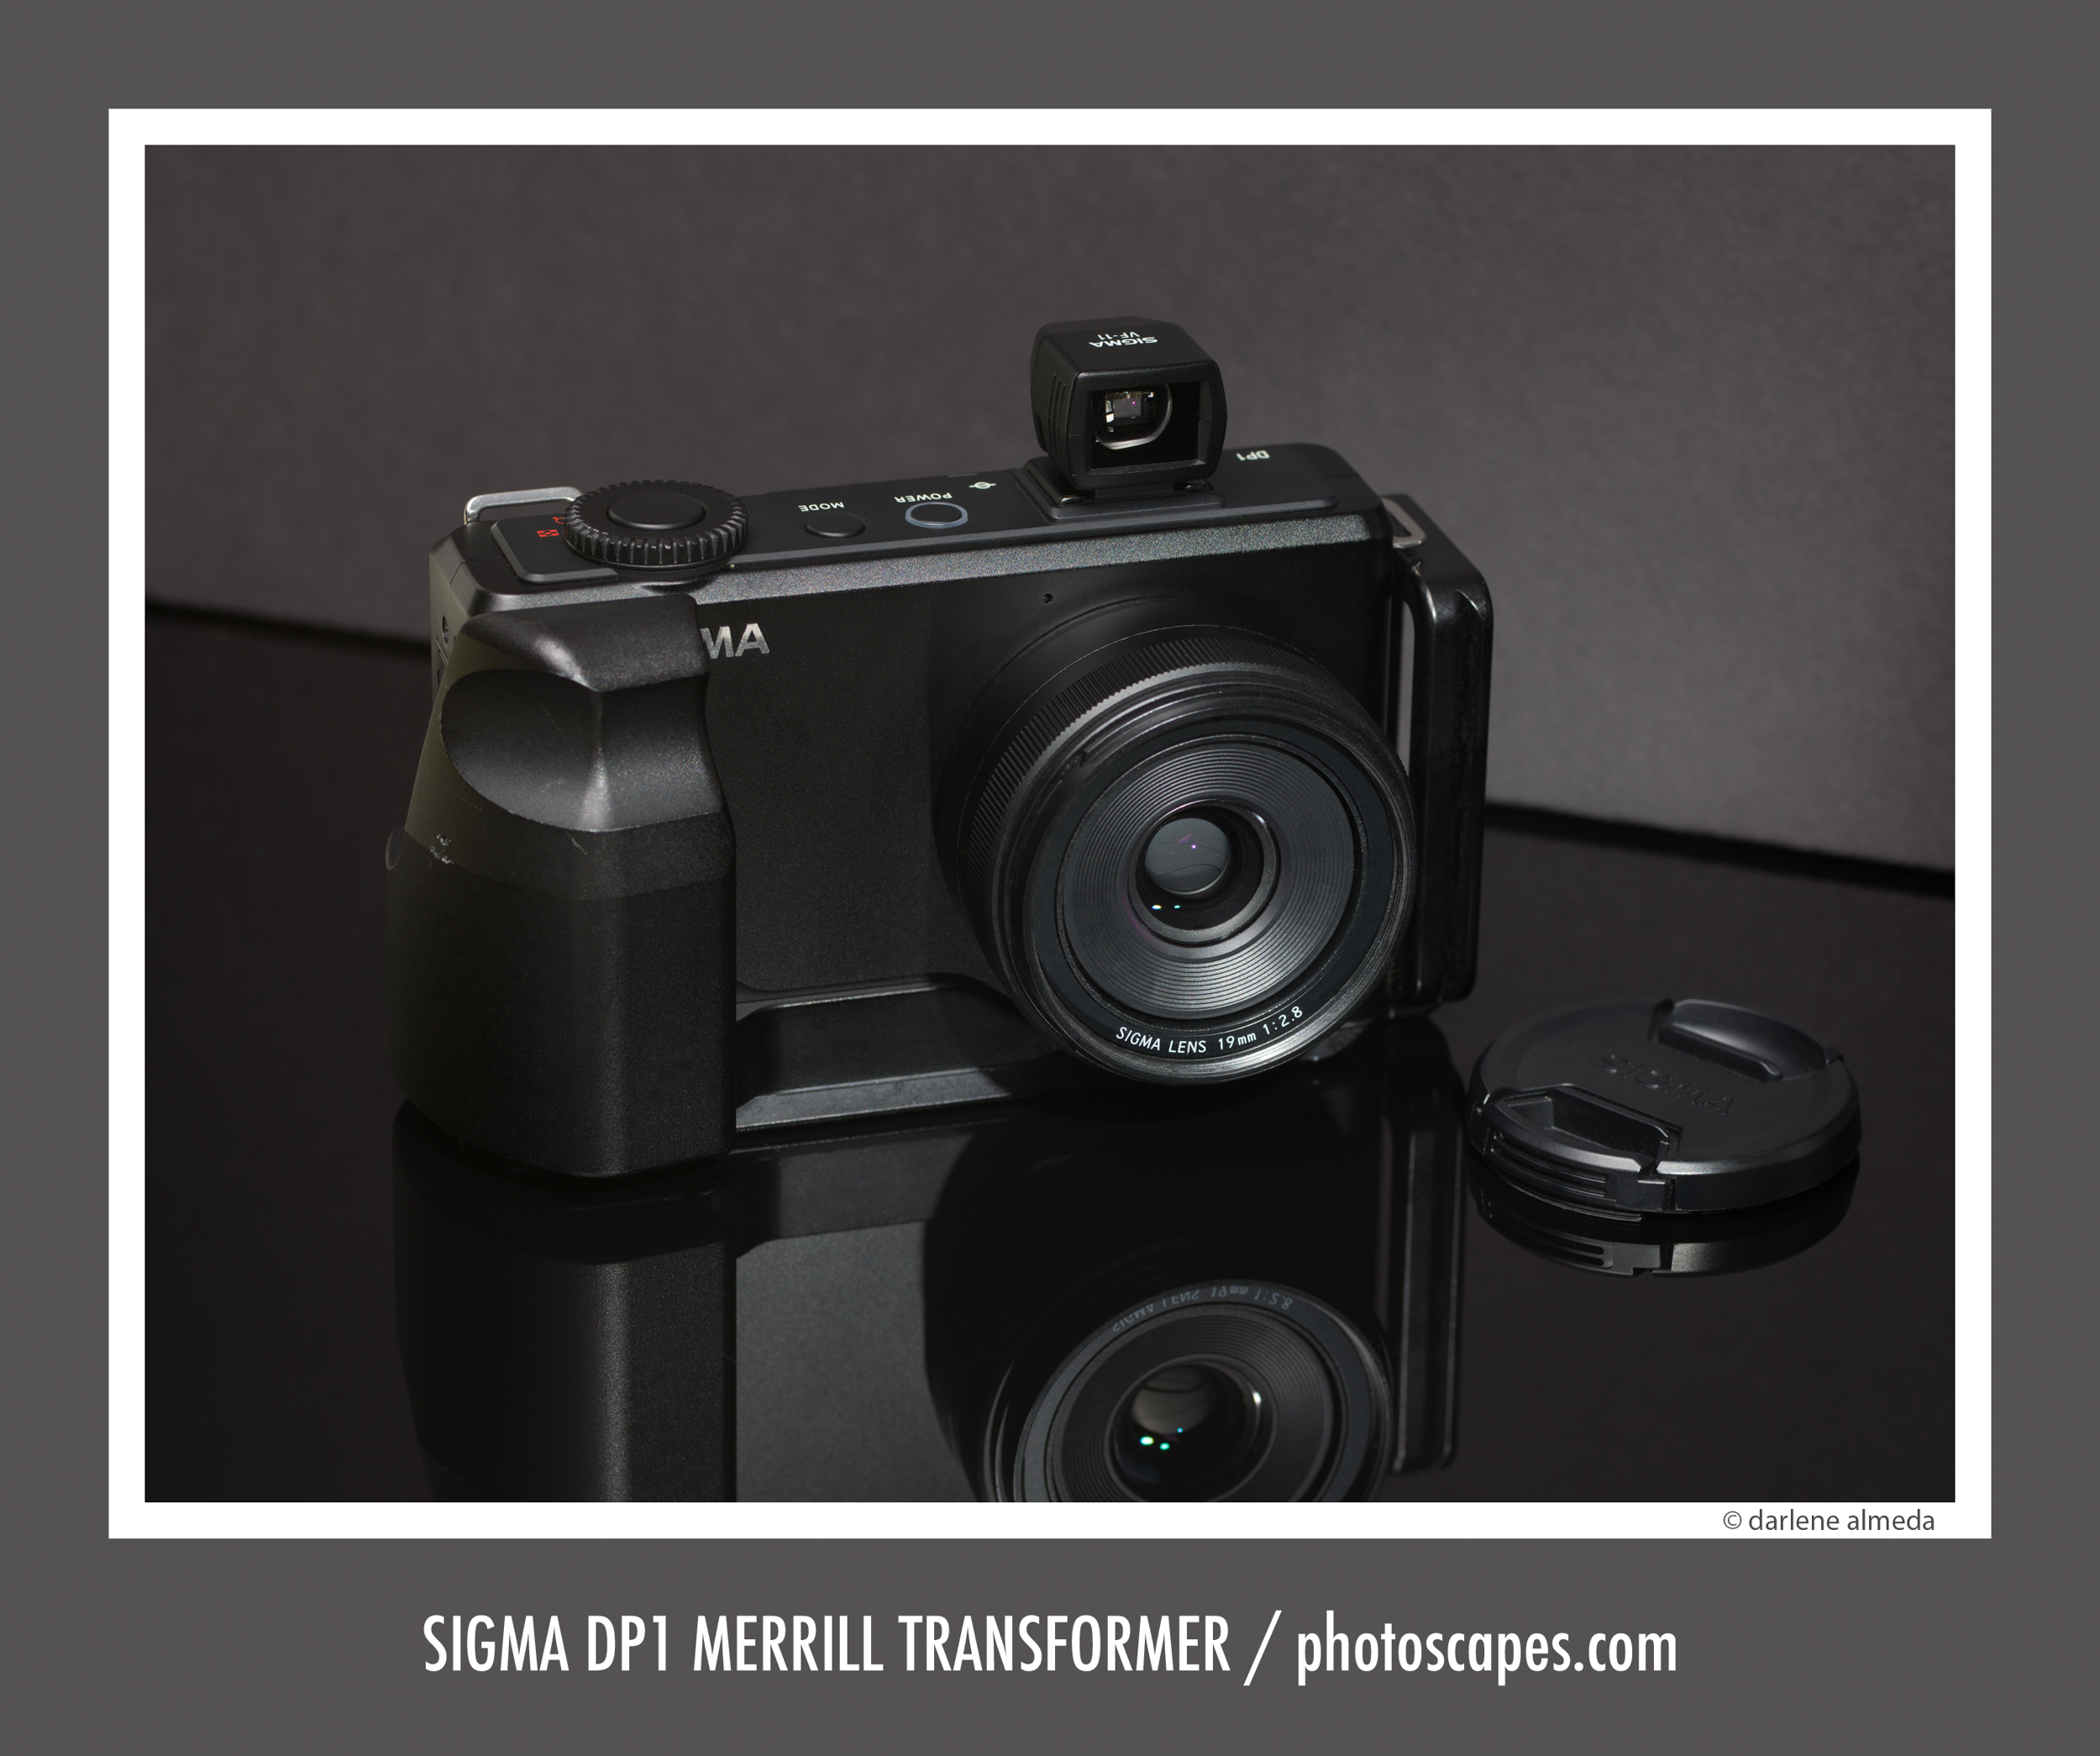
SIGMA DP1 MERRILL TRANSFORMER
DP MERRILL ACCESSORIES
The Sigma DP1 Merrill camera pictured above is what I lovingly called “My DP1M Transformer”. Why? Because when my son was little, he loved playing with Transformer Toys, and after owning the DP Merrills, I can honestly say I have owned cameras that were “little bricks” that I had to transform into cameras. They are cameras, but you cannot hold them to shoot or tripod mount them easily without adding an “L” bracket. And better yet, if you spend the $140 per camera for the Really Right Stuff “L” bracket with a grip, you will finally feel like you can steer these cameras where you want them to go; in hand, up to your eye, or sit on a tripod. Seriously, my DP Merrills looked like they were on steroids when they were ‘transformed’ for shooting. But these are Sigma cameras, and once you own a Sigma camera, you learn to accept its quirks and probable need for add-on body accessories due to its odd shape and poor ergonomics.
The fixed rear screen is the only view you can compose with and run through the menus, but if the sun shines on the screen, you cannot see anything except glare. And forget about looking at the screen in the vertical position; not gonna work at all! And the teeny-tiny optical viewfinders available for the DP1 M and DP2 M cameras are just a money bleed for a dream. What I used that worked best was a rubberized Hoodman Loupe placed over the screen. Amen, sister, ’cause I gotta be able to see. I mean, this is a camera to take PICTURES with, right?
Okay, just another 750+ dollars later, I got my three DP Merrills set up for shooting. The cameras all came with two little batteries. They were so cute, shaped like little squares; I never saw camera batteries so small. This is where we learn about battery capacity in small packages: they do not carry much juice. Now I am faced with two choices (or so I thought); I can either spend more money on extra batteries or learn to be conservative with my shooting. Guess what? I had no choice because the DPM cameras restrict you from pushing down the shutter button due to their small buffers after taking picture #9. Do I have to wait for the buffer to clear after taking just nine pictures? Really? It takes so l-o-n-g waiting for the !@#$%^& buffer to clear!! Forget about bracketing your shots out in the landscape, you’ll be gone from home for so long your family will send out a search party! I have never shot with a digital camera that demanded so much from me.
Ahhhh, but they say the images are worth it, right?
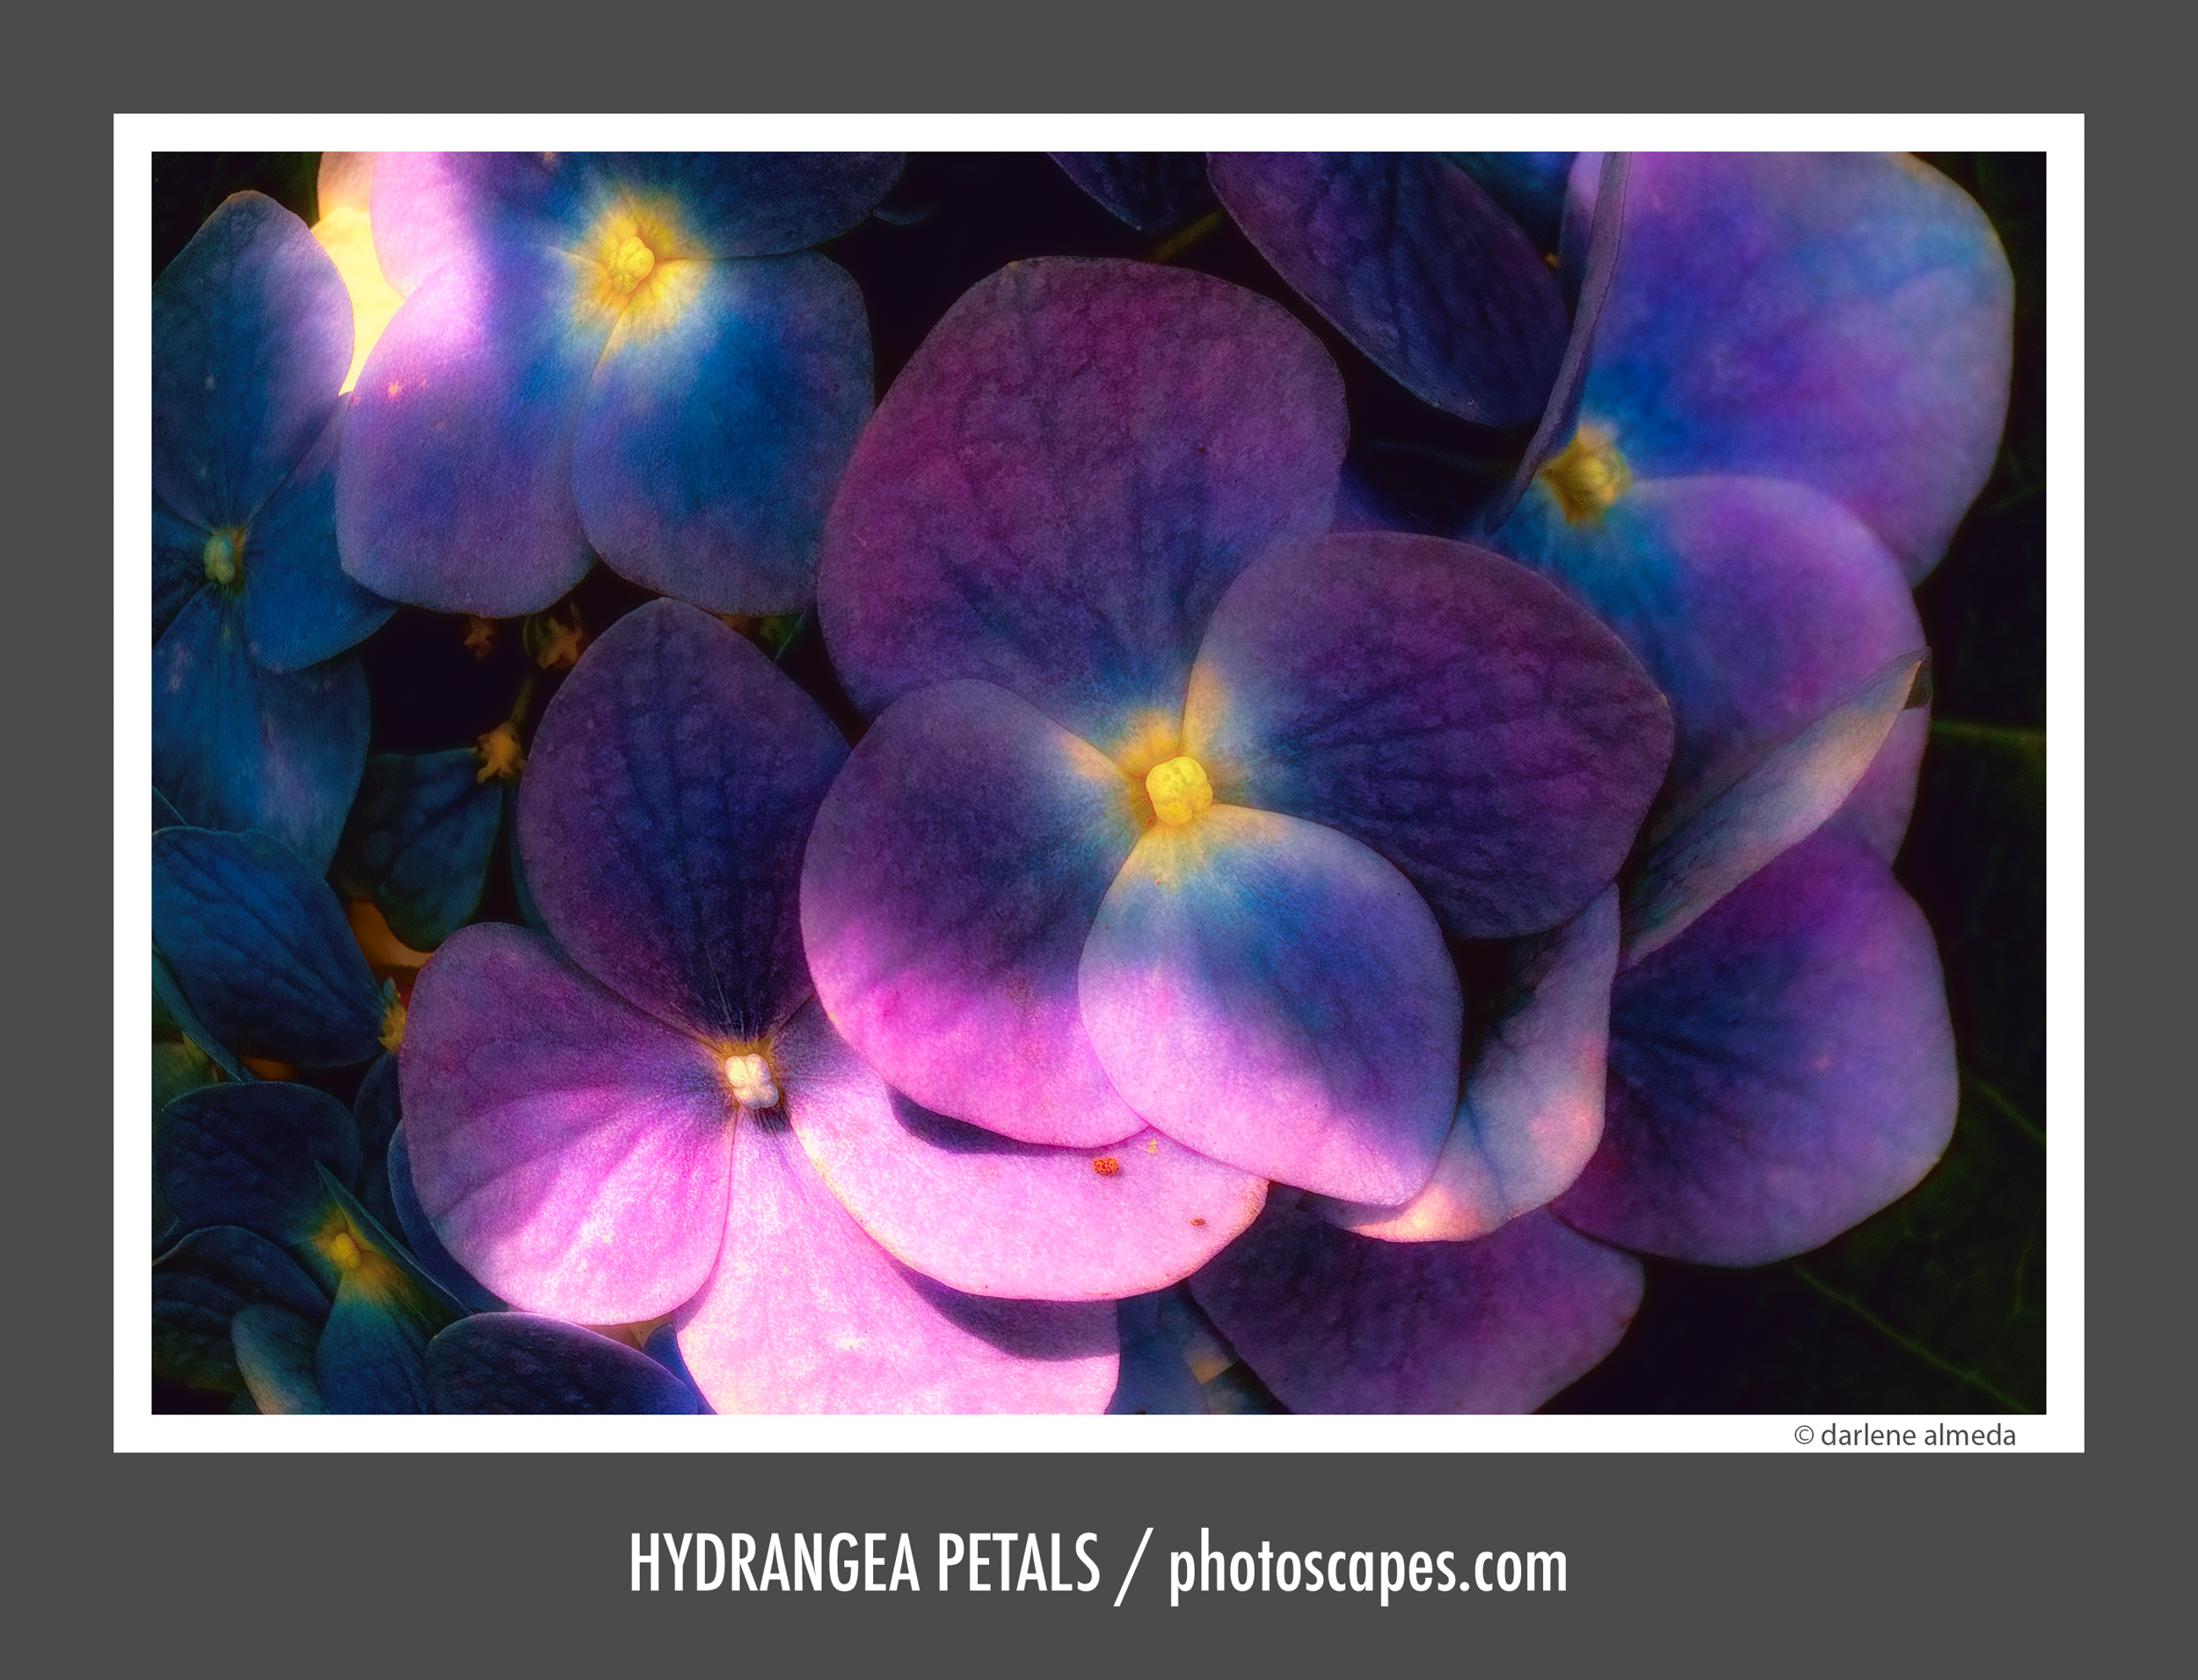
IMAGE BY DP2 MERRILL: HYDRANGEA PETALS
FOVEON SENSOR SMEARING
When the DP Merrills played well, they did great. I found when I shot in the studio under controlled lighting (like the above image), I did not experience the problems of “magenta or green blotching and smearing” so many DP Merrill shooters report. Great images with magenta and sometimes green blotches usually appearing in the sky and trees are NOT acceptable. Trying to get it all out during post-processing was an impossible task and was not fair to those of us that dumped an incredible amount of money and time into these cameras.
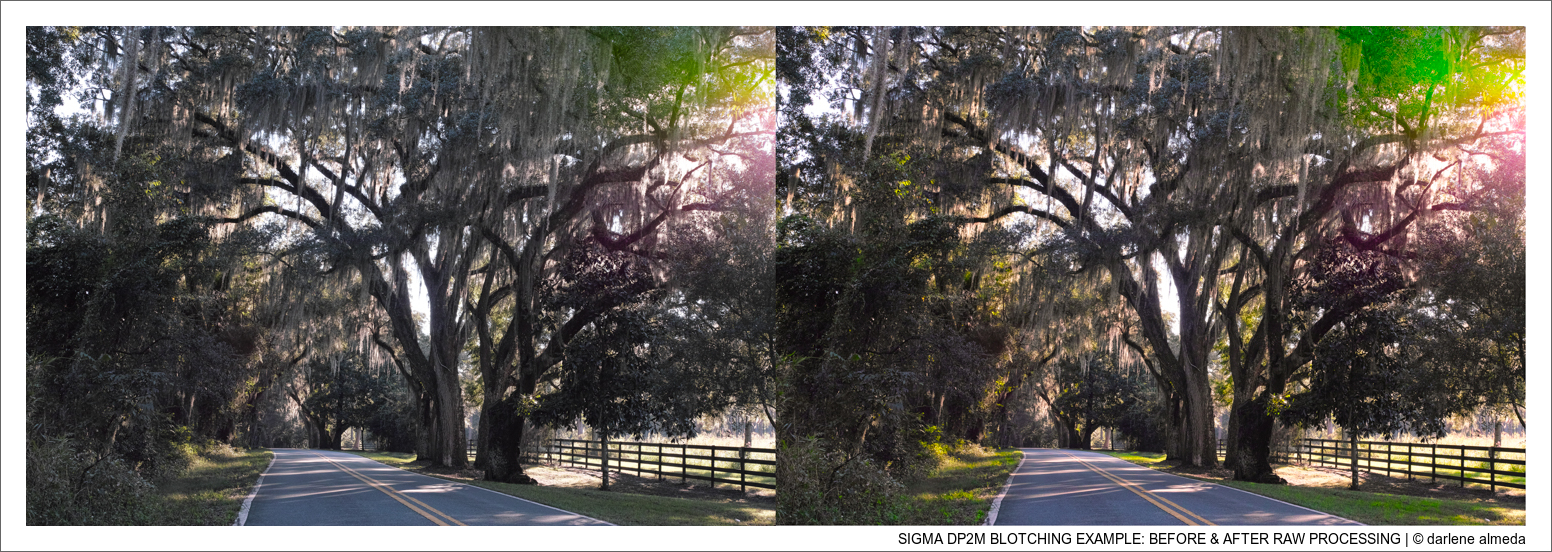
SIGMA DP2 MERRILL BLOTCHING EXAMPLE

SIGMA DP1 MERRILL MAGENTA SMEARING EXAMPLE
THE DEAL BREAKER
Where I lost patience, in the end, was with Sigma’s RAW processing software you had to use at the time because Lightroom (LR) did not support Sigma’s proprietary RAW format. Adobe said it could not support the format because Sigma would not let them. Let me tell you that there were many negative write-ups about the Sigma Photo Pro (SPP) software. I think we all tried to get Sigma to see how bad it was by writing on photography forums across the web, hoping they’d update it, but with every update, just more disappointment. It is, to date, the slowest software program I have ever used. I used to think of the word slow whenever I thought of Sigma. I even posted a short YouTube video showing how slow it took SPP to upload images from a card. You know I am pissed if I do a video!
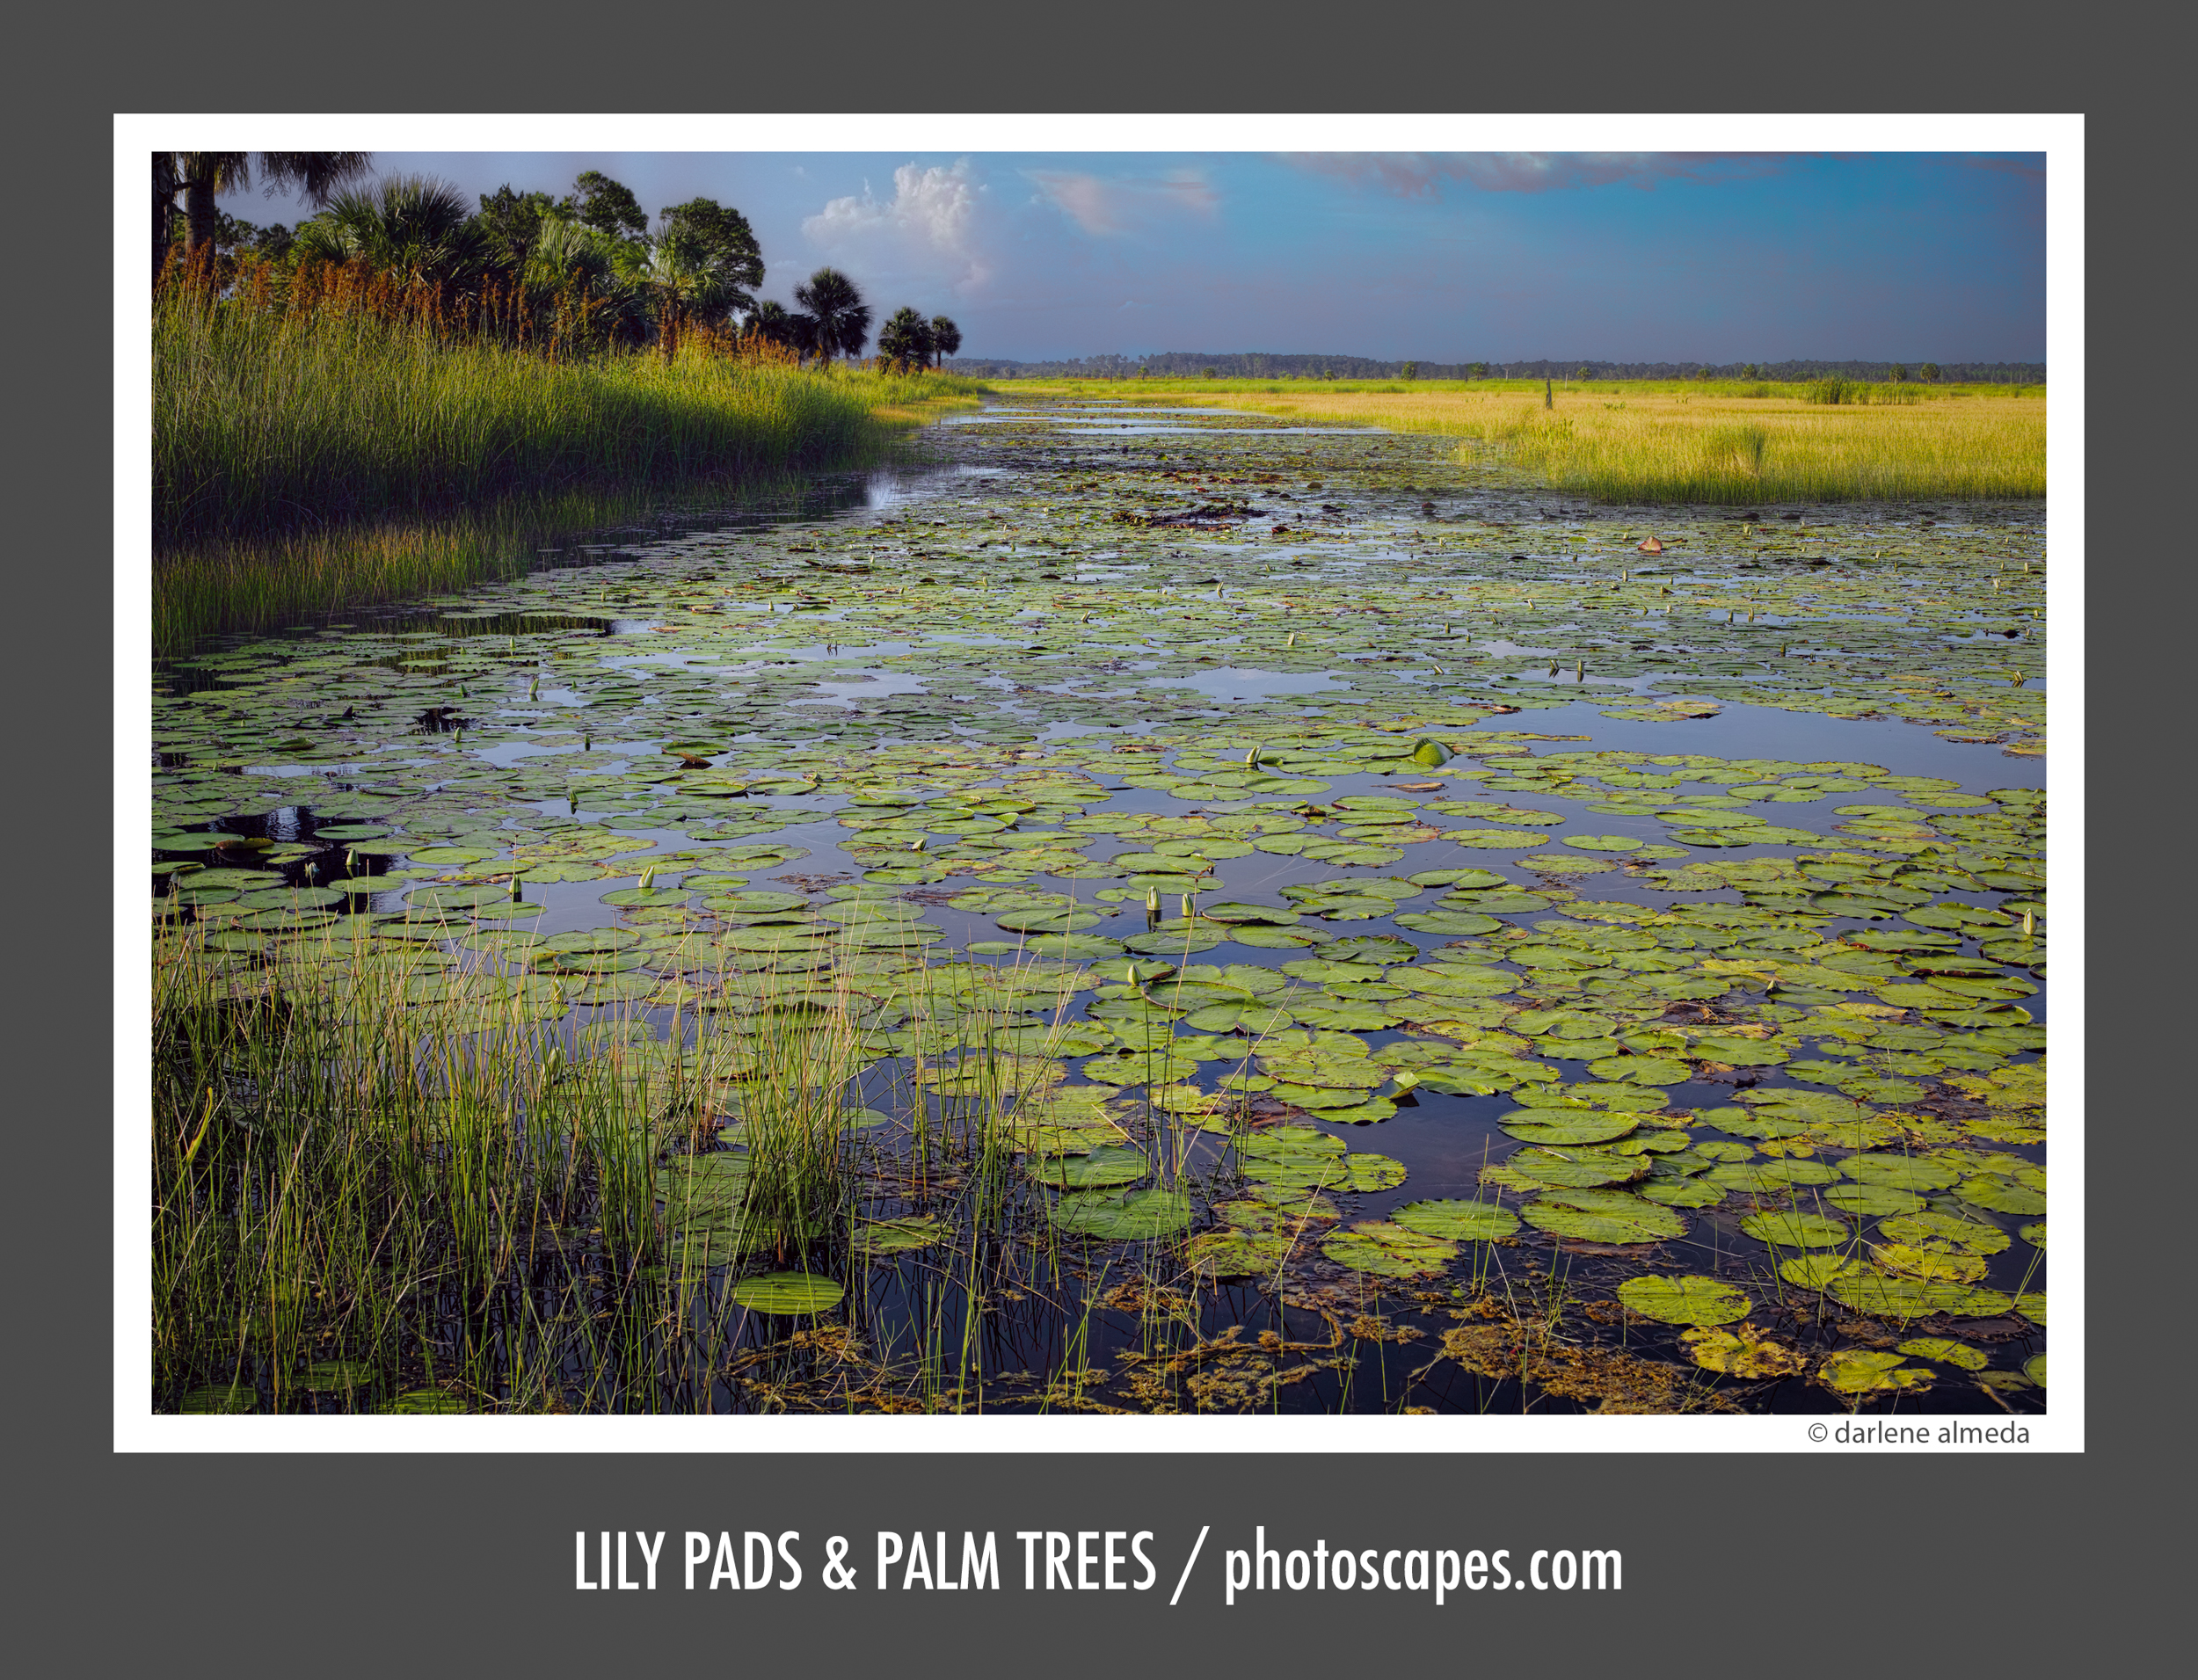
IMAGE BY DP2 MERRILL: LILY PADS & PALM TREES
DP MERRILLS = 1,918 IMAGES
I eventually sold all the DP Merrill cameras because I stopped using them. According to my LR catalog, the total number of images I made with each DP Merrill camera is: DP1 M = 392, DP2 M = 1,081, and DP3 M = 445. That is a total of 1,918 images. That is a small number of images from three different digital cameras. If you consider, I sometimes chose to bracket with all of the cameras and owned them for more than a few years. But, I loved the Foveon sensor for its color depth, and during the time I had all three of the DP Merrills, I purchased a used SD1 Merrill and a few lenses to see if I preferred the DSLR Sigma with the same Foveon sensor, and boy am I ever so glad I did!
NEXT GENERATION: dp0 QUATTRO

SIGMA dp0 QUATTRO & ACCESSORIES
The dp Quattros were Sigma’s next generation of fixed-lens APS-C cameras built around a redesigned 20-megapixel Foveon sensor. I bought the dp0 Quattro, which featured a 21mm-equivalent lens and the new multi-layer sensor. Like earlier Foveons, it used three layers to record color, but only the top layer captured the full 19.6MP resolution, with the lower two recording just 4.9MP each.
Unfortunately, the files lacked the signature Foveon color depth and palette I loved—the images looked more like those from a standard CMOS sensor. The camera’s ergonomics didn’t help either. The only viewfinder was the rear screen, and while Sigma offered a hooded loupe that attached to the base, the result was an awkward, oddly shaped setup.
SIGMA dp0 QUATTRO EXAMPLE
dp0 & dp2 IMAGES
SIGMA SD1 MERRILL

SIGMA SD1 MERRILL EXAMPLE
Once I started shooting with the SD1 Merrill (SD1M), I knew I found the last DSLR camera I would own. Mirrorless camera technology was upon us, and after I acquired my first mirrorless, the Sony NEX-7, I knew I would be leaving DSLR cameras behind. What made the difference with the SD1M over the DPM cameras was, foremost, the body style. I have never had a DSLR camera fit my hand so well. It is, to this day, a very comfortable camera for me to use. I am not crazy about the optical viewfinder since I have gotten accustomed to the benefits of mirrorless EVFs. Still, Sigma’s simple menu and user interface have always been a huge plus. Why other camera manufacturers do not follow suit amazes me. The SD1M has no Live View, but for what I currently use it for, it does not matter. Besides, when I was coming up in photography, I had to wait for the lab to deliver my film before I could see what I shot.
SIGMA SD1 MERRILL: THE KEEPER
Besides the SD1M’s body being a superb fit in my hands and having the benefit of choosing the lenses I want, how can I not love this camera? With the Foveon sensor at the heart of the SD1M, it is a camera I knew I would find a special niche for. After taking it out in the landscape a few times and shooting things like the Mercury Classic above, I decided it was a keeper for the color alone. Then I acquired a second body for infrared shooting and realized what drove me to stay with the camera was its color depth and palette, and where I could apply it the most was in my abstract macro photography.
SIGMA SD1 MERRILL: IMAGES
SIGMA SD1 MERRILL: ABSTRACT MACRO SETUP
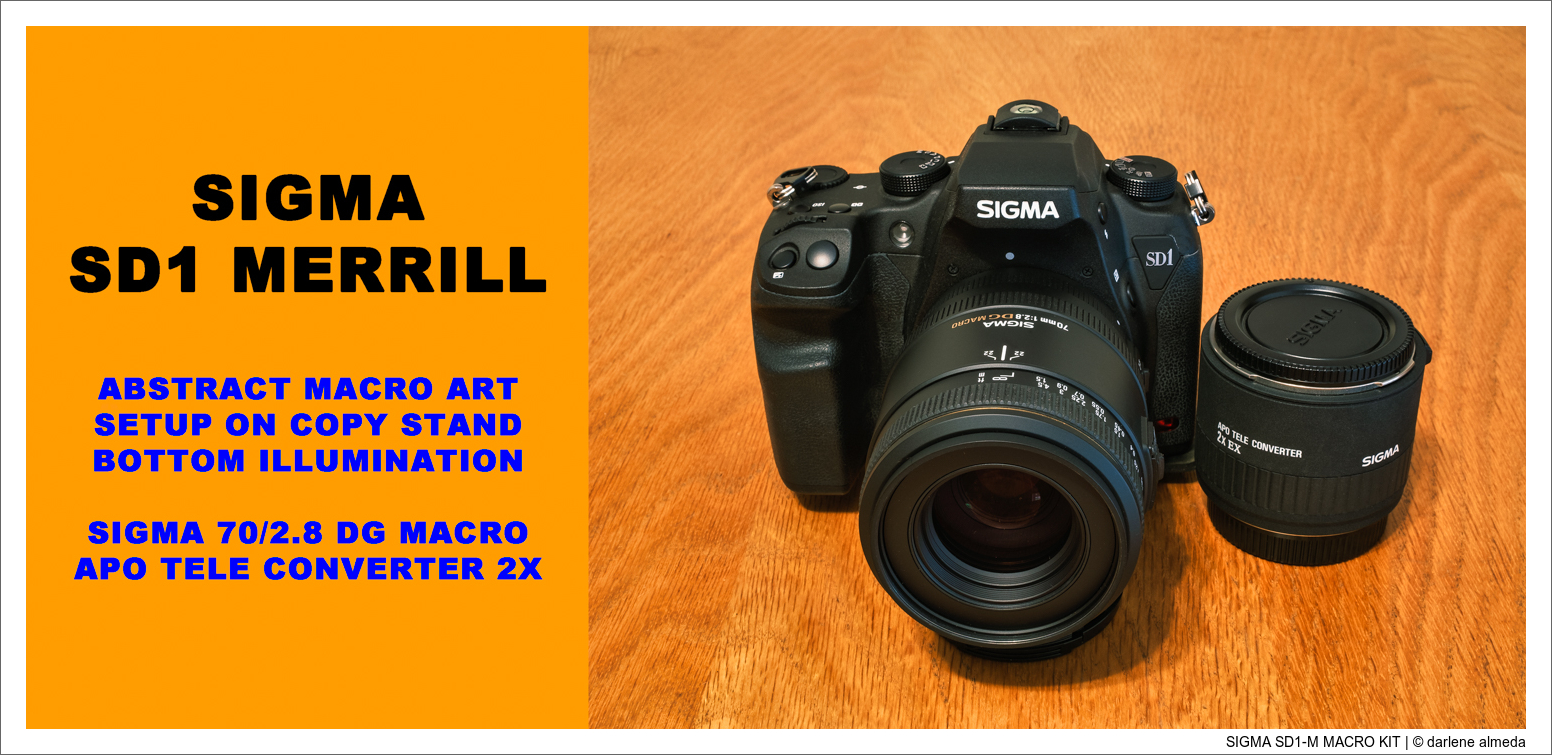
SIGMA SD1 MERRILL: ABSTRACT MACRO IMAGES
CLOSING THOUGHTS & A PORTRAIT
It has been a long journey with the Foveon sensor. I knew it was something special the first time I made an image that truly spoke to me. The DPM cameras marked my first foray into the world of Foveon, but certainly not my last—the depth of color kept me coming back for more. Once I understood the sensor’s strengths and quirks, it earned a permanent place in my photographic toolbox, discovering where it truly belonged.
Sigma no longer manufactures the Foveon sensor found in the SD1 Merrill, and their latest camera offerings don’t interest me. Over the years, their lenses have evolved from budget options to top-tier performers. Sigma has always been a quirky camera maker in my eyes—bold, inventive, and unafraid to take risks, even when it comes at the cost of customer comfort.
And that’s precisely what I did with the portrait session below: I took a chance on the Foveon sensor. Somewhere deep in my artist’s mind, I knew it would render the soft window light beautifully for the photograph of the expectant mother.

