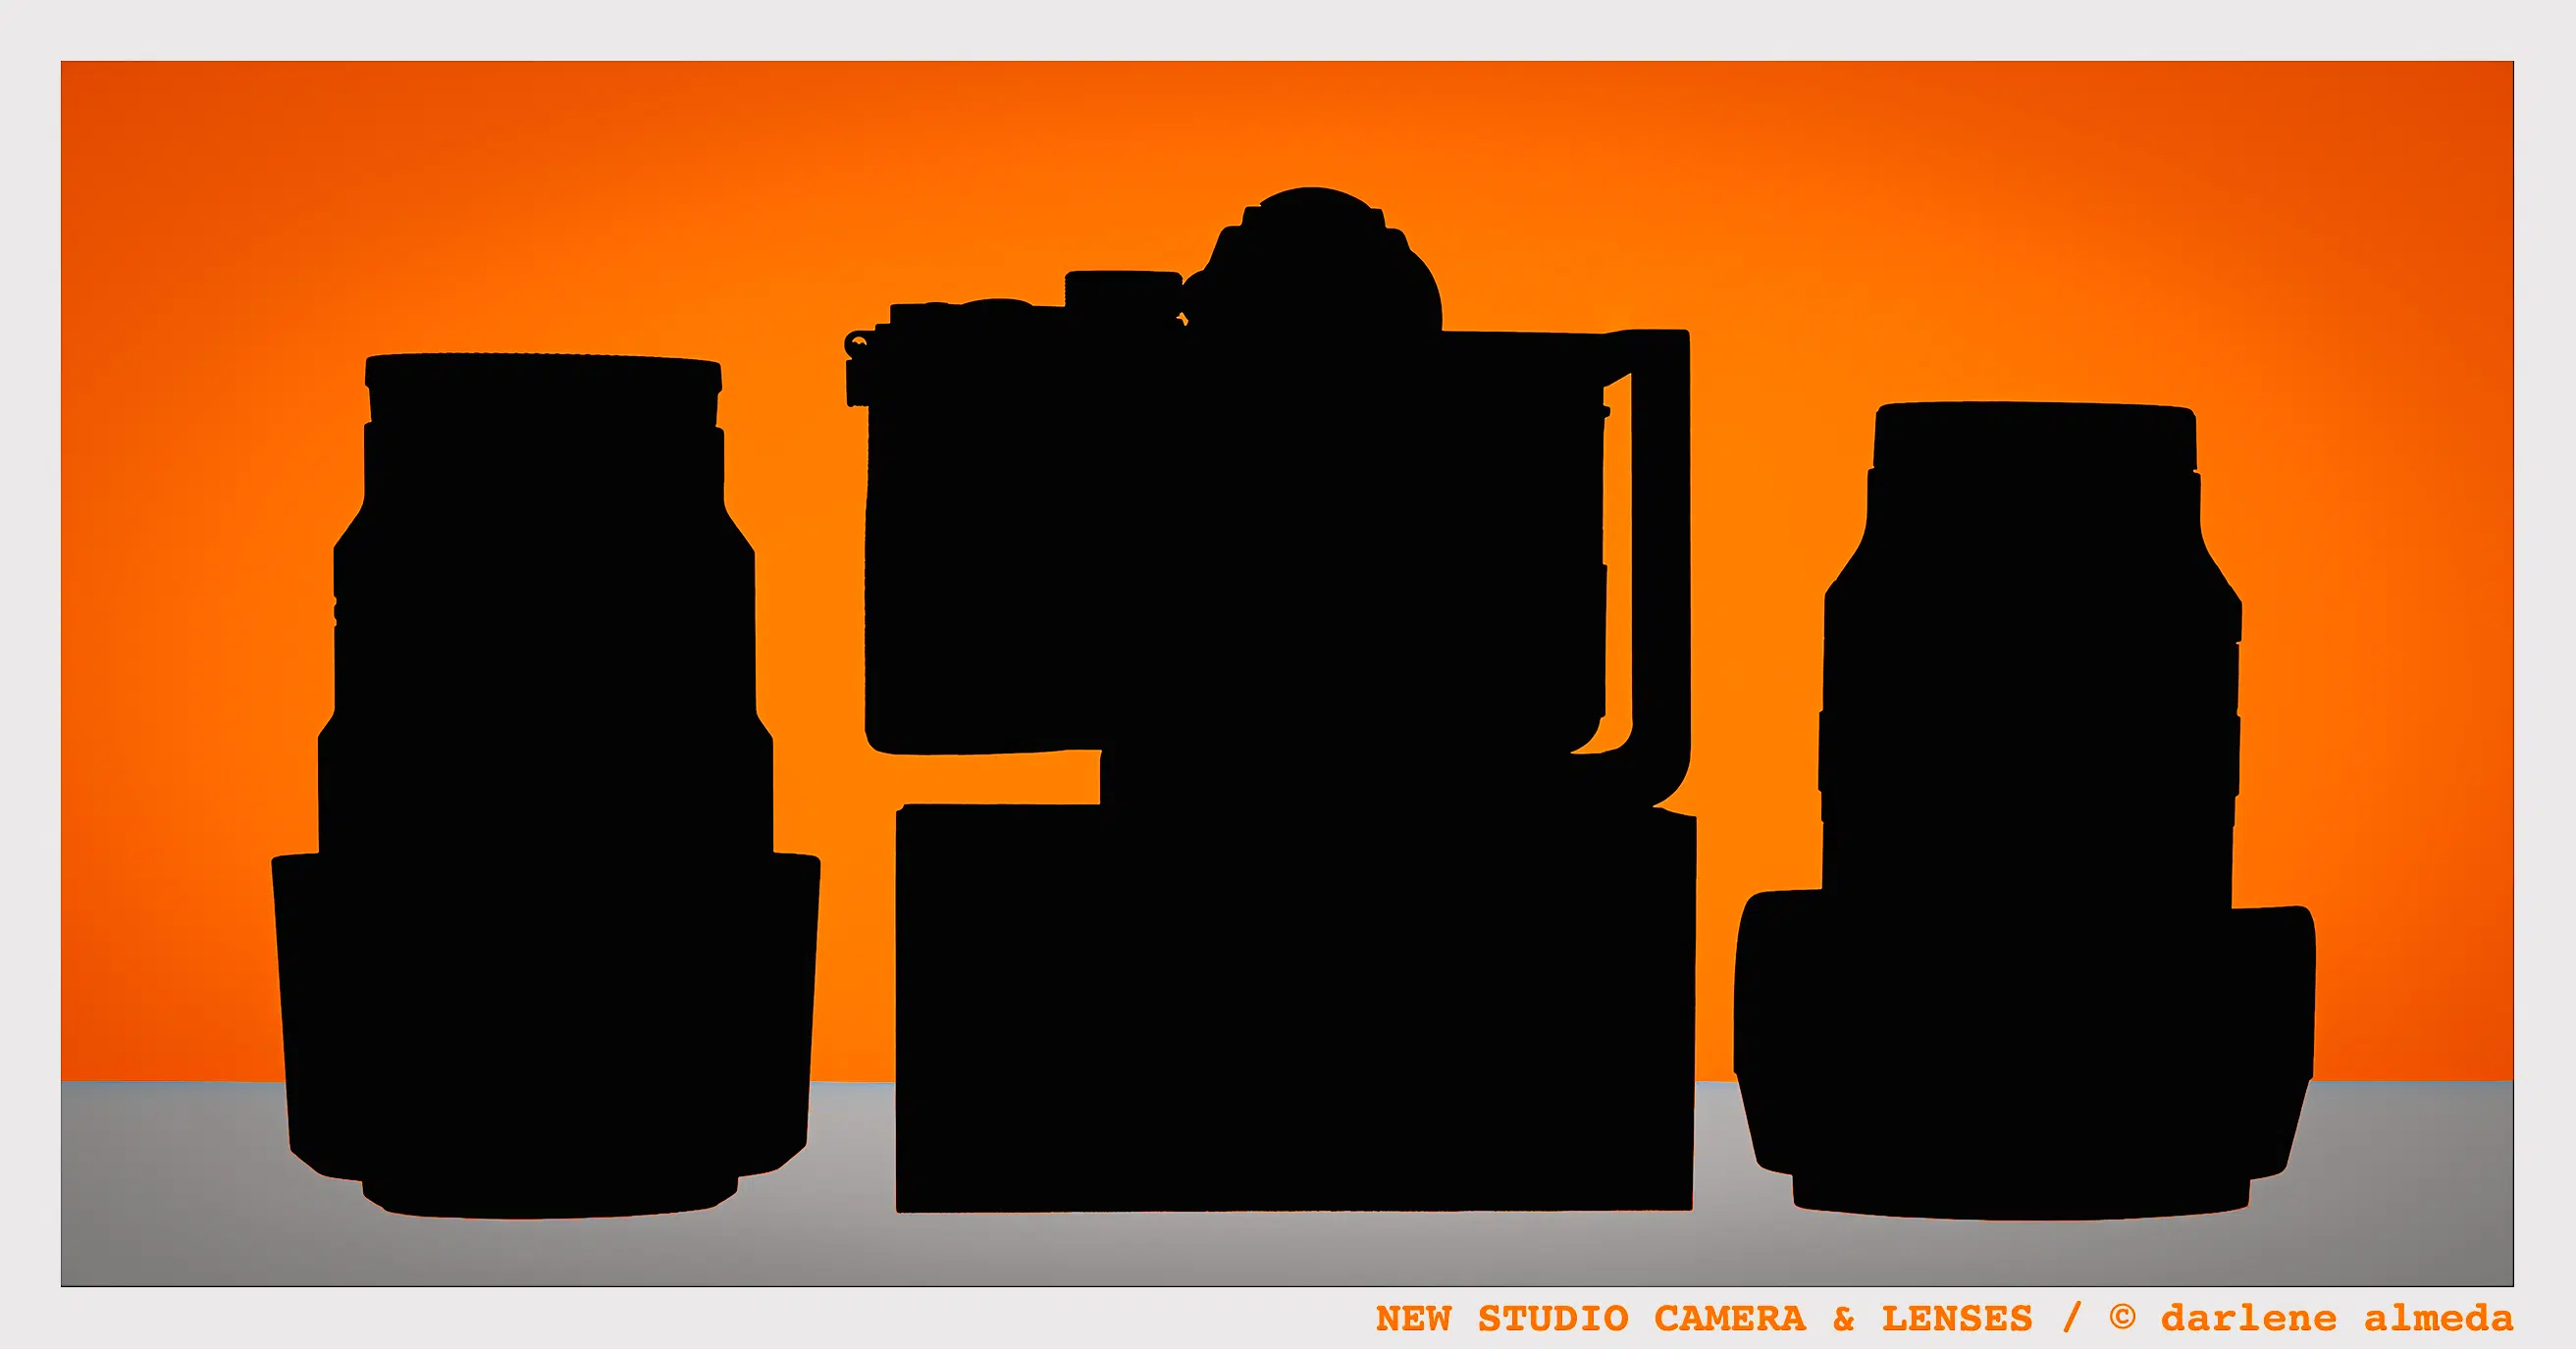
NEW STUDIO CAMERA AND LENSES
It was finally time to choose a new studio camera, not because of a lack of gear, but because I wanted a full-frame, high-resolution sensor with pixel-shift technology in a compact body that fits my current studio needs.
My work over the years has shifted from print spreads to web-based projects, and my growing film archive keeps the copy stand busy. So my studio camera needs to do both: sync seamlessly with studio setups and Profoto lighting, and deliver sharp, detailed macro results.
My X-Pro3 has served me well, but lately I’ve felt that familiar itch: What if I had more resolution? What if pixel-shift could take things even further? If you’ve followed my posts this past year, you’ve seen me eyeing Sony’s 61MP options.
After plenty of thought, I finally leaped. This article shares why I chose Sony, how it fits my workflow, and my early impressions.
Why Sony & Why Now?
Sony holds a special place in my history because the NEX-7 was my first mirrorless camera. I created some favorite images with it, such as the examples pictured below. It sealed my appreciation for the APS-C format as a real alternative to the full-frame DSLR gathering dust in my closet at the time, and since then, Sony has made some fantastic advancements in lens and sensor design.
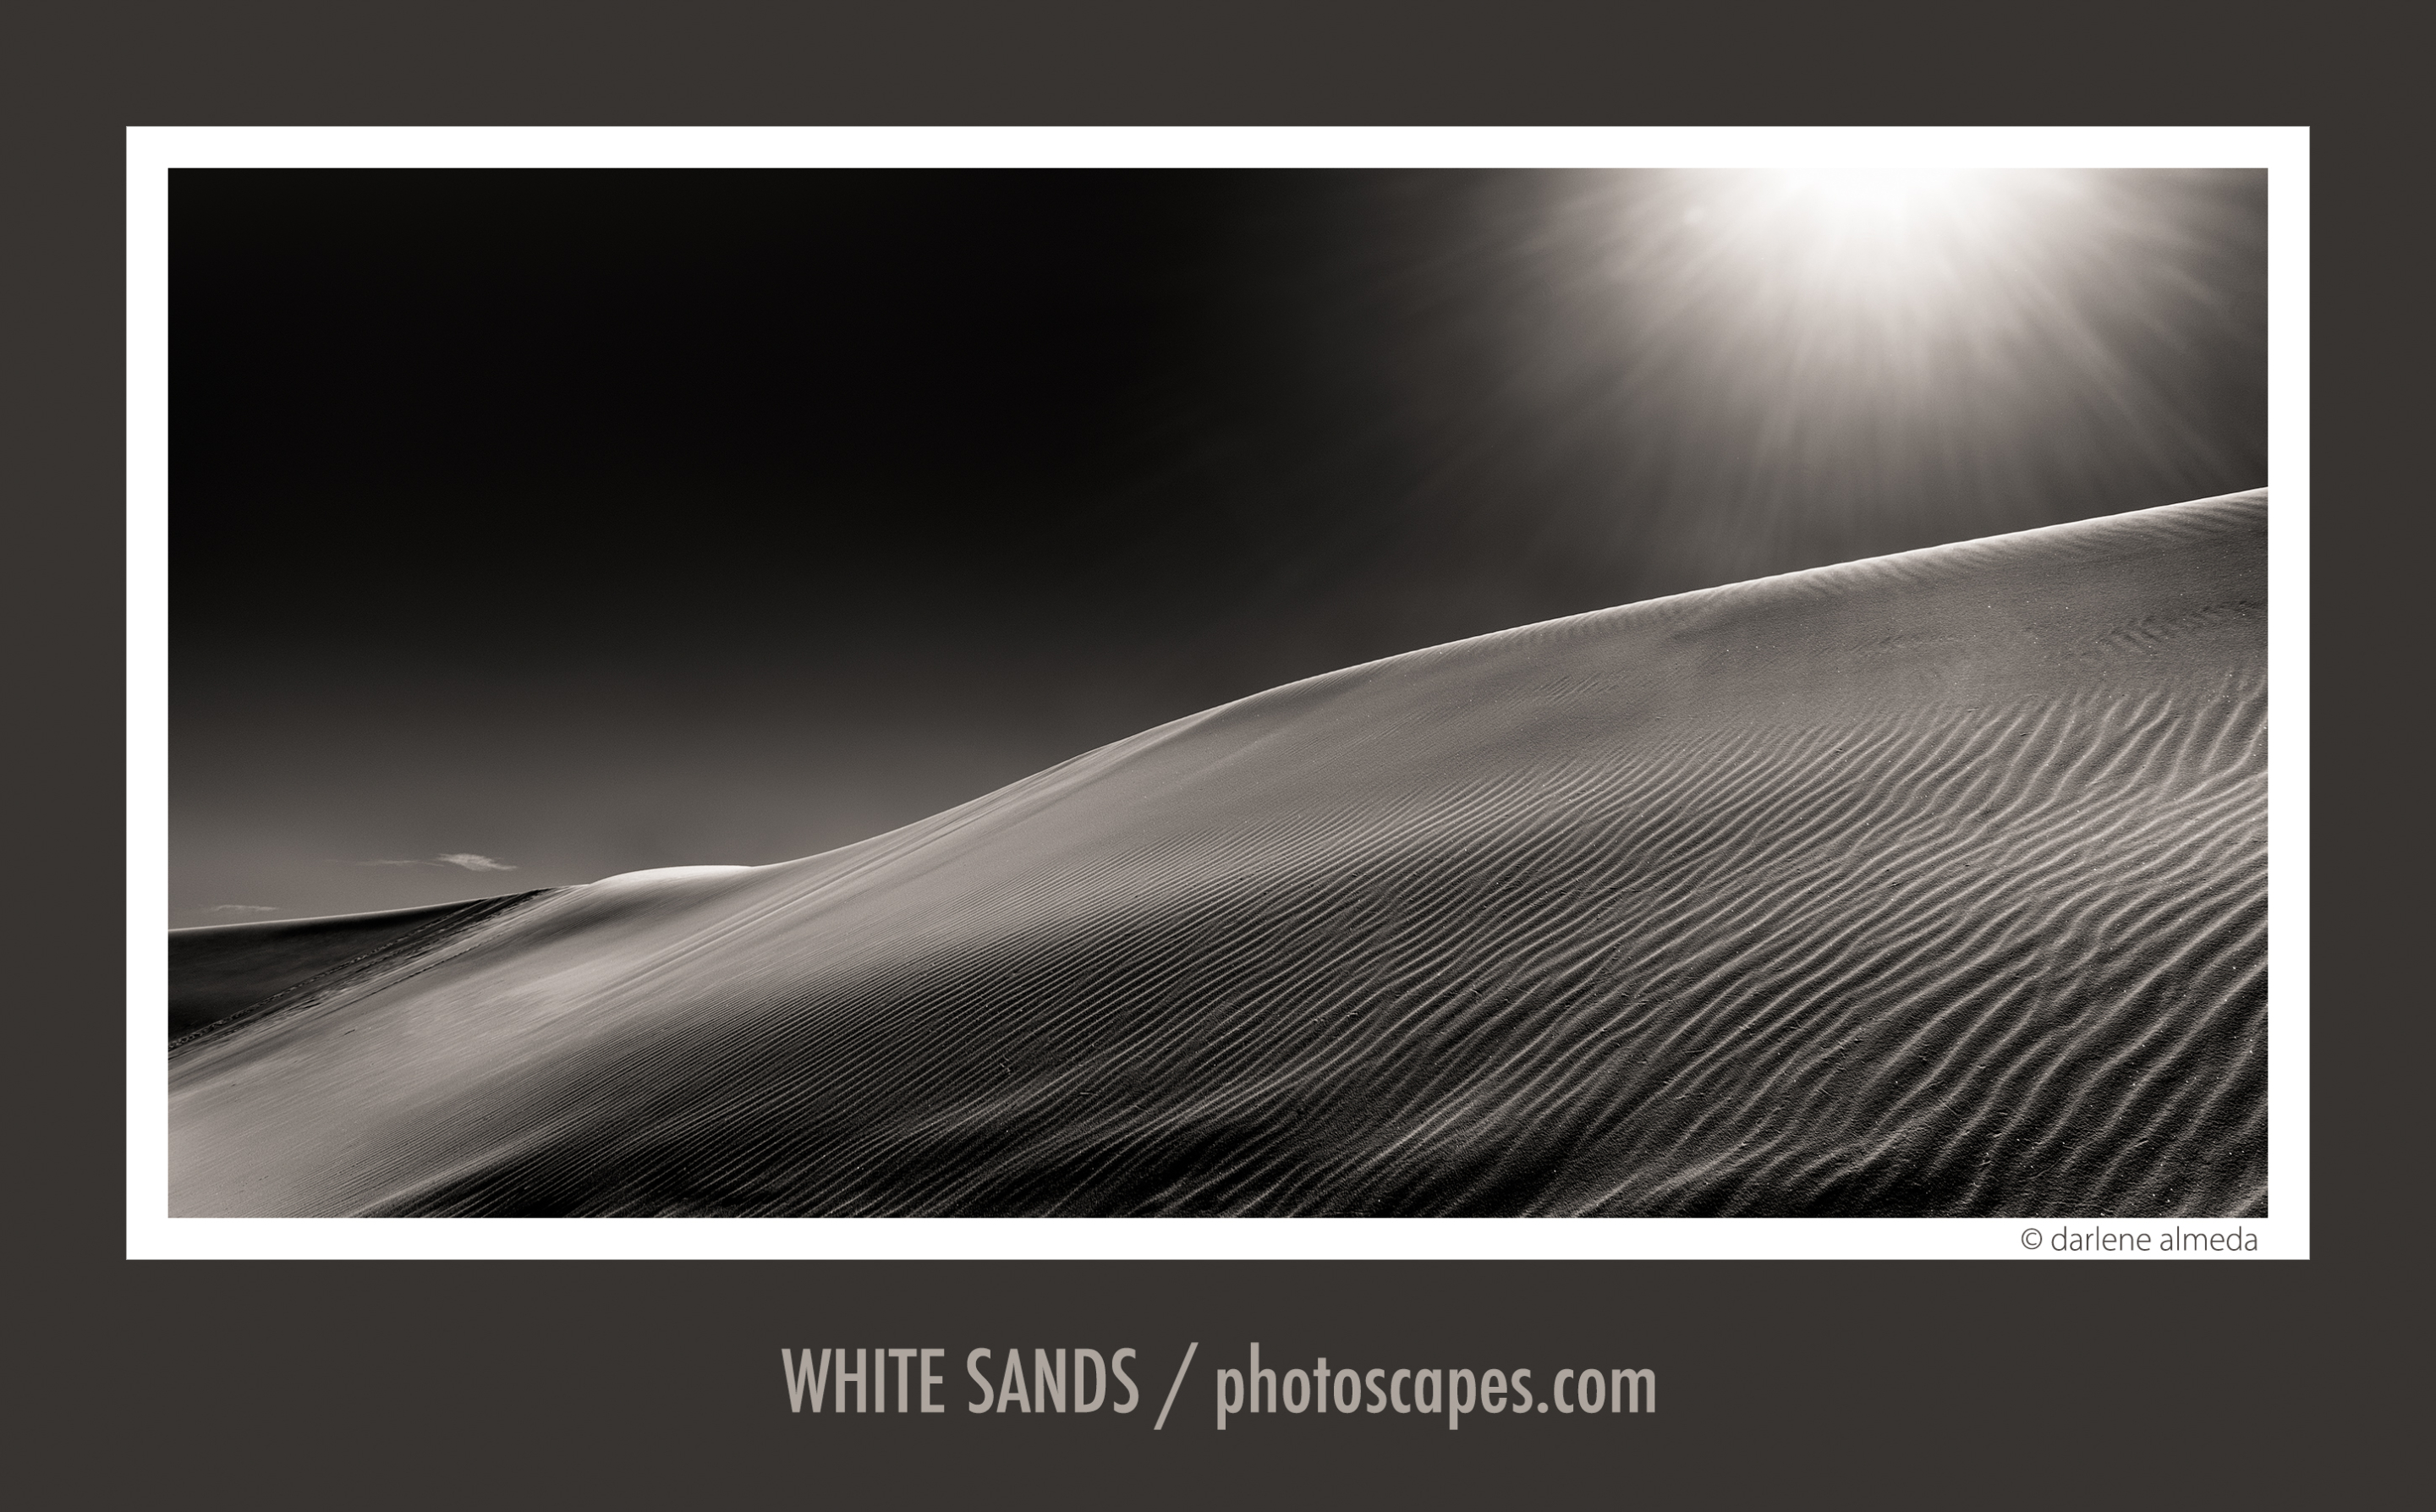
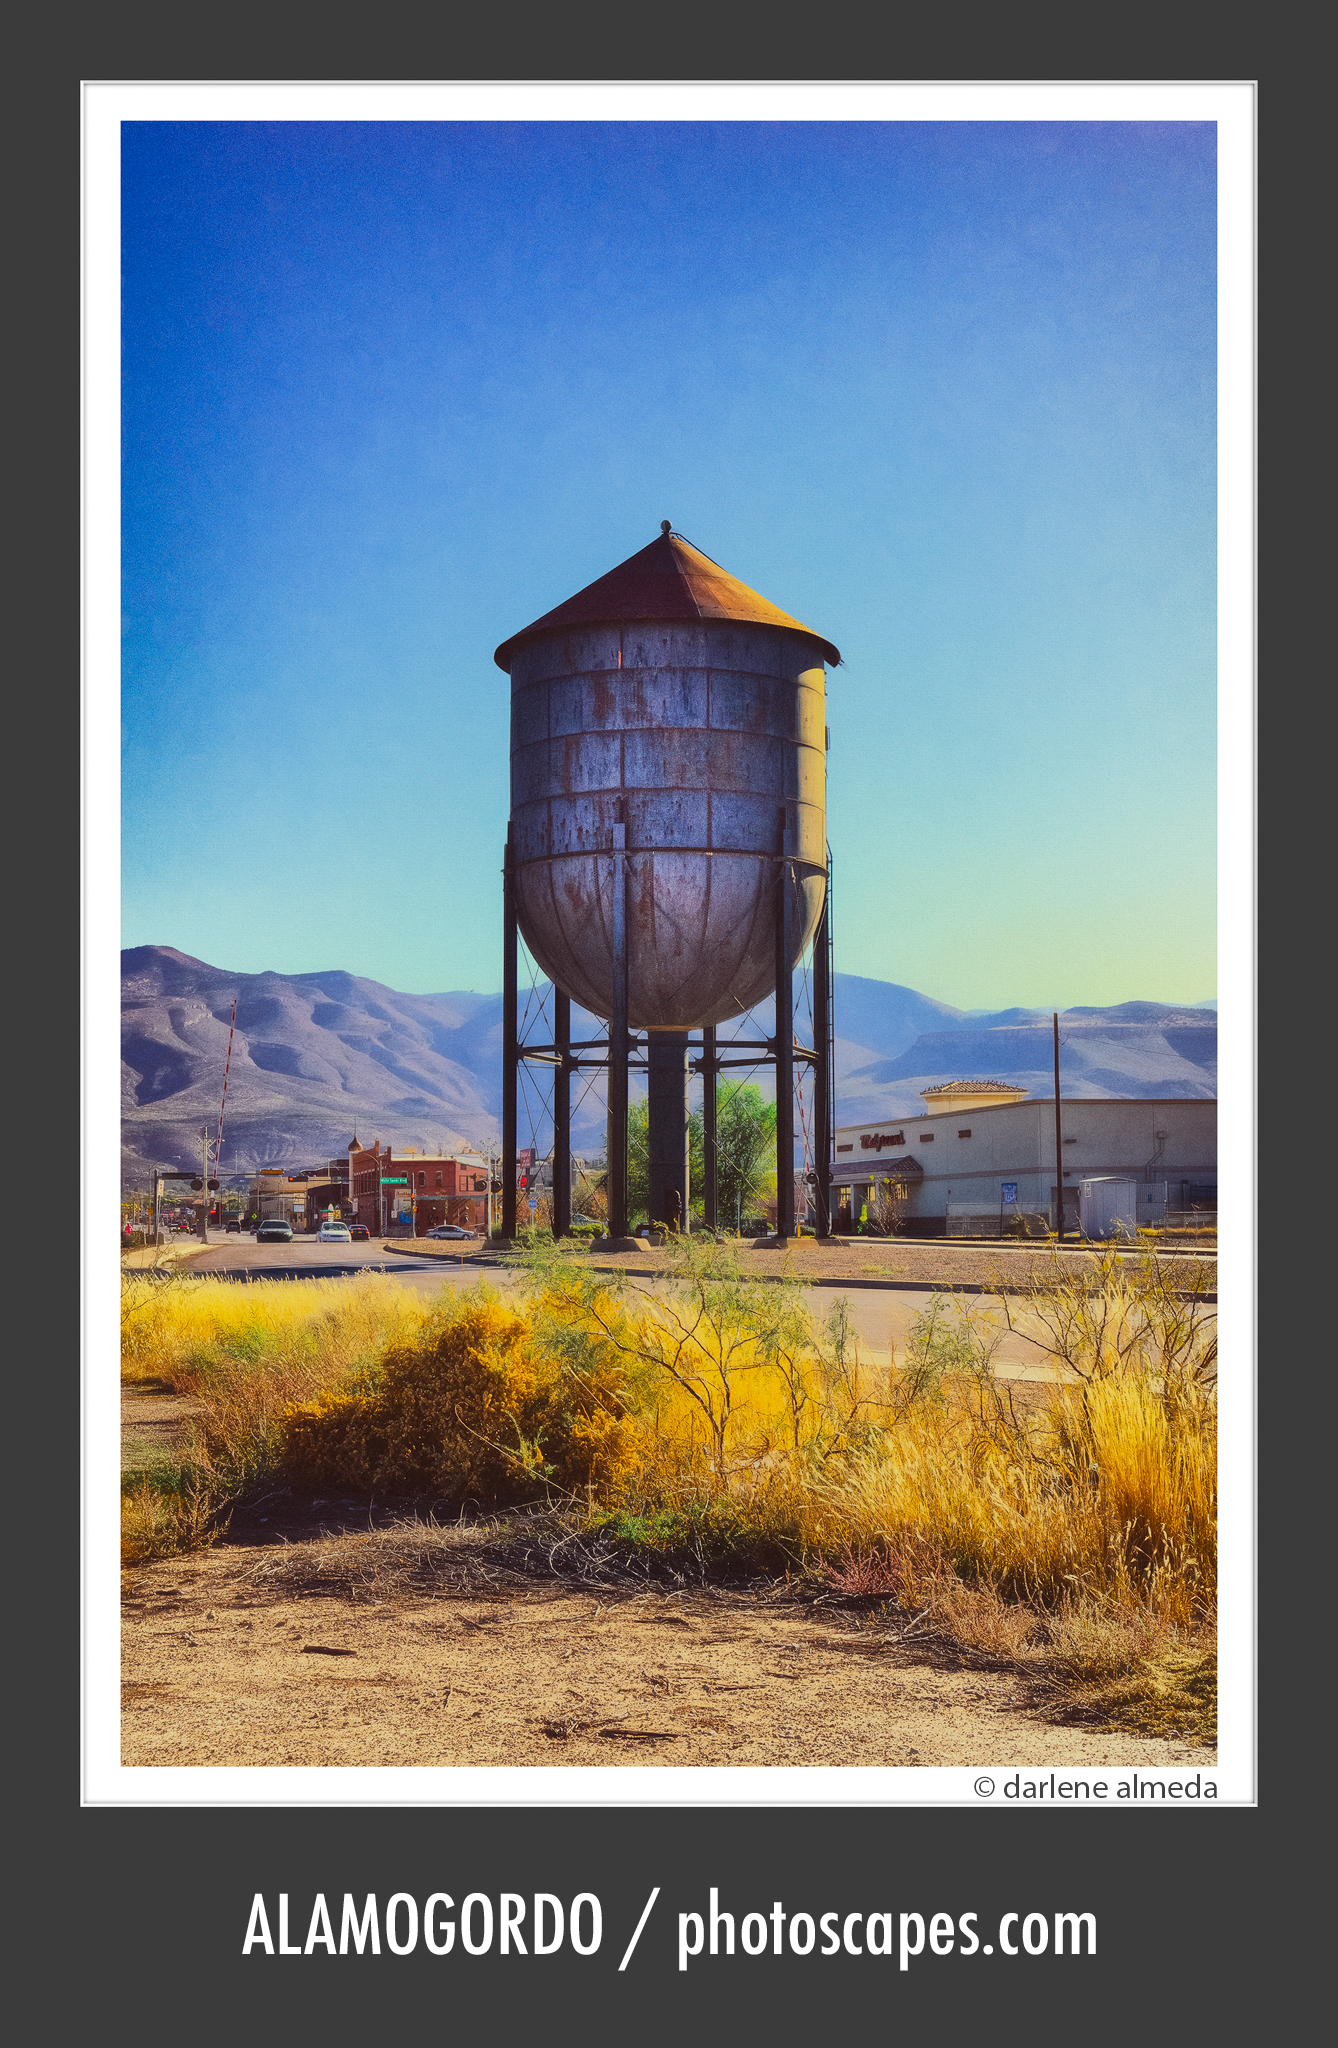
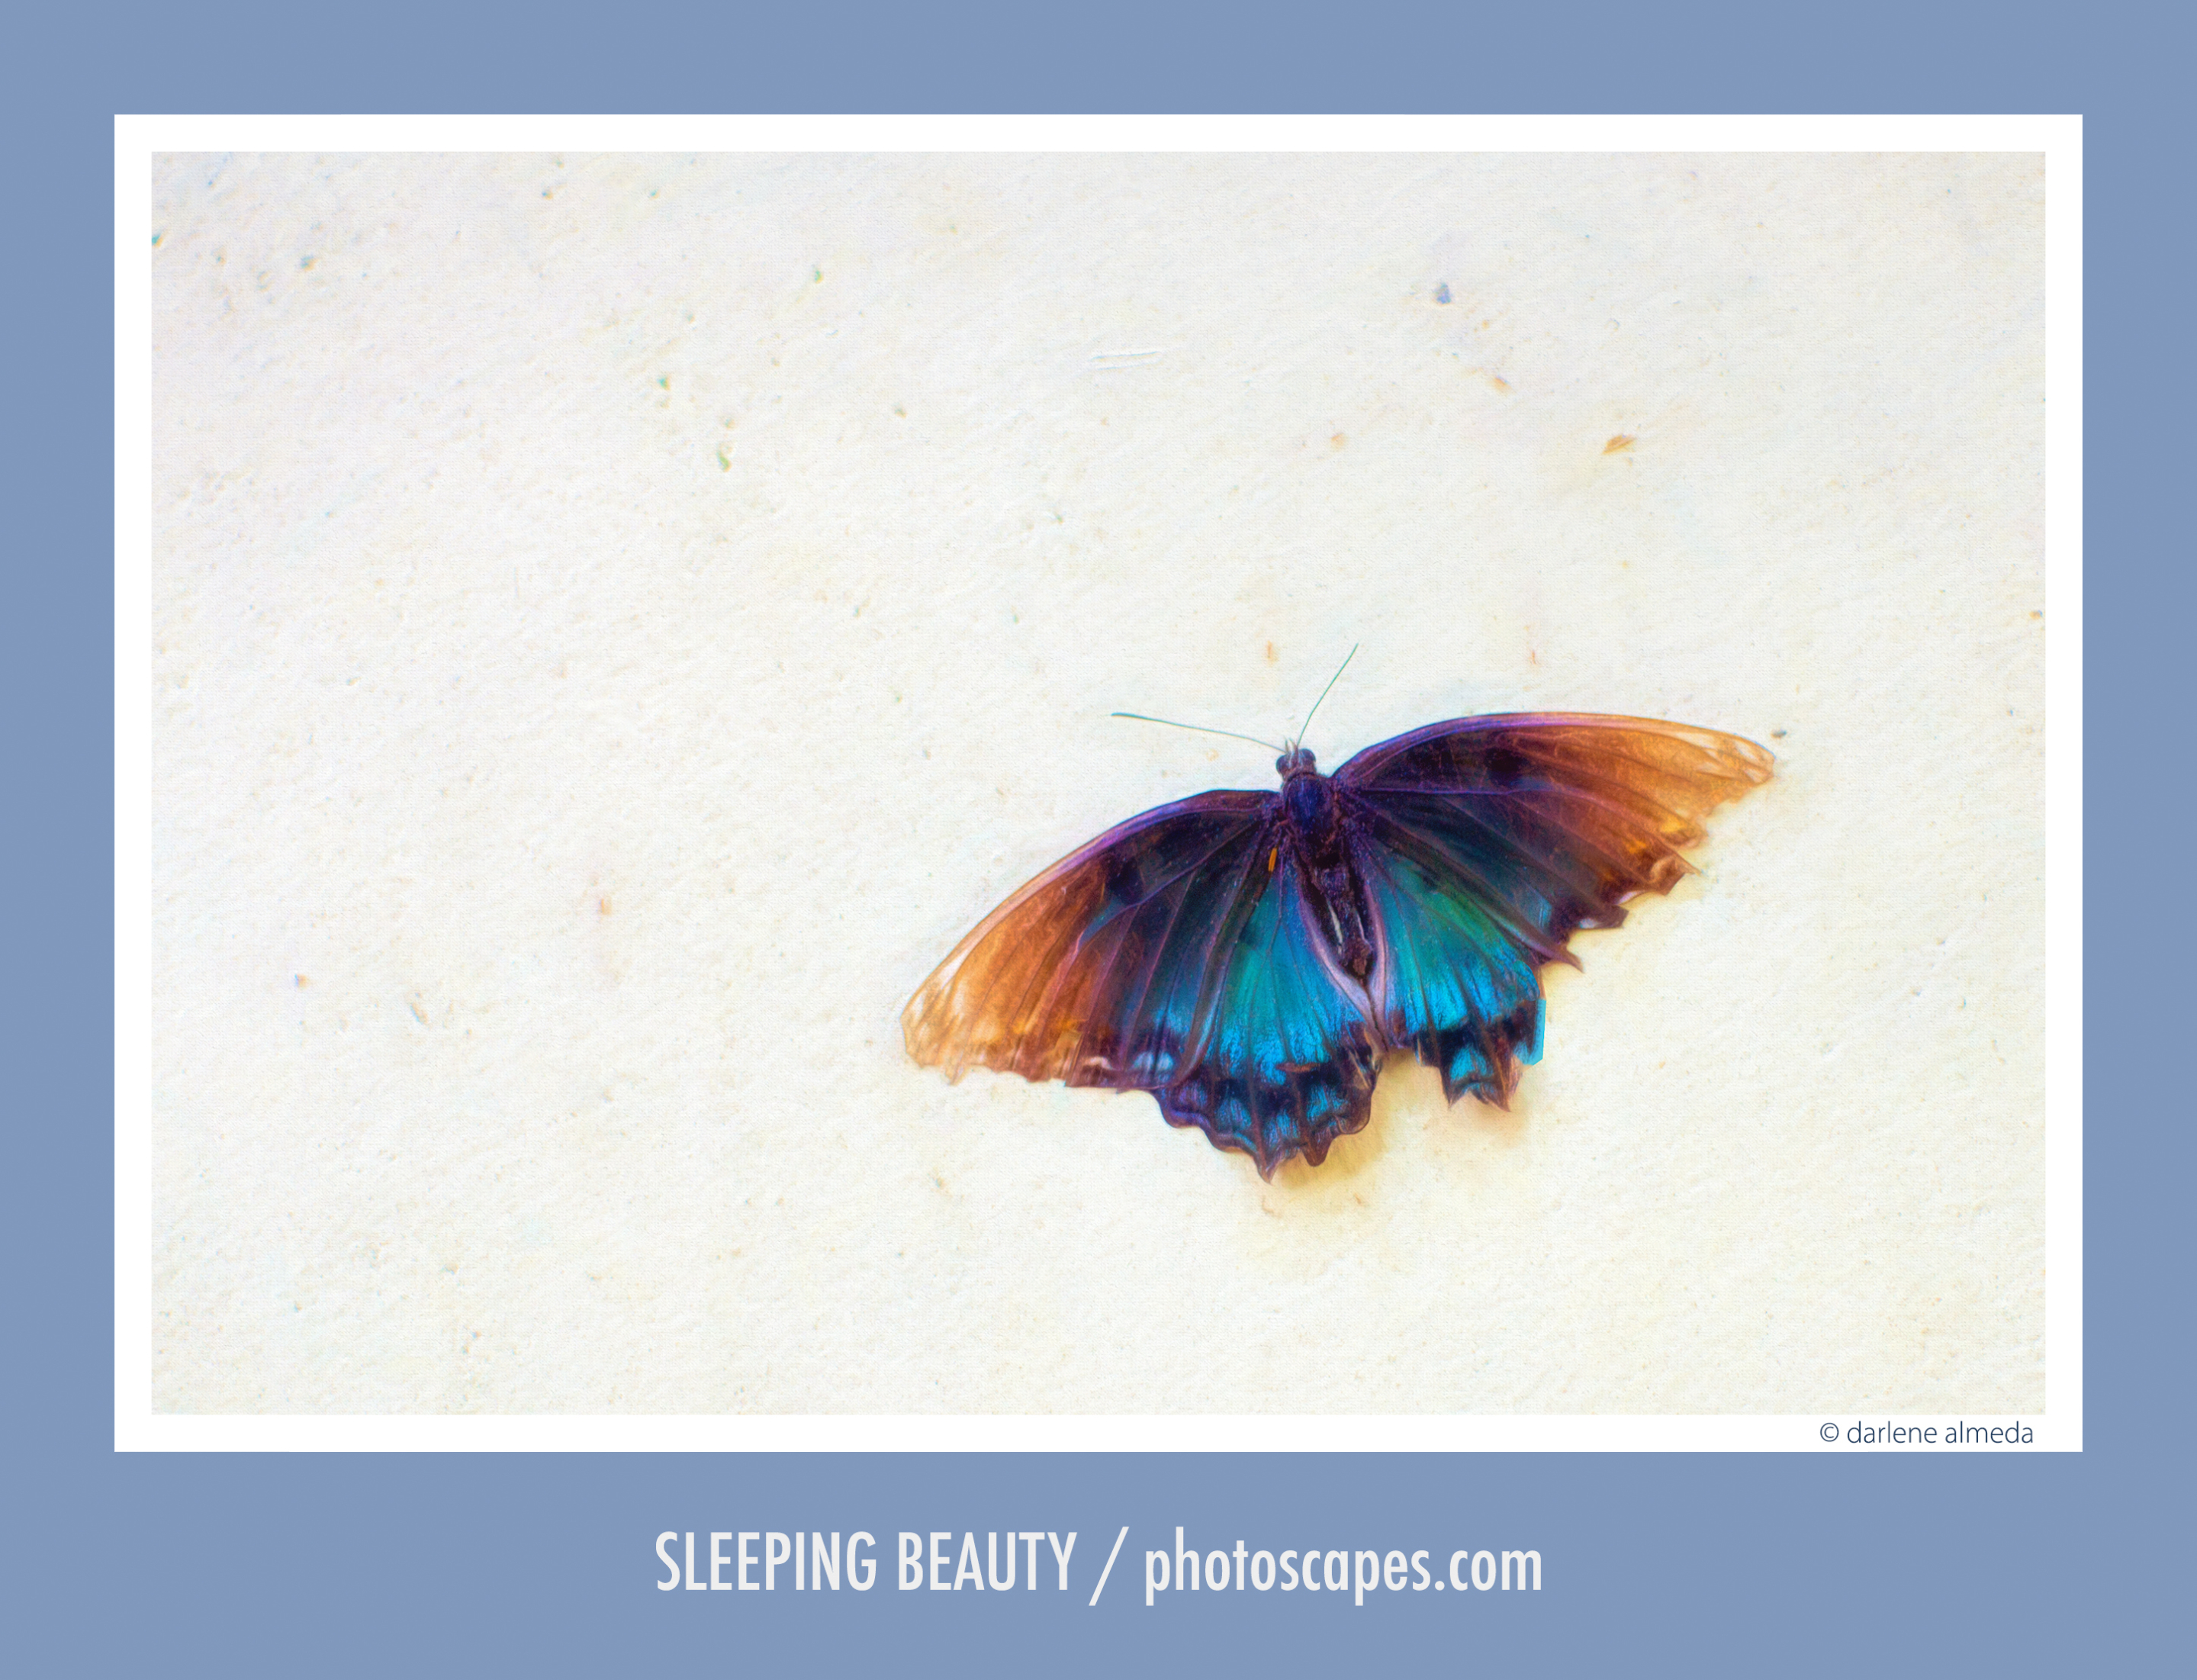
ALL IMAGES: SONY NEX-7 + ZEISS E 16-70/4 ZA OSS
It’s been nearly a decade since I made the switch to Fujifilm, and with technology constantly evolving, it’s time for an upgrade. Sony checks all the boxes that Fujifilm does not currently. Still, I’m budget-conscious, and I tend to wait until the timing feels right. That moment came recently during B&H Photo’s BILD Expo 2025, where new product releases and discounts gave me a bit more purchasing power. So, what did I ultimately choose?
Which Sony & Best Price Opportunity
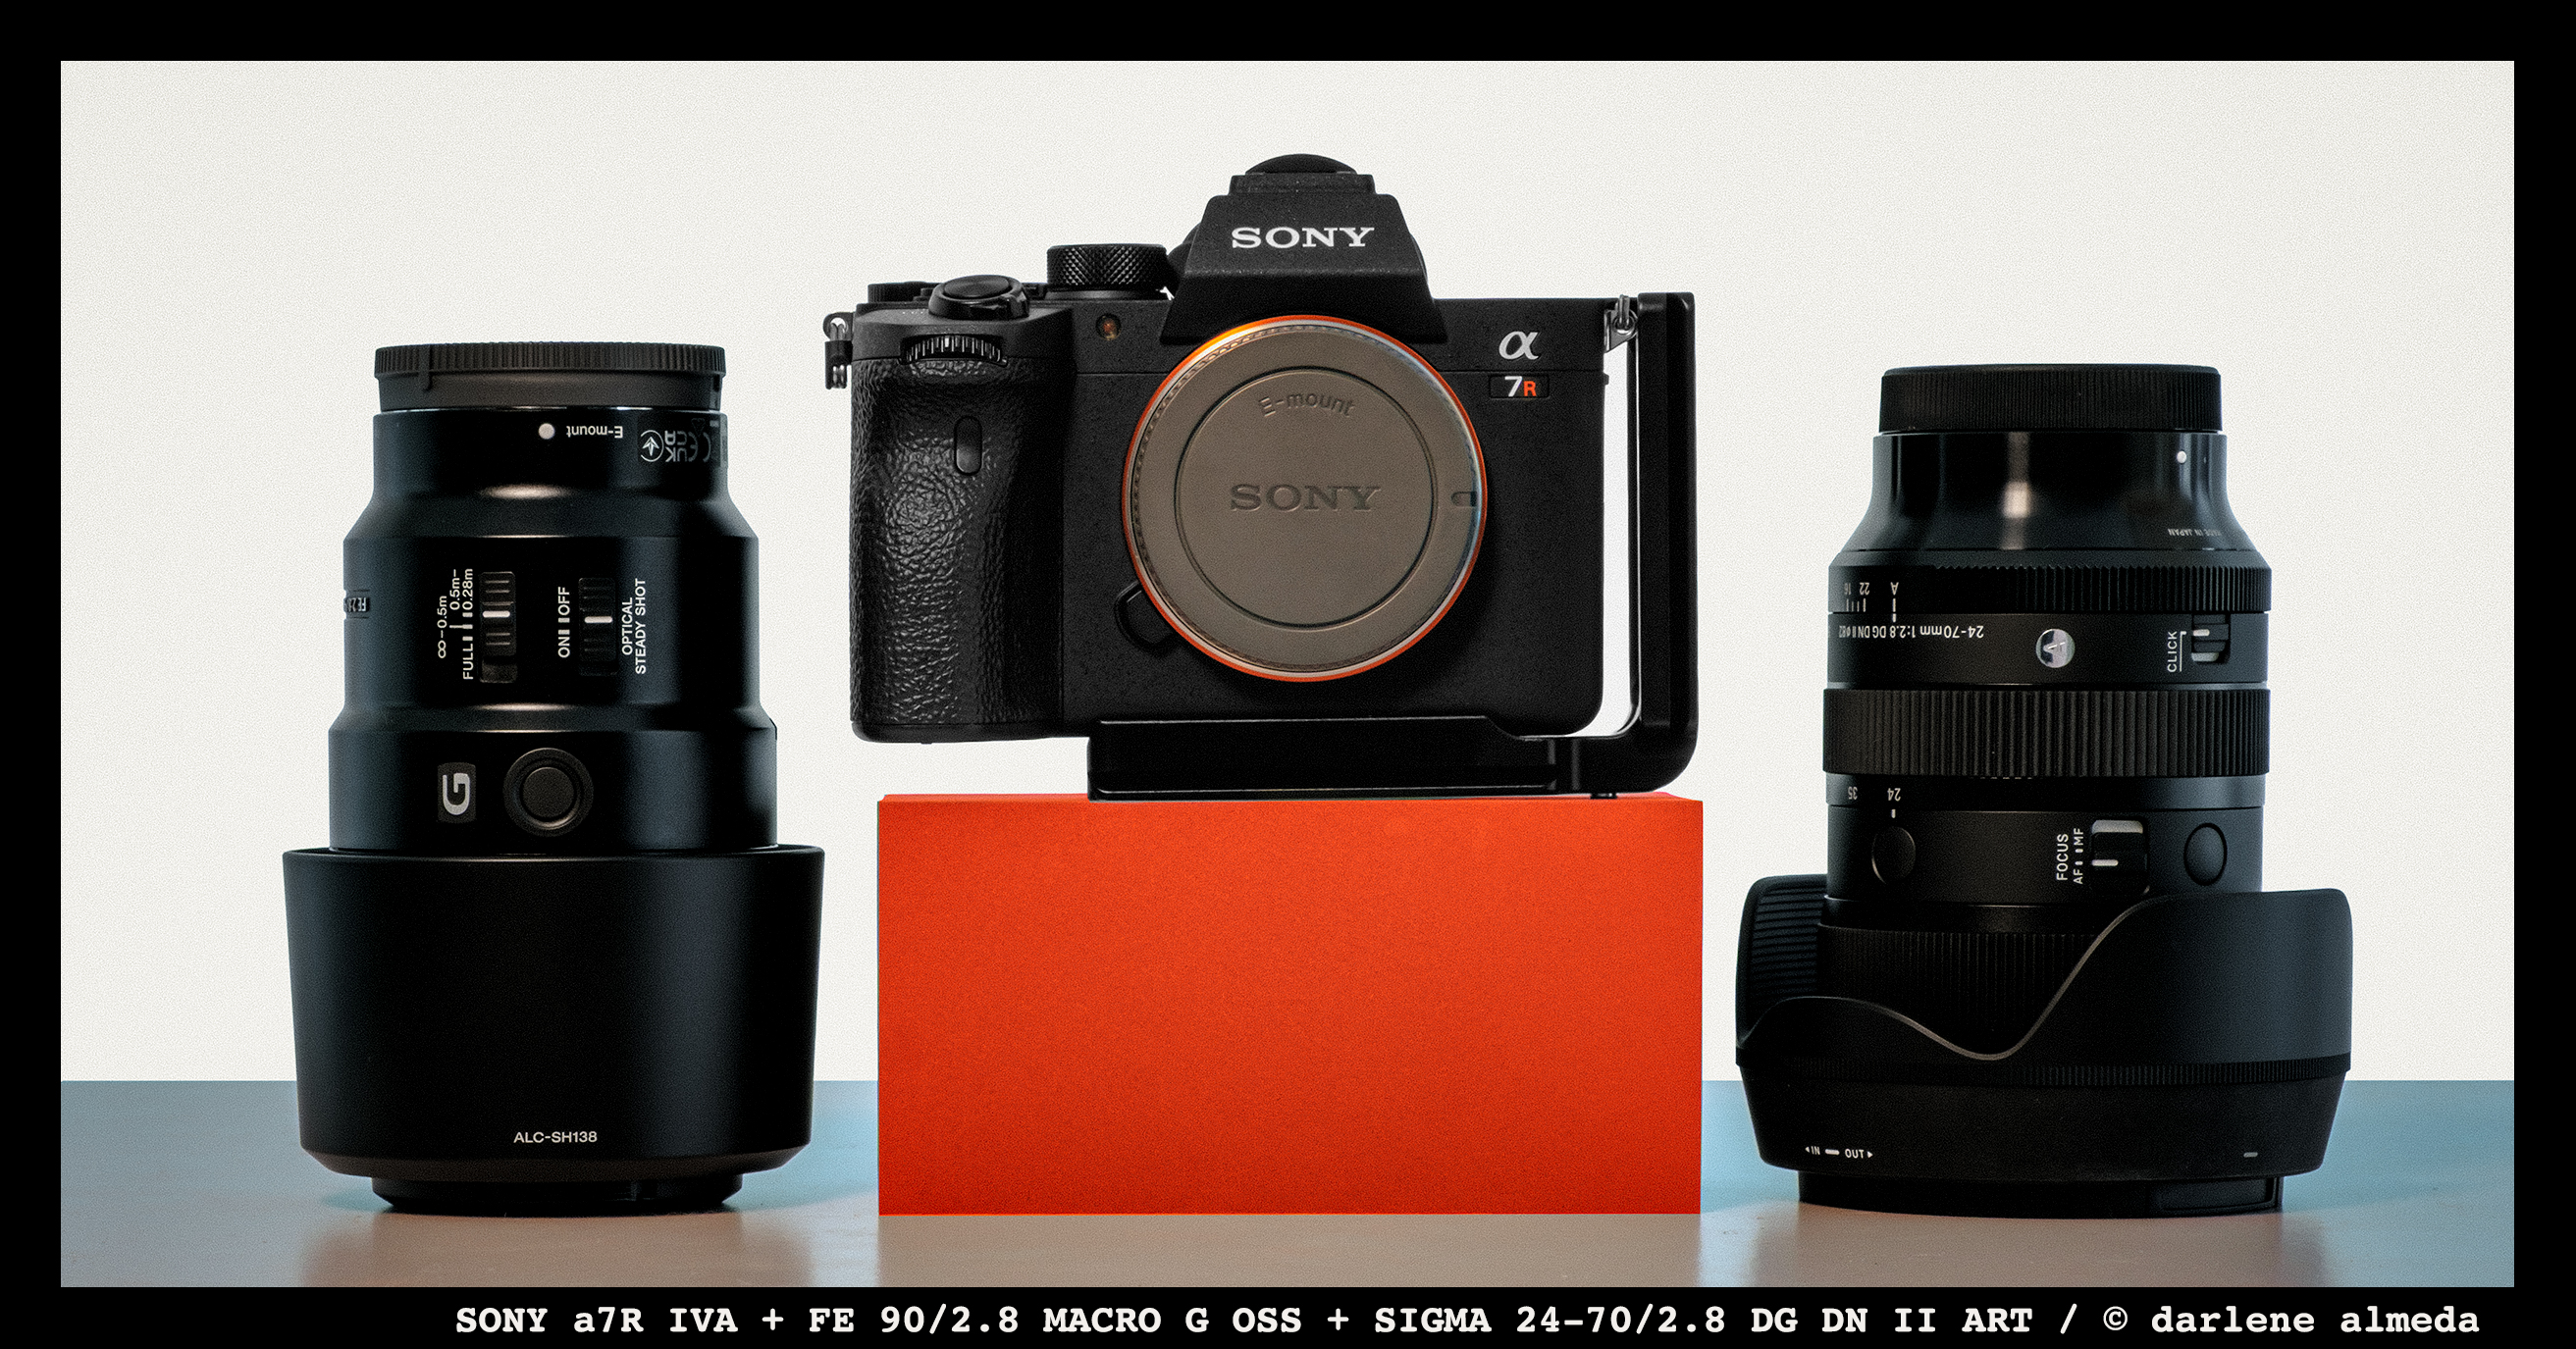
SONY a7R IVA + FE 90/2.8 MACRO + SIGMA 24-70/2.8 ART
I choose my gear based on what I need to accomplish in the studio, primarily product photography and graphic design work. Over time, I’ve found myself consistently reaching for two types of lenses in the studio: a wide-to-standard zoom in the 24–70mm full-frame range, and a solid macro.
My days of using medium format for routine studio work are behind me. For web-based output, that level of resolution is not necessary, and thankfully, I no longer need to impress art directors or clients with oversized files. That said, I still reach for my medium-format gear for landscape and fine art still-life work, along with my beloved 4×5 and 120 film formats.
When B&H Photo held its BILD Expo, it offered $700 off the Sony Alpha a7R IVA, with even more savings available when bundled with select lenses. After reading and watching more reviews than I’d like to admit, I chose the Sigma 24-70mm f/2.8 DG DN II Art Lens. I’m already familiar with Sigma’s Art line from my Sigma SD1 Merrill kit, so I knew I could trust the optics.
The a7R IVA checked all my boxes: full-frame, 61 megapixels, pixel-shift capabilities, and, best of all, it’s not overly geared toward video, which I have no use for. As for the macro lens, the Sony FE 90mm f/2.8 Macro G OSS Lens wasn’t discounted in the bundle, but the used market had plenty of options. I picked up a mint copy from UsedPhotoPro at a very fair price.
First Impressions: In the Studio
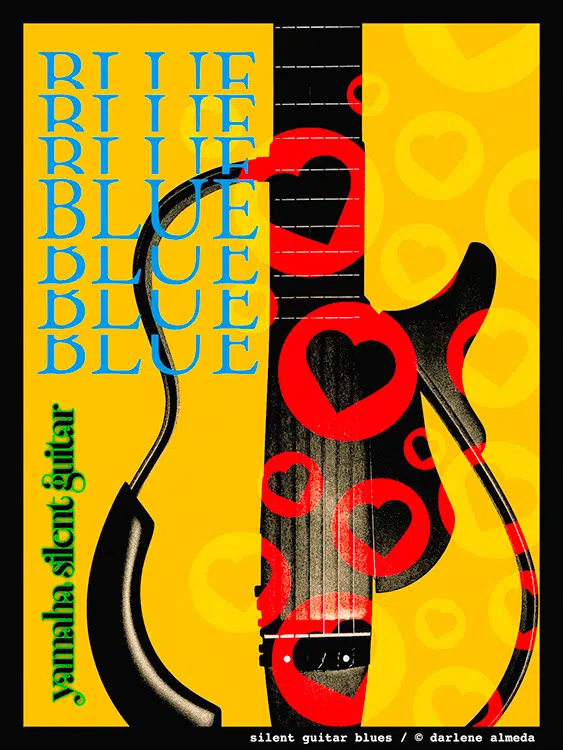
Camera: SONY a7R IVA
Lens: SIGMA 24-70/2.8 II Art
Digital: 61 MP [36×24] CMOS
Software: LR, PS, Silver Efex
Location: Studio
Date: July 2025
Lighting: Profoto D1 500
Genre: Product Graphic
A few days after the Sony kit arrived, I began drafting the article above. But before I could finish, I received heartbreaking news: my “bestie” from childhood had passed away. I left town to be with her family and have since been traveling and taking some much-needed time off.
It’s now been nearly four weeks since my last post, and I felt it was time to finish this one, but I needed to show some work with the camera and lens. Since studio photography and graphic design are two areas where I can work efficiently and with ease, I went with the flow and created from what was in front of me.
The graphic you see above was created earlier today in the studio using the Sony and Sigma 24–70mm f/2.8 lens. It was a simple, no-fuss setup.
Currently, I don’t have the energy to delve into a series of test images solely for the sake of writing. That will come in time, and I do plan to update the Sony page in the Toolbox section as I go.
Before leaving town, I did manage to run a few camera scans using the macro lens, and the results were excellent. I lent the lens to a photographer friend before I left, so I don’t have it on hand for continued testing at the moment. That said, it performed beautifully for camera scanning, with autofocus working perfectly as long as I remember to set the focus distance button correctly. 🙂
Behind the Scenes: Silent Guitar Blues
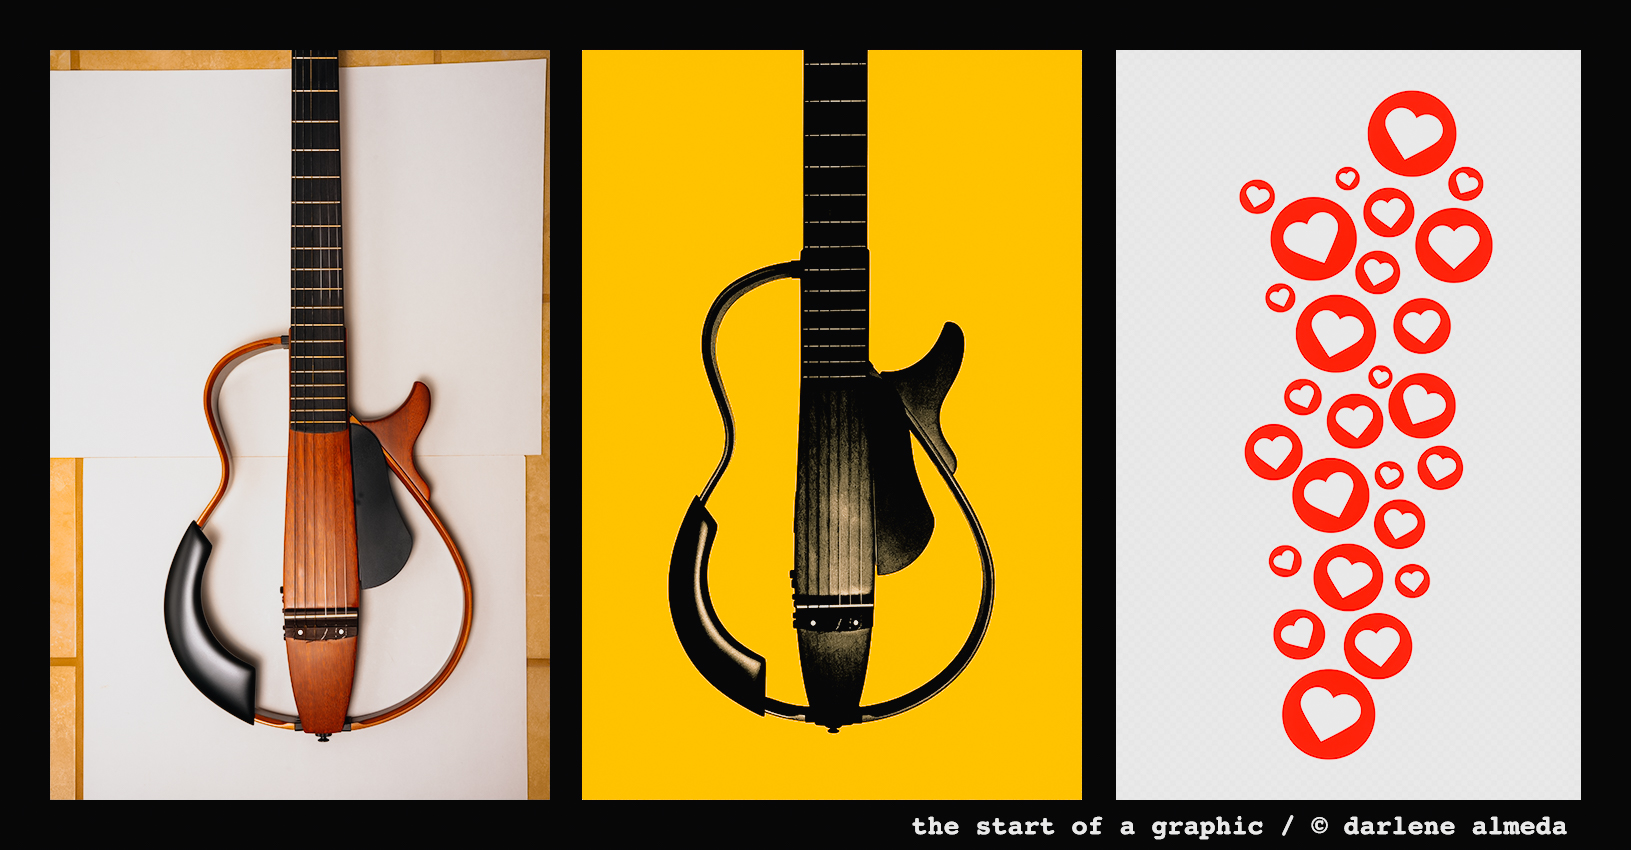
MY CREATIVE PROCESS OF GRAPHIC DESIGN
Since my Yamaha Silent Guitar was already in the studio, where I keep an old iMac for accessing my music library and an amplifier for practicing, it naturally became the subject of a quick photographic session.
For the guitar enthusiasts: the instrument pictured is a Yamaha SLG200N Silent Guitar with nylon strings. That Yamaha literally hangs on the wall and serves as a stand-in for modern art when not in use.
I’m mostly a classical-and-electric-nylon girl (Fly Me to the Moon, anyone?). Classical chills me out, while jazz gets me beboppin’ in my socks. I also have a gorgeous Fender Bonnie Raitt Stratocaster in Blue Burst that spends way too much time napping in its case. Over the years, I’ve cycled through steel-string Martins, Guilds, Gibsons, and Ovations, but nylon strings (a Paul McGill classical is my forever guitar) keep calling me home. Still… I wouldn’t say no to adding this Adamas to the family. 🙂
To create the graphic, I laid the guitar on the studio floor and stood directly over it—tripod style—to make the shot, using the modeling light from a Profoto D1 500 as its light source. Once the image was uploaded to my Lightroom catalog, I got to work. First, converting it to black and white using NIK Silver Efex Pro, then removing the background, and dropping in a solid yellow. The hearts and text were added in Photoshop, with final color tweaks completed in Lightroom.
I share this in the hope that it inspires you to see your camera not only as a tool for photography but also as a means to create expressive and emotional graphics. Silent Guitar Blues is a small tribute to my love for music and to my recent loss. Sometimes, creating is how we hold on.
I’ll be taking a short break, but I’ll return soon with more writing and new images. Thanks for stopping by.

