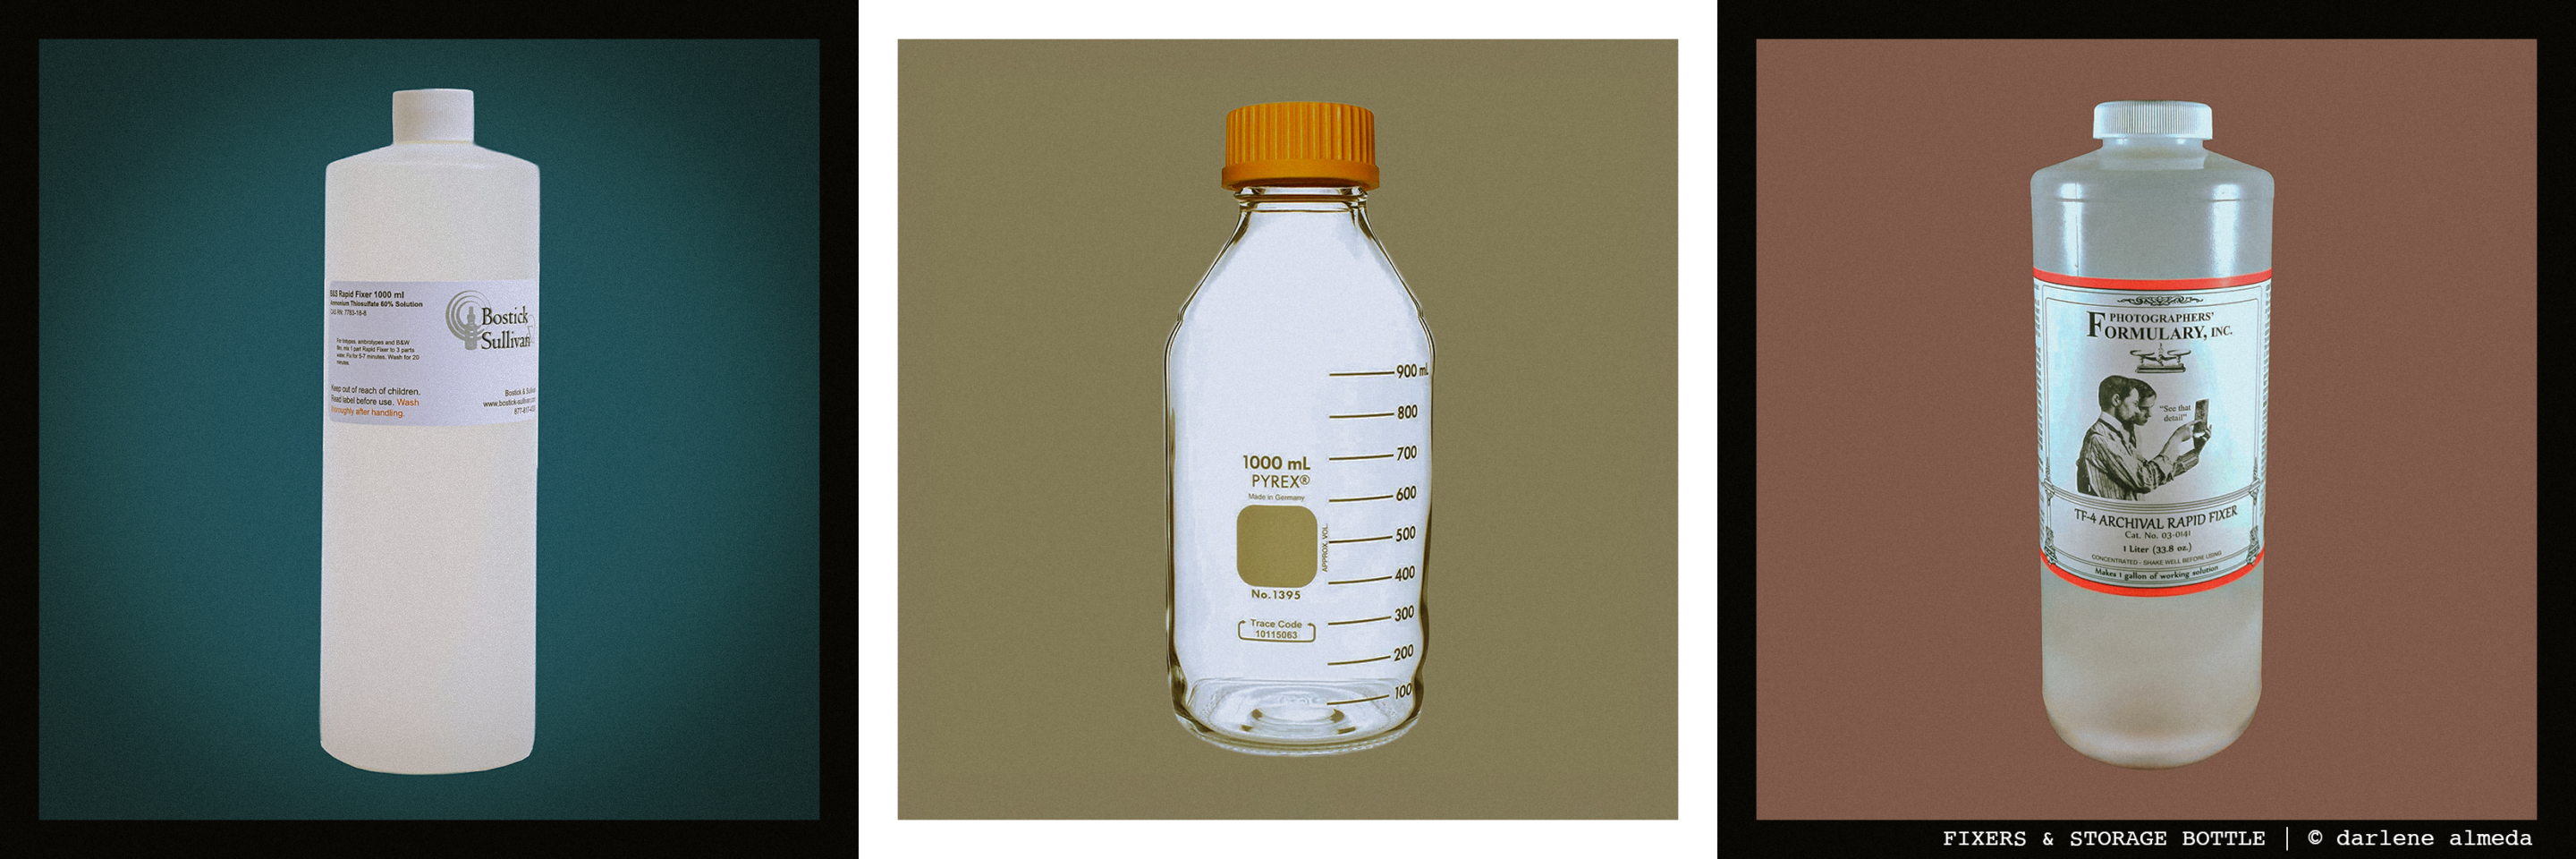
FIXERS & STORAGE BOTTLE
DETERMINING FILM SURFACE AREA
FILM SIZE PER ROLL OR SHEET |
FILM SURFACE AREA EQUIVALENT |
135 |
1 |
120 |
1 |
4×5 |
0.25 |
8×10 |
1 |
11×14 |
2 |
As shown below, we can mix film sizes if we do not exceed 20.
(1× 135) + (2× 120) + (12× 4x5) + (4× 8x10) + (5× 11x14) = 20
   (1)       (2)         (3)         (4)         (10)    = 20
Next is the tally sheet I designed to monitor my usage of fixer efficiently.
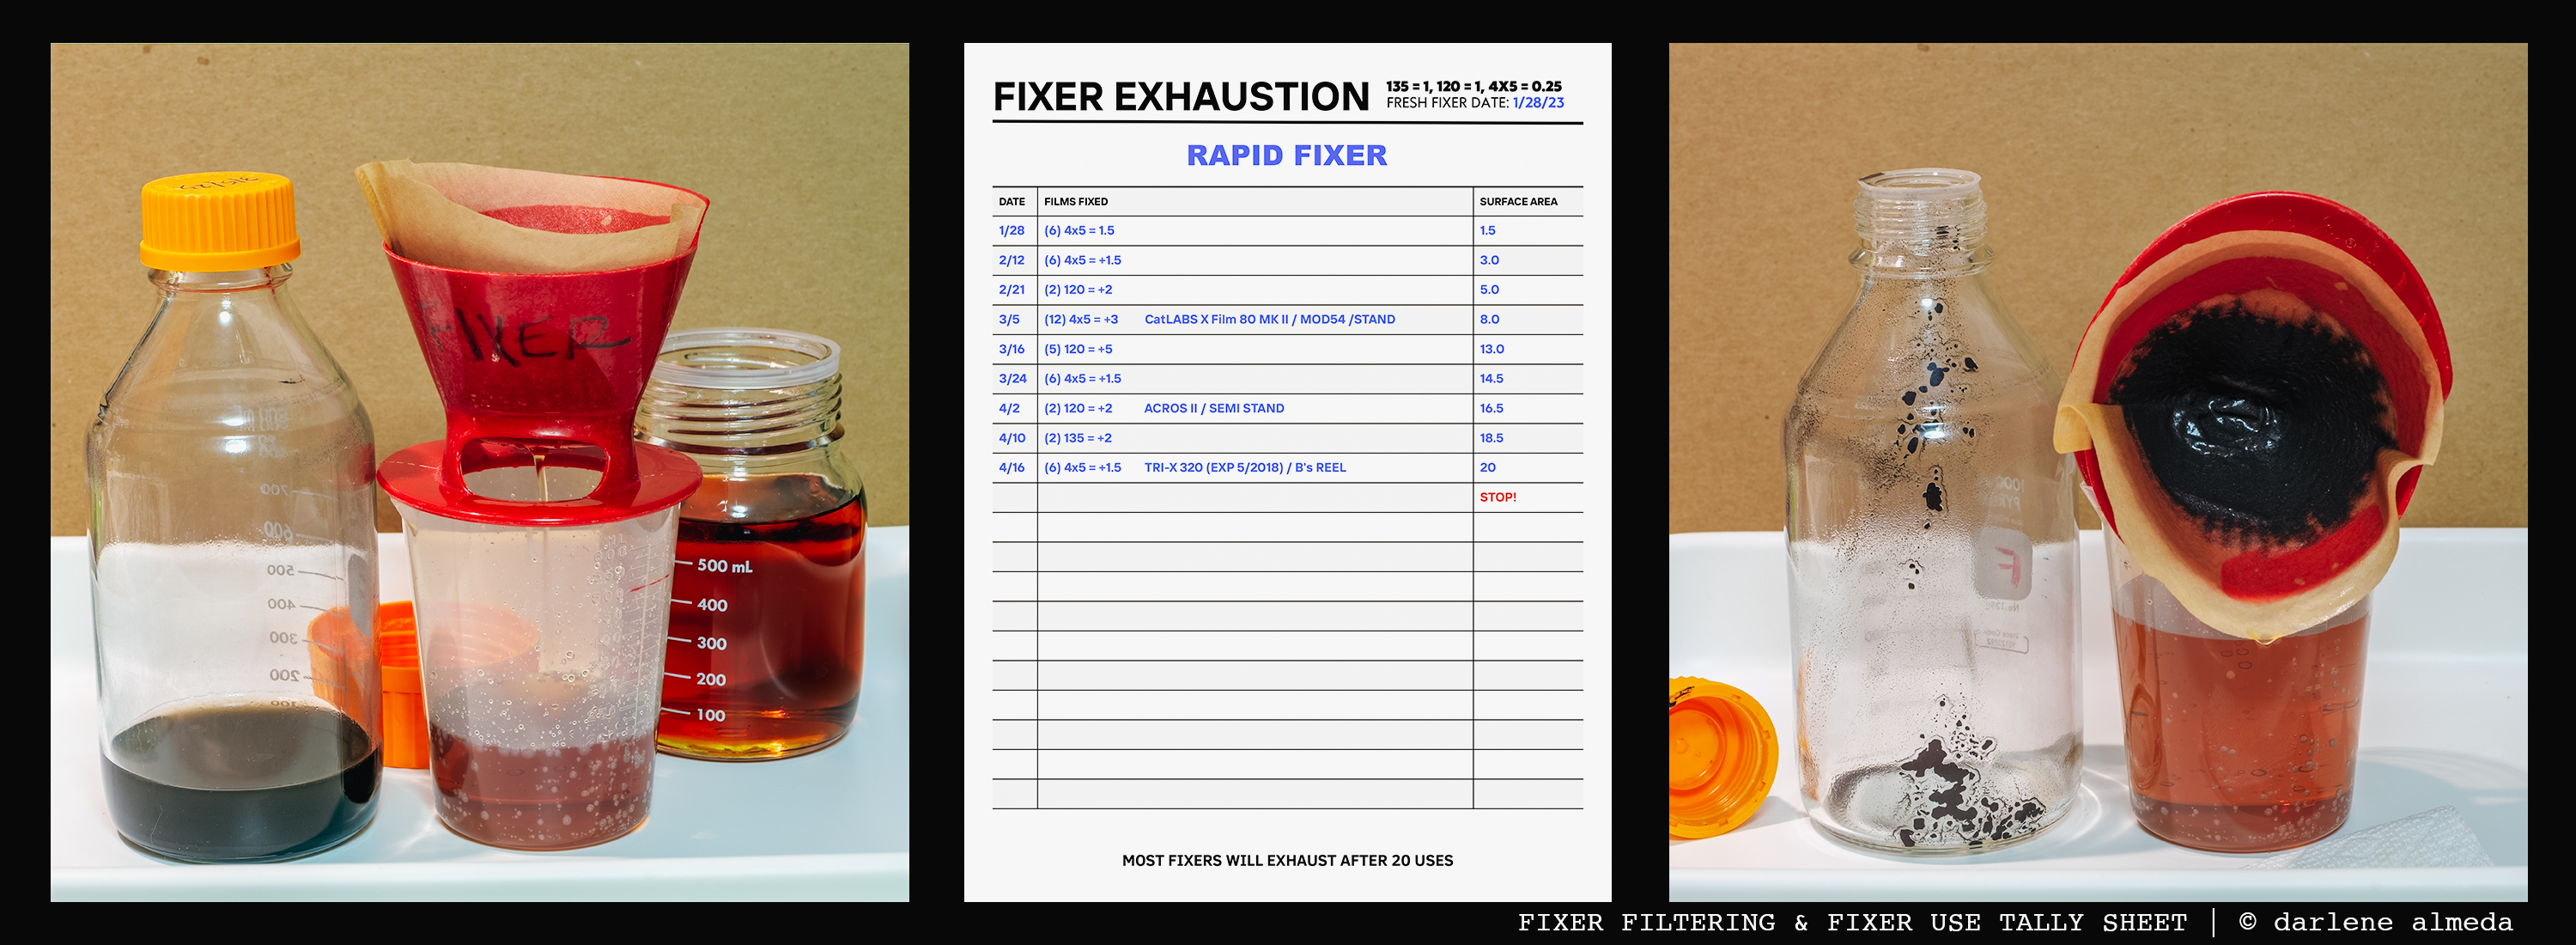
Below you can see an example of the tally sheet I made to keep track of my fixer’s usage. Since I do not shoot films larger than 4×5, this sheet reflects that.
If you want a clean copy to save or print, here are individual sheets for 135-120-4×5 films & 120-4×5-8×10 films.
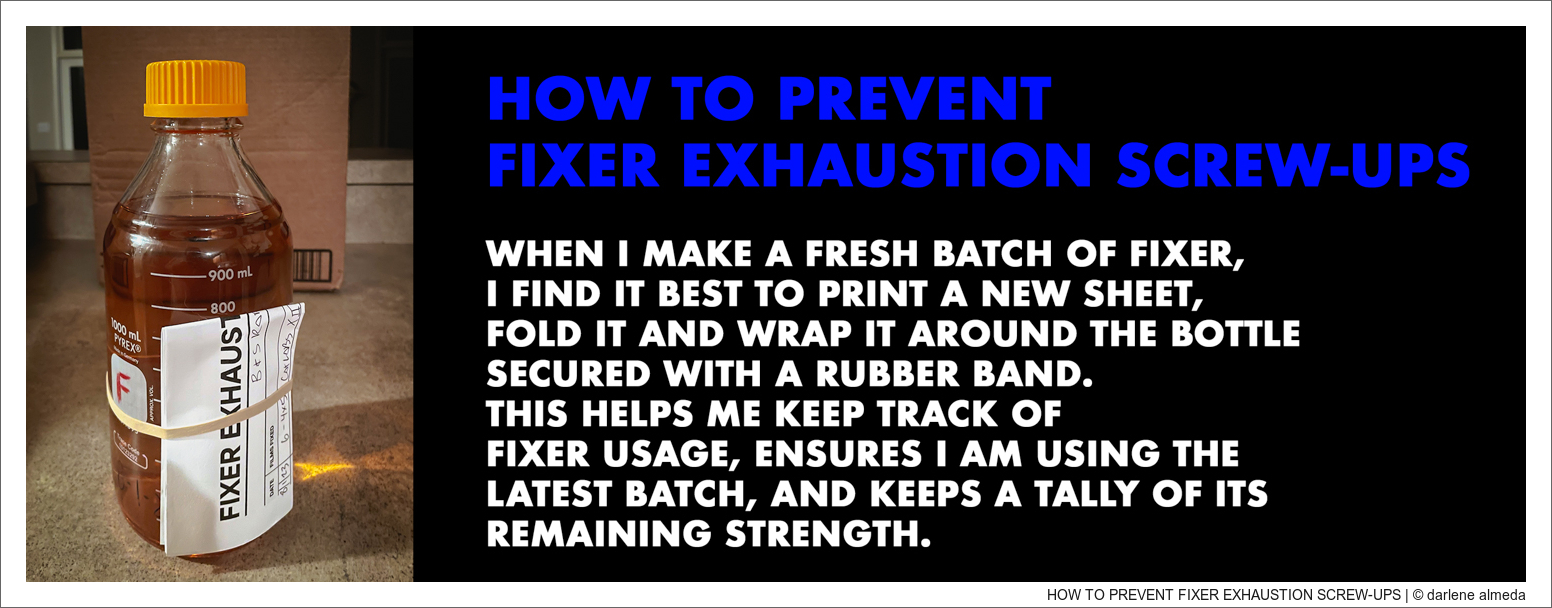
Whenever I make a fresh batch of fixer, I find it best to print a new sheet, fold it and wrap it around the bottle with a rubber band. This helps me keep track of the fixer and ensures I use the latest batch.
I write with a pencil on the sheet and find the extra writing space convenient for recording film and development notes.The tally sheet can be printed and laminated for reuse with a dry eraser or china marker.
FIXER CLEANING & USE TALLY SHEET
Keep Your Fixer Clean
Noticing specks on your film negatives or prints?
If so, your fixer solution may be the culprit, specifically, suspended particles that build up with use.
In my experience, fixer accumulates debris after about six rolls of 120 film. By the seventh roll, I often start seeing tiny particles. The fix is simple: filter your fixer.
Above is what my fixer looks like after 15 uses of 510 Pyro as my developer; it’s pretty cruddy! Once the fixer is stored, sediment settles at the bottom of the container but stirs up again when I pour it out for reuse. The photo above shows how the fixer darkens as the container nears empty, revealing the settled debris. This buildup is a clear sign that it’s way past the time to filter the fixer before it affects my film.
I use a dedicated plastic coffee filter funnel (shown above) paired with a disposable paper filter. I insert the filter into the funnel, place it over a clean graduated pitcher or cup, and slowly pour the fixer through. Once the solution has passed through completely, I rinse the fixer bottle and pour the filtered solution back in. A quick visual check confirms it’s now particle and crud-free.
Keeping your fixer clean is essential to avoid marks on your film and keep your equipment organized. I store my red plastic funnel labeled “FIXER” (on both sides) in a separate darkroom cabinet, away from other tools or materials.


