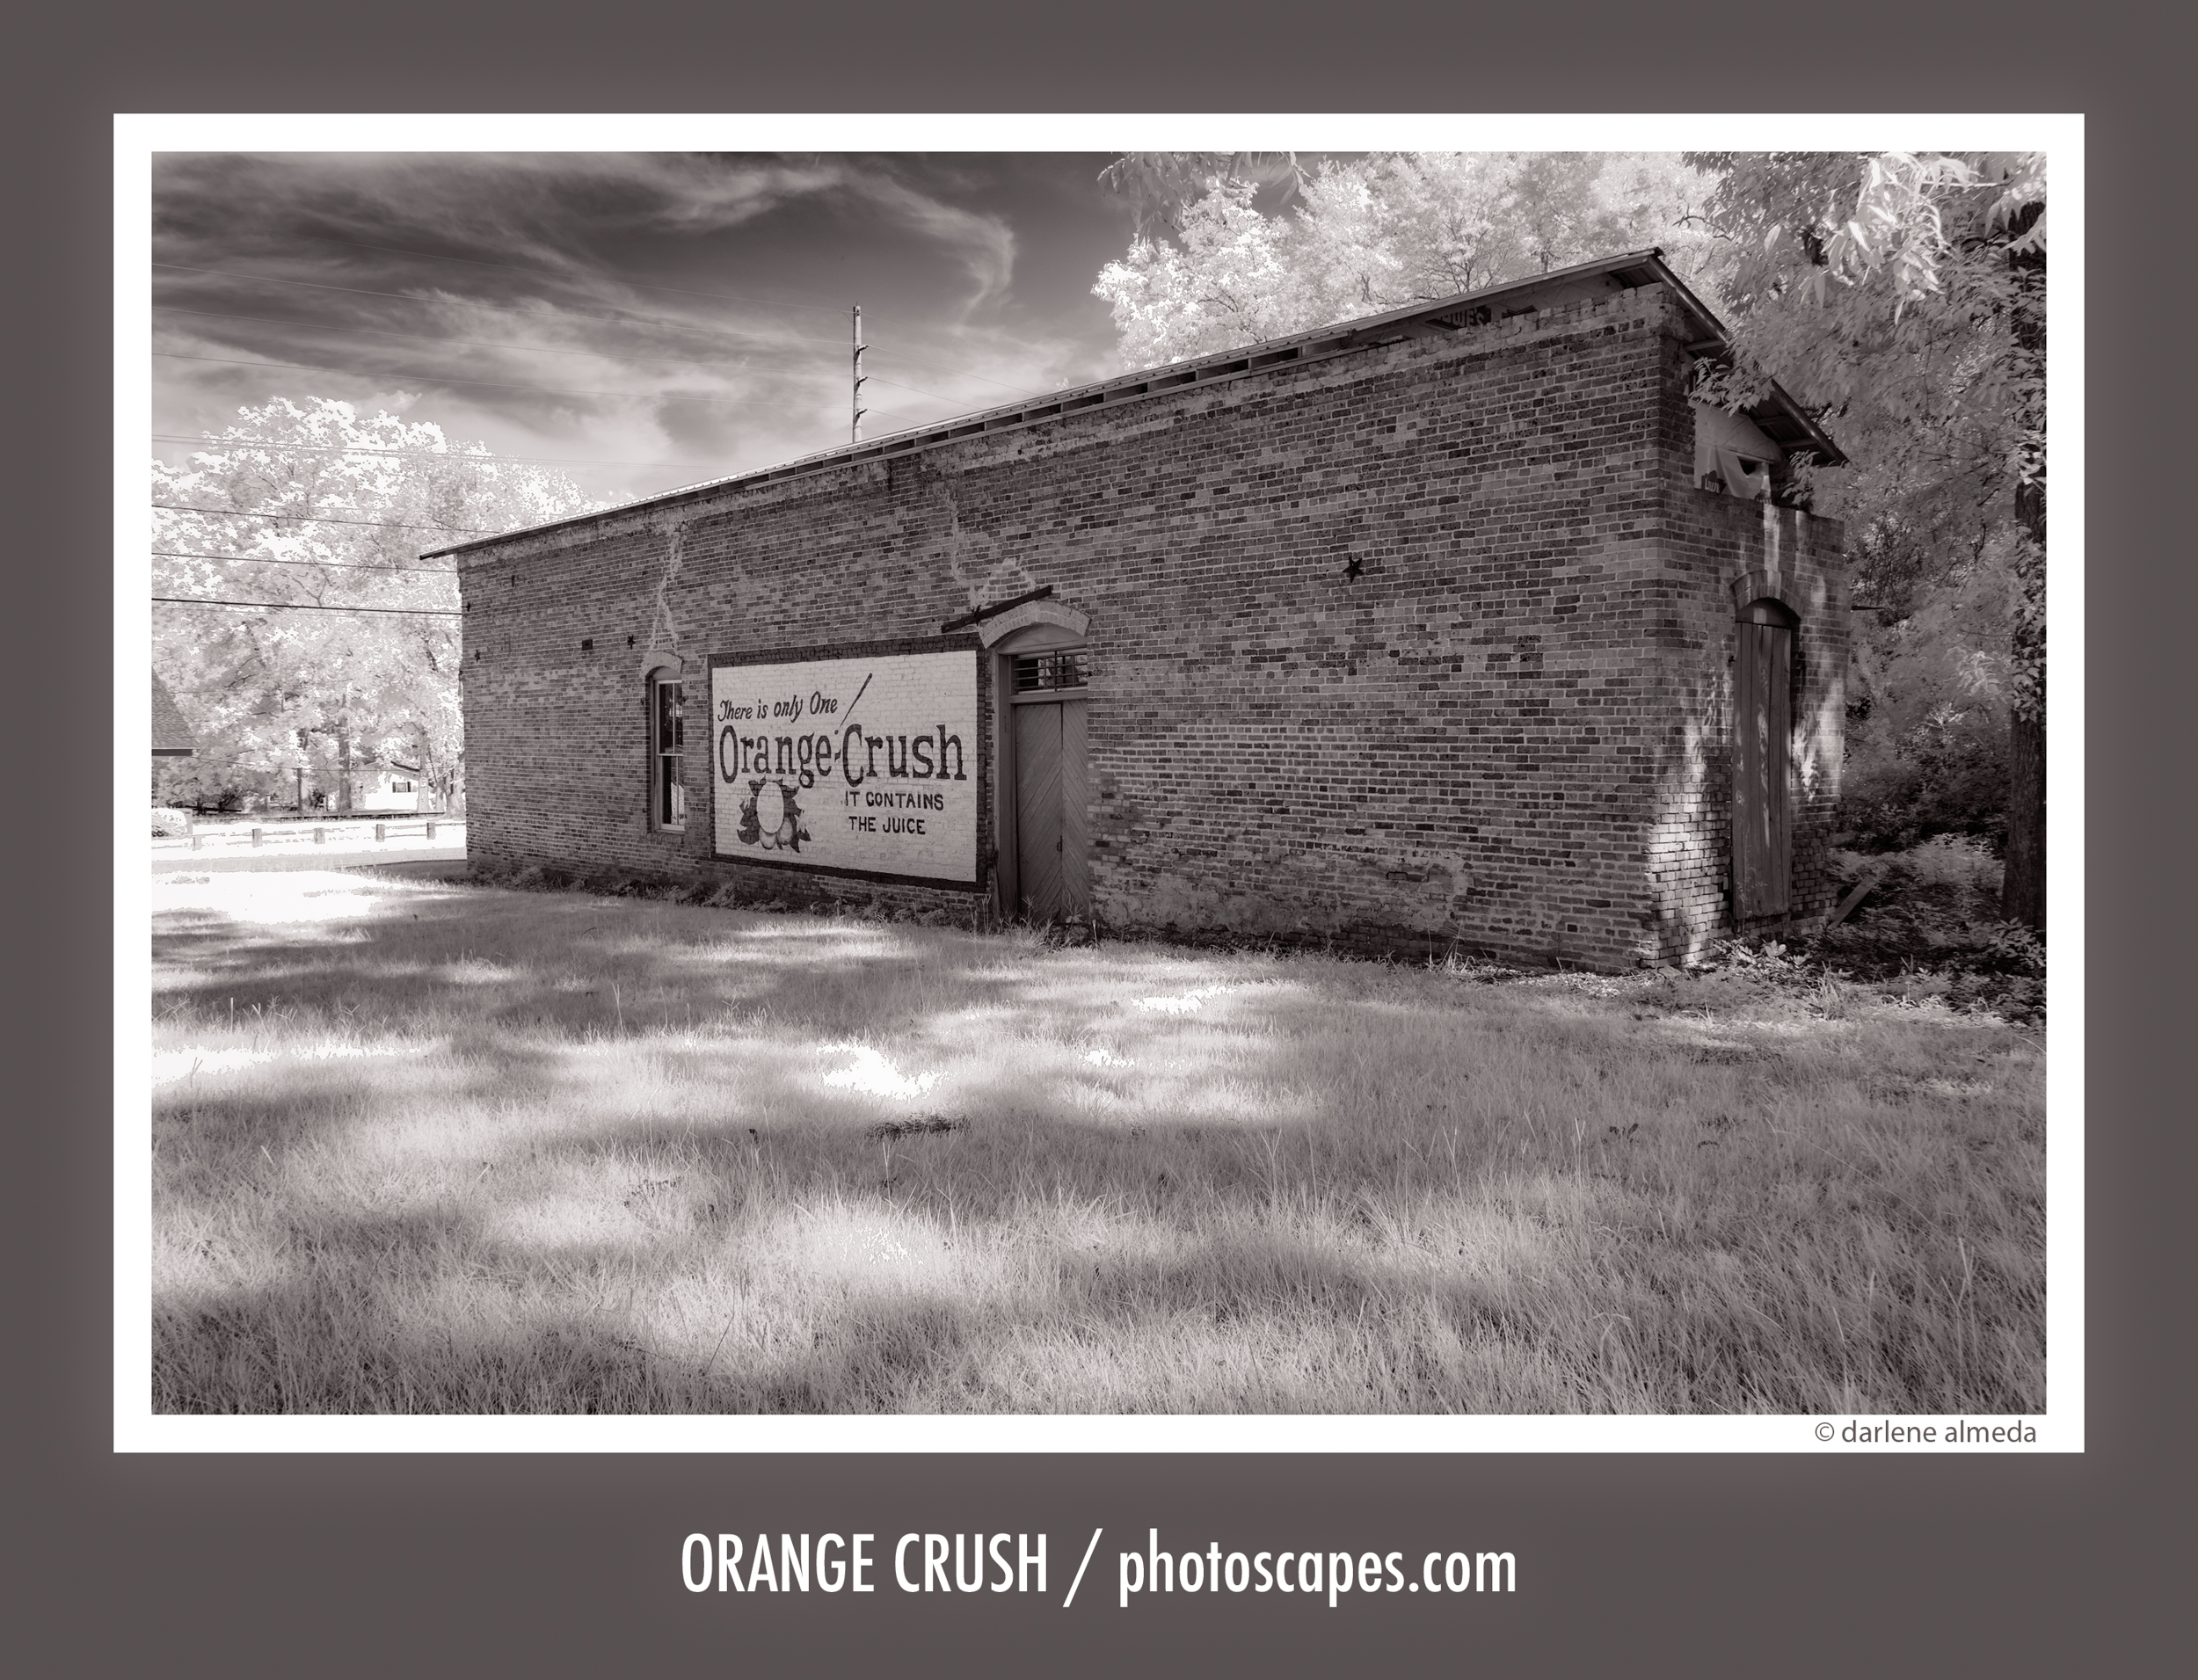
Author’s Note: Written over ten years ago, this post captures an early chapter in my digital infrared journey with the Sigma SD1 Merrill. I’ve kept it in the archives for those who enjoy experimenting with this unique camera. Today, I continue to explore invisible light using a 590 nm–converted Fujifilm X-E2, but the spirit of experimentation remains unchanged.
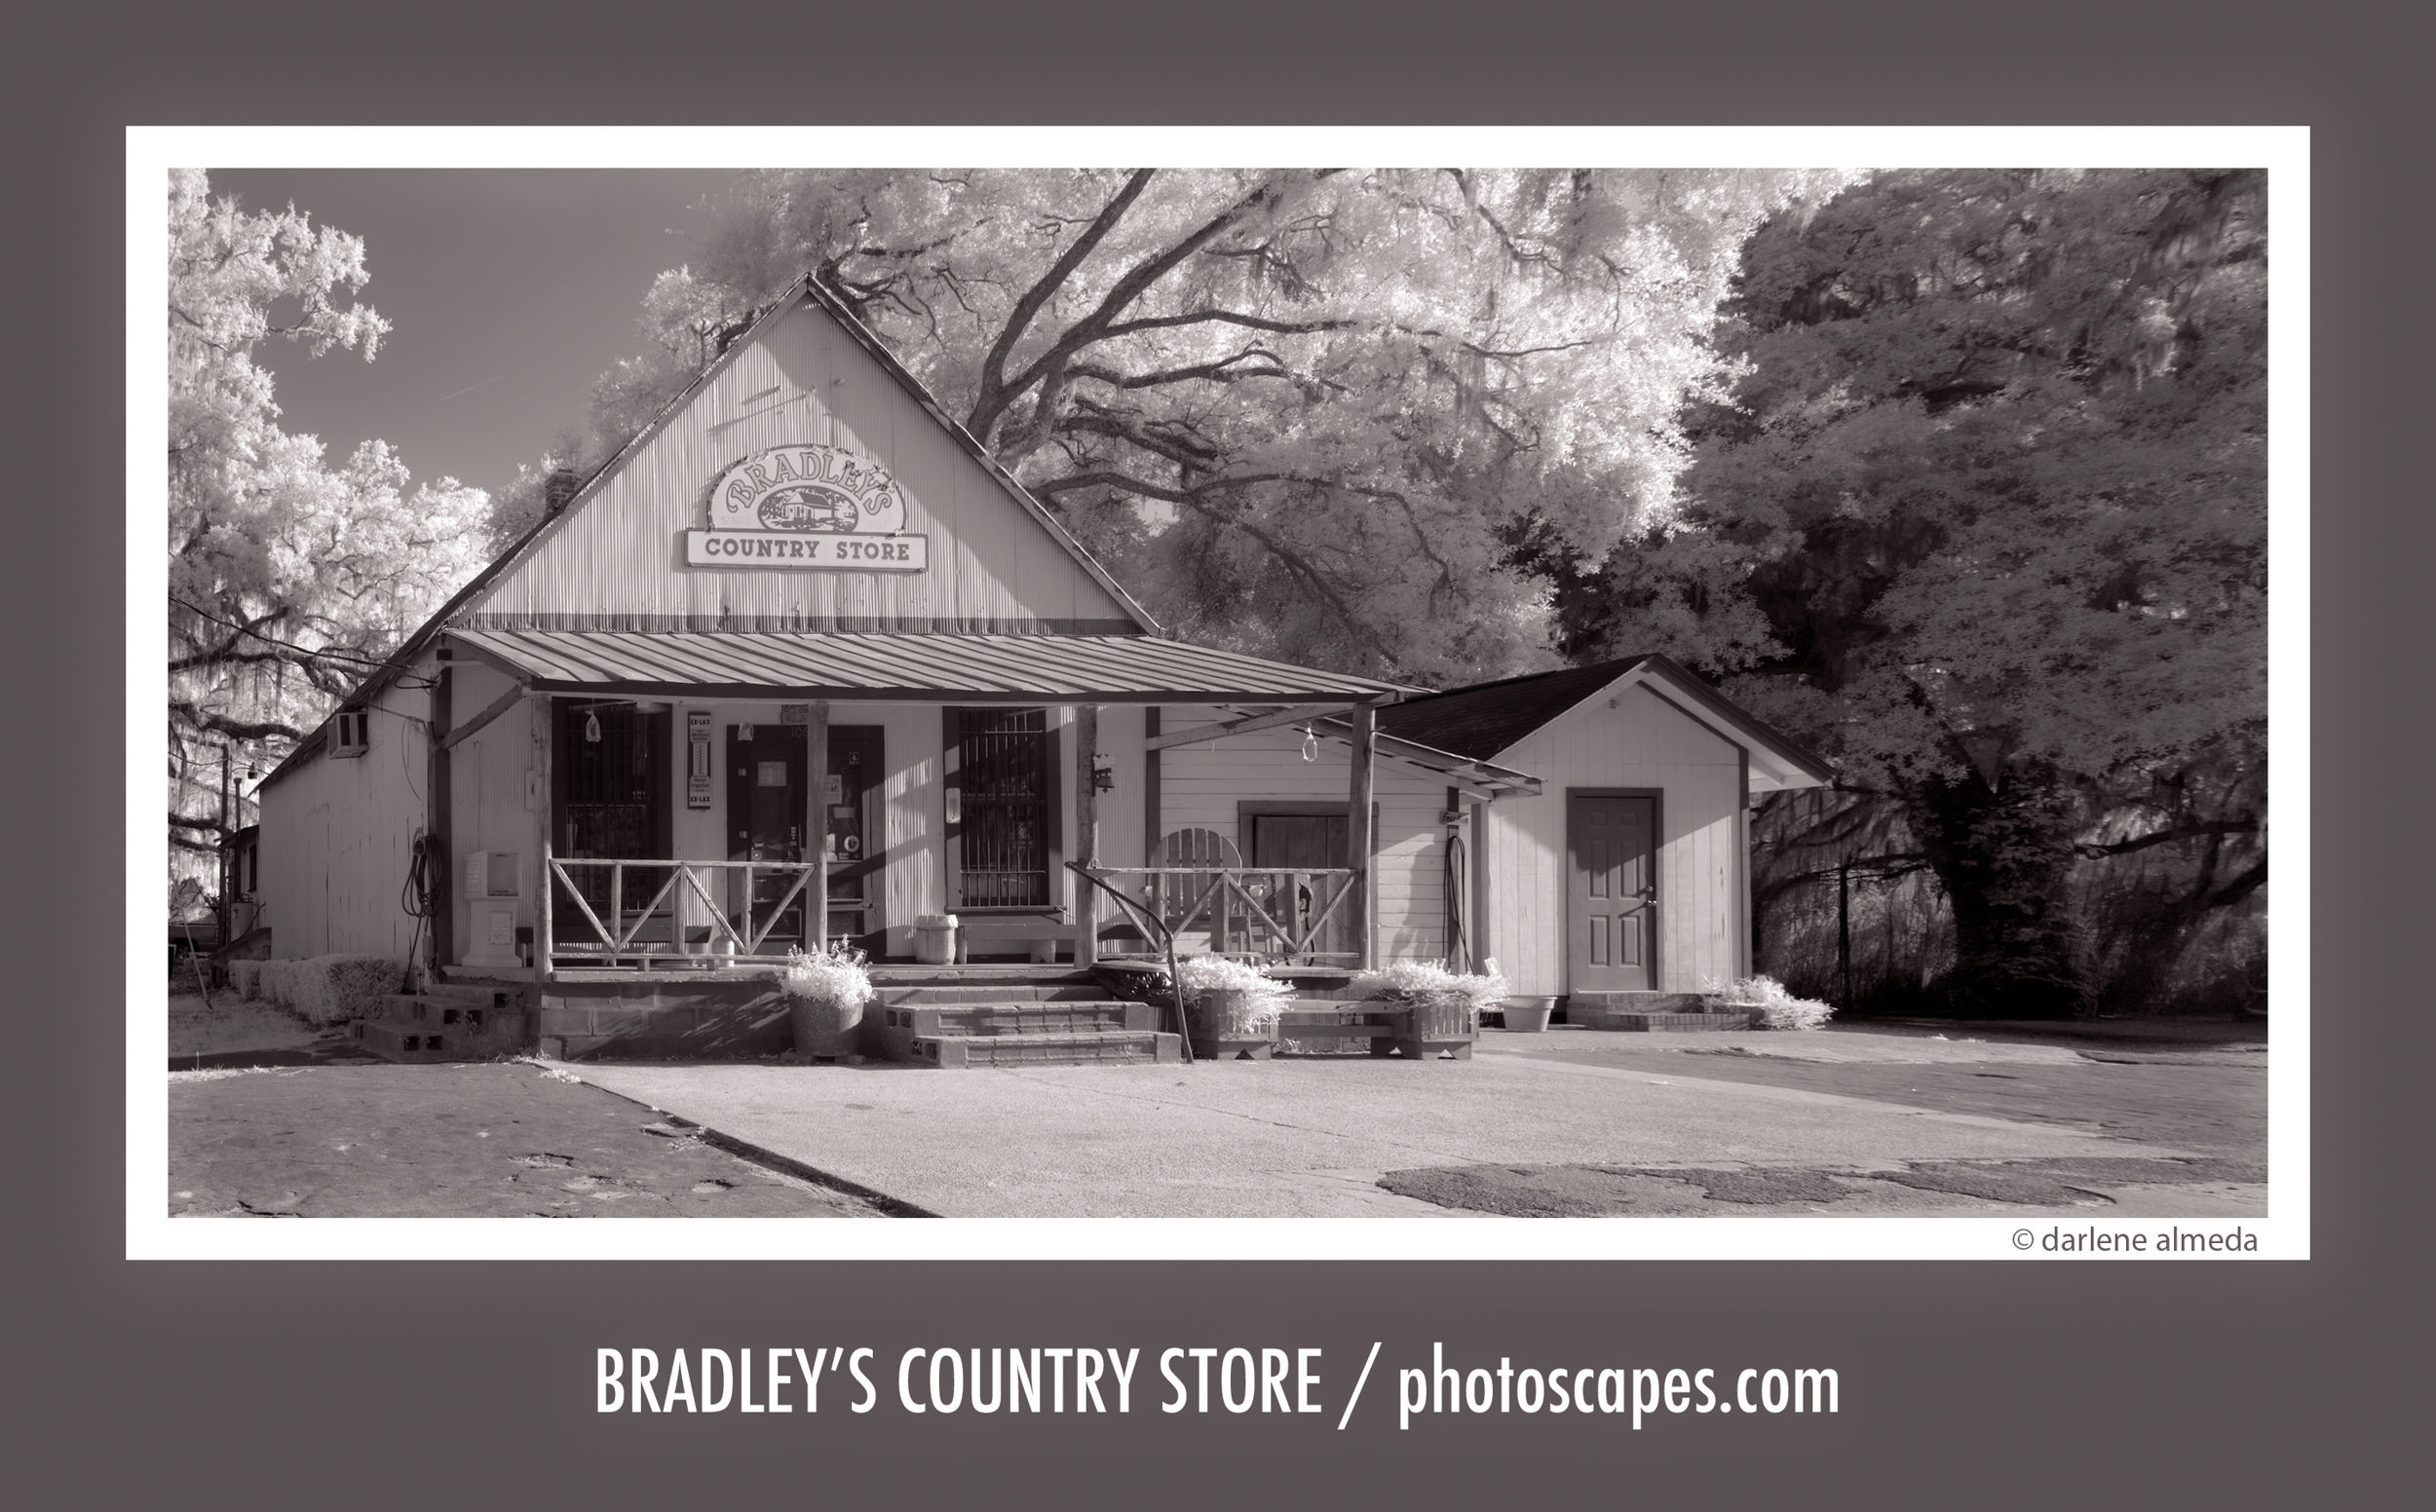
Bradley’s Country Store | Sigma 12-24mm II, 1/40 @ f/11
Intro
In Part 1, I shared my introduction to digital infrared (IR) photography and my decision to use the Sigma SD1 Merrill (SD1M) as my main camera for these experiments. The SD1M’s Foveon sensor continues to impress me—its color depth, tonal separation, and micro-contrast are simply unmatched. Another key advantage is how easy it is to remove the IR blocking filter, which makes the camera ideal for full-spectrum and infrared conversions.
I’ve long admired the unique rendering of the Foveon sensor. Its layered design captures luminance and color information differently than a Bayer array, and that depth gives IR imagery a more dimensional feel. For photographers interested in exploring Foveon-based infrared, the Sigma cameras remain the only option available today.
Shooting Technique Update
Over time, I refined my focusing and exposure technique for greater consistency. The updated sequence below reflects my current workflow:
- Remove the IR blocking filter from the body.
- Set ISO 100 with a three-frame exposure bracket [0, −1, +1].
- Mount the lens with autofocus (AF) enabled—without the Hoya R72 filter.
- Compose the scene and achieve AF through the viewfinder.
- Switch the lens to manual focus (MF) and capture the bracketed exposures.
These initial images—taken without the R72 filter—are Visible and Near-Infrared (VNIR), sometimes referred to as full-spectrum captures. They reveal a hybrid look that combines near-infrared response with visible light. You can identify them by their brighter skies and subtle glow in foliage tones.
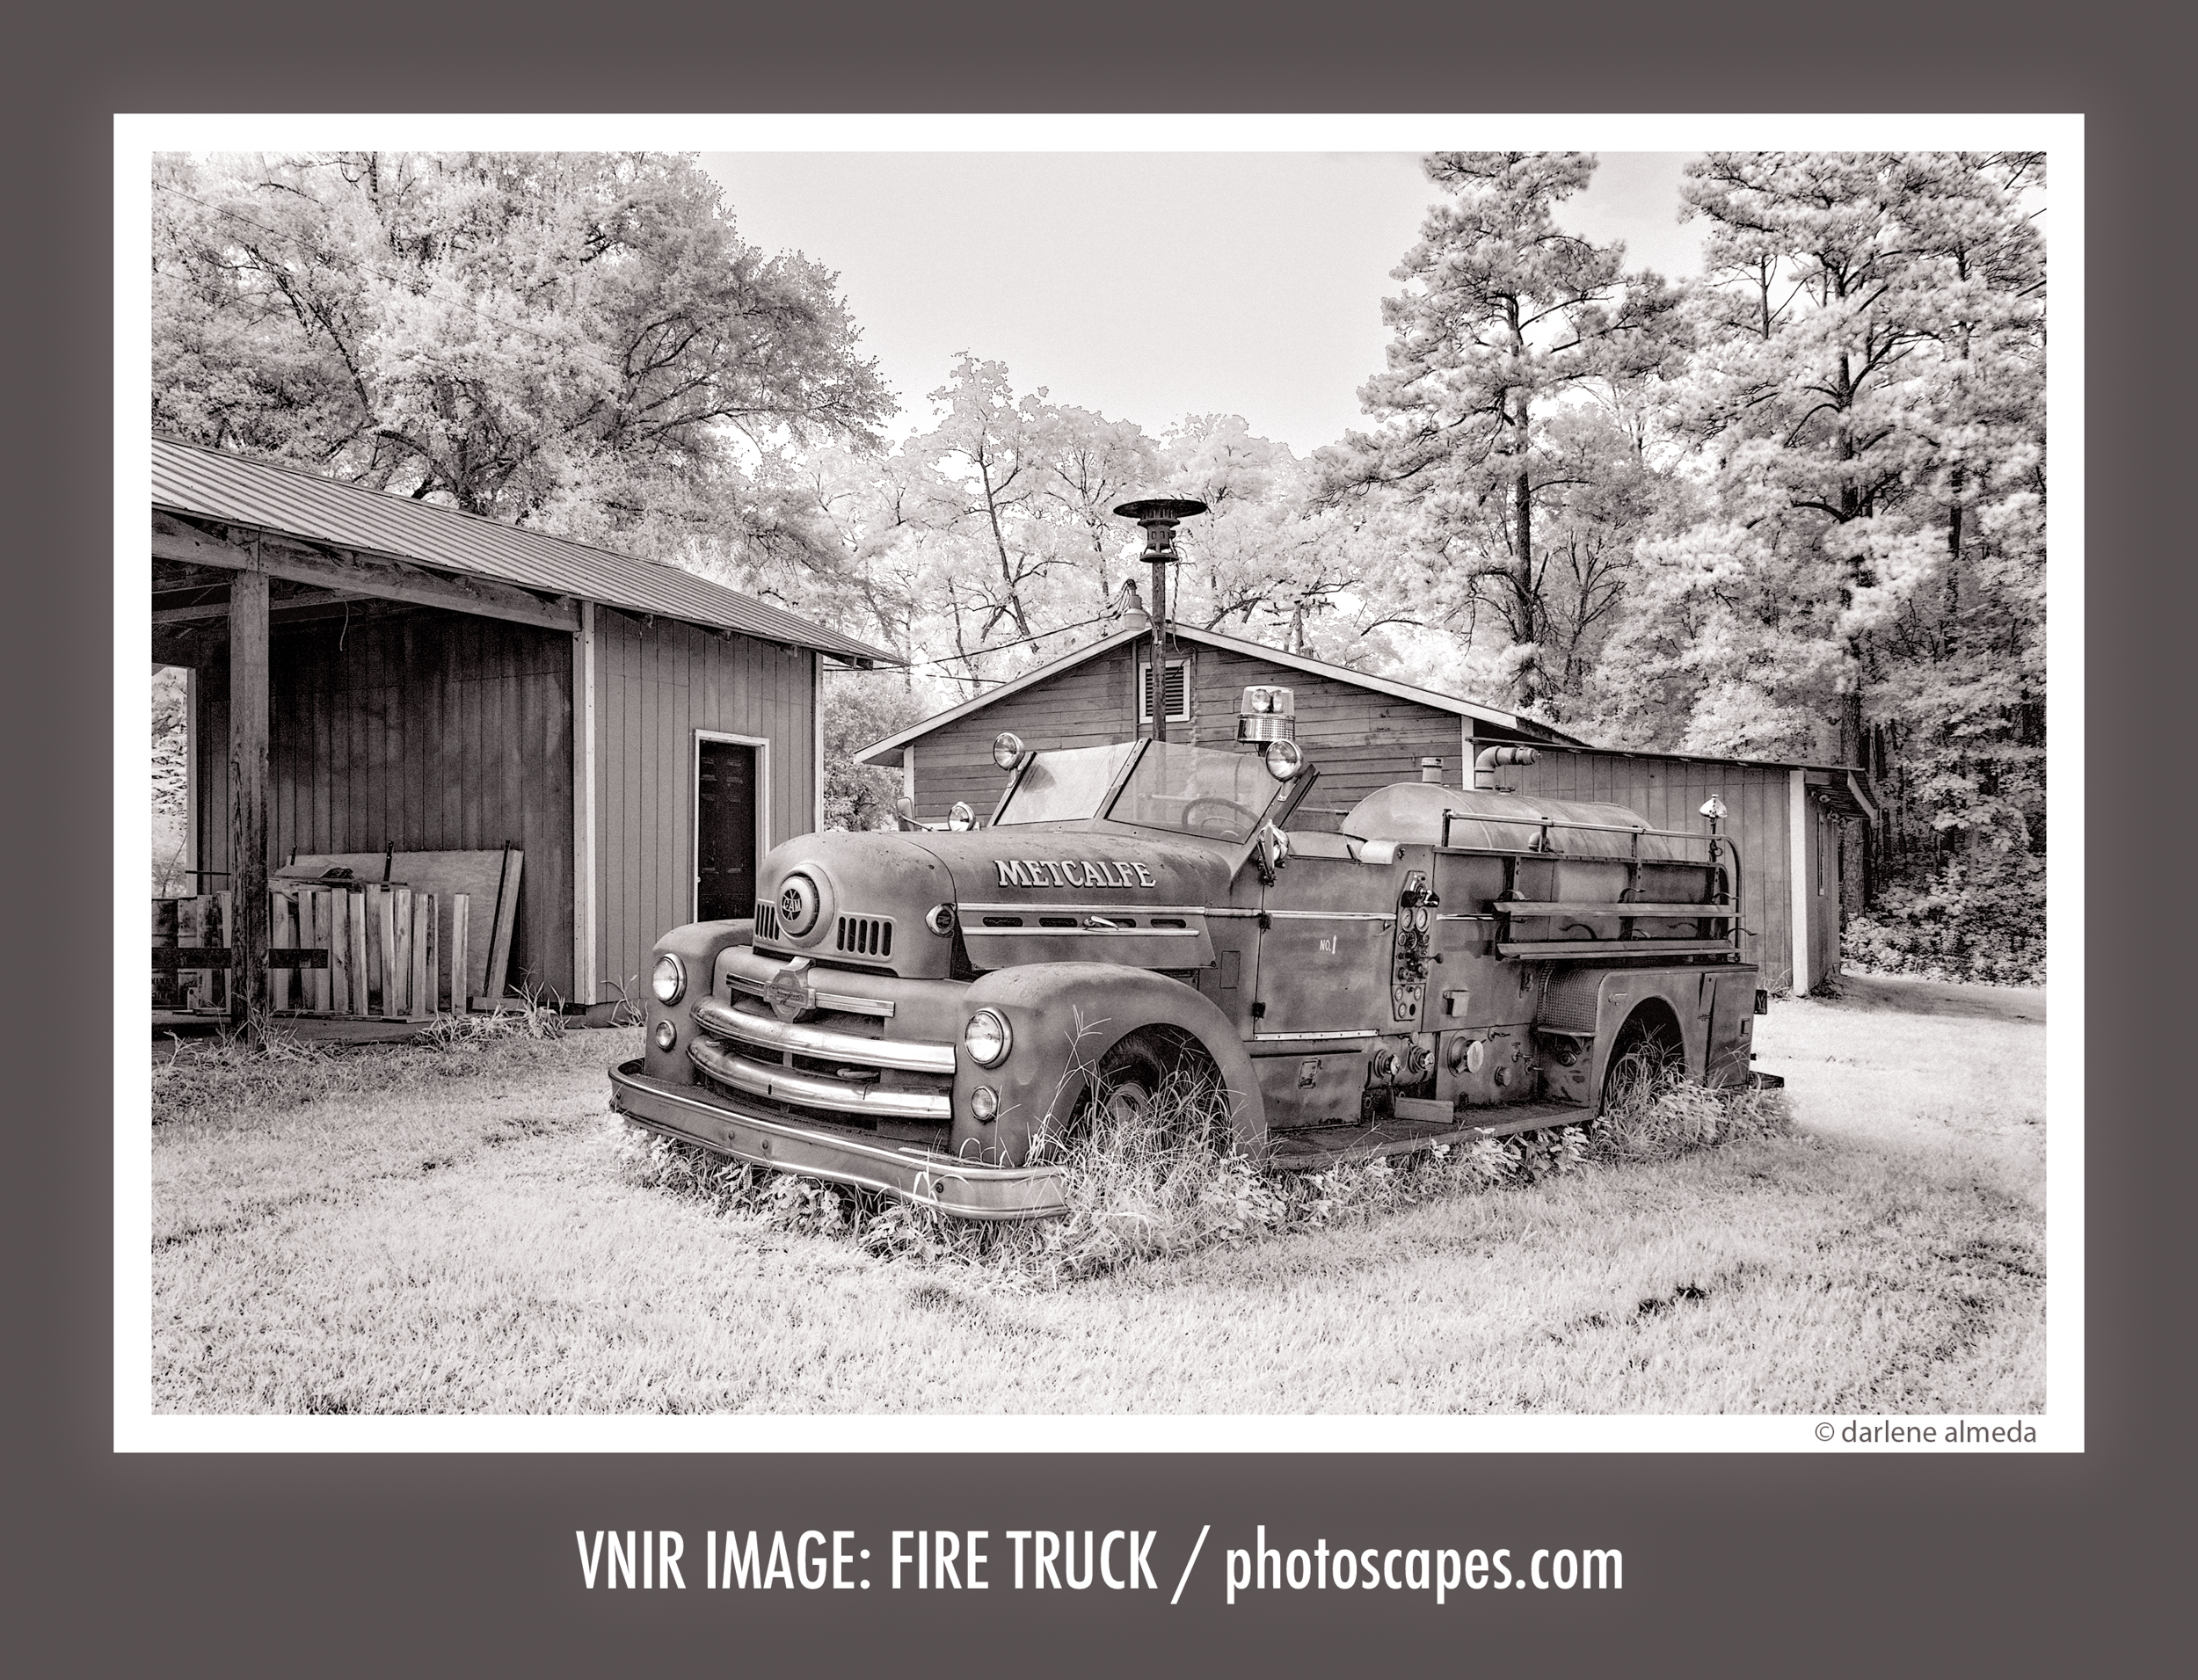
Retired Fire Truck (VNIR version) | 10-20mm, 1/5 sec @ f/11
VNIR Image: Fire Truck
This “Retired Fire Truck” was photographed as a VNIR image—no R72 filter, only the IR-blocking filter removed. I often capture these alongside my infrared exposures to see how the two compare. Sometimes, the VNIR files have a charm of their own, producing crisp tonality and a silvery monochrome effect that hints at IR without going fully there.
To explore this further, I began experimenting with black-and-white filtration—yellow, orange, green, and red filters—to see how each affects foliage and sky contrast. Adding a UV filter occasionally brings a different luminosity to highlights. Photography, after all, thrives on experimentation; these exercises keep discovery alive.
Infrared Sequence
Once the first VNIR sequence is complete, I review the exposures on the LCD screen to determine which looks best. If lighting remains stable, I set that exposure manually, attach the R72 filter, and re-shoot the bracketed set. The previously achieved focus and exposure settings usually translate perfectly for the IR images.
After shooting, I evaluate the histogram for balance and adjust shutter speed by one stop up or down if needed. This workflow ensures precision without guesswork—a key advantage when working with long exposures and IR filters that dramatically alter light transmission.
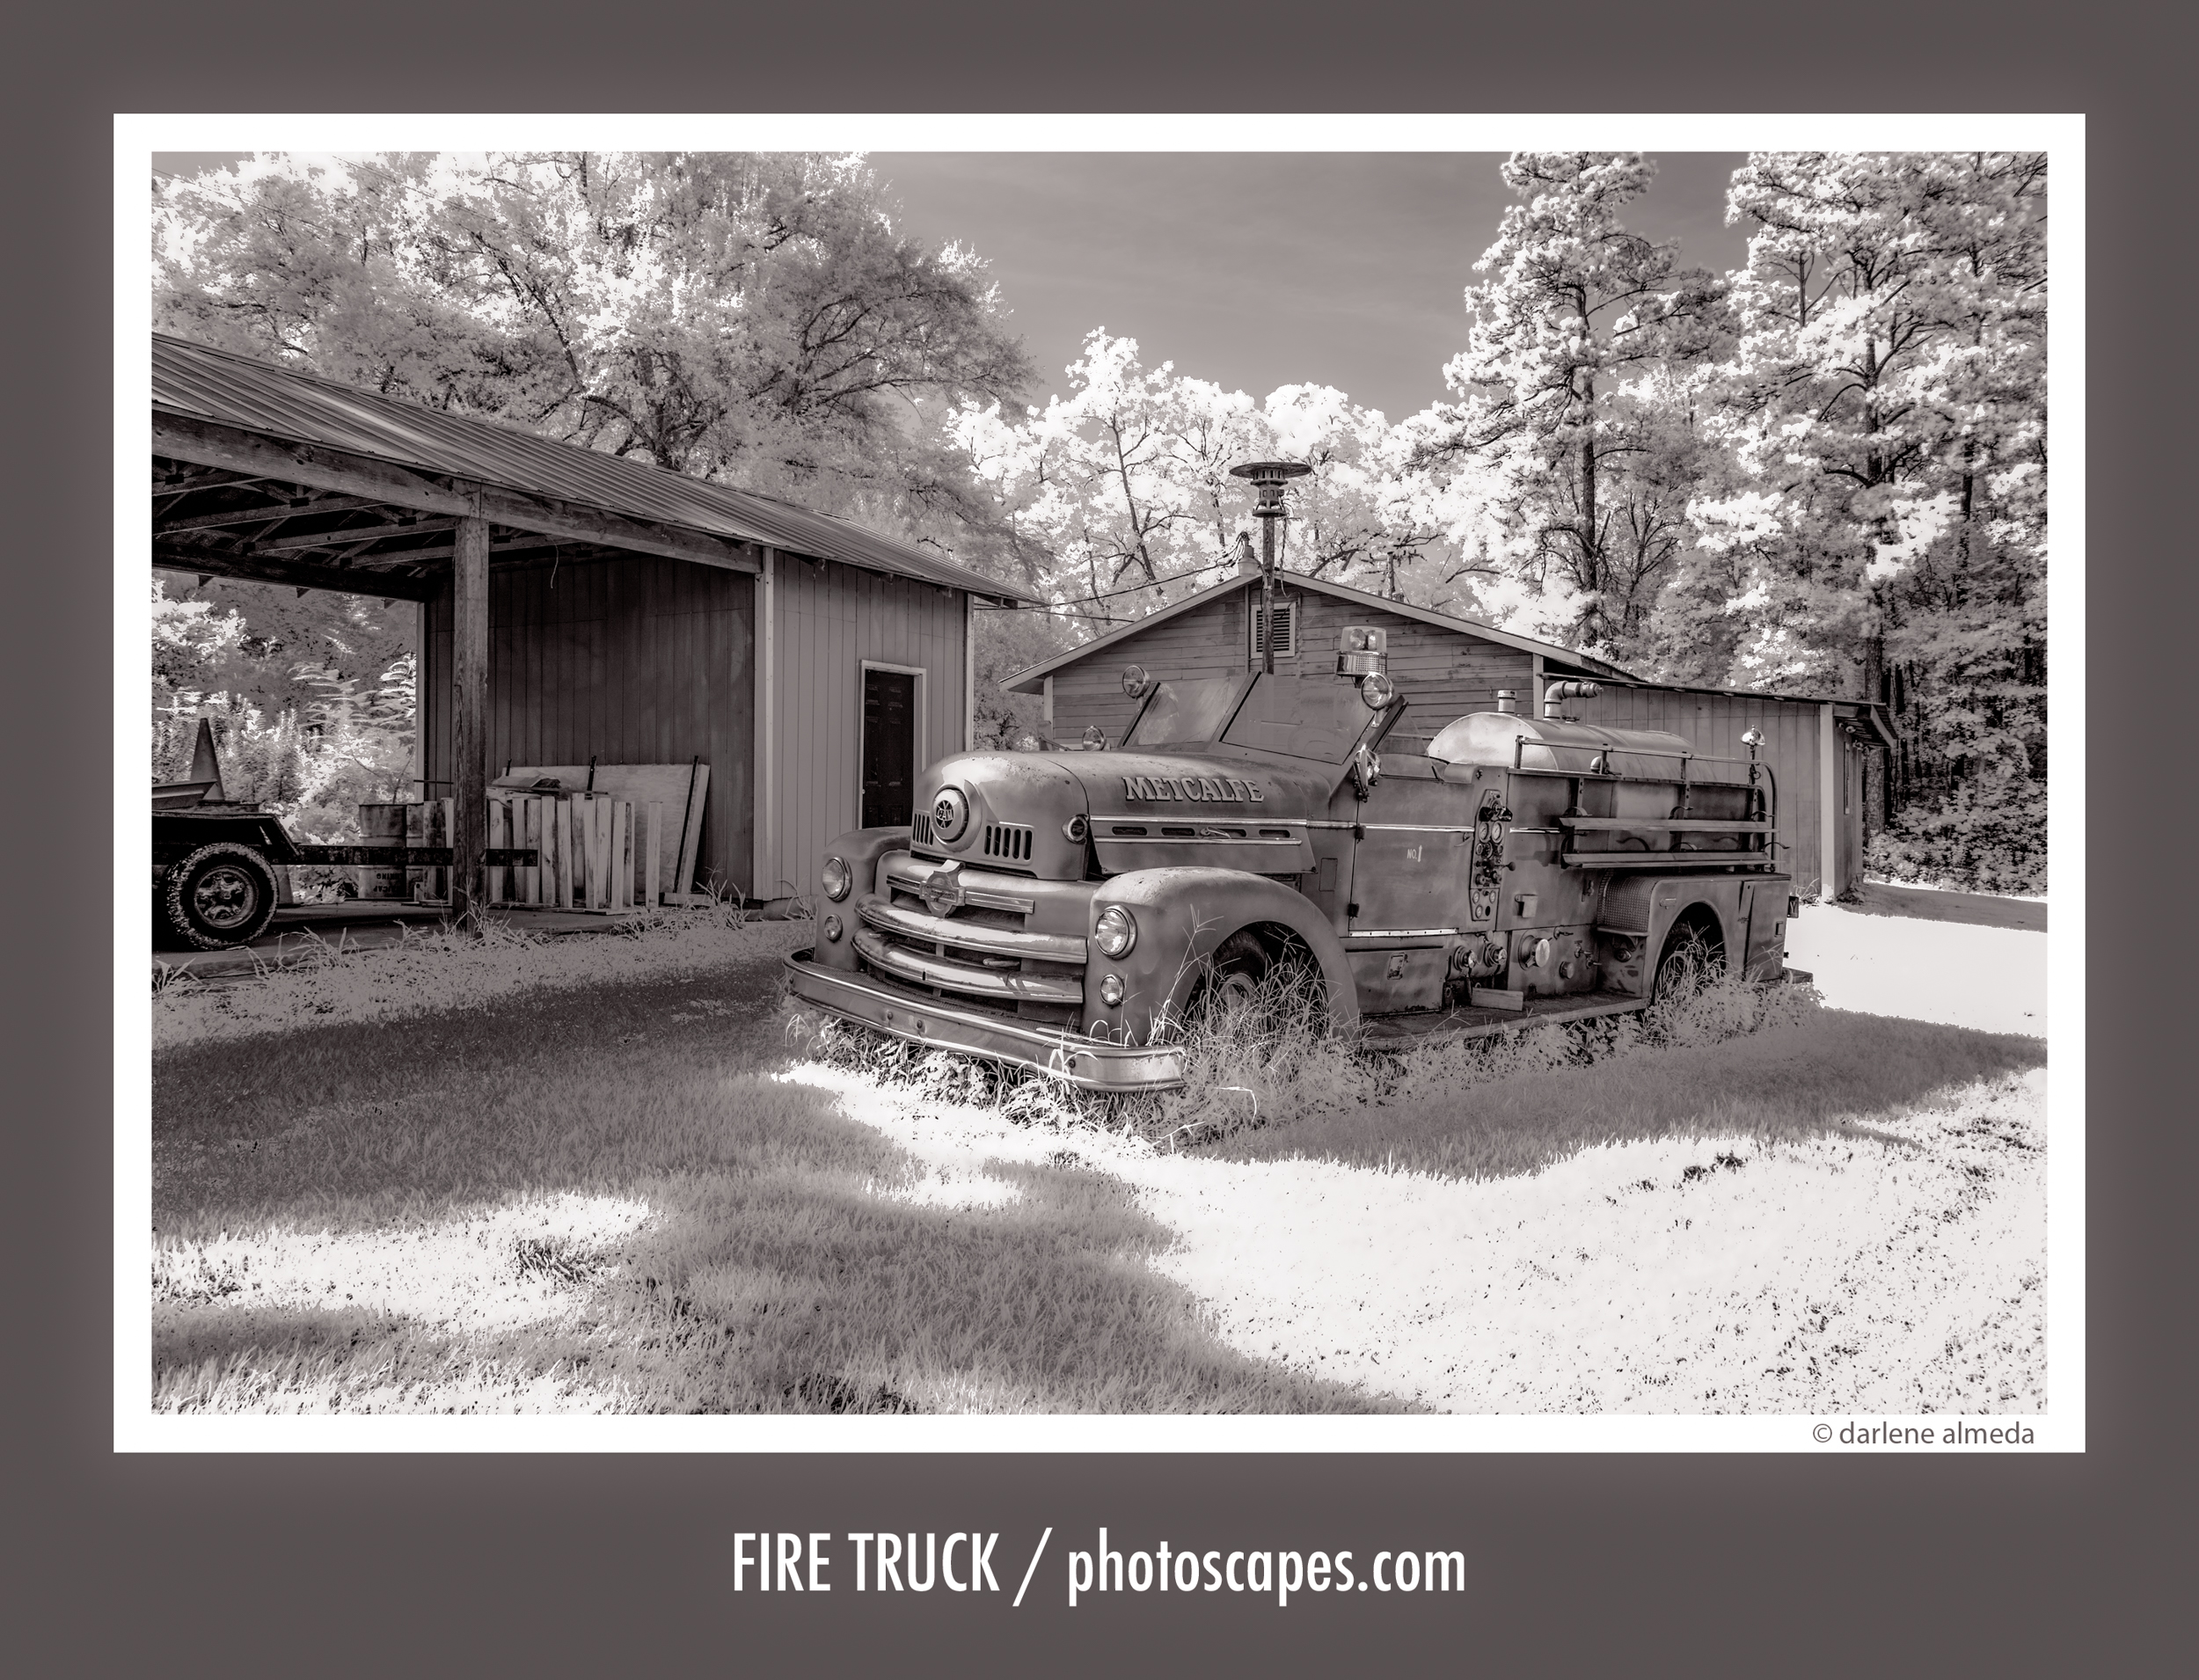
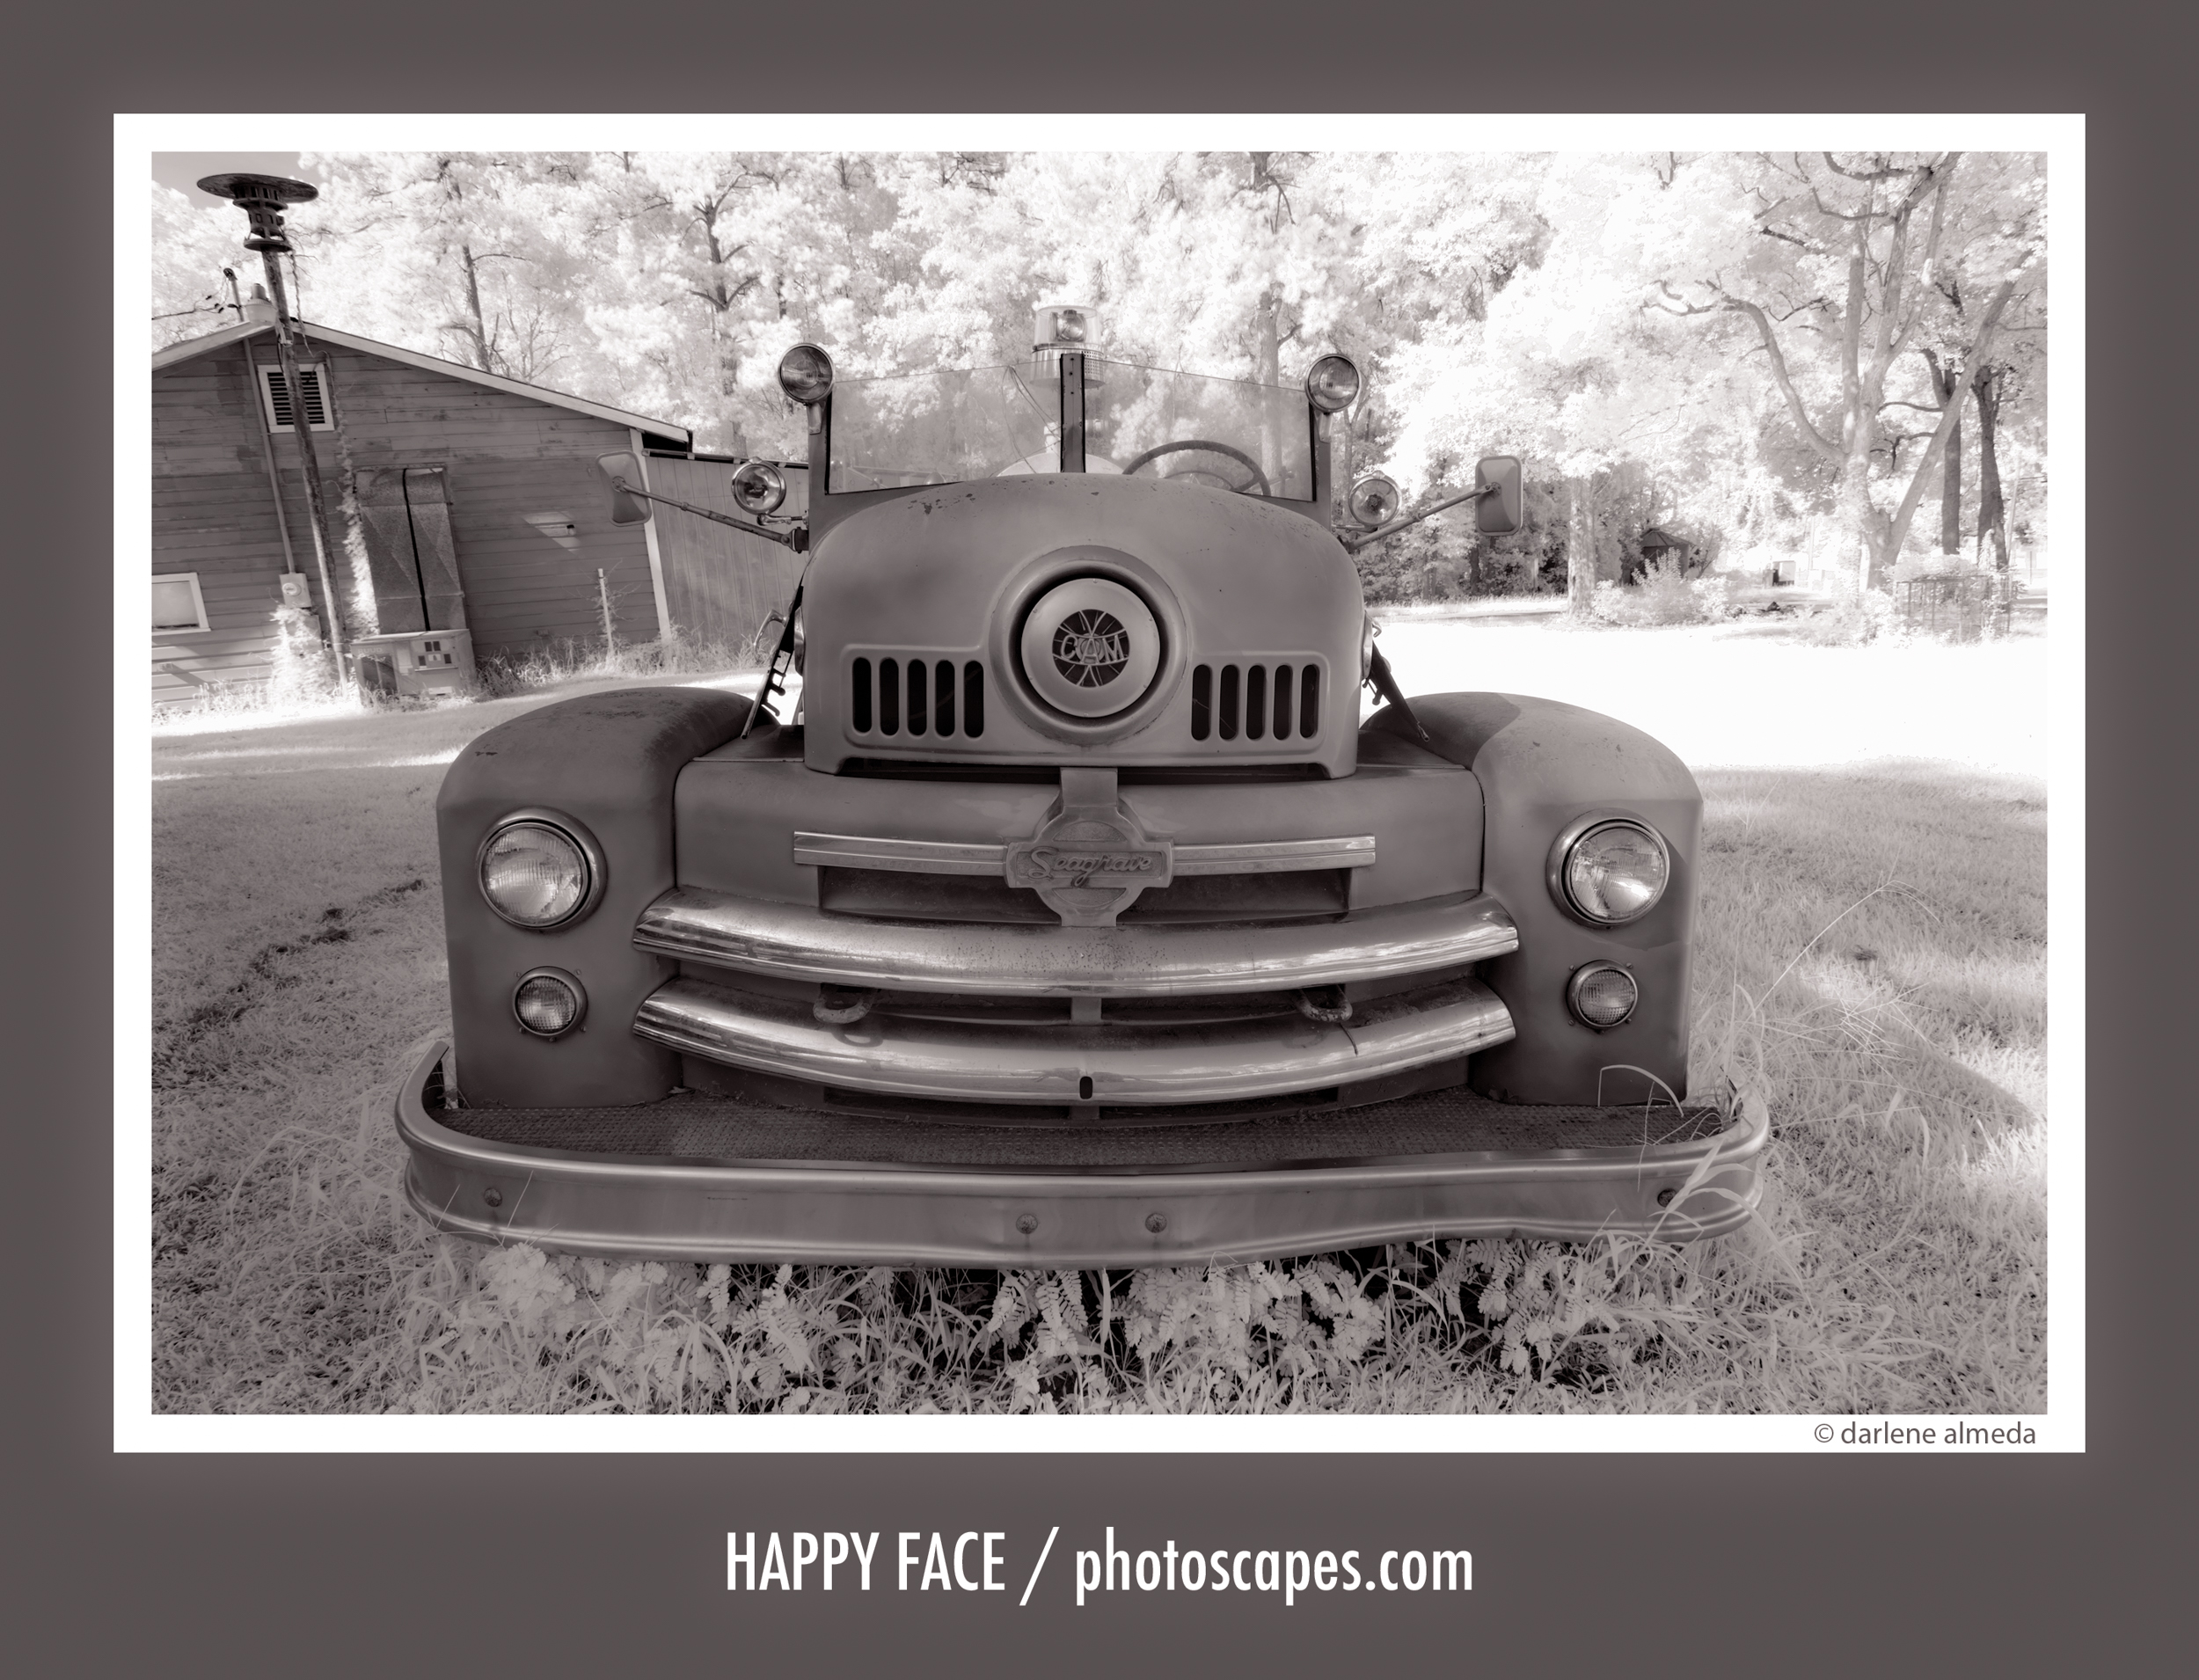
Retired Fire Truck | 10-20mm, 1/10 sec @ f/11
Post-Processing Images
When using Foveon sensor cameras, the photographer must process files through Sigma Photo Pro (SPP), the only converter that fully interprets the X3F files. While SPP remains one of the slower processors, its tonal control and monochrome mode are excellent.
I typically export files from SPP as 16-bit TIFFs in ProPhoto RGB, then complete tonal refinements in Lightroom or Silver Efex Pro.
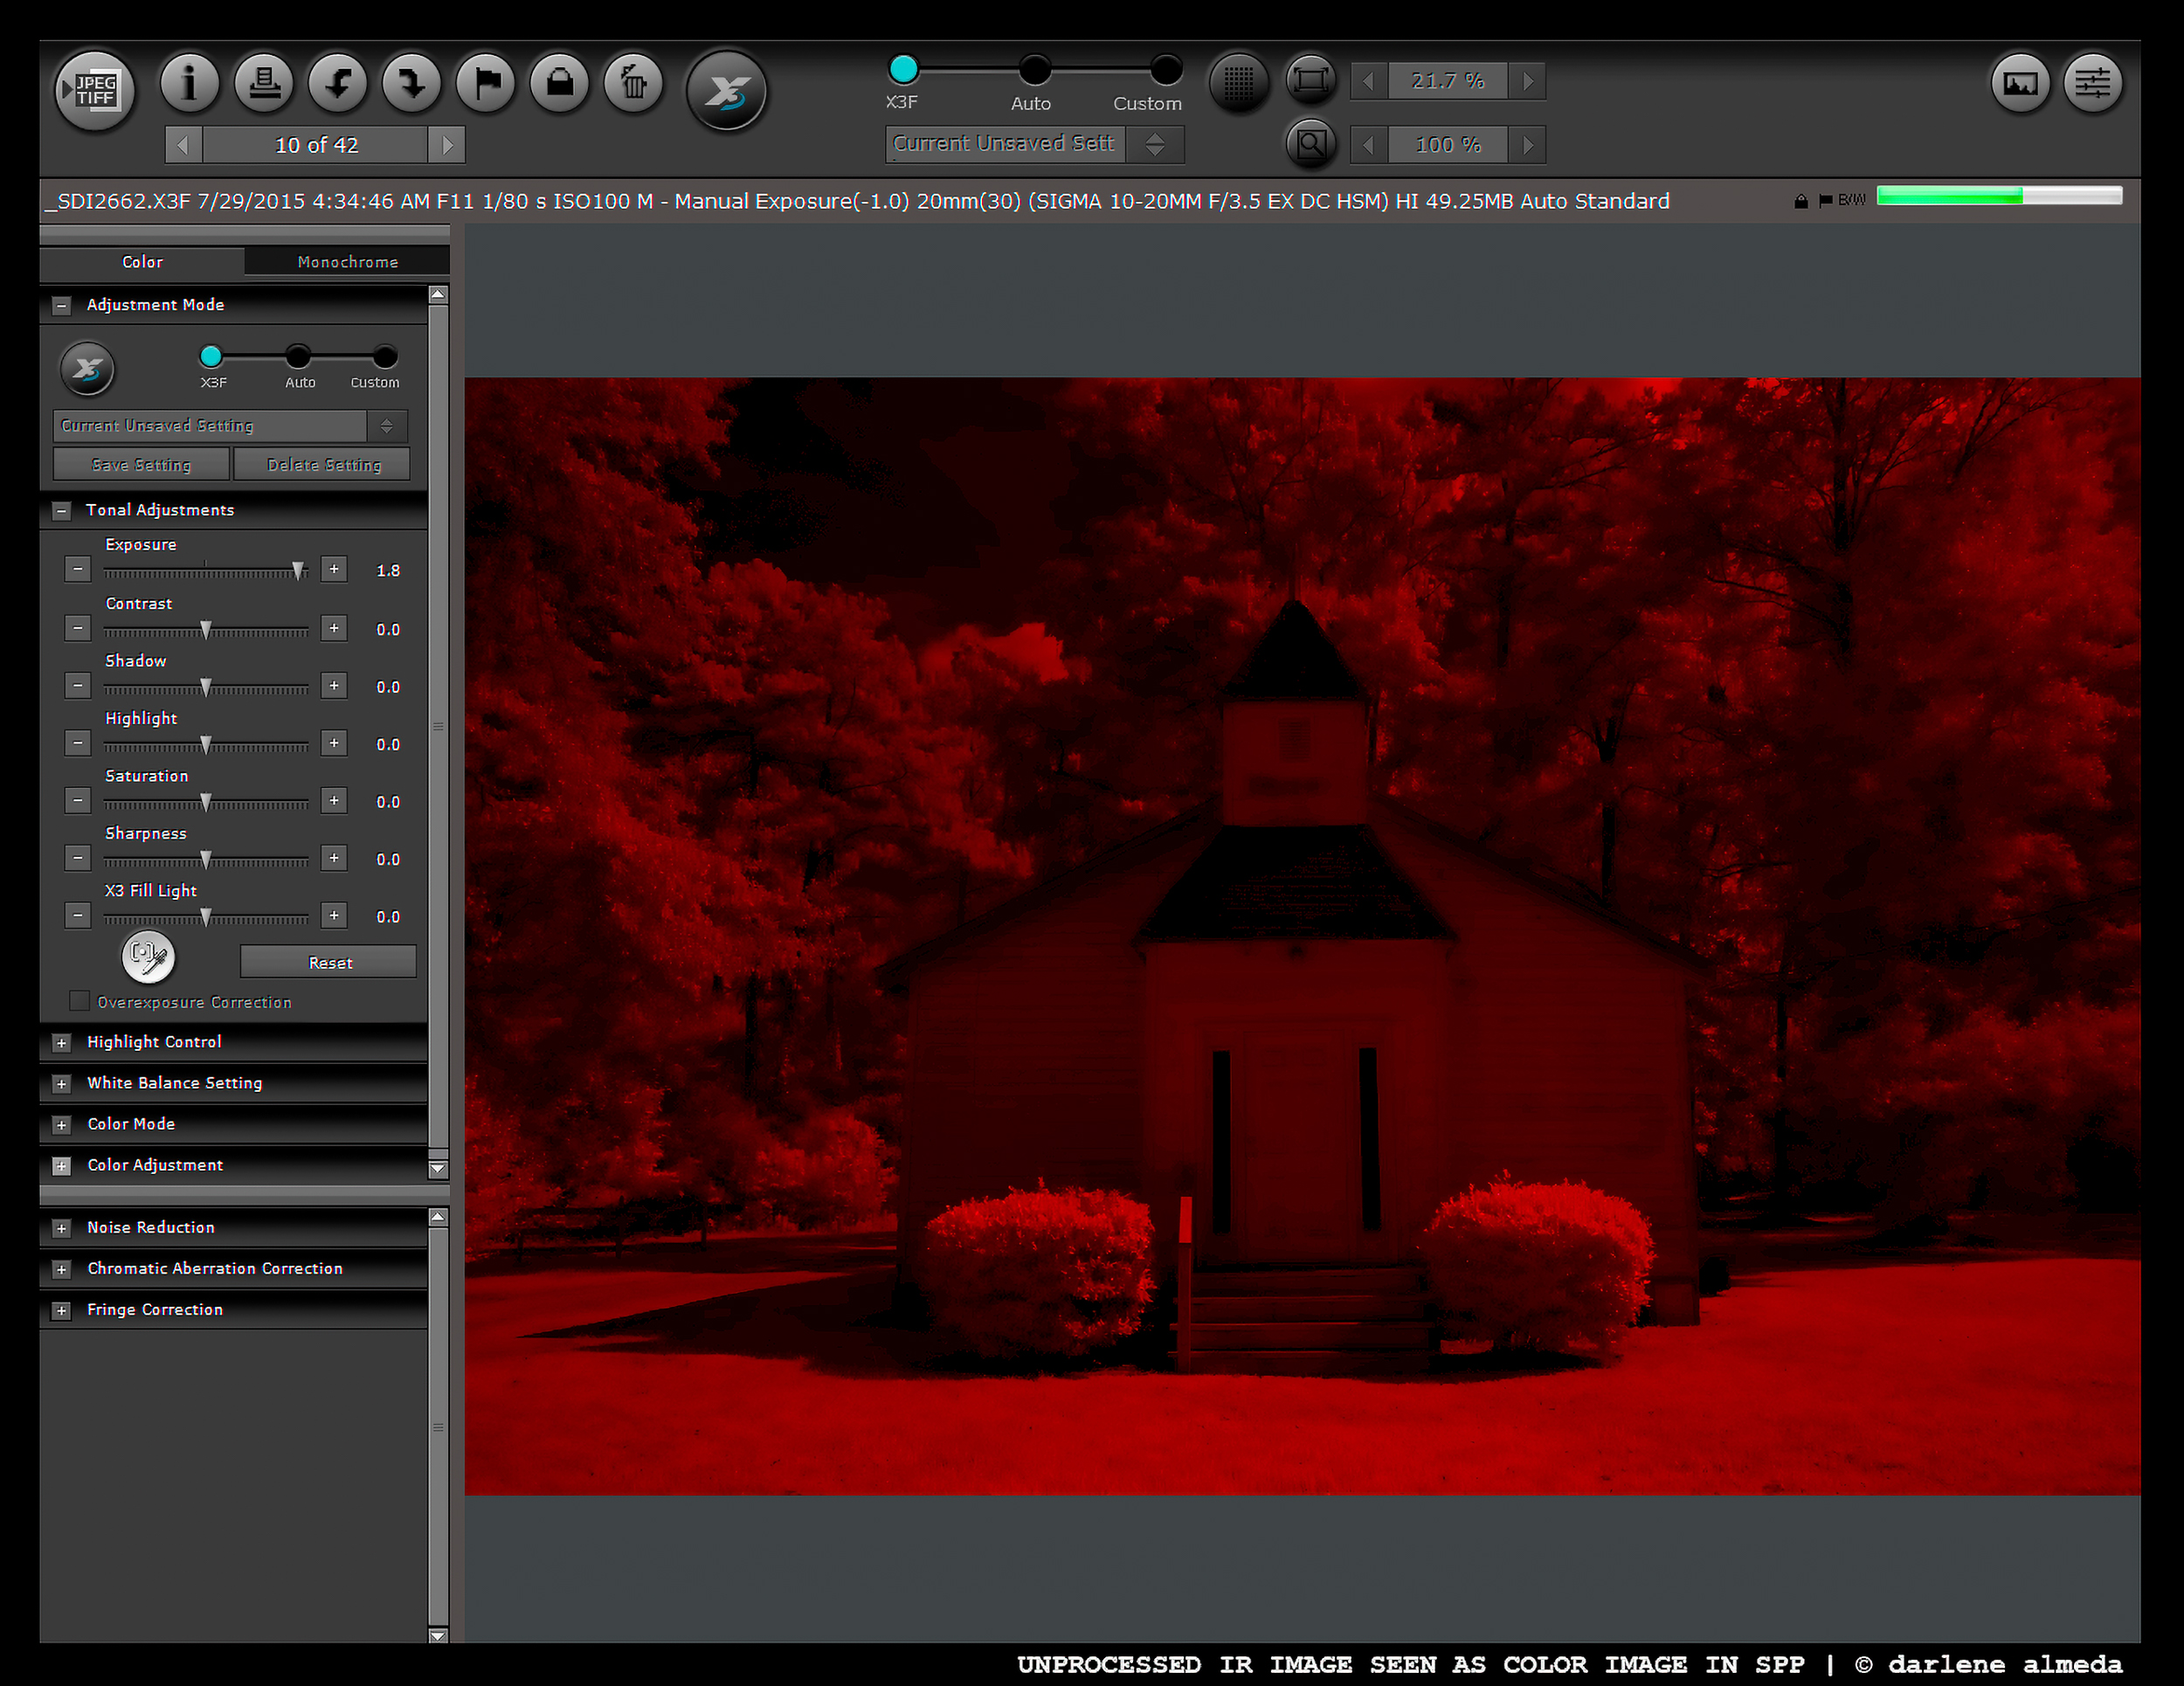
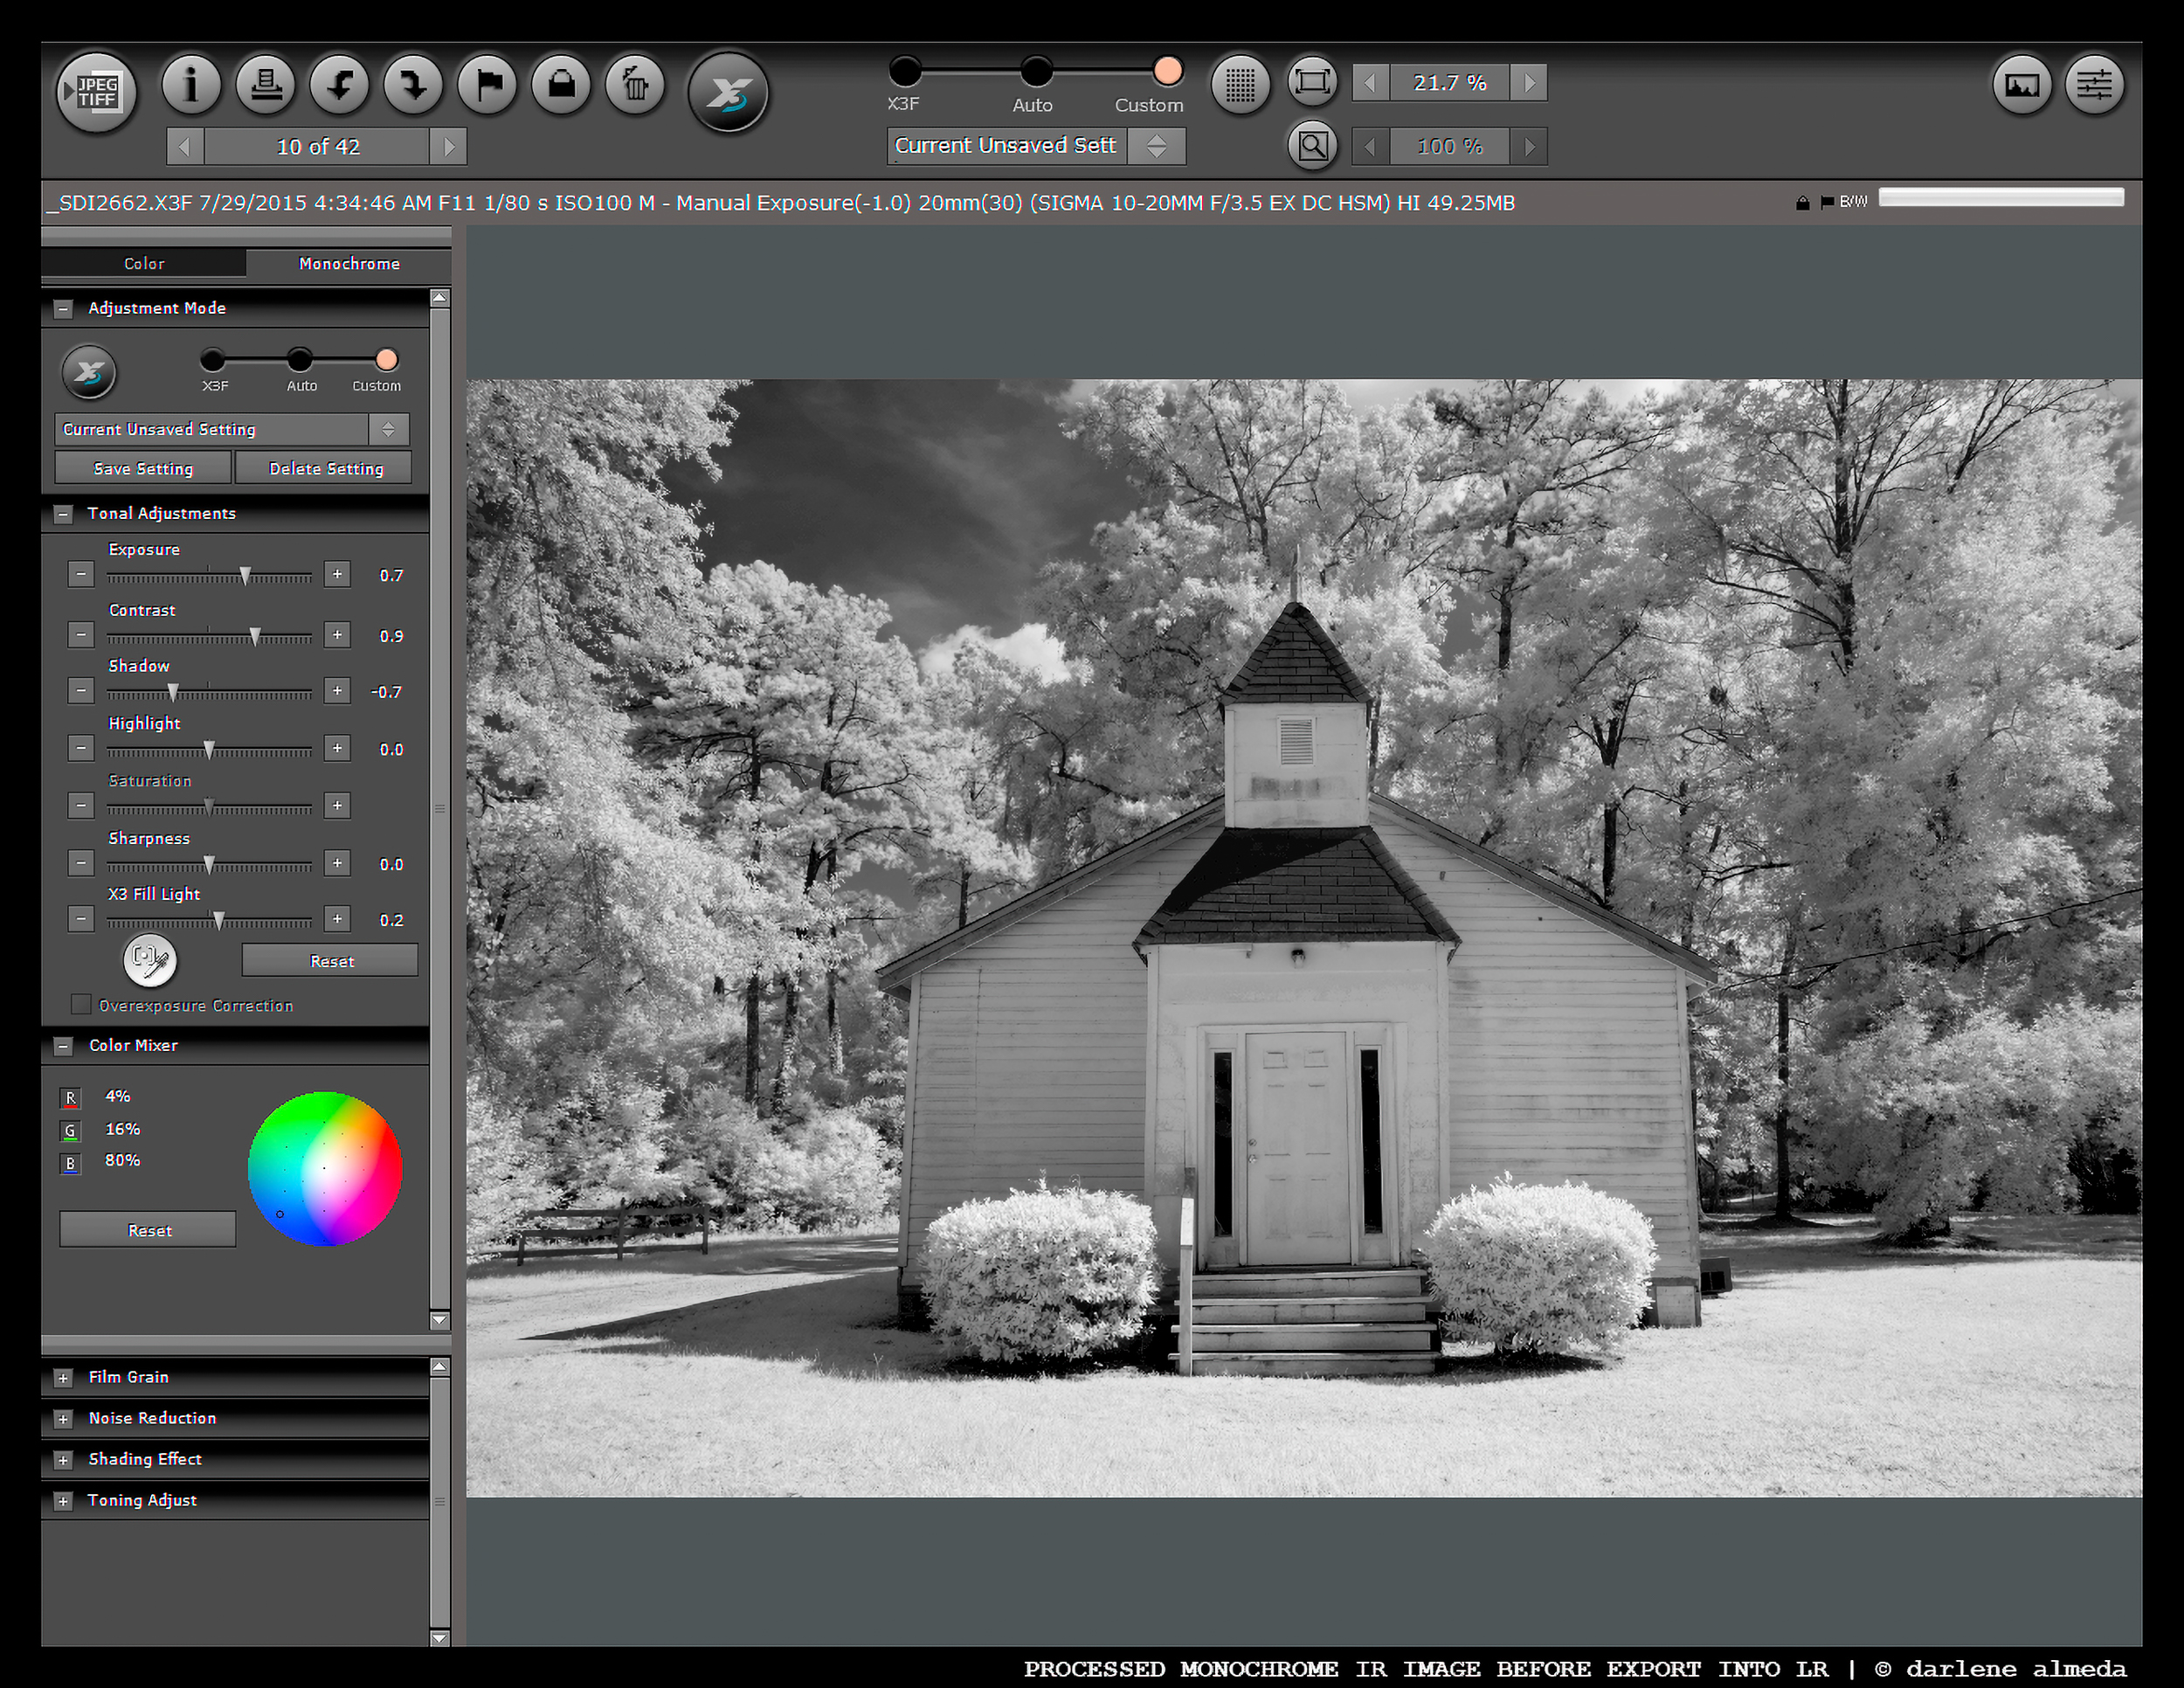
When viewed in SPP, the raw IR images appear intensely red—evidence of the long-wavelength light captured by the sensor. Processing them in SPP’s Monochrome mode reveals the subtle tonal gradations of infrared before further refinement in Photoshop.
PROCESSED MONOCHROME IR IMAGE BEFORE EXPORT INTO LR
Processed IR Image (Before Export into Lightroom)
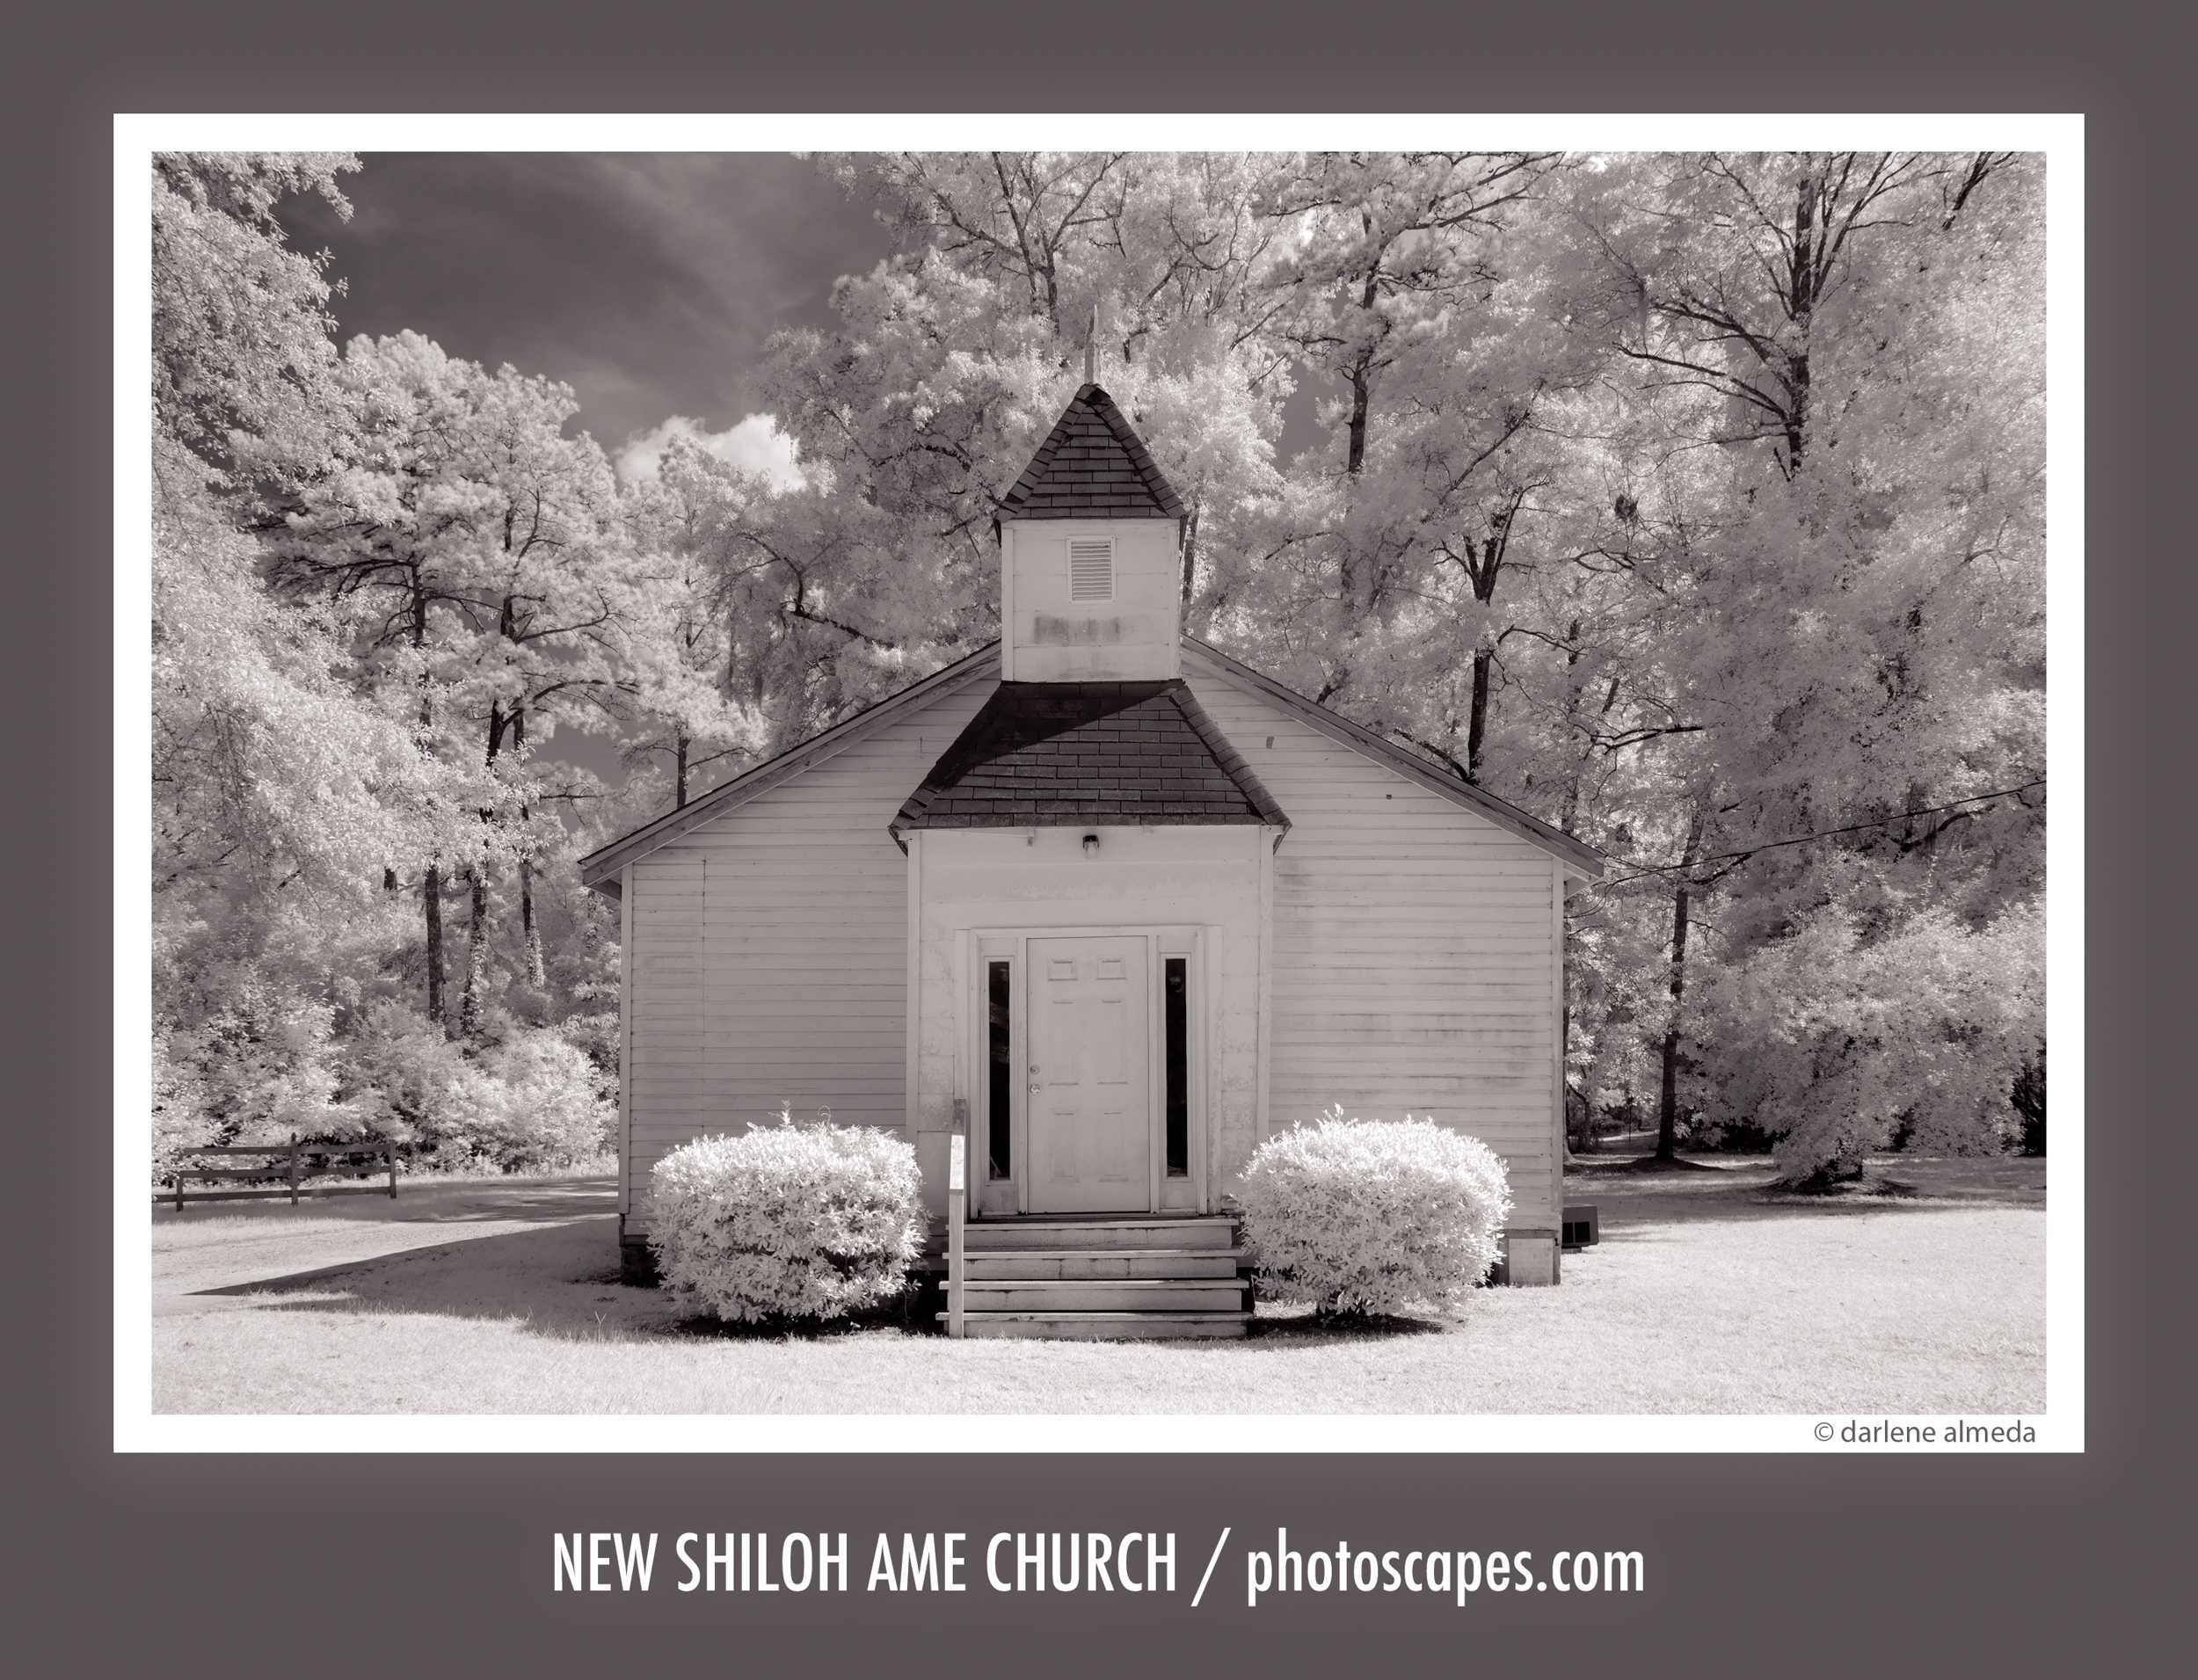
After tonal adjustment in Silver Efex Pro and minor perspective correction in Photoshop, the image takes on its final form. The subject—a small historic church—stands quietly among glowing trees and bright grass, all rendered with that otherworldly light unique to infrared photography.
New Shiloh AME Church | 10-20mm, 1/80 sec @ f/11
Infrared Shooting Checklist (Revised)
- Remove IR blocking filter from the camera body (if needed).
- Set ISO 100; bracket exposures [0, −1, +1].
- Mount lens with AF enabled; compose without R72 filter.
- Achieve autofocus, then switch to manual focus.
- Capture three bracketed exposures.
- Review LCD images for best exposure.
- Set that exposure manually; attach R72 filter.
- Shoot the same bracketed series with the filter.
- Check histogram; adjust shutter speed if needed.
- Repeat as light changes.
Gear Notes & Reflections
These photographs were made using the Sigma 10–20mm f/3.5 EX DC HSM, a lens that proved sharp and reliable once properly calibrated. Even though one of my copies was slightly decentered, a simple focus-point adjustment corrected the issue. I found the lens well-suited to IR use—minimal ghosting, excellent edge clarity, and accurate focus across the frame.
Infrared photography remains a field of exploration for me. I enjoy its potential as a bridge between digital monochrome and experimental rendering. My ongoing goal is to adapt aspects of digital IR into expressive black-and-white photography. While not every IR image succeeds, the process continually teaches me how light behaves beyond the visible spectrum.
I admire photographers like Michael Kenna, whose dedication to tone and form inspires much of my B&W sensibility. Though his work is rooted in film, the spirit of experimentation carries forward into digital techniques like these. I plan to continue expanding my IR portfolio and build a dedicated black-and-white portfolio that reflects both mediums’ best qualities.
Closing Thought
Photography, for me, is an evolving dialogue between technique and curiosity. Each new process reveals a slightly different way of seeing the familiar—and few are as transformative as infrared.

