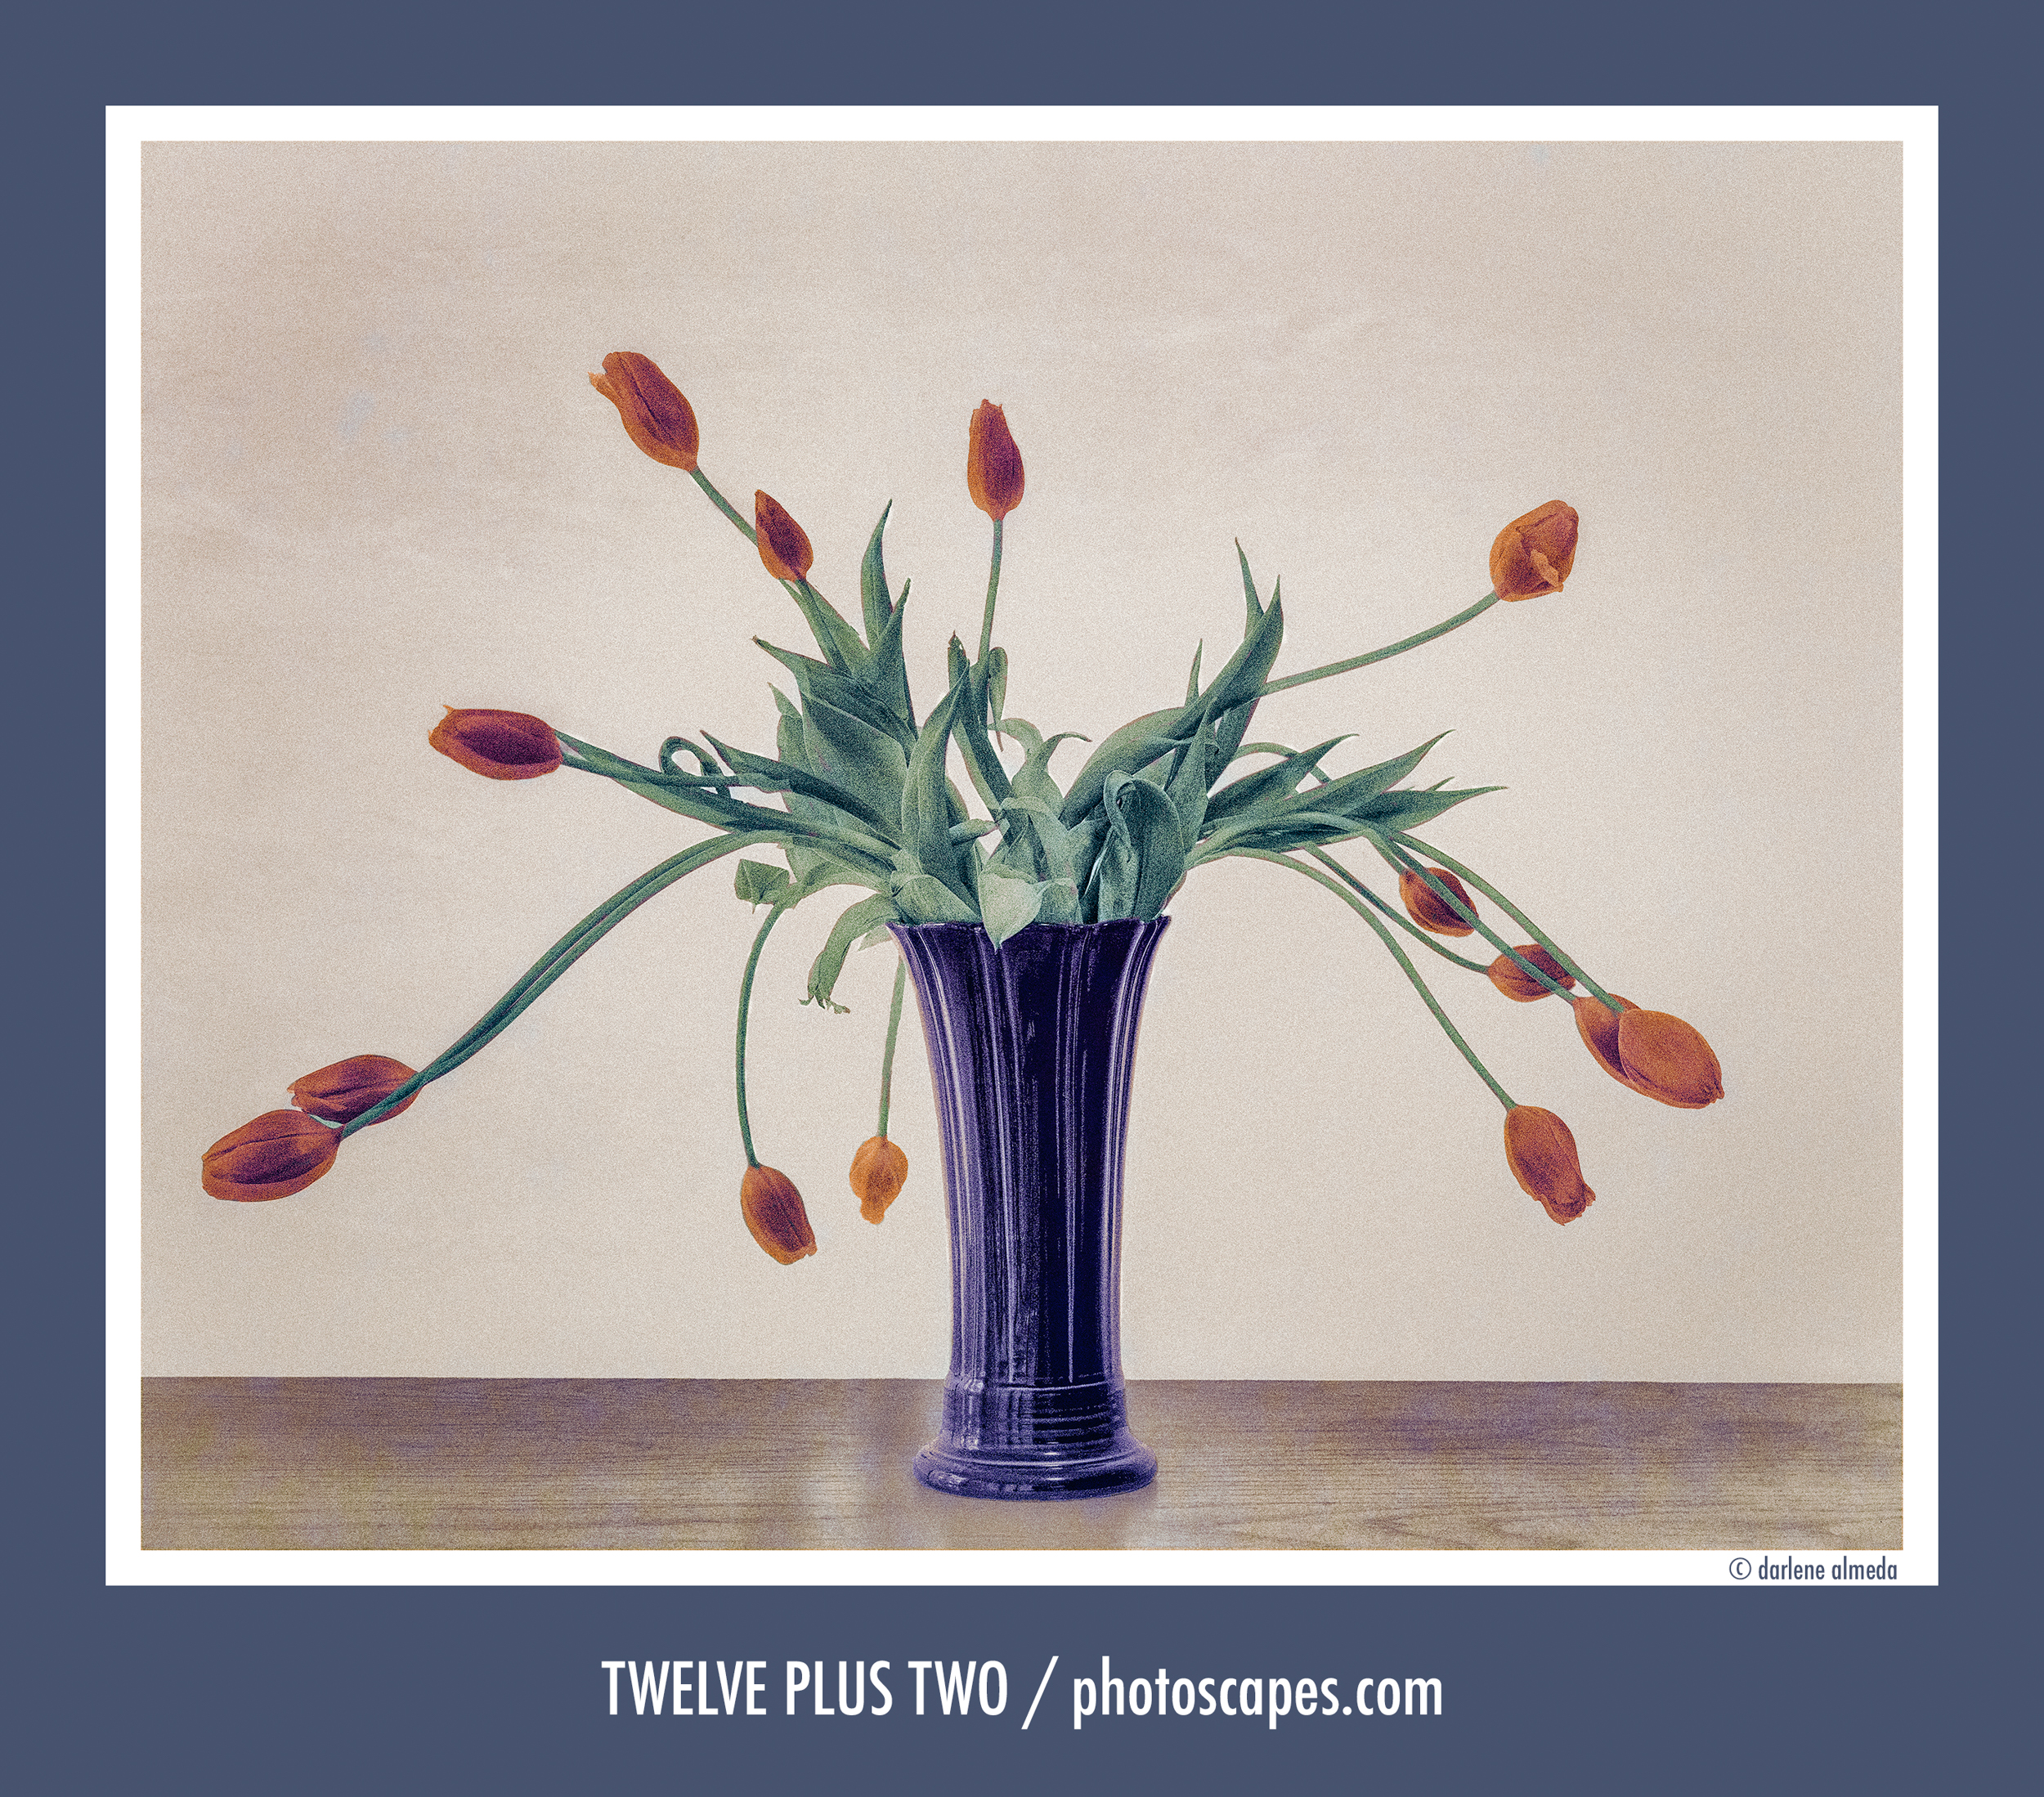
I have a passion for photographing still life and flowers. When I’m feeling bored or want to try a new technique, I head to my studio with my view camera. I often use my box of seashells, shop for fresh flowers, or find other intriguing objects to photograph. Sometimes, I just want to play and experiment in the studio.
This particular shoot started in this fashion. I visited my local grocer and found a beautiful bouquet of tulips to photograph. However, I wanted to approach it differently, using 4×5″ black-and-white film and then hand-color (HC) the digitized file in Photoshop (PS).
The story behind this image unfolds in two parts: (1) the shoot and post-processing, and (2) the inspiration for the title. This particular shoot began without a focused idea, but as the session progressed, a concept emerged. When I fully engage in the process, I often discover new ideas that inspire me to the finish line.
Technical Notes
4×5 B&W NEGATIVE + 4×5 B&W INVERTED NEGATIVE + FINISHED COLORED IMAGE
The above graphic illustrates the three stages of the image’s completion process. It begins with the developed 4×5″ black-and-white film negative (image #1). The film is then digitized and inverted into a black-and-white positive image, ready for hand-coloring (image #2). Finally, the finished colored image is displayed (image #3).
My goal was to refine my hand-coloring technique, steering clear of PS’s unappealing auto-coloring function. Instead, I used layers and kept the process simple, unlike my past technique of adding color by applying Marshall oils directly onto a print with cotton balls and Q-Tips.
The steps I used to add color to this black-and-white film image are not difficult, but time-consuming. It goes like this: bring the positive image into PS, select the colors for each object, and paint each color into the image with a tablet and pen, using a separate layer for each color. This process takes me back to my years as an advertising comp artist, where I used pencils and markers to create visual ideas for presentations to advertising agency clients.
In photography, the final adjustments or enhancements made to an image — whether done using traditional methods in a darkroom, on an art table, or through digital editing software — can make subtle yet significant improvements to the image’s details and overall quality. These finishing touches can enhance the image’s visual appeal and the message it conveys.
The Title Says It All
What an intriguing title, “Twelve Plus Two,” for this image, wouldn’t you agree? While it might seem unusual for a bouquet, there’s a hidden meaning behind it. Count the tulips, and you’ll discover fourteen. When I first arranged the bouquet for photographing, I found two lovely buds hidden from sight, nestled together as if wrapped in an intimate embrace — hence the “plus two.”
When I create work for myself, I aim to express emotions visually so the viewer can connect with them. Whether it’s through subtle details or striking compositions, my goal is to evoke a sense of beauty and intimacy in each image.
If you can see the closeness in this image, with two buds intertwined, then I feel I’ve succeeded in conveying the feeling I set out to capture.


