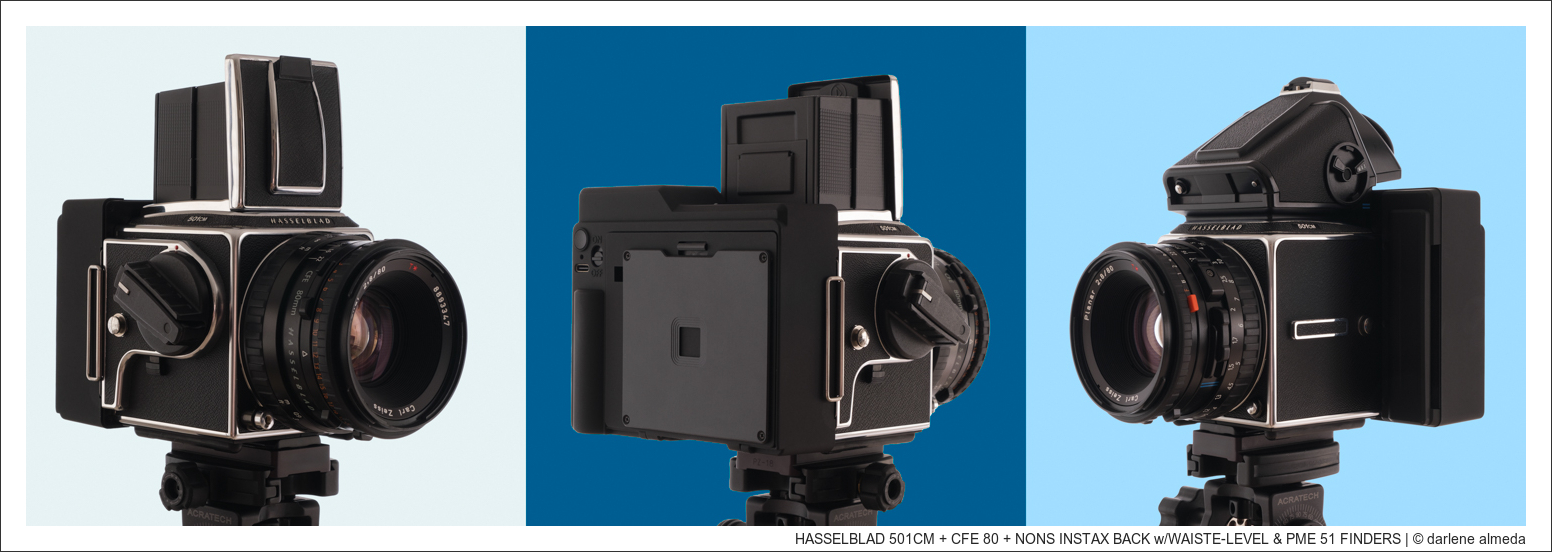
HASSELBLAD 501CM + CFE 80 + NONS INSTAX BACK w/WAISTE-LEVEL & PME 51 FINDERS
I do not do gear reviews, but I’m about to spill the beans on the NONS Instant Back and my beloved Hasselblad 501CM. But before diving into the greatness of instant gratification, let’s take a moment to appreciate the history of instant film and Hasselblad.
In the good old days of pre-digital madness, instant film was the unsung hero of commercial photography, especially when paired with our Hasselblads. It was like having a crystal ball to peek into before committing to the real deal. Want to check if the lighting is on point? Strike a pose and snap a Polaroid with that Hasselblad Polaroid back. Sure, it costs a pretty penny, but perfection is costly. I’ve examined enough squished-up 56x56mm Polaroid proofs to know it was a hassle but a blessed hassle.
Fast forward to the digital era, where proofs are as outdated as shoulder pads. But what if you’re feeling a bit nostalgic? What if you crave the magic of instant film with your Hasselblad? Enter the NONS Instant Back! This nifty gadget lets you shoot Fujifilm Instax Square film with your Hasselblad without any adapter, turning you into a spoiled rotten pho-tog.
Construction
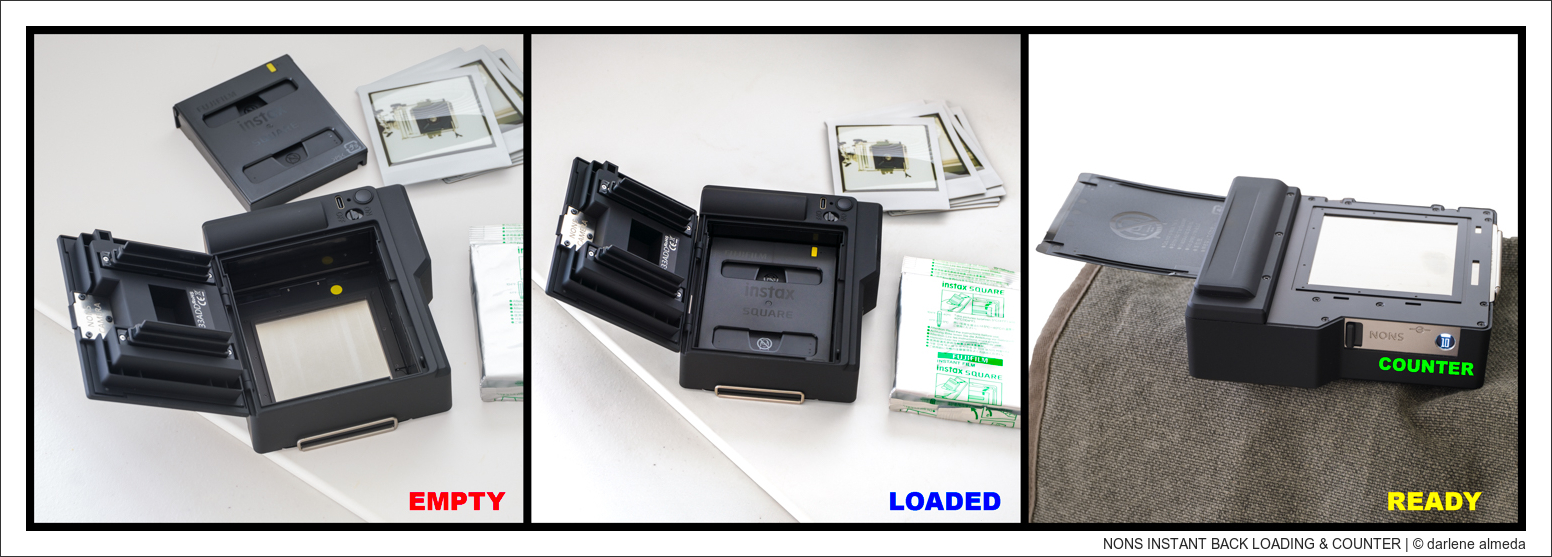
NONS INSTAX BACK LOADING & COUNTER
The NONS Instant Back is a plastic marvel with metal bits lighter than a feather and softer than my bunny slippers. They’ve coated it with some fancy rubberized texture to ensure it doesn’t slip through your fingers like a bar of soap in the shower.
This sweet little box is tailor-made for your Hasselblad, ready-to-rock Instax Square film like it’s nobody’s business. It’s like the yin to your camera’s yang, fitting snugly like a favorite pair of boots. And did I mention the sleek design? It’s so close to Hasselblad’s square format that you’ll get a full Instax frame with a small black border – because every picture needs a little black frame, right?
Attaching it is as easy as pie, like attaching a traditional Hasselblad film back. They’ve even included a dark slide and motorized ejection, powered by its rechargeable battery – because nobody has time for cranky manual winding! Yeah, but ya still gotta wind the crank after each shot because … it’s a Hasselblad!
And get this: they’ve even included a nifty digital counter that lights up like a monochrome Christmas tree, showing you how many shots you have left and whether your battery’s feeling low. It’s like having a personal assistant right in your camera bag.
But here’s the kicker – the film ejects to the left, giving your photos a quirky edge with that wider border on the side. Why be ordinary when you can be delightfully off-center?
All this magic can now be yours for just $279 (USD). It’s a steal, I tell you! Visit the NONS site and check out their compatibility list to see if your Hasselblad is a match. It’s like online dating, but for cameras – because even our gear deserves a shot at finding true love.
Using the Back
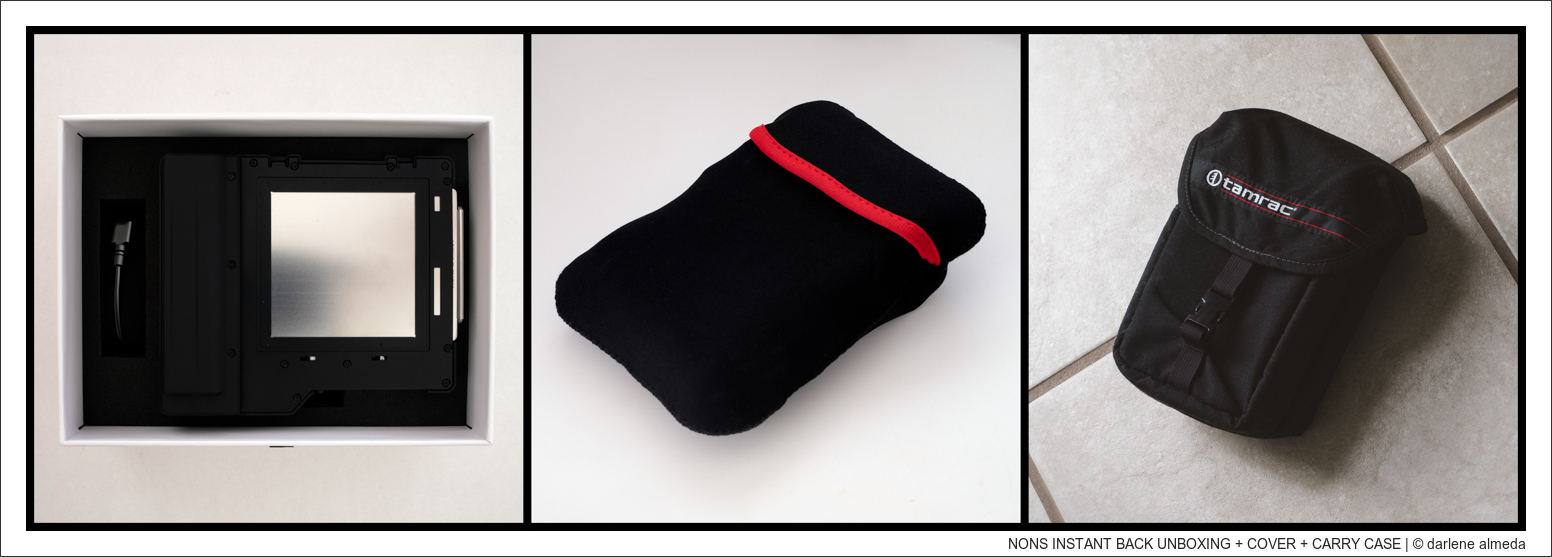
NONS INSTANT BACK UNBOXING + COVER + CARRY CASE
And speaking of handling with care, let’s talk about the heart-stopping fear of dropping this baby on a hard surface. Irreversible damage may happen if you do. Just the thought of it would be like watching a horror movie made for camera gear enthusiasts.
My weapon of choice for this adventure was the 501CM paired with the PME51 viewfinder. Why? Because I like to view life through the lens of awesomeness and built-in light meters. Call me old-fashioned, but I want my gadgets with classic charm. The waist-level finder will work as well.
NONS has got your back with a nifty QR code card for the manual. Who needs paper manuals when you can go digital on your phone?
And just when you thought things couldn’t get more thrilling, let’s talk about my accidental science experiment with the dark slide. NONS states: “The dark slide can only reduce light leak temporarily.” Leaving unexposed film in the back for over a month did not result in financial disaster in my camera bag. Nope, the shots came out just fine, much to my surprise. But, the back was stored in a 4×5 film holder sleeve (image #2 above), then in its carry case (image #3 above) that also houses the charging cable in its front pouch. If you’re not planning on burning through a whole film cartridge in one shot, it’s time to get serious about storage. We’re talking light-tight! None of this “throw it in your sock drawer and hope for the best” nonsense. We’re talking about treating that film like the precious cargo it is. Keep it snug as a bug in a rug in a light-tight container, away from the prying eyes of sunlight and other pesky light sources.
Images
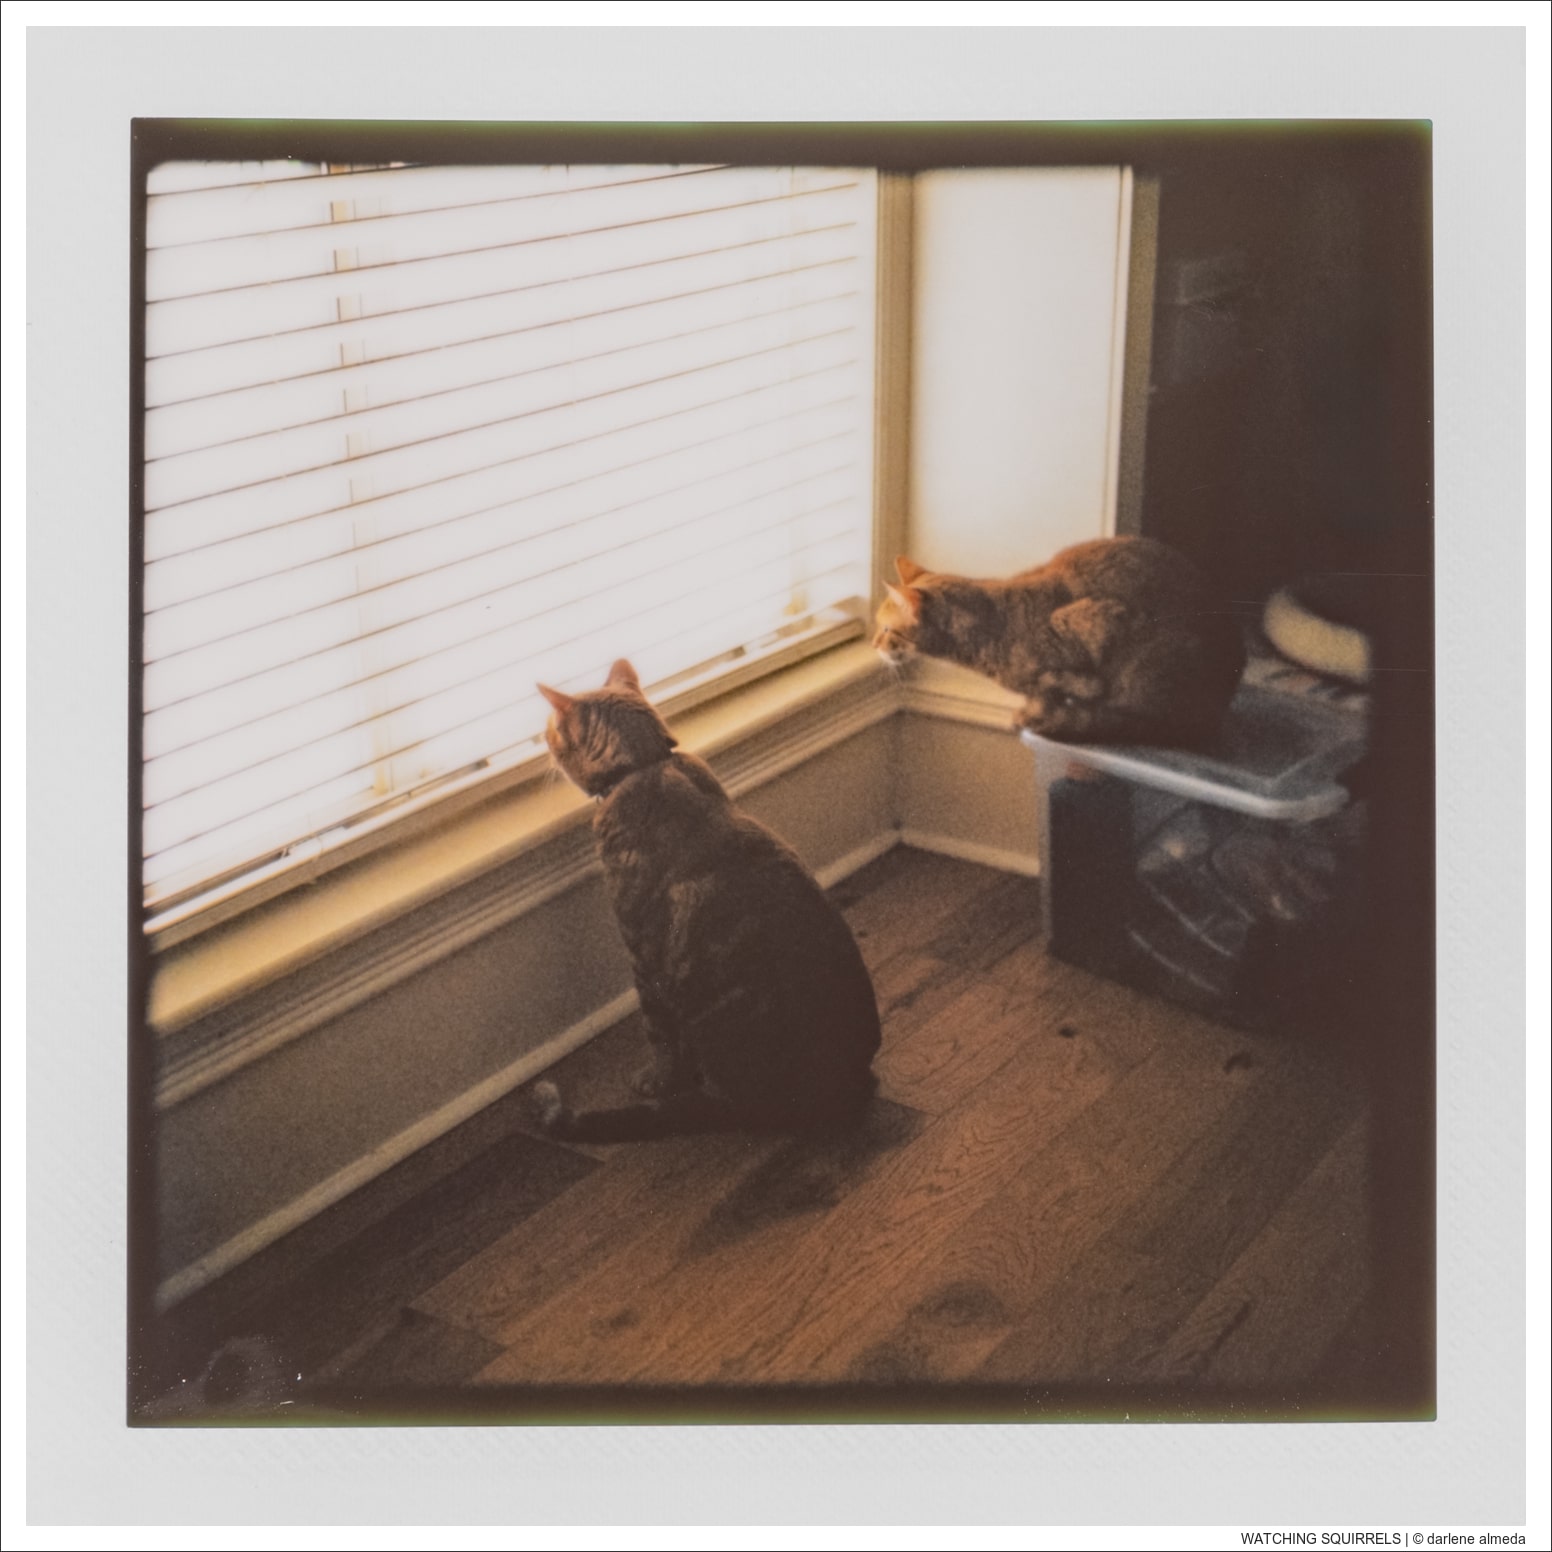
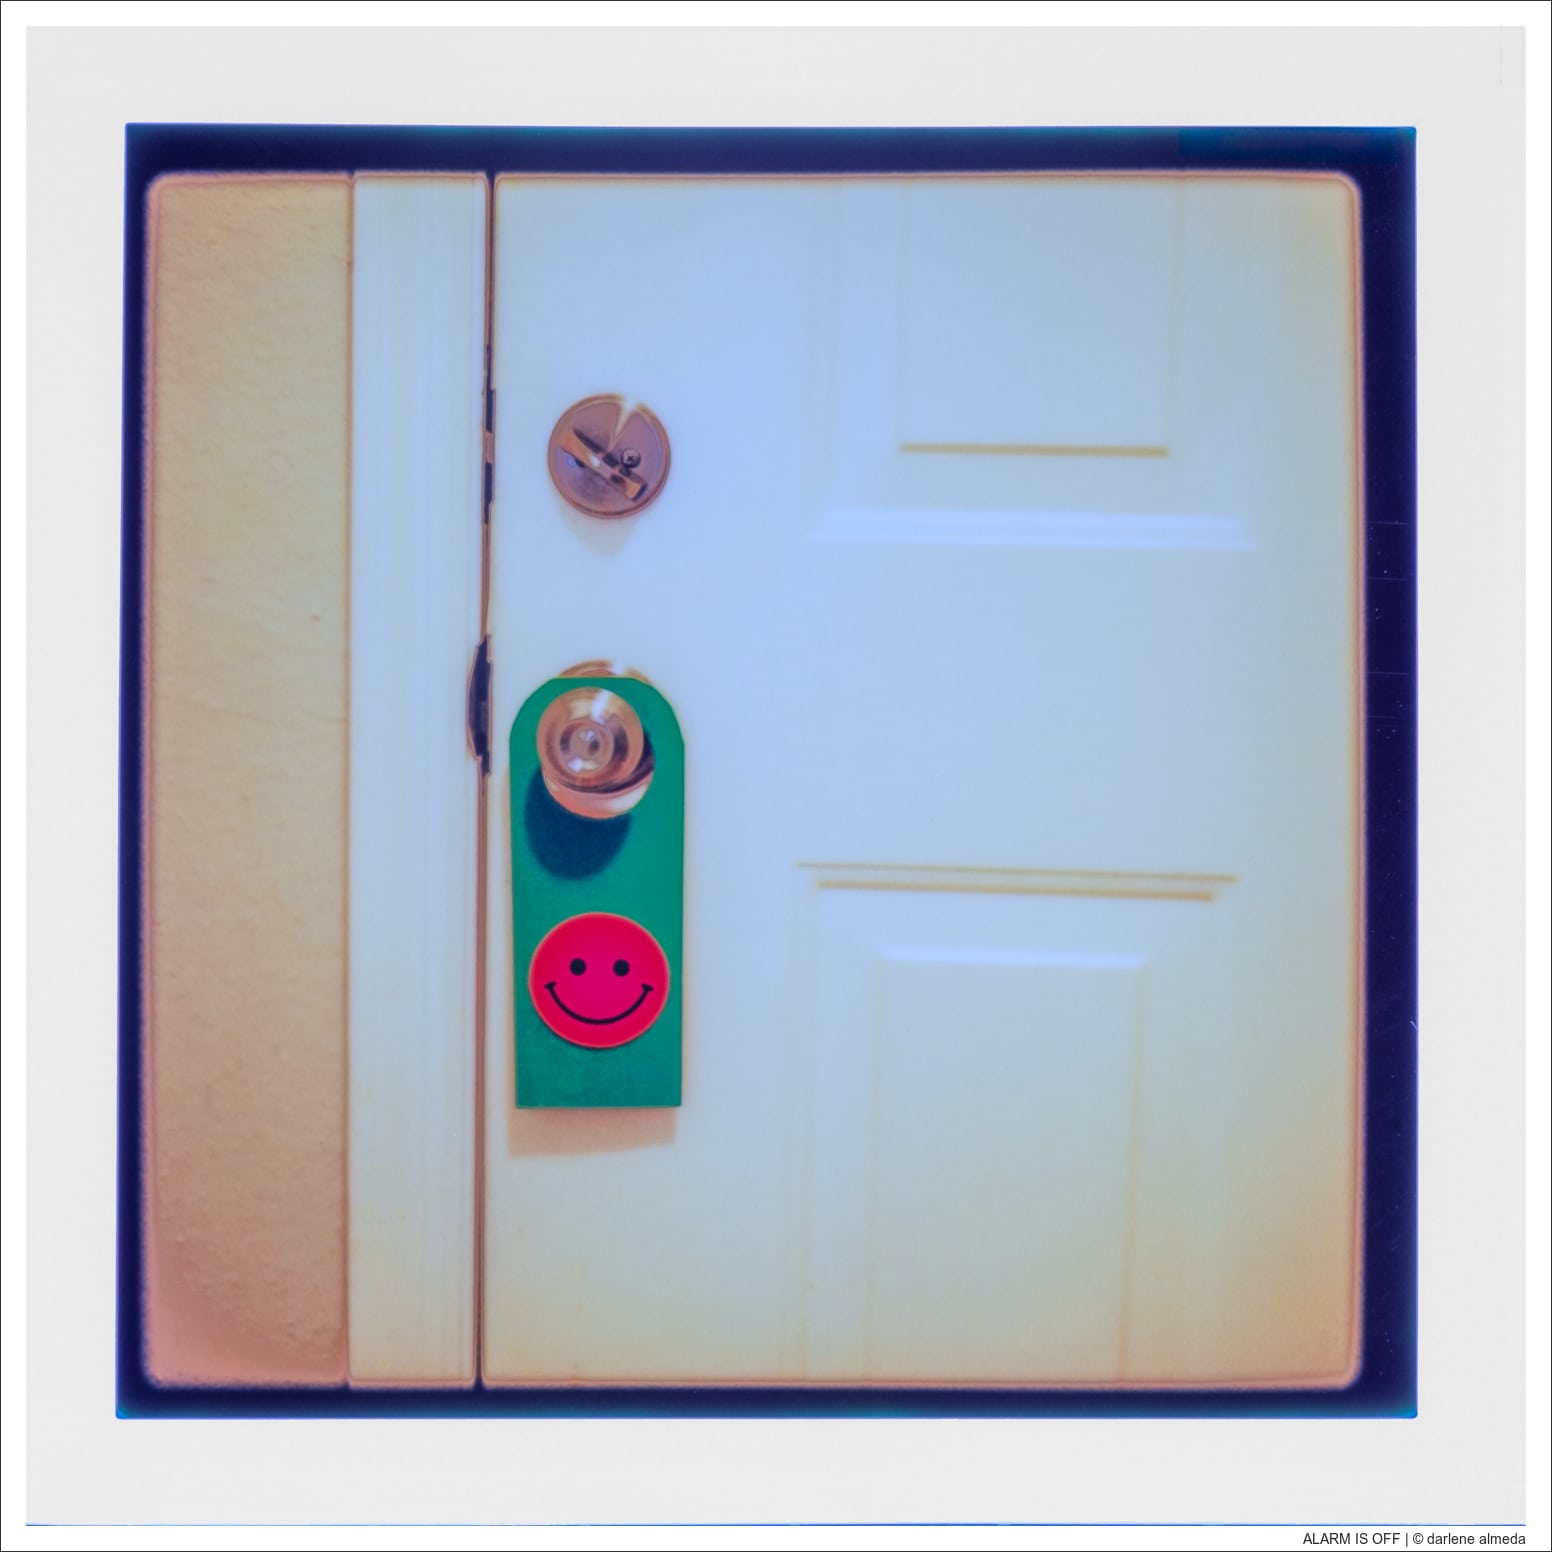
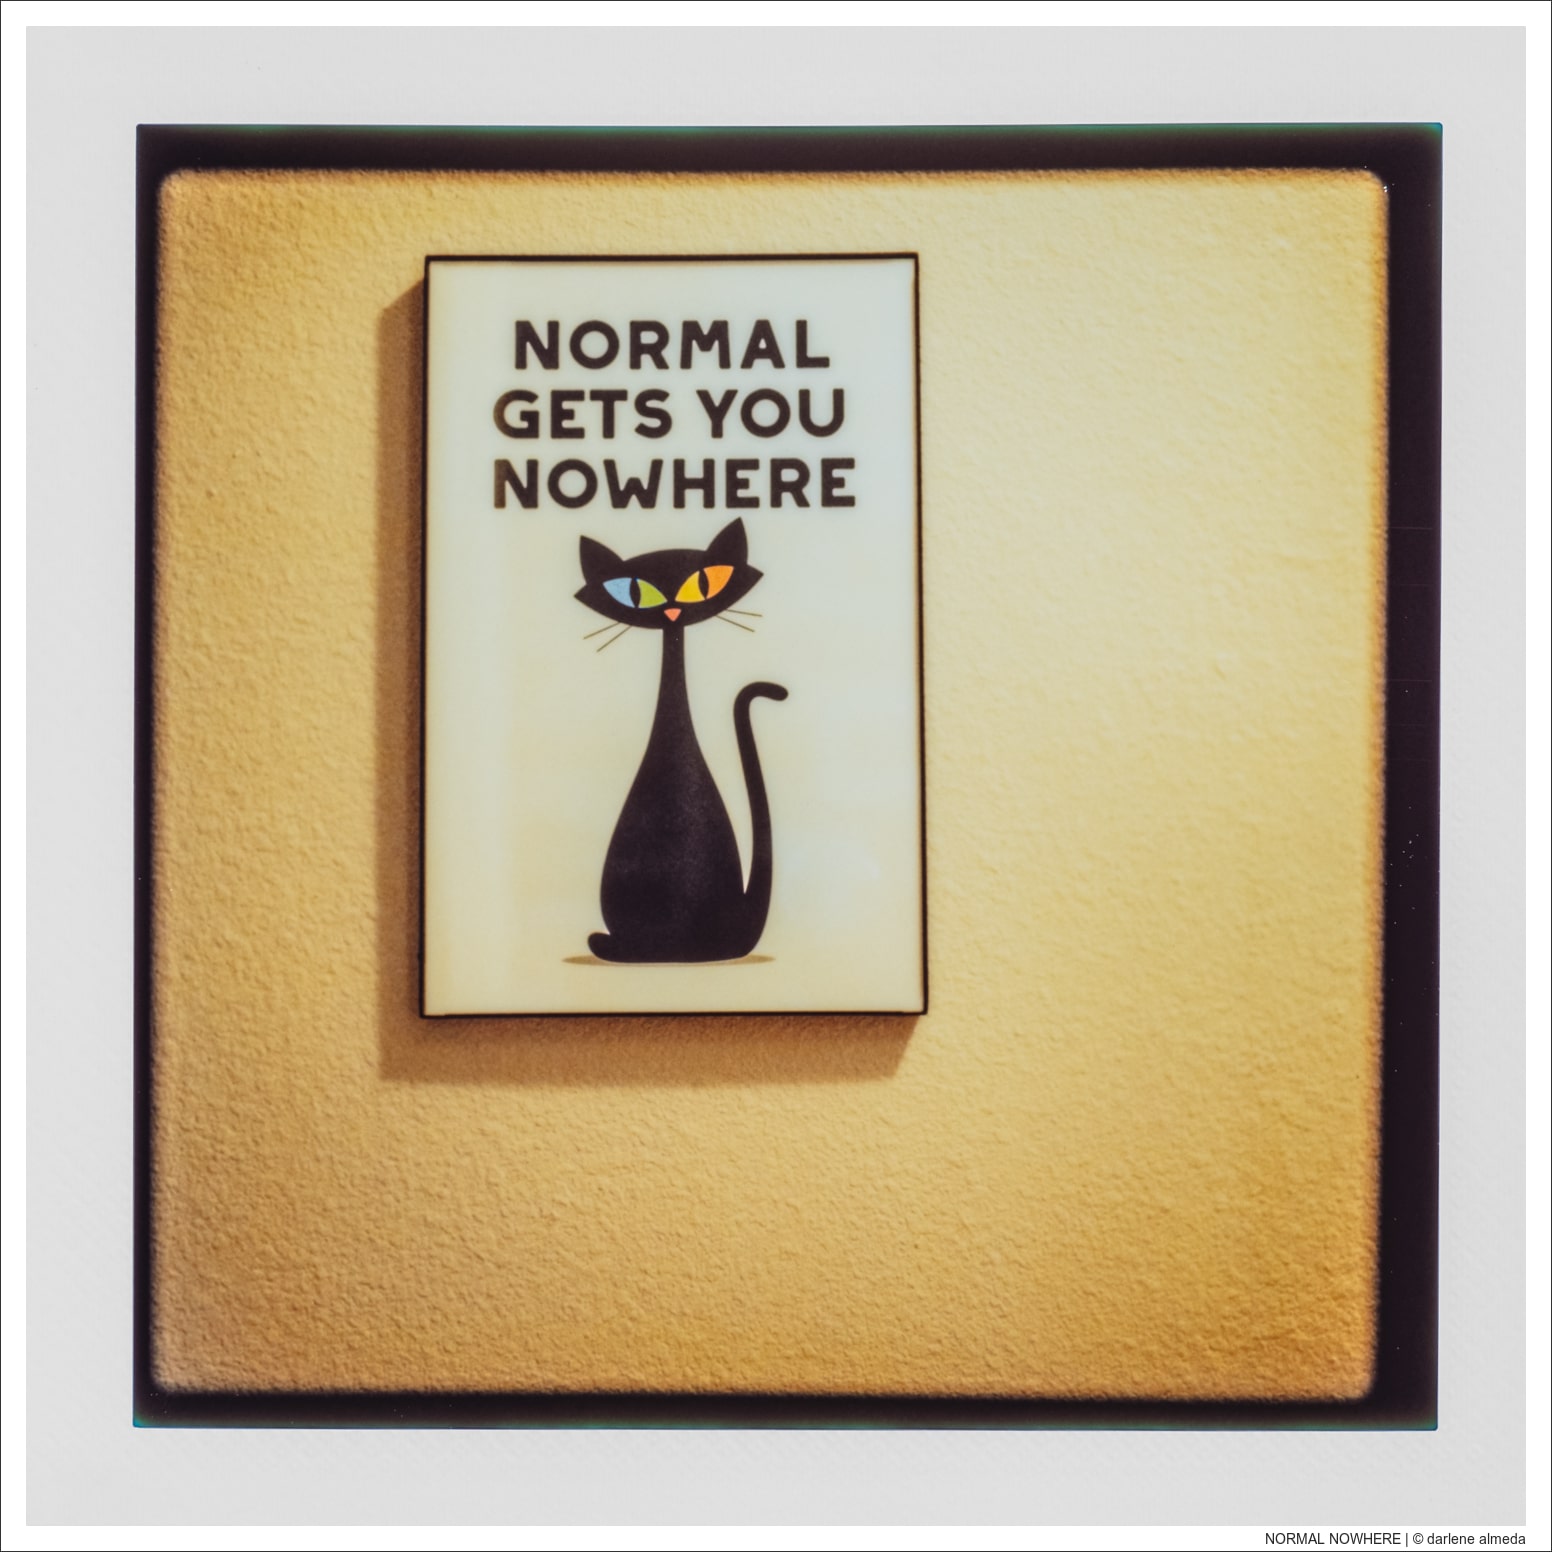
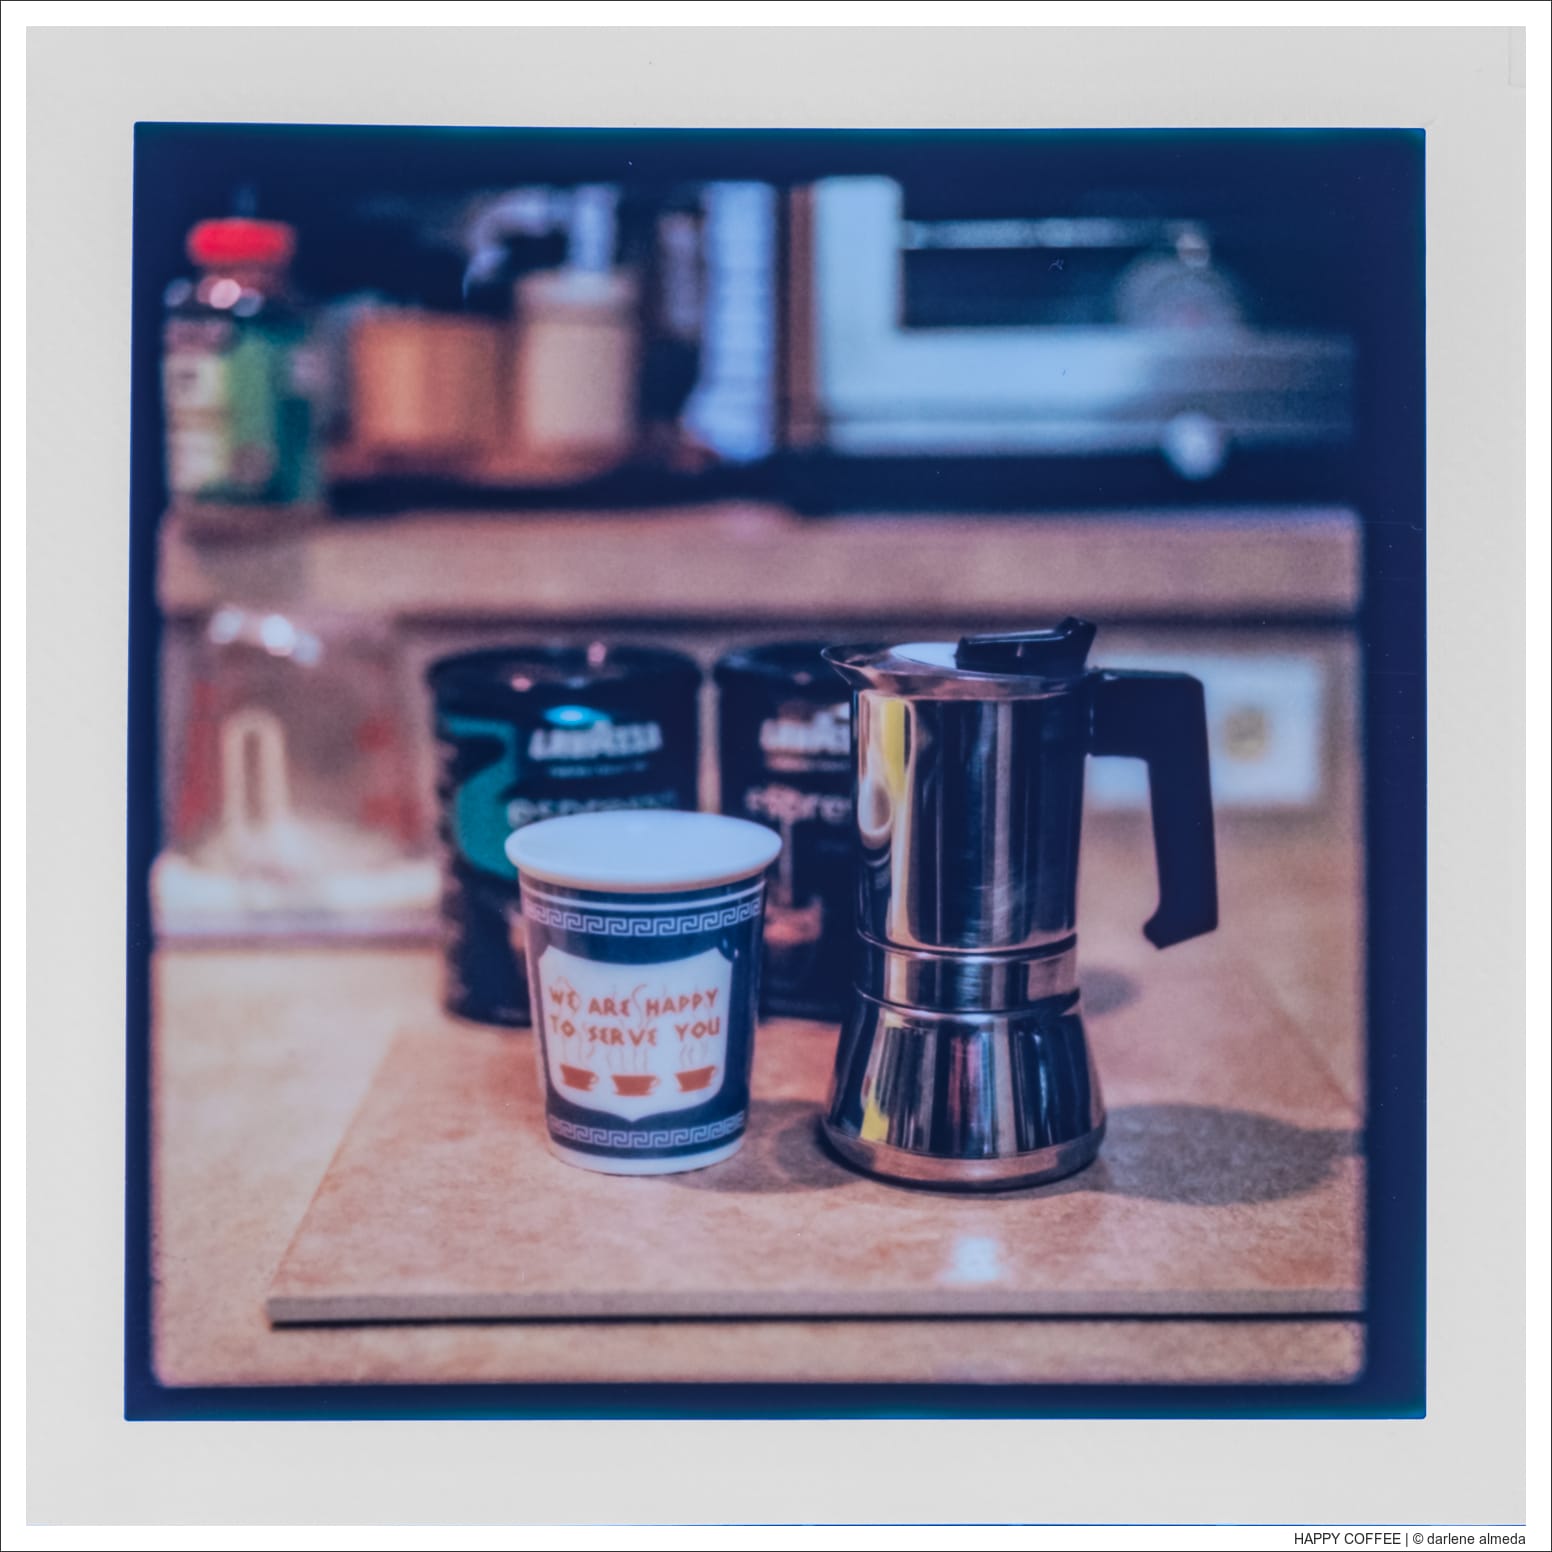
In the early morning light, I embarked on my Instax shooting mission, armed with nothing but my trusty camera and a sense of “gotta get this done.” But, as the house lights flickered to life, I was hit with nostalgia reminiscent of my days shooting color film. Oh, the horror! Those once-promising interior shots transformed into a ghastly sea of jaundiced tones, leaving me yearning for the days of blue filters and tungsten lighting tricks. But fear not, for in the age of digital wizardry, there’s always Lightroom to save the day. Who needs blue filters when you have software magic at your fingertips?
EARLY MORNING AROUND THE HOUSE WITH INSTAX
Focus Test
INSTAX FOCUS TEST: 501CM + CFI 100/3.5 @ F/16
Pinhole Images
Now for a couple of pinhole escapades captured on Instax film with my cherished Custom Camera Building pinhole 0.35. Please read this to understand how I came up with the formula I use.
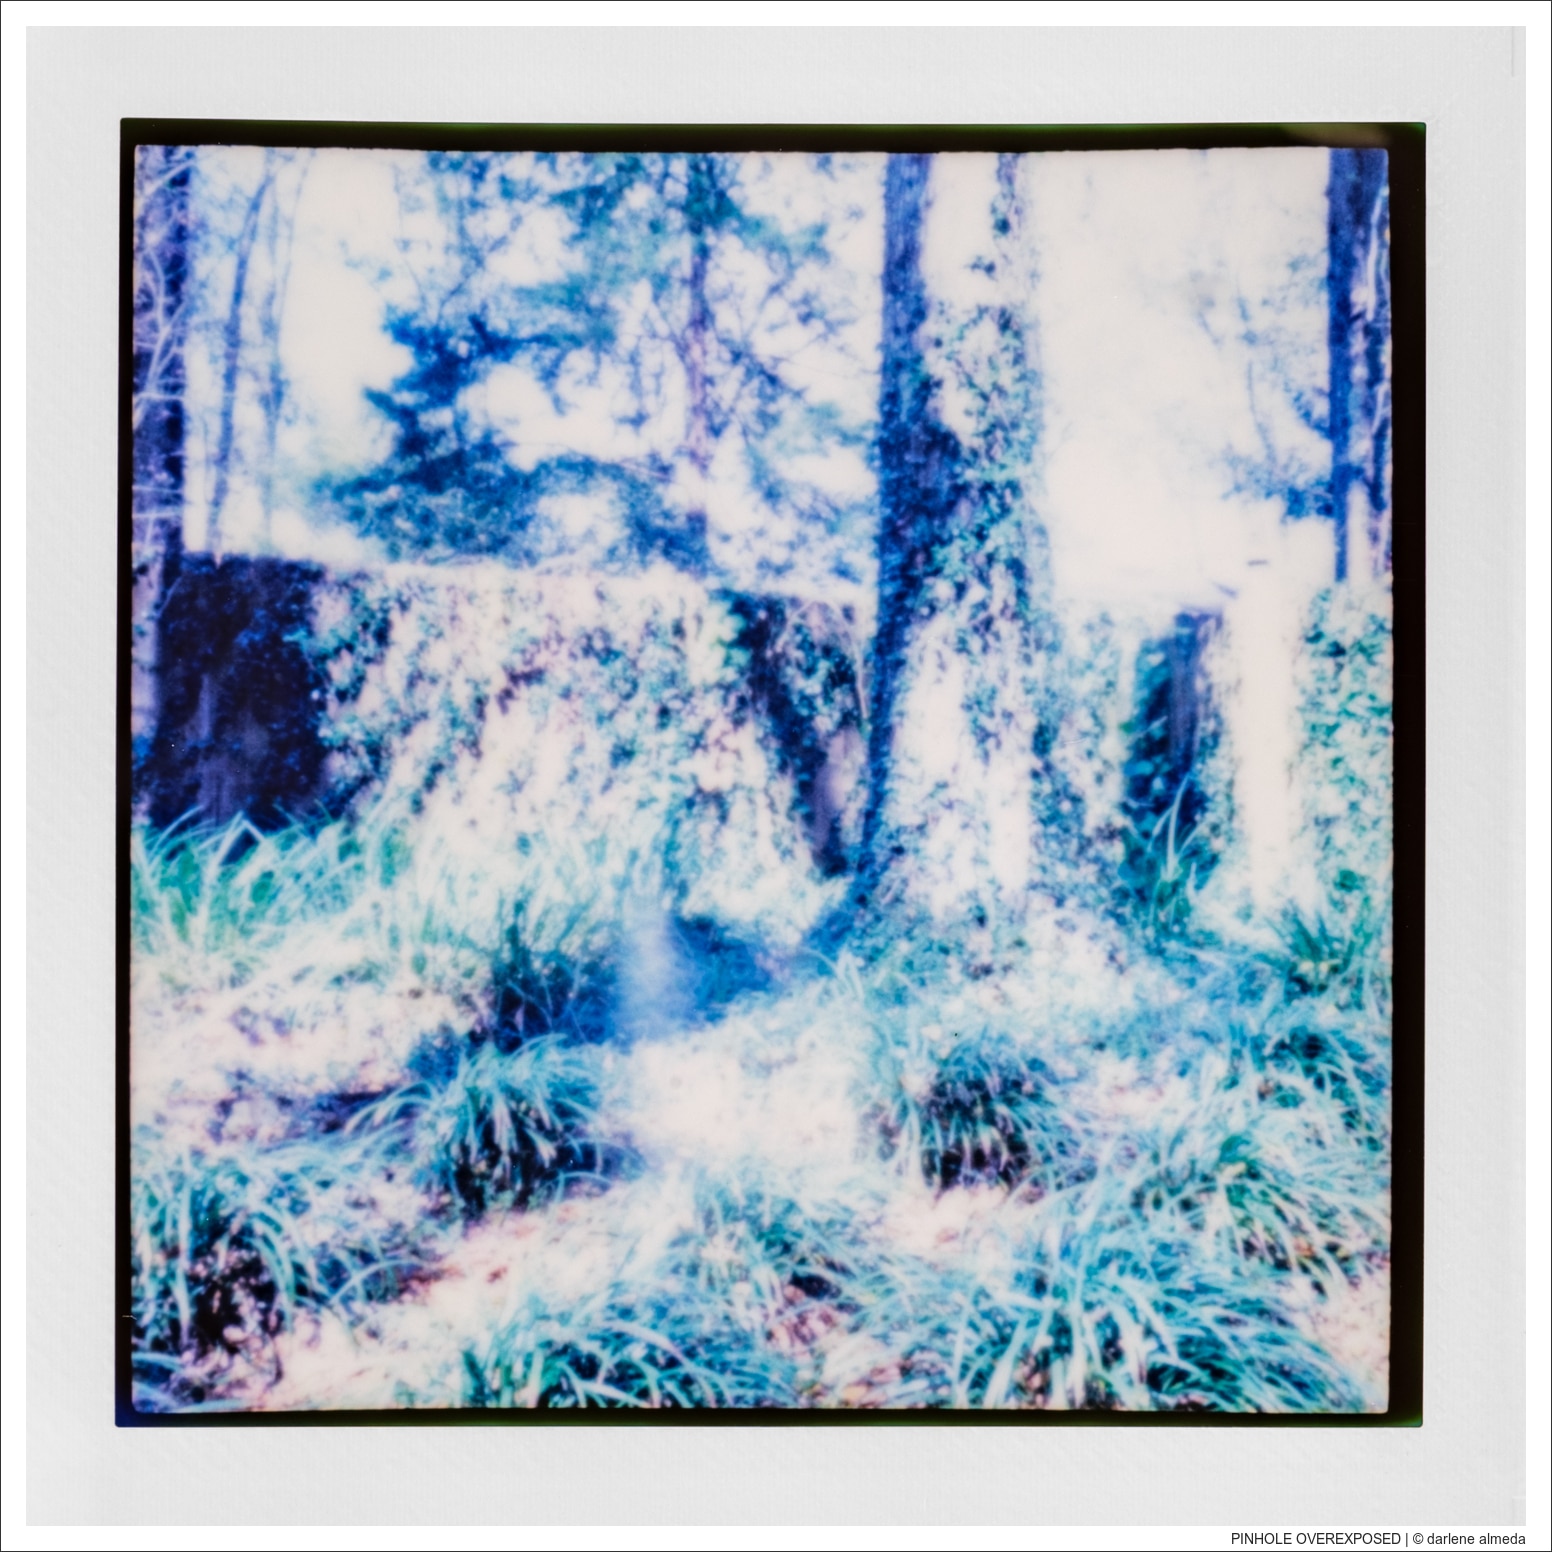
I rely on a formula that goes like this: (focal length/128)² x N, where N represents the light meter reading at f/128. But hey, when you’re dealing with Instax, you’ve got to expect a little quirkiness, right? So, I decided to hedge my bets by factoring in some reciprocity (R) compensation. For the first image, I boldly added three extra stops for R – a move that, in hindsight, proved to be a total fail.
Undeterred by defeat, I regrouped for the second image. I bid farewell to the harsh light and created a more inviting scene on the front porch, complete with Fiestaware for the squirrels to admire. This time, I adjusted my strategy to include only two extra stops for R, hoping to strike the perfect balance between science and serendipity.
Ah, the joys of pinhole photography – where every shot is an adventure unto itself. Image #2 serves as a testament to the possibility of capturing pinhole magic on Instax. But beware: Instax’s limited dynamic range means you’ve got to steer clear of harsh light. Jeez, it’s a tough world out there for pinhole enthusiasts.
TWO INSTAX PINHOLE IMAGES
Lightroom Finishing Touches
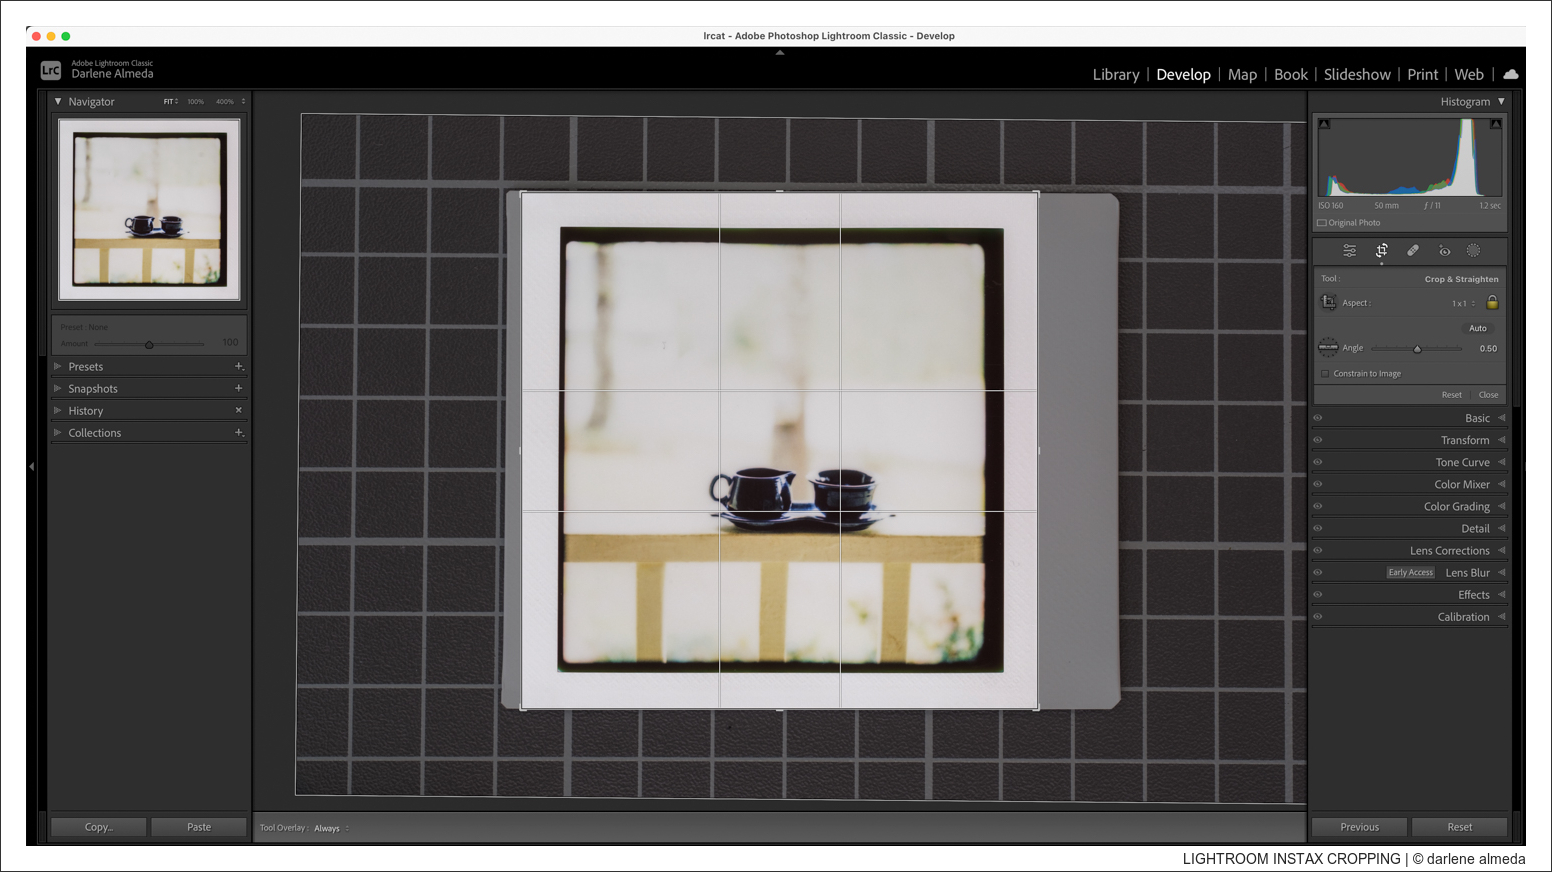
LIGHTROOM INSTAX CROPPING TO A SQUARE
Every image I’ve shared underwent the same meticulous process: I copied it using a copy stand paired with a Fujifilm X-Pro3 and a Zeiss macro lens. Once captured, they found their way into Lightroom, where I swiftly balanced their colors and tidied them up, ensuring each one boasted a perfect square composition by trimming off the right edge.
There are no fancy tricks here, folks. You either embrace Instax’s limited latitude and dynamic range or prepare to face the consequences—and let me tell you, there isn’t much you can do once you hit that brick wall.
In my humble opinion, instant films thrive on simplicity. Forget intricate compositions; think bold, think graphic. But don’t take my word for it – feel free to dive in and see where your photographic journey takes you. Just don’t say I didn’t warn you about those yellow goblins when shooting inside with house lights on.
But let’s get down to brass tacks – this is a review about the NONS Instant Back, and it works like a charm for what it was designed to do.
Closing Comments
WORKS GREAT ON A HASSELBLAD ONLY
Now for a slight disappointment … the trials and tribulations of camera adapter plates – it’s like playing a game of “Will it fit?” with your expensive gear. So, I dusted off my trusty Hasselblad V Graflok adapter plate, thinking I could pull off some camera Frankenstein magic and attach it to the NONS back for a little 4×5 action. Spoiler alert: Nope, nada, zilch! It was like trying to fit a square peg into a round hole – just not happening, folks!
But being my adventurous soul, I didn’t stop there. Oh no, I decided to try it with two different ALPA Hasselblad V adapter plates. One of them would be the golden ticket to attaching the NONS back to my ALPA camera, right? Wrong! It was like a game of adapter plate roulette – spin the wheel, place your bets, and watch as disappointment comes crashing down like a ton of bricks.
But hey, if you’re itching to snap full-frame shots of Fujifilm Instax Square film on your Hasselblad without juggling adapters or frame plates like a circus act, look no further! This is the holy grail, the one-stop-shop, the end of your gadget-induced headaches. I’m excited about the instant gratification I can dish out at my next shindig. It’s like magic, but with a camera – and who doesn’t love a little magic in their life?
So there you have it, folks – my “not-a-review” review of the NONS Instant Back.

