
In previous lessons, we explored how reflectors can redirect light back into a scene—softening shadows and lowering contrast. This time, we do the opposite.
Instead of adding light, we take it away by using flags—simple, opaque tools that stop light from wandering where it doesn’t belong. Subtractive lighting is about restraint: shaping an image by choosing what to leave in shadow as much as what to reveal.
Removing light is one of the most powerful—and most overlooked—ways to shape an image. By blocking or absorbing unwanted illumination, we gain control over contrast, shadow, and mood. This isn’t about making things darker for the sake of drama (we’re not trying to turn everything into a noir film); it’s about deciding where the light belongs—and, just as importantly, where it doesn’t.
In this lesson, we’ll continue working with ordinary light and simple materials, returning to The Chair to explore how flags help us refine, simplify, and intentionally shape what we see—often by doing less, not more.
Visual Sequence
During this shoot, the following elements remain constant:
-
Scene setup
-
Same chair
-
Same window light (from open door)
-
Same camera position
-
Same exposure
-
Same time of day (as close as possible)
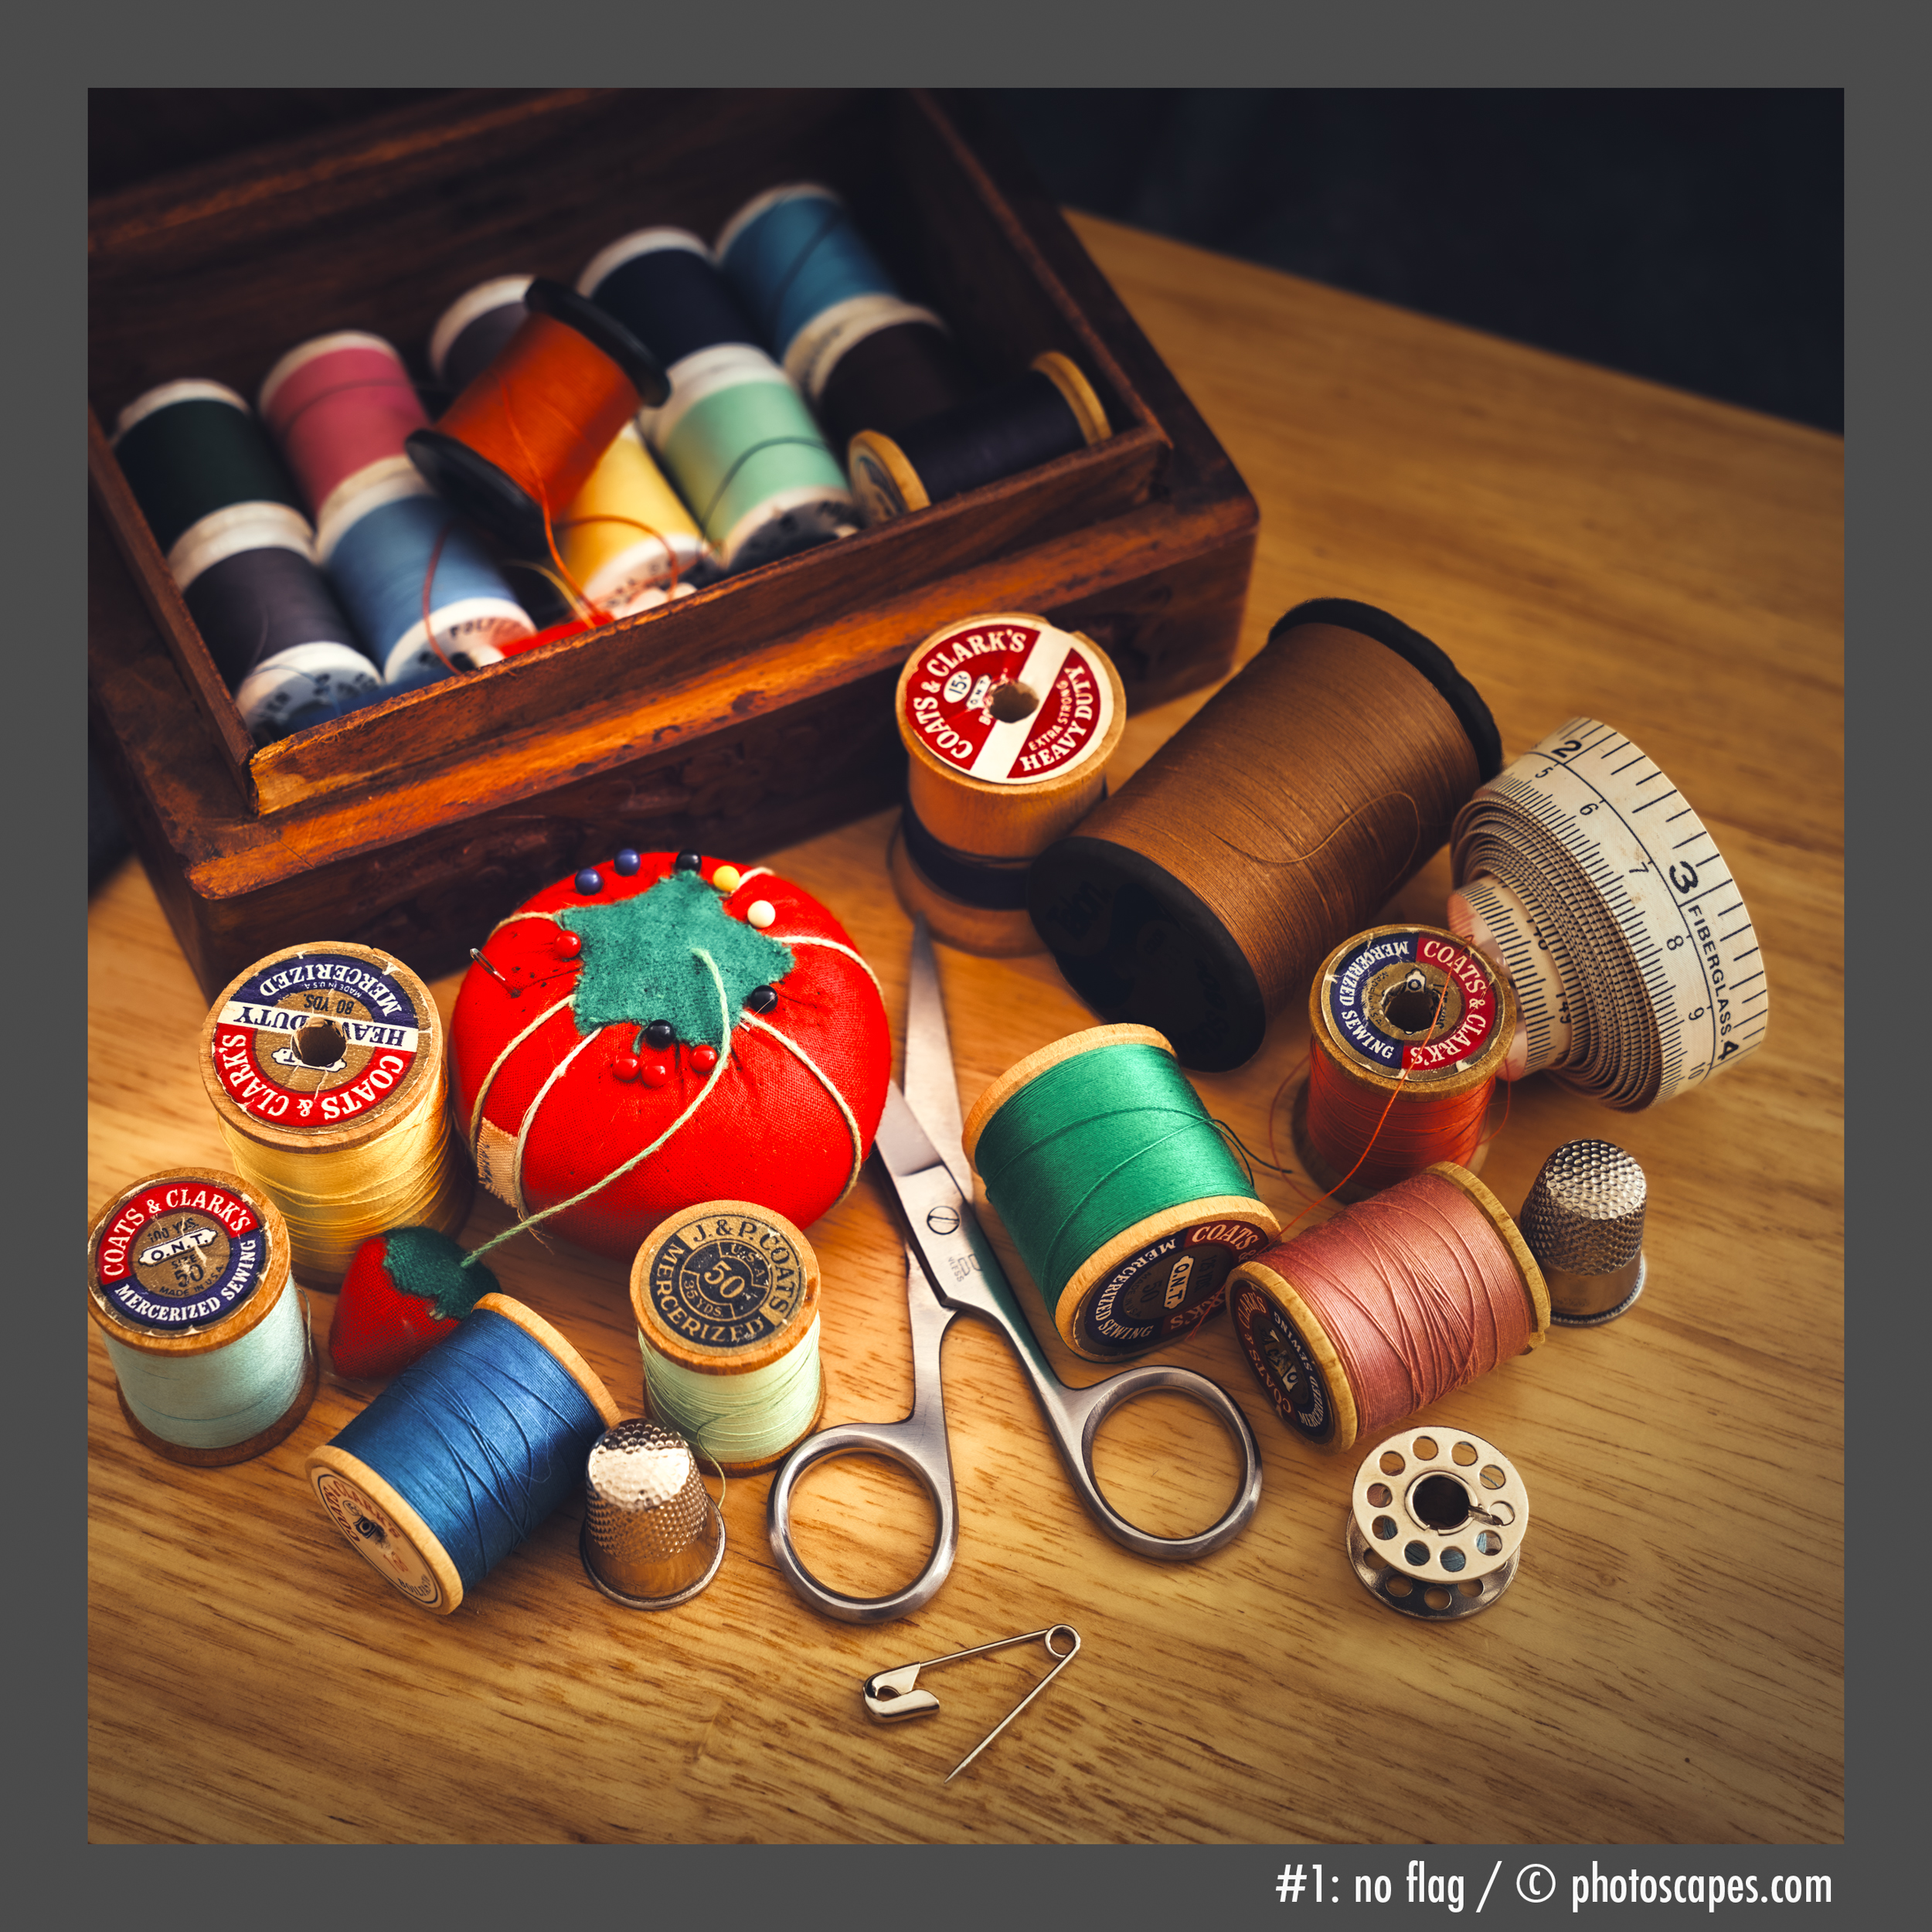
For the flag, I used an 8×12-inch piece of black foam core attached to a mirror stand with a clamp—simple, stable, and easy to reposition.
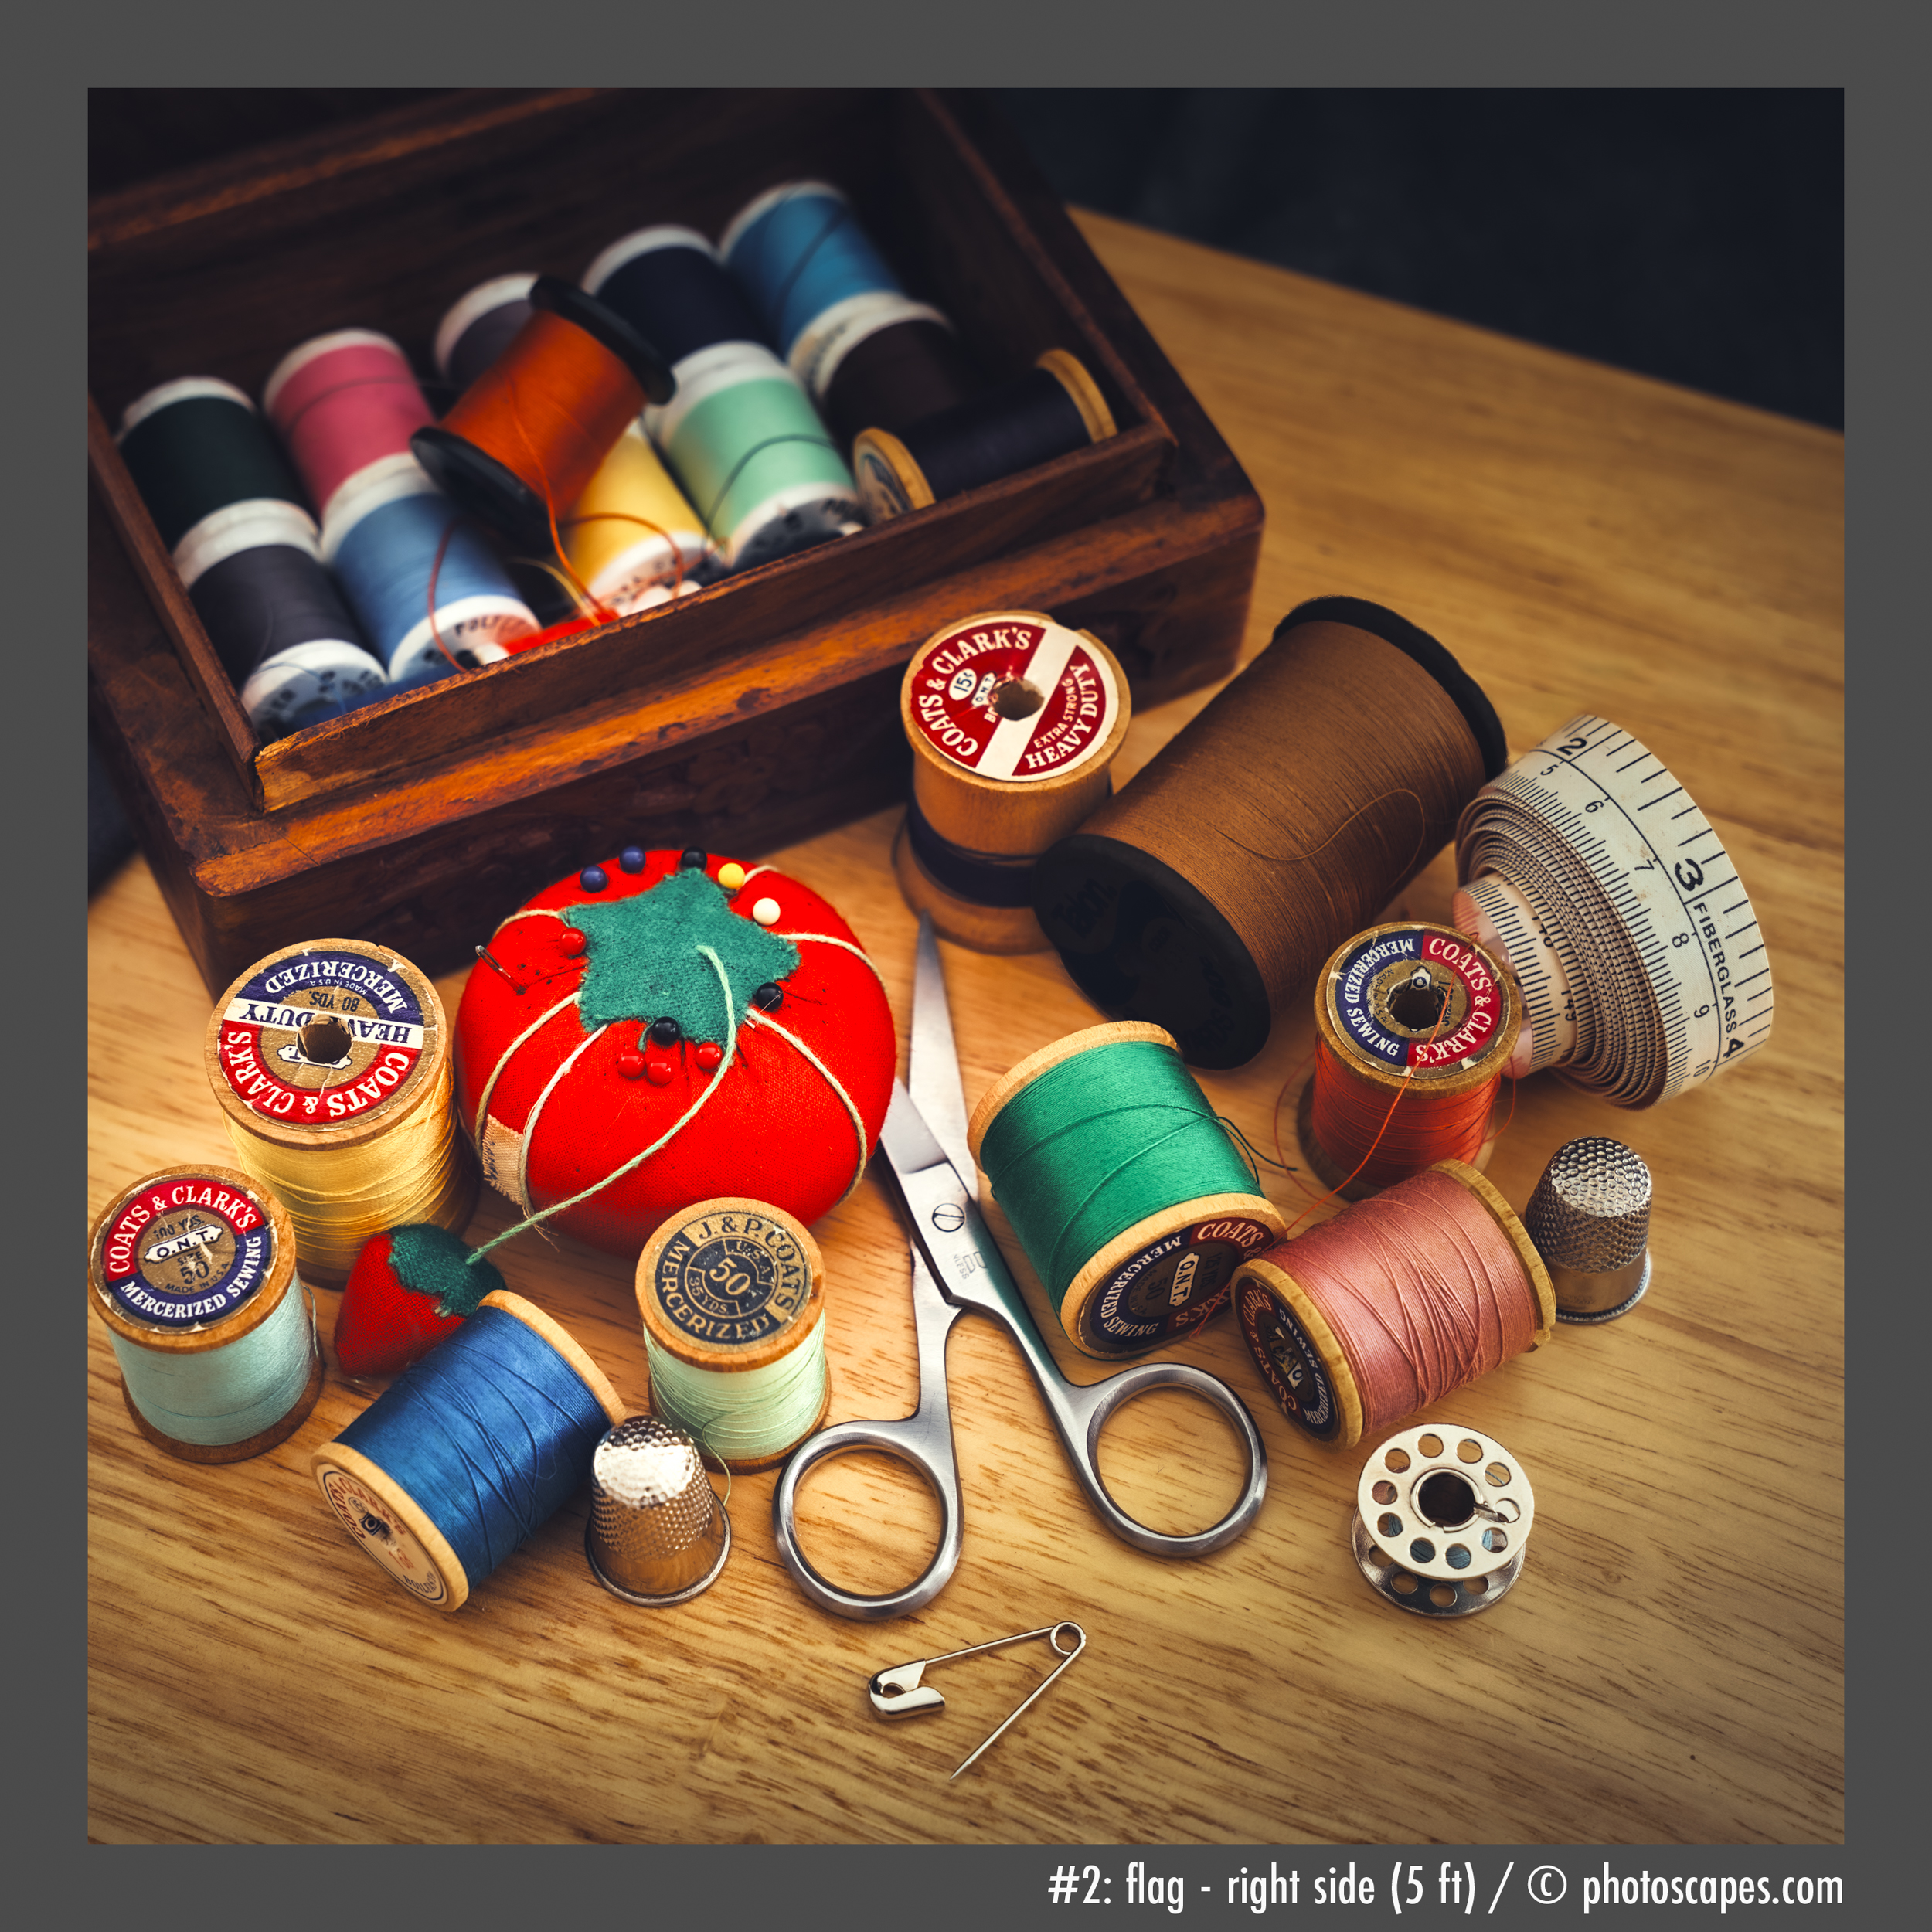
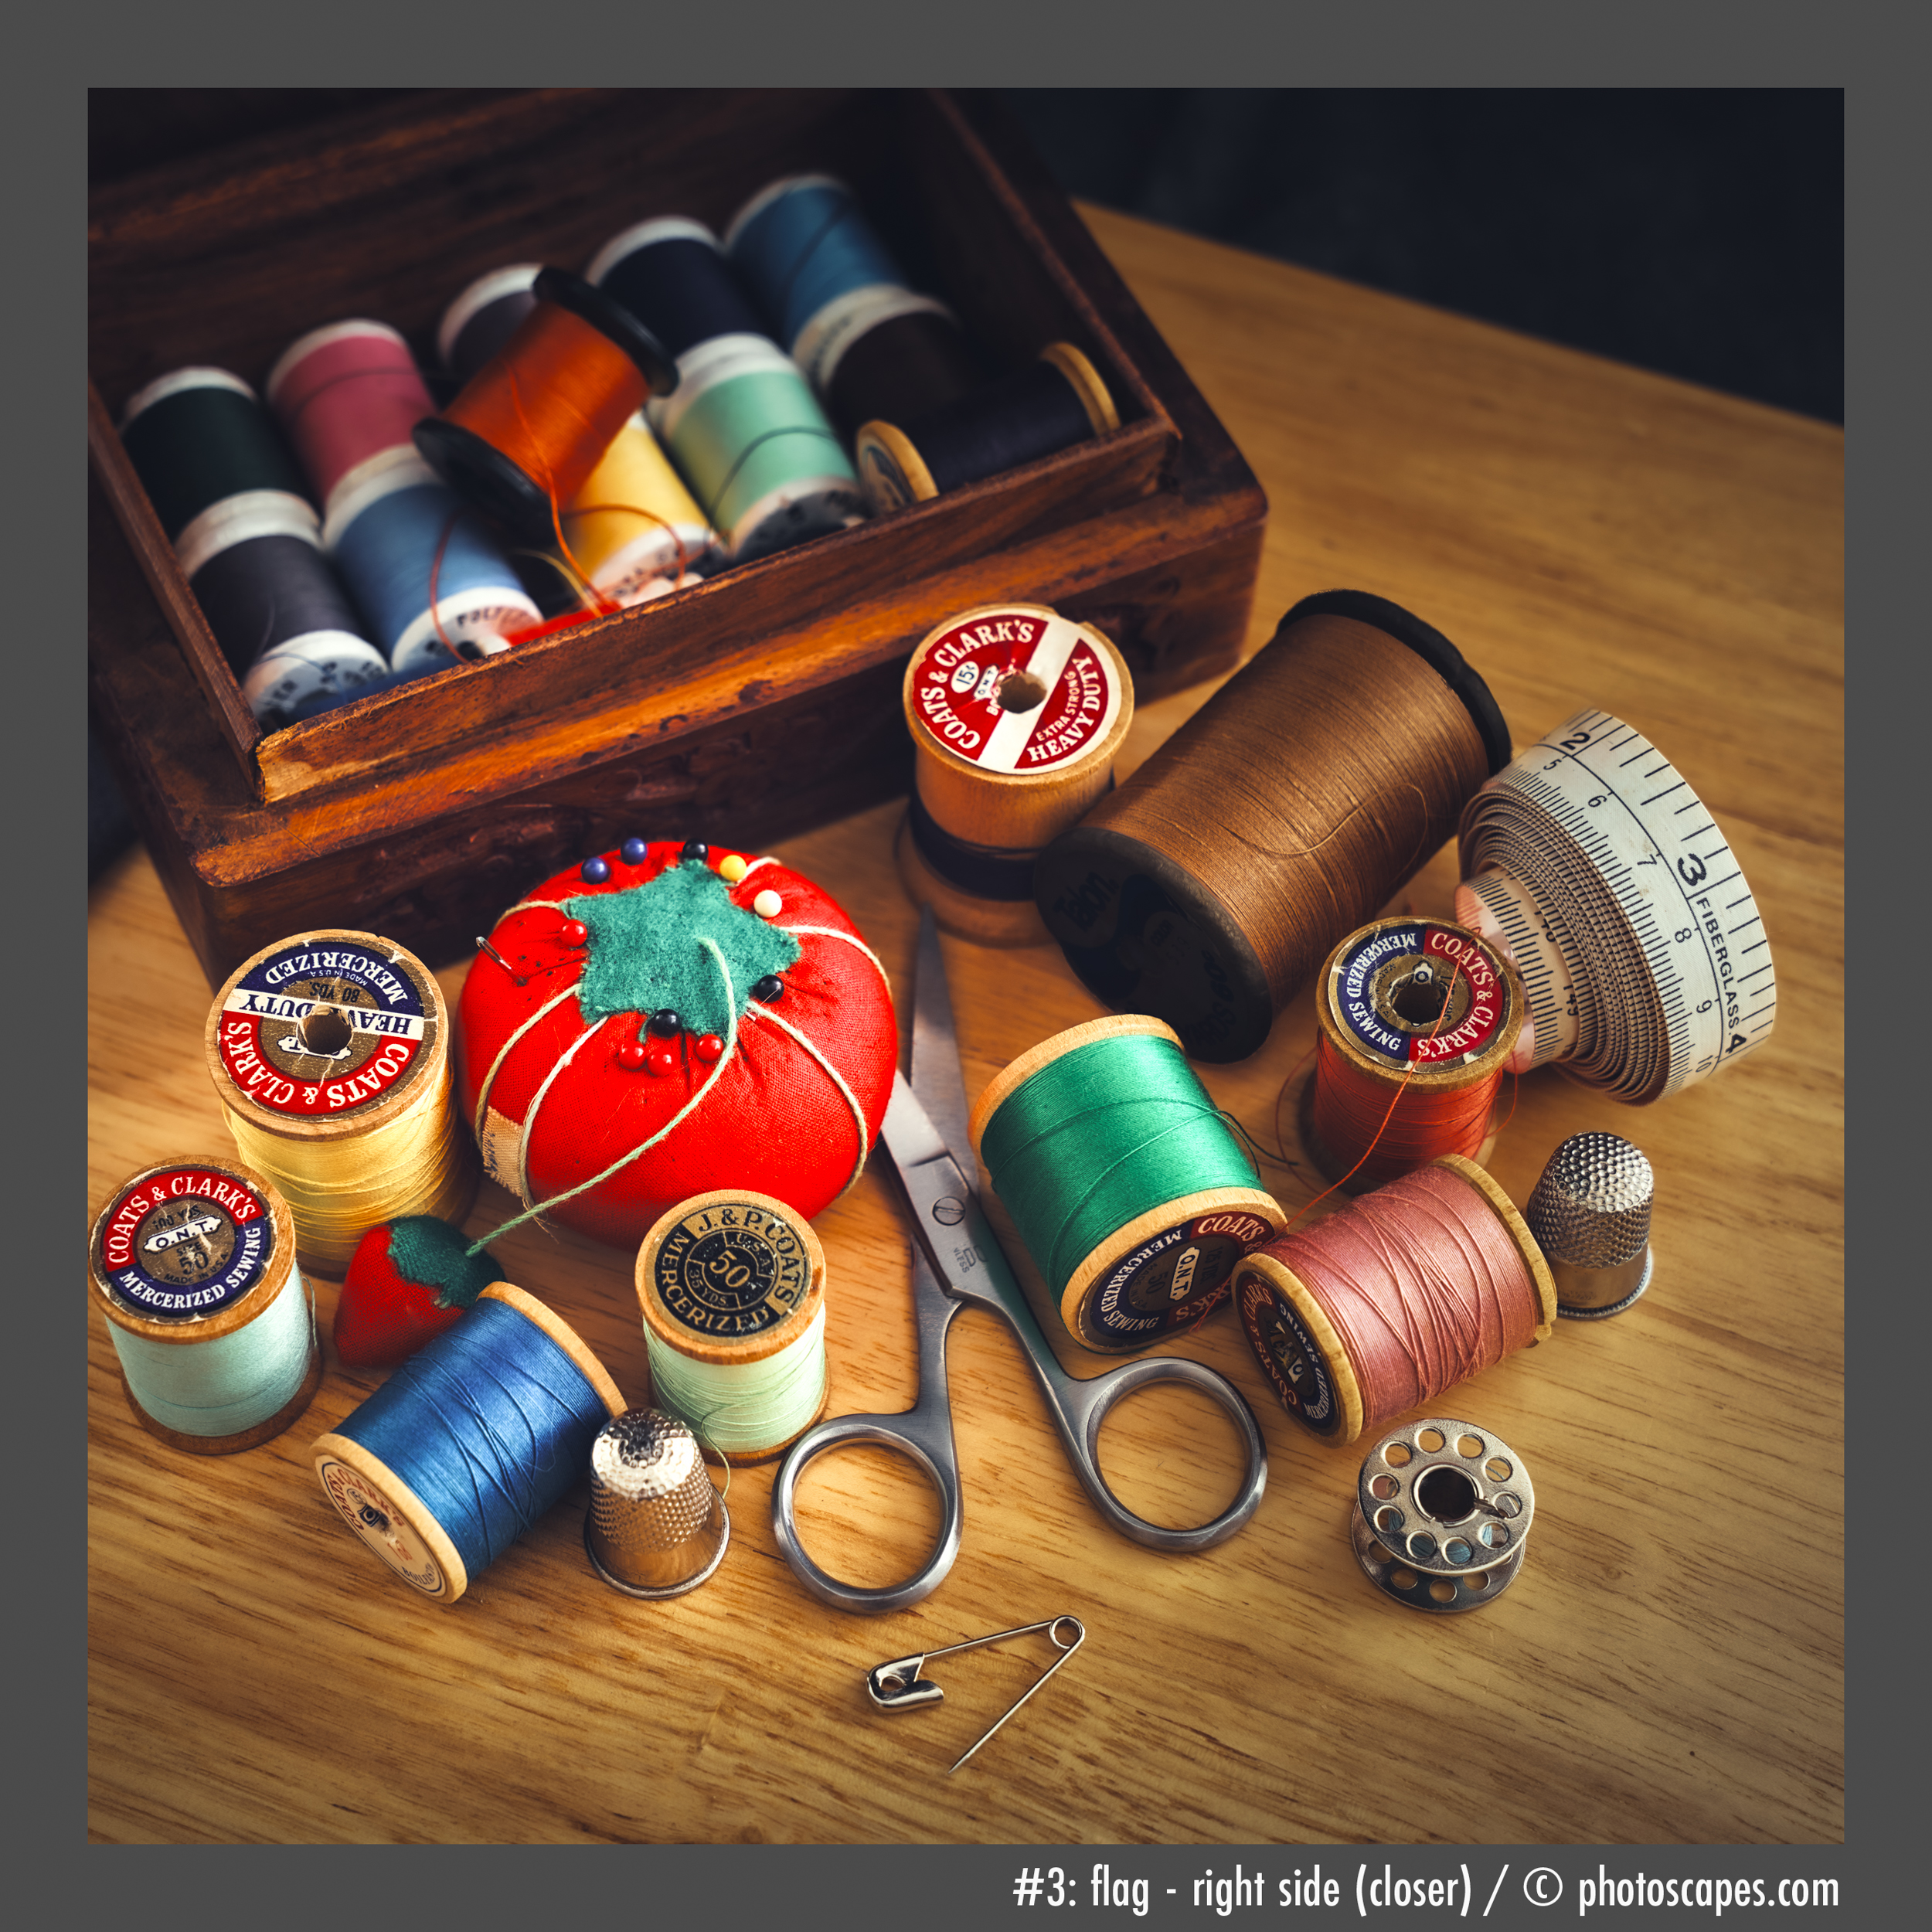
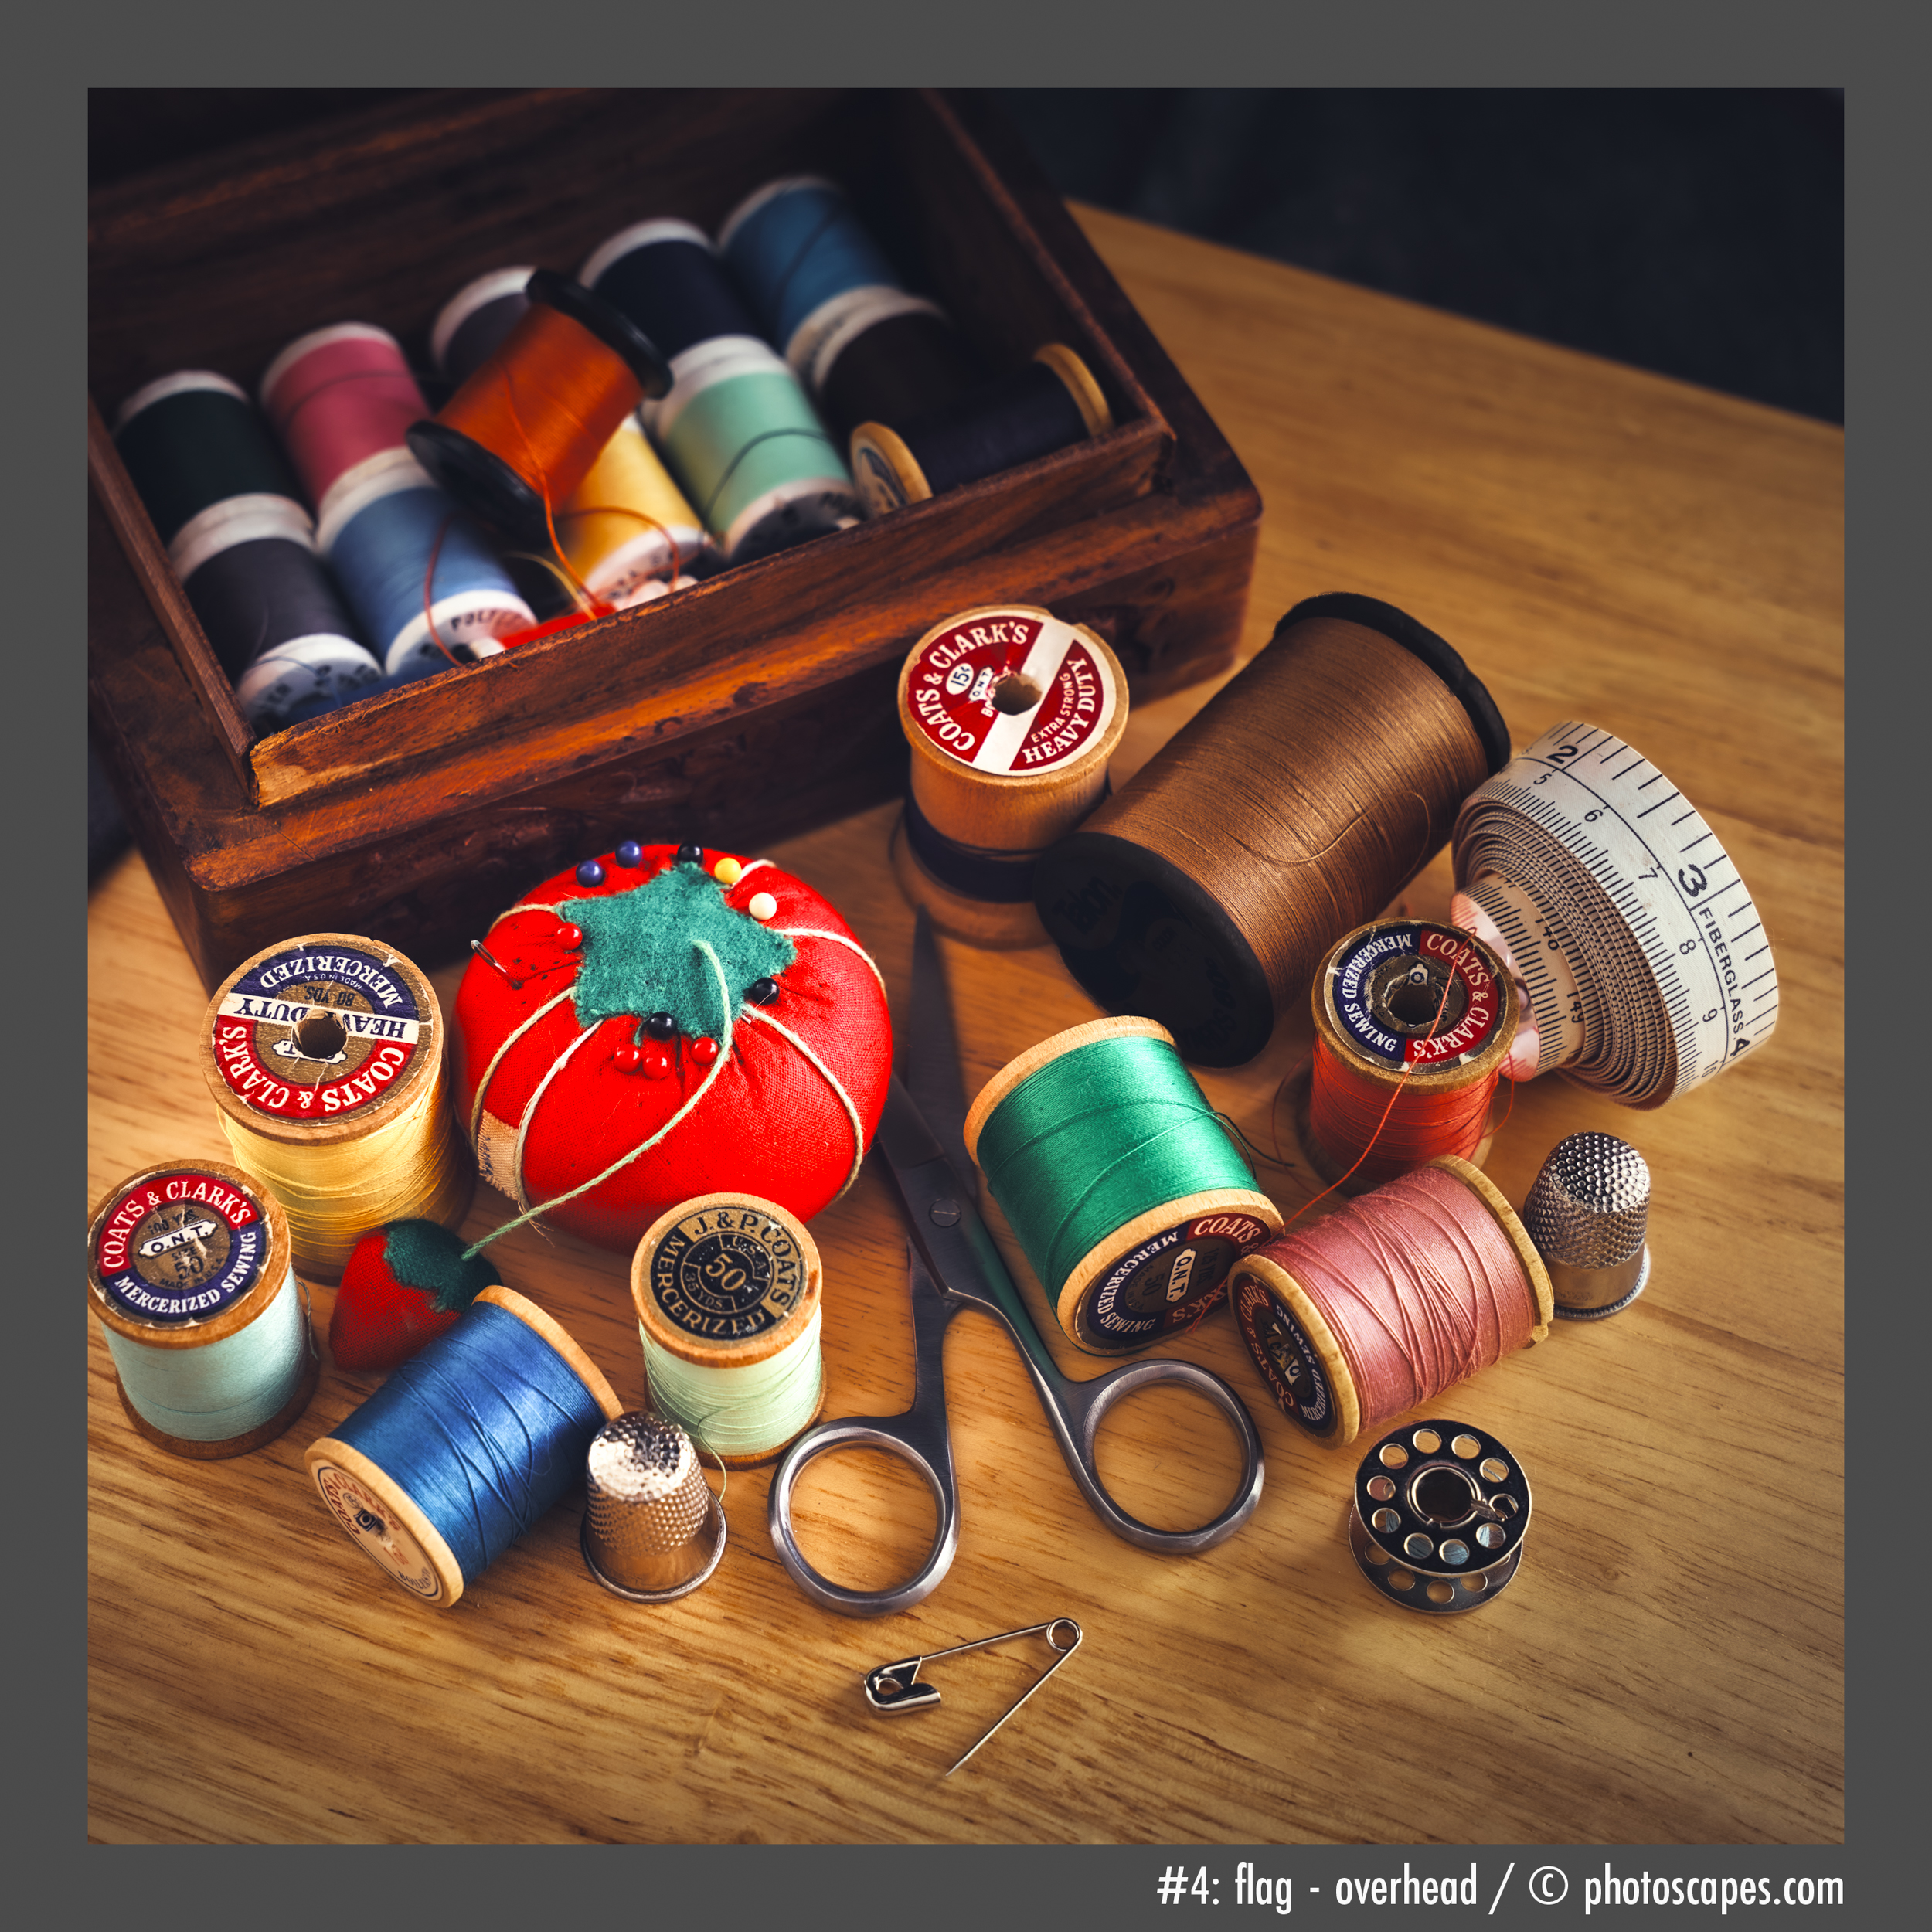
The light was soft throughout the session due to heavy cloud cover for most of the day. If you look closely at the spools of thread, the scissors, and other metal surfaces, you’ll see the flag (or reflector) quietly at work—shaping highlights and controlling reflected light.
Click the first image, then step through the sequence to see how simply adding a flag creates meaningful changes in the composition.
Comparison Pair
- Flag vs Reflector (side-by-side)
- Same position, same light
- One image subtracts light
- One image adds light
- Look at the metal objects

Behind the Scenes
I used The Chair with daylight streaming through the open door. Although it was cloudy for most of the day, I was able to set up the composition and work on this article while waiting to see if the sun might peek out. And it did—but only briefly. I can’t even say briefly; the light glowed for about one minute… and by the time I got behind the camera, it was already softening again. Such is the life of working with daylight.
Still, if you examine the metal objects and the brightest highlights in the sample images, you should be able to see the subtle—but important—changes, especially on the reflective surfaces.

Because the chair slopes inward toward the center, I used an envelope lined with bubble wrap to level the surface—a simple piece of wood placed on top. As photographers, it’s always useful to recognize everyday objects that can be repurposed (and easily stowed) as surfaces or backgrounds. Props is the correct term, but ingenuity is the real tool at work.
For the backdrop, I used one of my fabrics removed from a collapsible frame. I still have several from my days of shooting on-location portrait sessions. They were wonderful for travel—collapsing into a neat little circle and tucking into a pouch—but these days I prefer using just the fabric itself, since I no longer work on location.
I’ve held onto those fabrics although they do tend to be a bit thin. For this setup, I placed a piece of cardboard behind the fabric to block stray light—in other words, I added a flag between the fabric and the back of the chair to keep the light exactly where it belonged.
When I directed and taught the commercial photography program at a local technical college, I made sure students had access to collapsible backdrops as well as seamless paper and canvas. They’re excellent tools for on-location portrait work. I never took photographs while instructing, which always surprised the dean—who assumed I did—until it was explained that the images used for school business were made by proud students. Why should I? My role was to help others learn the craft. I demonstrated setups, explained the process, and handed out notes—but they were the photographers.
Students spent two years studying commercial photography with me, and I graduated some truly wonderful portrait, food, and product photographers. That said, there was one exception—one moment when I did step behind the camera. Each semester, when a new group of first-semester students arrived, I took them into the studio and made a lovely portrait of each one. Students ahead of them would quietly explain, “It’s Ms. Almeda’s gift to you—because you’ll never see her take another photograph again.”
True story. 😄
Next, we’ll move on to cookies. Not the delicious kind (sadly), but the kind photographers use—also known as gobos (goes before optics)—placed between a light source and a lens to create interesting shadow patterns and texture.
Light can be added.
Light can be taken away.
In the end, it is always about control.
If flags teach us how to remove light, cookies will show us how to shape it—introducing texture, pattern, and intention into the shadows themselves.