What is a Film Clip Test?
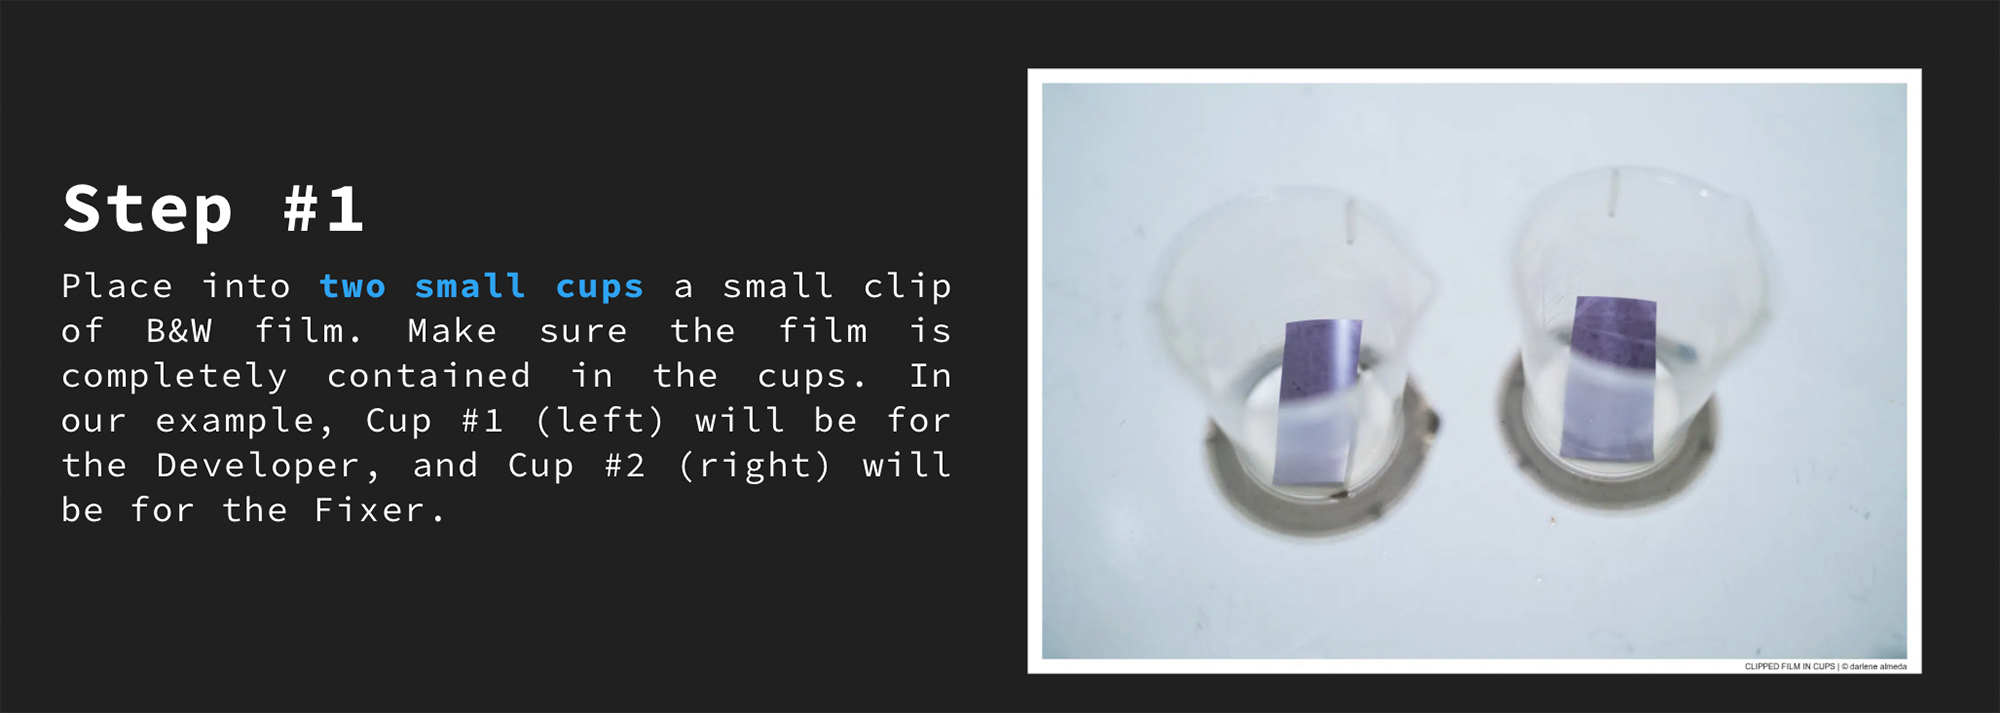
A film clip test can reveal if your developer and fixer are in good working order. If you enjoy shooting B&W films and want to learn how to develop your film (see my article on how to develop B&W film here), you should include learning how to do a film clip test. I have listened to photographers over the years say how they lost film to a bad developer (it can happen), or their reusable fixer reached its limit, and they made the mistake of using it one more time, only to find out it was too weak to do the work. If these photographers had only done a simple film clip test before they started the development process, it could have saved them their film and disappointment. This article outlines how I do my film clip tests.
How to Source Clip Testing Film
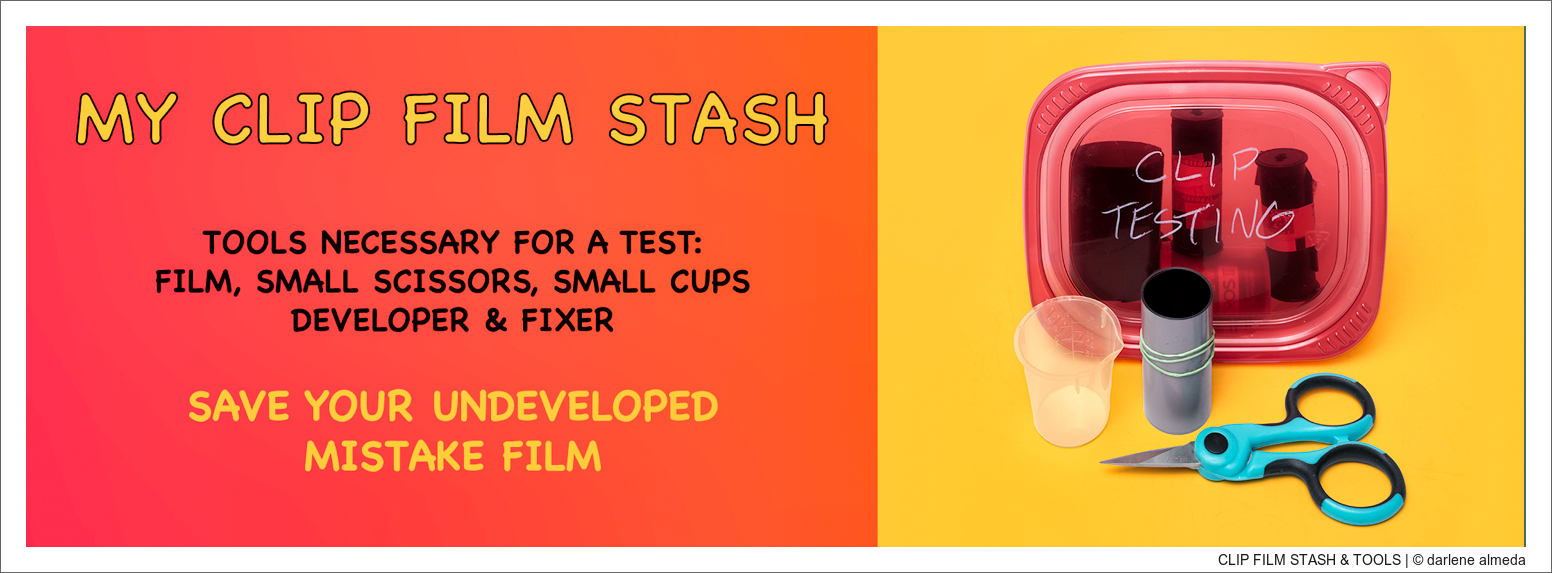
Above is my stash of film for clip testing. A roll of 135-36 will last a long time as we only need a small slice or clip of the film. Save your ‘mistake’ film or buy the cheapest roll of B&W 135 you can find and use these for clip testing. If you shoot 135 films regularly and clip off the lead before reeling the film for development, save those leads in your film-clip stash. There is no need to use the same film you shot for doing the clip test; use whatever B&W film you have available. We are testing the reliability of the developer and fixer, and as long as the film is B&W and not already developed, it should work fine. Let’s get to it now.
TIP: Fixer Exhaustion Determination
When the clearing time reaches 2x that of fresh fix, discard the fixer.
Fixer Exhaustion & Film Surface Area
A useful way to assess the health of your fixer is to keep track of the total film surface area it has been exposed to. You can refer to my article titled How To Prevent Fixer Exhaustion Screw-Ups to access the film surface chart and tally sheet I use. This will provide a reliable method to ensure the fixer you are using can fulfill its intended purpose.
Closing Comments
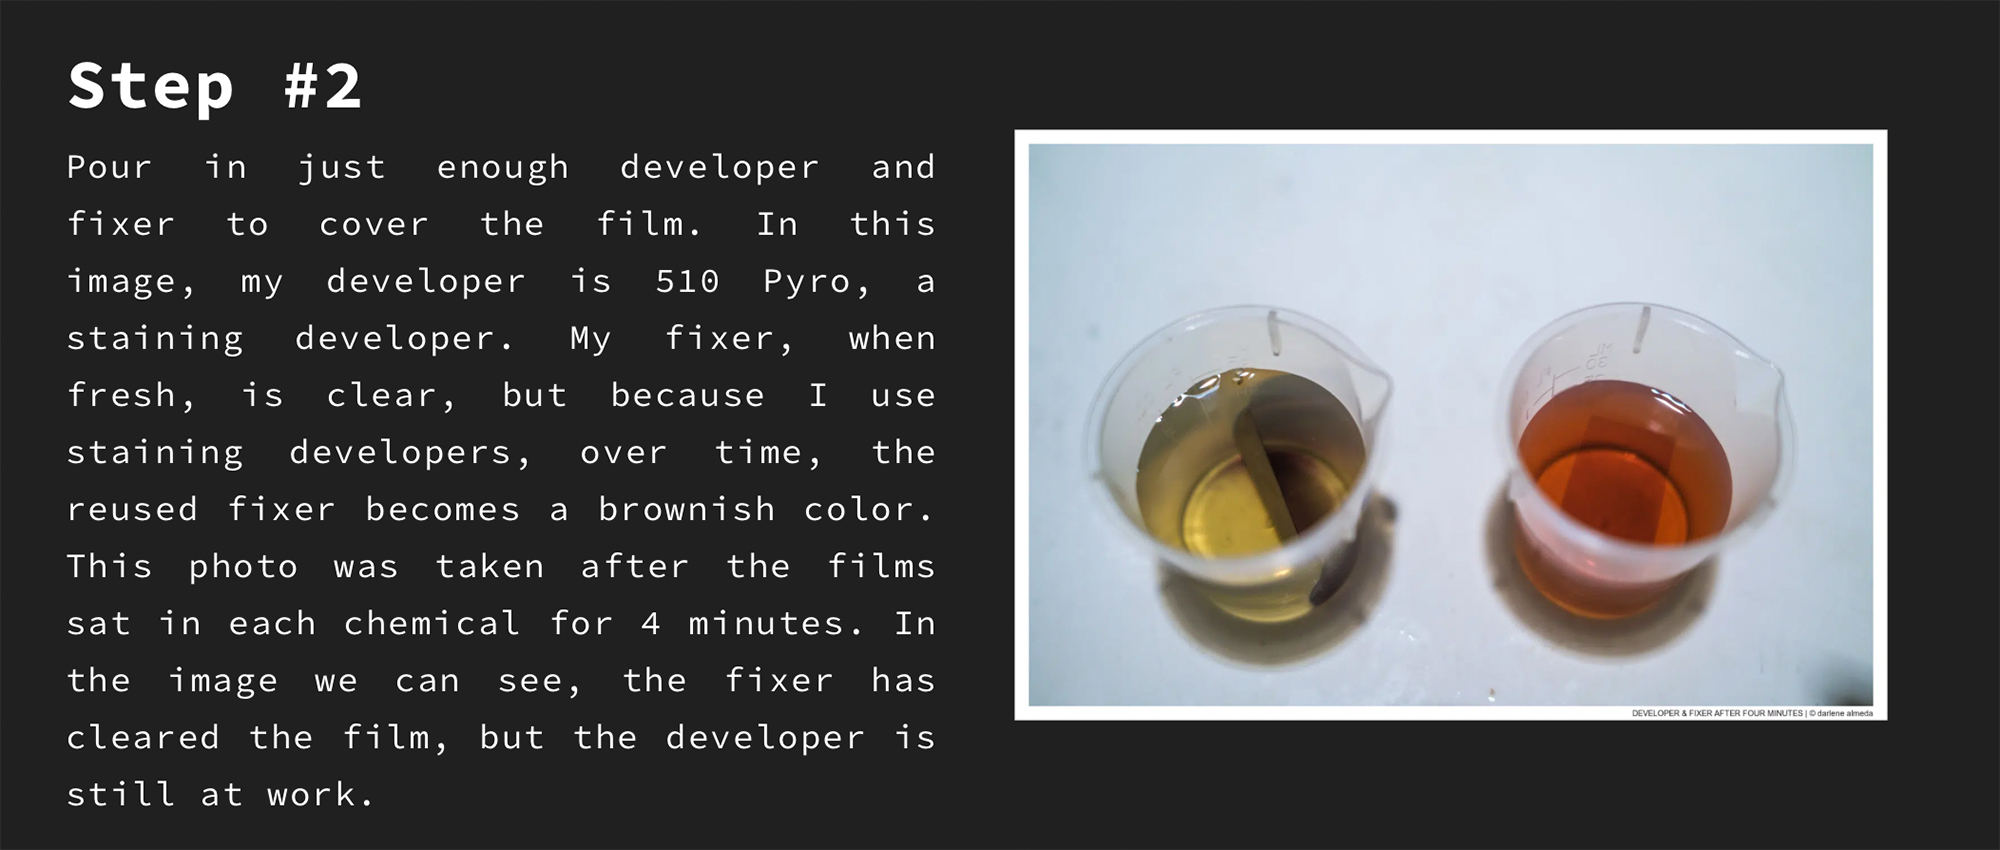
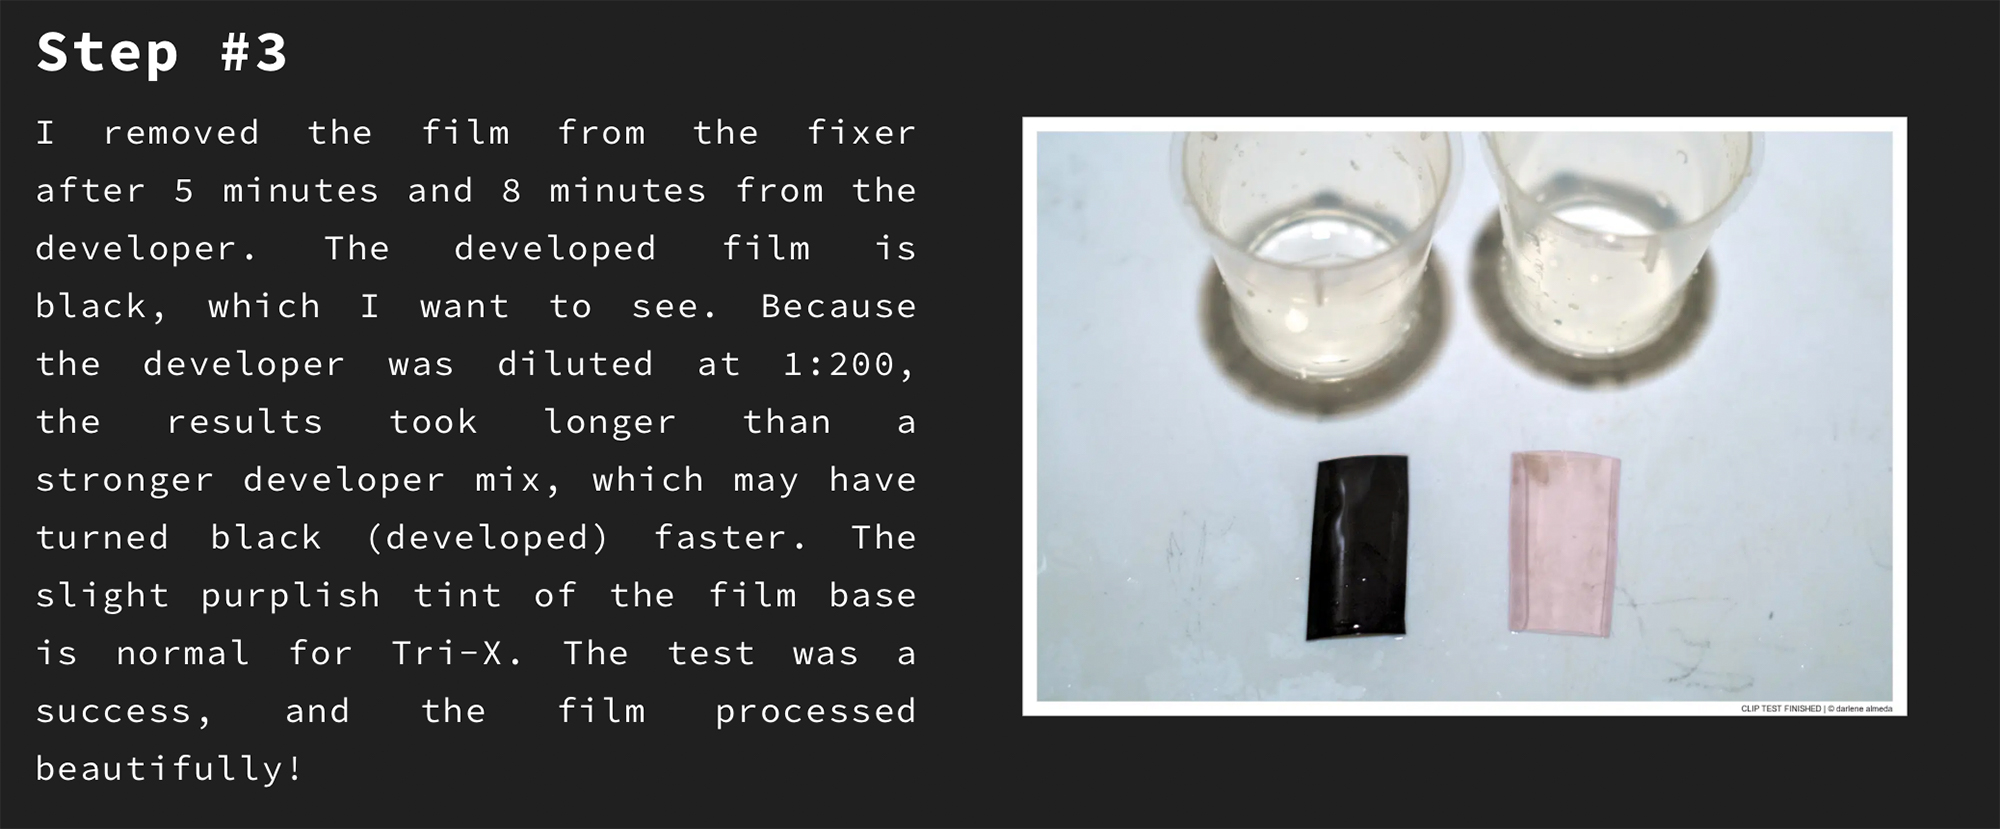
I always pour the chemistry back into the developer and fixer bottles before I pull the film out of the cups. Remember, the more you dilute your developer, the longer it may take to develop the film. As shown above, the purple tint on the film base is normal for Tri-X, and other films can have similar base tints. To remove it entirely fresh fixer is necessary. When you reach the fixer step during your development, the film is done developing, and you can look at it. Start with a five-minute fix and then dunk it a few times longer, looking at it until you see the tint gone. I do not do this because I use staining developers and do not want to remove any stain. Five minutes is the longest I keep my film in the fixer. Hopefully, you found this article informative and will find Film Clip Testing easy, affordable, and necessary.


