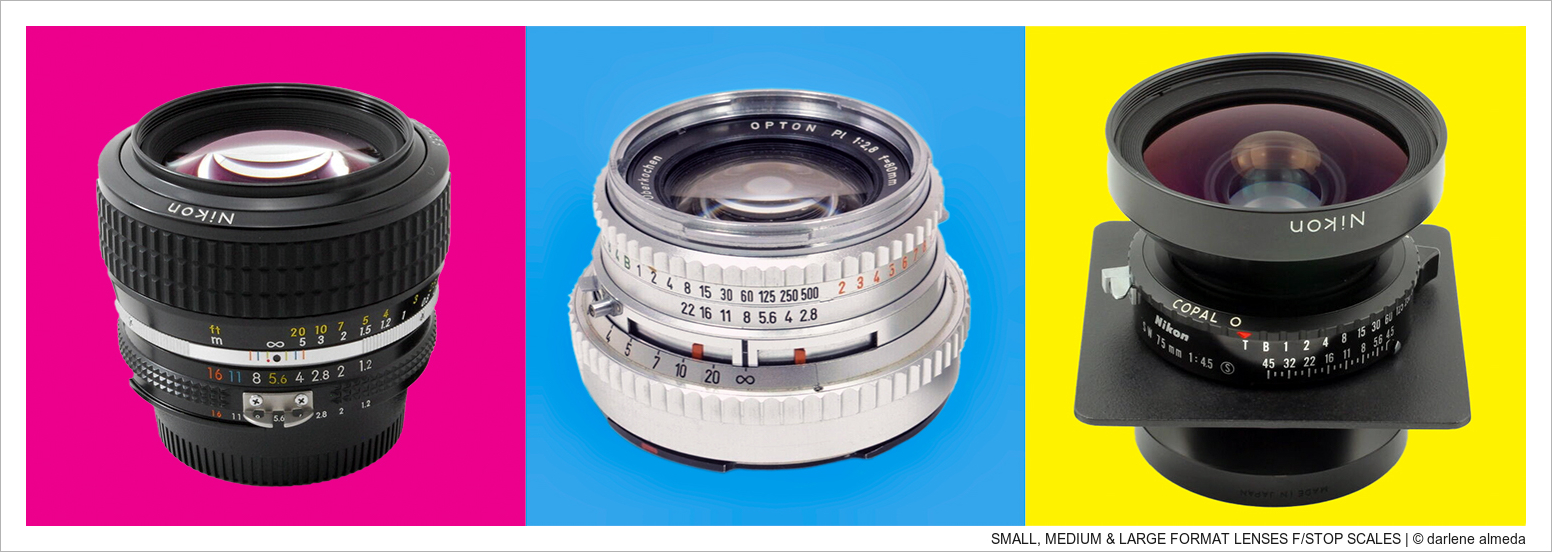
DIFFERENT LENS FORMATS – DIFFERENT APERTURE SCALES
[ SMALL, MEDIUM & LARGE FORMAT LENSES F/STOP SCALES ]
Introduction
Have you ever looked at the f-numbers on your camera lens and wondered what they mean or how to use them? You’re not alone. F/stops hold the key to controlling exposure and depth of field—two critical elements that can define the success of a photograph. Understanding f/stops gives you the creative power to shape your images, whether you’re crafting soft, dreamy portraits or capturing expansive, detailed landscapes. In this guide, we’ll explore the basics of f/stops, touch on their history, explain how they work, and show you how to use them creatively to elevate your photography.
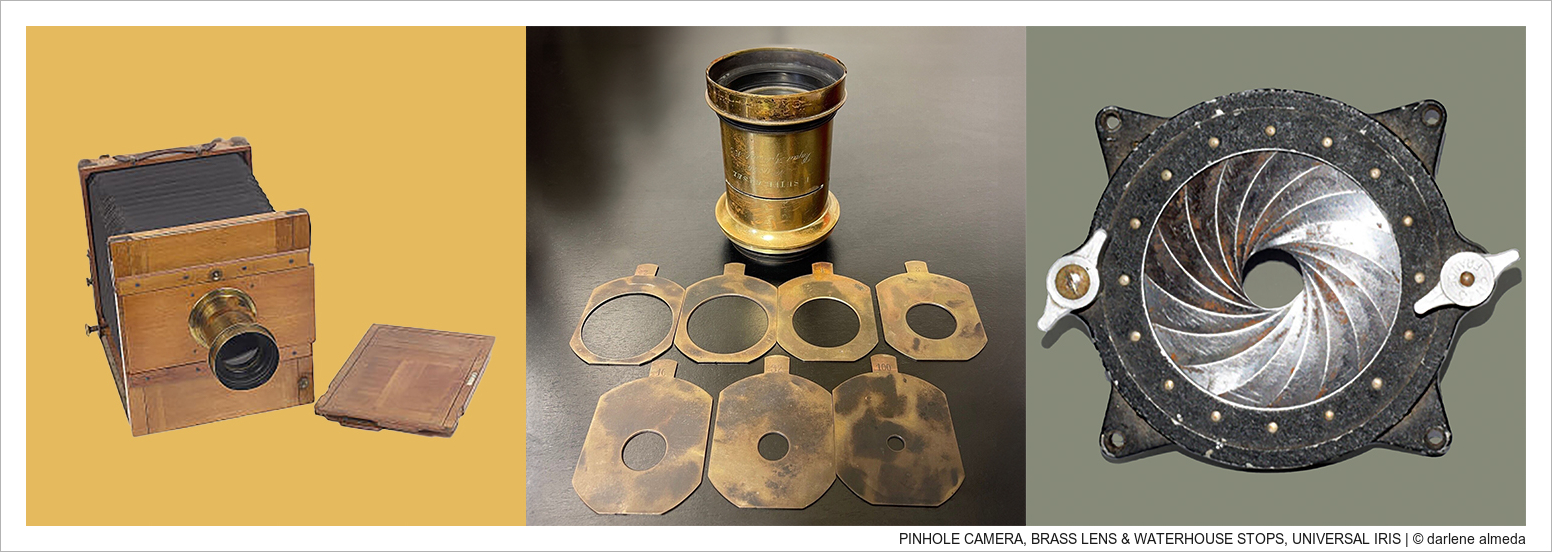
EARLY F-STOP TOOLS: PINHOLE CAMERA, BRASS LENS & WATERHOUSE STOPS, UNIVERSAL IRIS
A Brief History
The adjustable aperture, which f/stop settings control, has come a long way since the early days of photography. The earliest cameras were simple boxes with a pinhole to let in light; there were no options for adjusting exposure or depth of field. Over time, as the art and science of photography evolved, so did the complexity and versatility of camera lenses. The f/stop system was developed to standardize aperture sizes, providing photographers with a consistent way to manage exposure across different cameras and lenses.
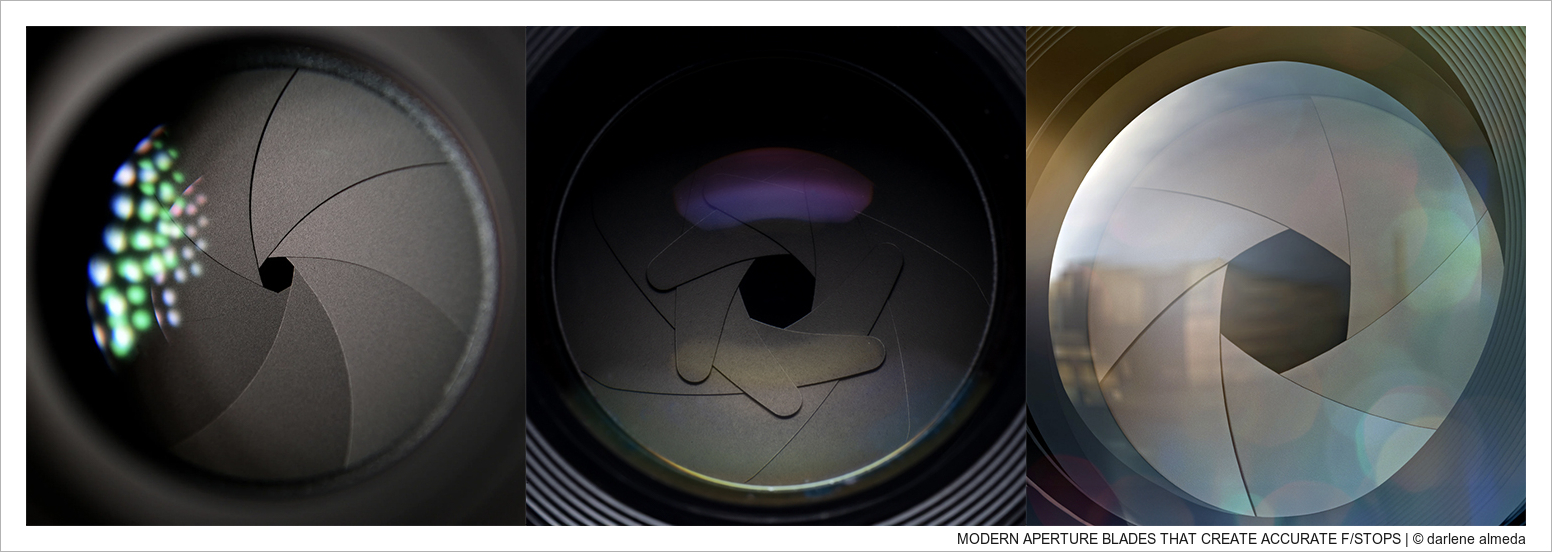
MODERN APERTURE BLADES THAT CREATE ACCURATE F/STOPS
What is an F/Stop?
An f/stop, or f-number, indicates the size of the aperture—the opening in your lens that controls how much light enters the camera. It’s expressed as a ratio, like f/2.8, f/8, or f/16. Here’s where it gets tricky: a smaller f-number means a larger aperture opening, letting in more light.
– Small f-numbers (e.g., f/1.8, f/2.8) = Large or wide aperture, more light, and a shallow depth of field, creating a beautifully blurred background.
– Large f-numbers (e.g., f/11, f/16) = Small or narrow aperture, less light, and a deep depth of field, keeping everything in focus.
Understanding this relationship is key to mastering exposure and depth of field in your photography.
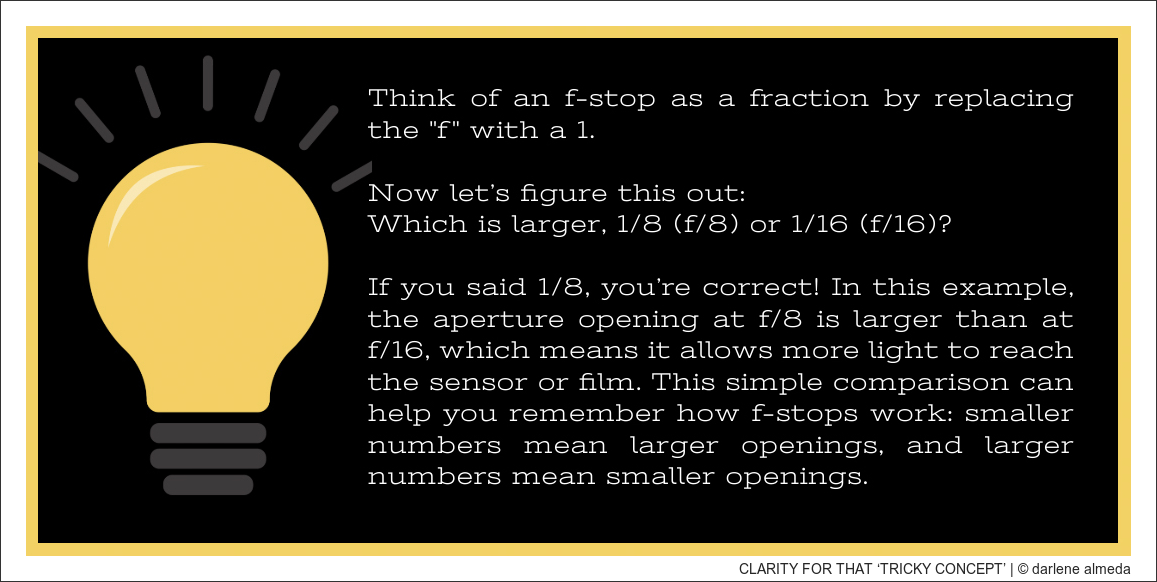
Clarity for that ‘Tricky Concept’
For anyone struggling with the tricky concept that a smaller f-number means a larger aperture opening, here’s an explanation to help clarify and remember:
The Mathematics Behind F/Stops
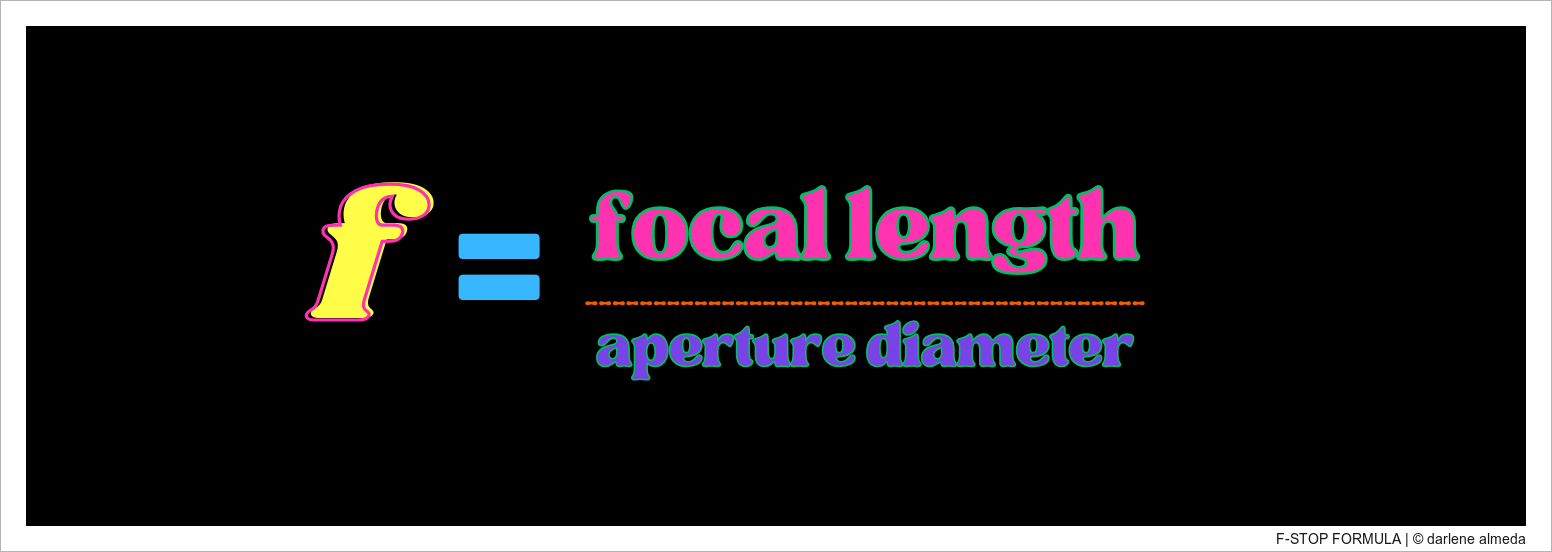
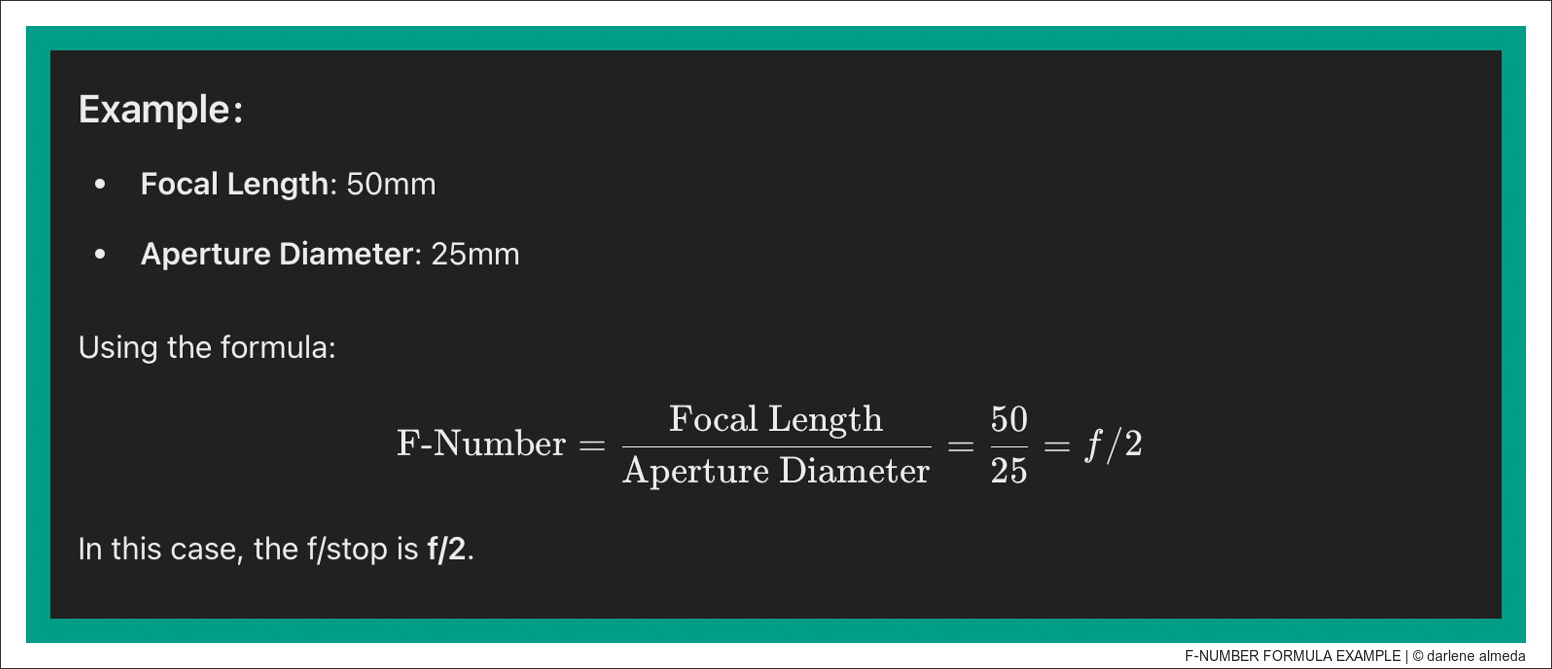
The f-stop formula, f-number = f/D, is a simple way to understand how your lens controls light and focus. It works like this:
- : The focal length of your lens (how “zoomed in” it is).
- : The size of the opening (aperture) that lets light through.
F-STOP FORMULA
F-STOP FORMULA EXAMPLE
The f-number, or f-stop, tells you how big or small that opening is compared to the lens’s focal length. But don’t worry—you don’t need to calculate anything! Lens manufacturers and their engineers have already done the math for you. We’re sharing this for those who enjoy knowing the technical side of how their camera works. For everyone else, it’s just good to know how f-stops affect your photos and how to use them creatively!
F/Stops and Exposure
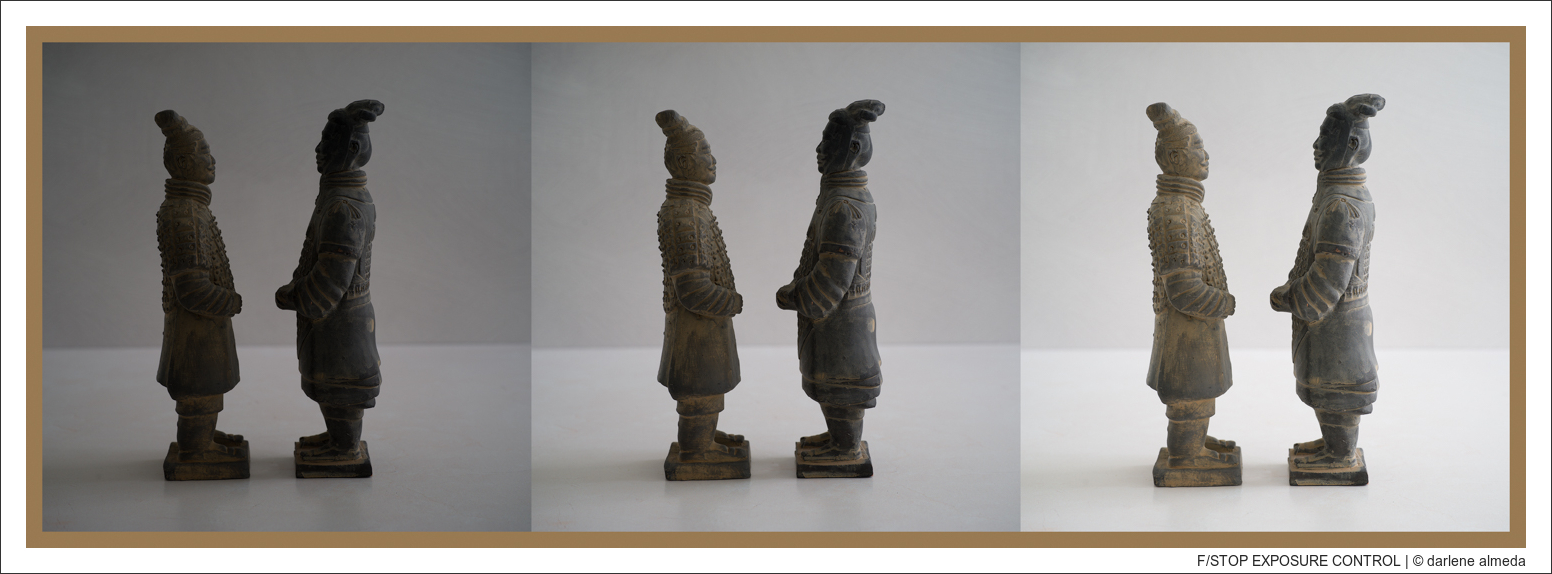
F/stops are one part of the Exposure Triangle (alongside shutter speed and ISO) that determines how bright or dark your image will be. Here’s how the aperture impacts exposure:
Wide Aperture (Small f-number): Lets in more light, great for low-light situations.
Narrow Aperture (Large f-number): Lets in less light, ideal for bright conditions.
For example:
Shooting indoors with limited light? Use f/2.8 to let more light hit the sensor or film.
On a sunny day at the beach? Use f/11 or higher to avoid overexposure.
Balancing the aperture with shutter speed and ISO is key to achieving a properly exposed image.
BRACKETING EXPOSURE USING F-STOP
NOTE: Bracketing via F/Stops
You could use f/stops for exposure bracketing, as demonstrated in the example above (f/11, f/8, f/5.6). However, it is often best to adjust the shutter speed instead of the aperture, as changing the f/stop also alters the depth of field.
F/Stops and Depth of Field
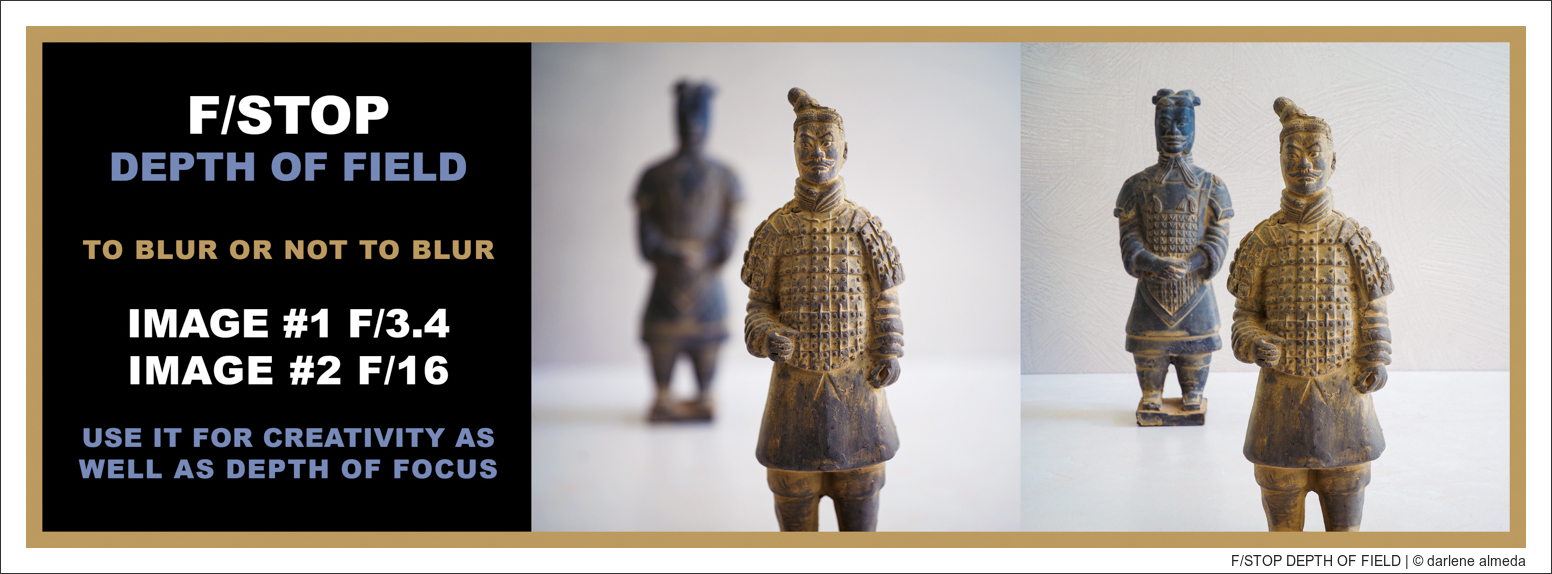
Beyond controlling light, f/stops are also the main tool for managing depth of field (DOF) or how much of your image is in focus.
HASSELBLAD XCD 75/3.4 LENS @ F/3.4 & F/16
Your subject is sharp, and the background is beautifully blurred (bokeh).
Perfect for portraits, macro photography, or isolating a subject.
Deep Depth of Field (Narrow Aperture: f/11, f/16, f/22):
Everything from the foreground to the background is in focus.
Ideal for landscapes, architecture, or group shots.
NOTE: Quick Tips
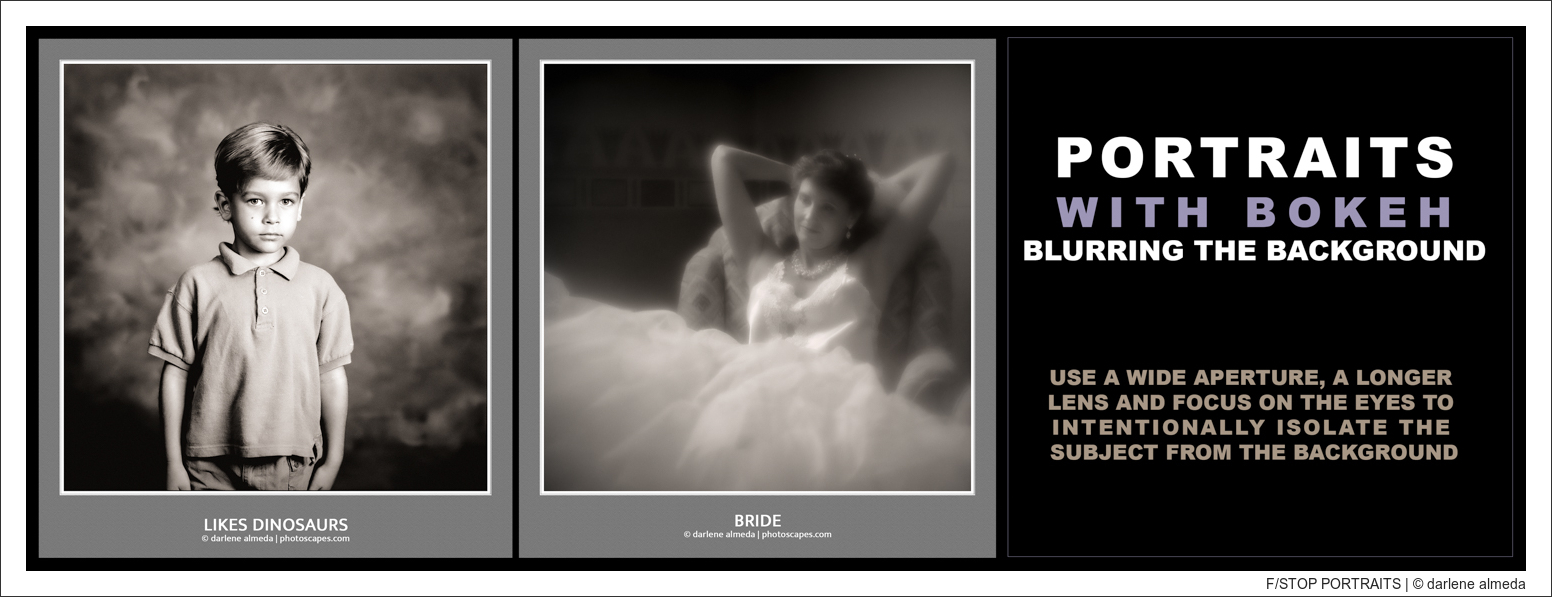
For dreamy portraits, Start with f/2.8 or the widest aperture and focus on the eyes.
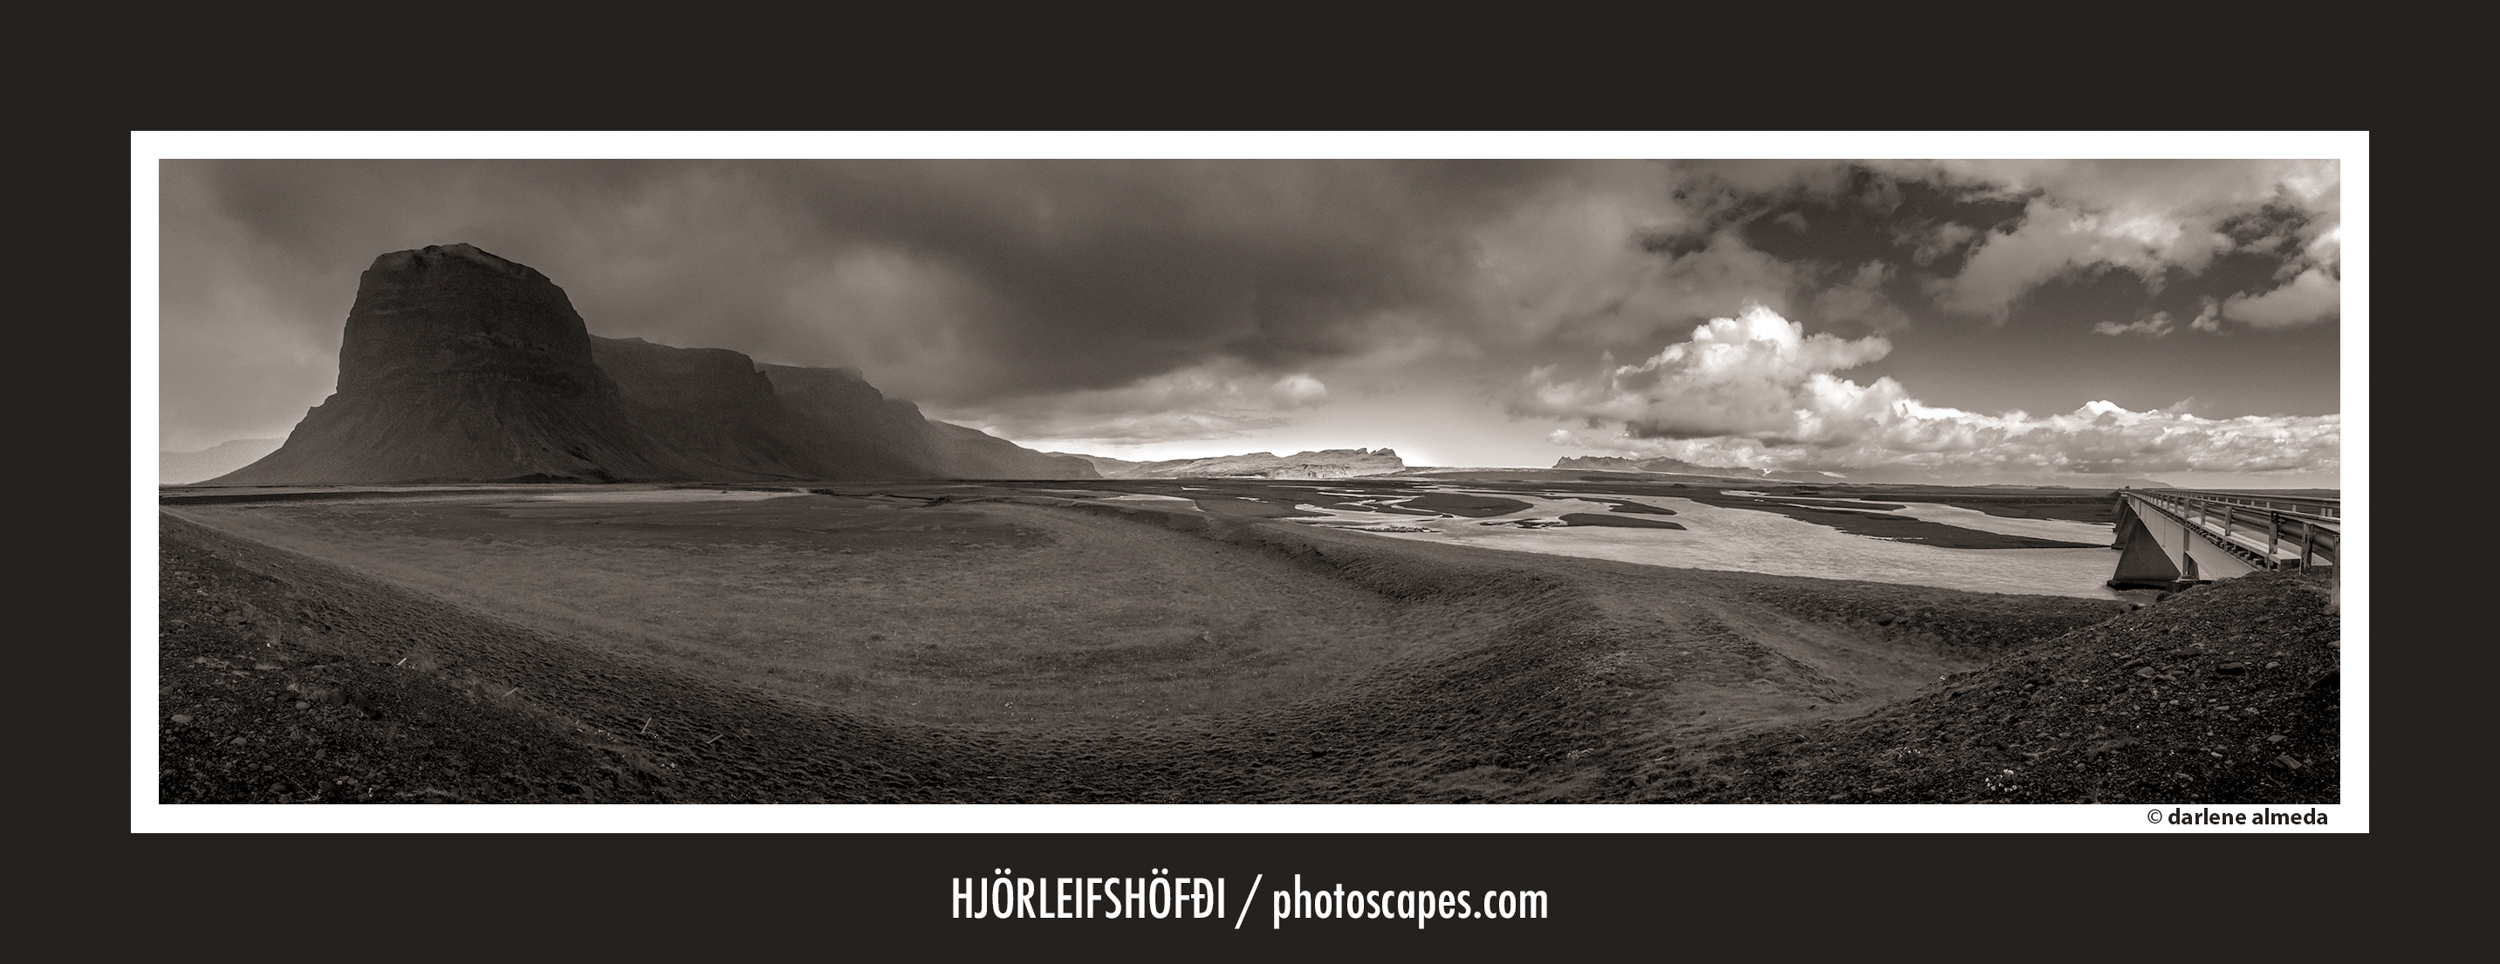
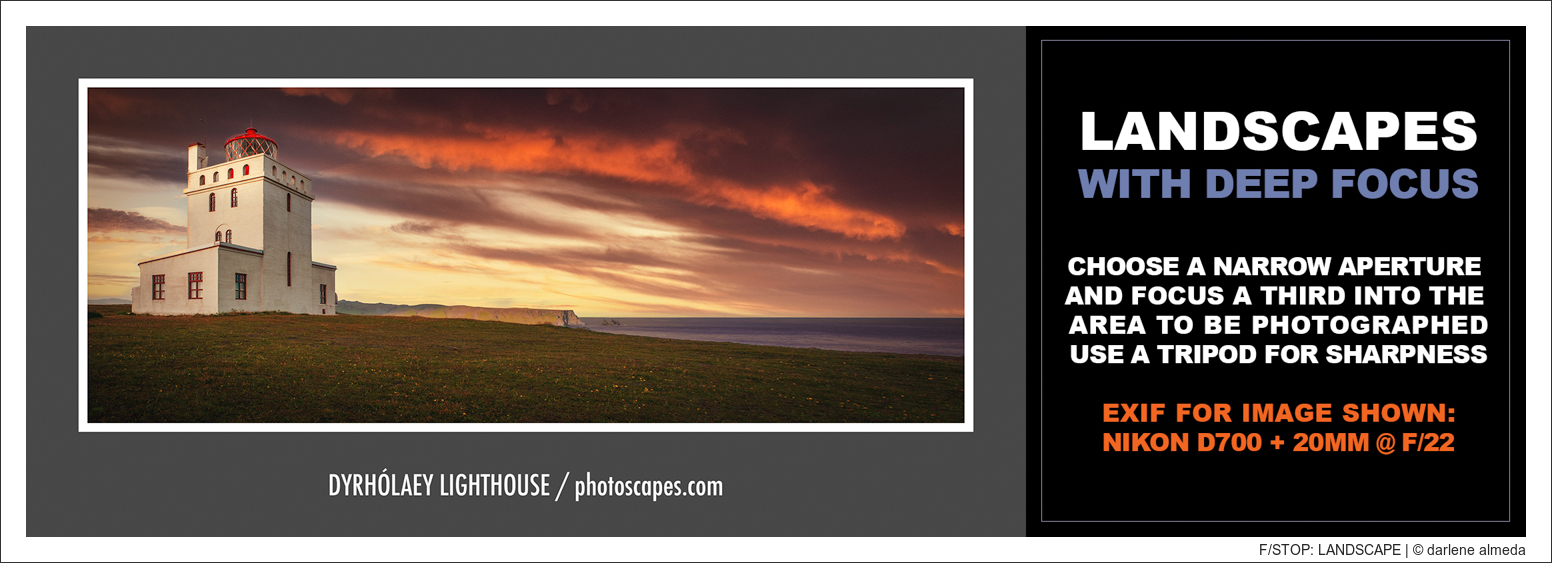
For sharp landscapes, Use f/11, f/16, or f/22 and focus about one-third into the scene.
How to Use F/Stops Creatively
Portraits with Bokeh
Sharp Landscapes
NIKON D700 + NIKKOR 20/2.8 (1/125 @ F/16)
To capture every detail from the foreground to the horizon:
Choose a narrow aperture like f/11 or f/16.
Use a tripod to avoid camera shake, as smaller apertures require slower shutter speeds.
Low-Light Shooting
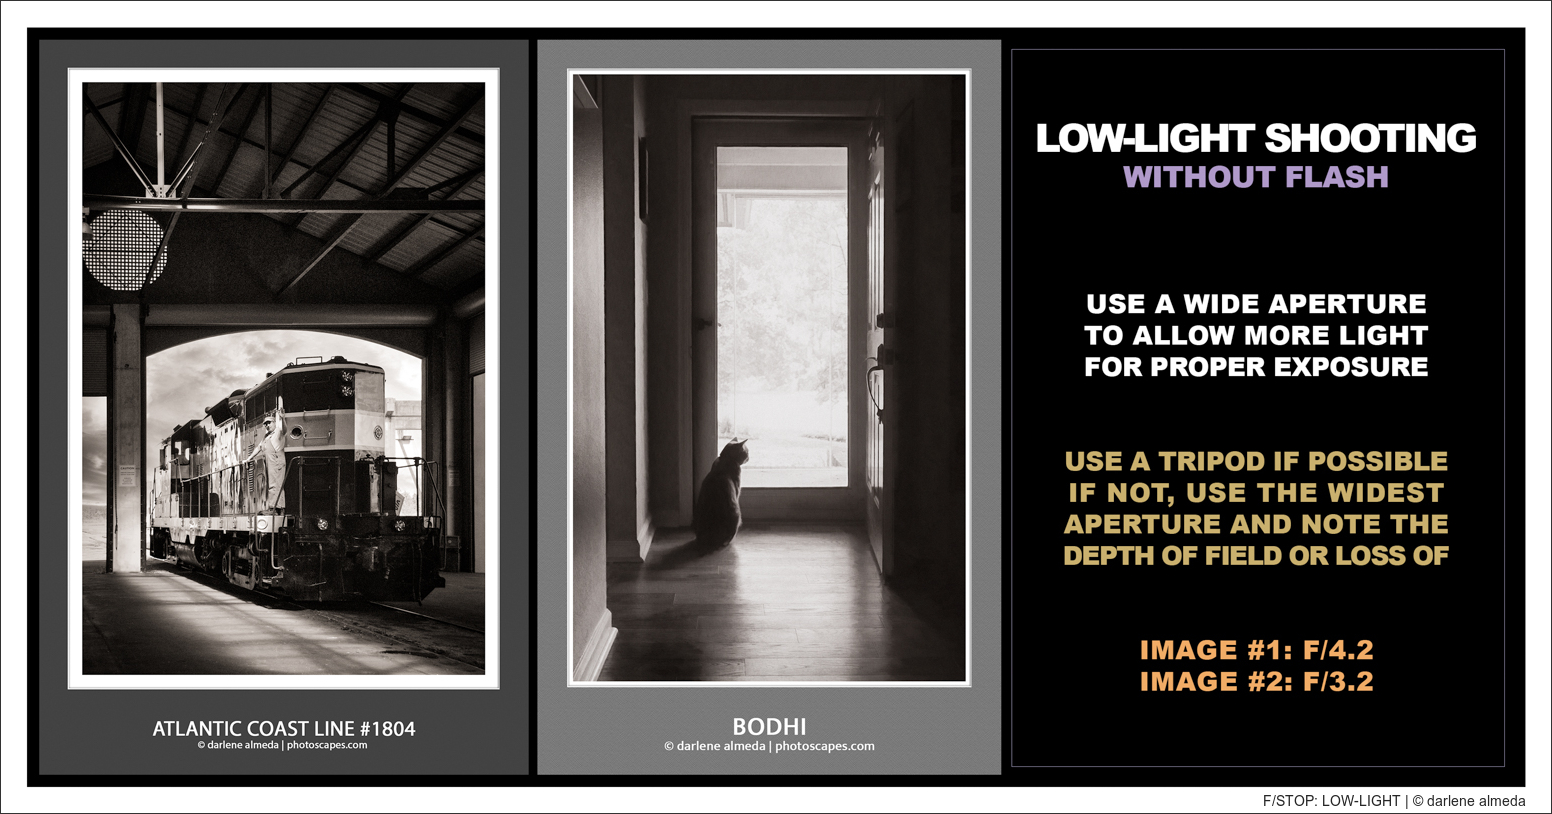
When shooting in dim light without a flash:
Use a wide aperture like f/2.8 to let in more light.
Adjust the shutter speed and ISO to balance the exposure.
Starbursts and Sun Flares
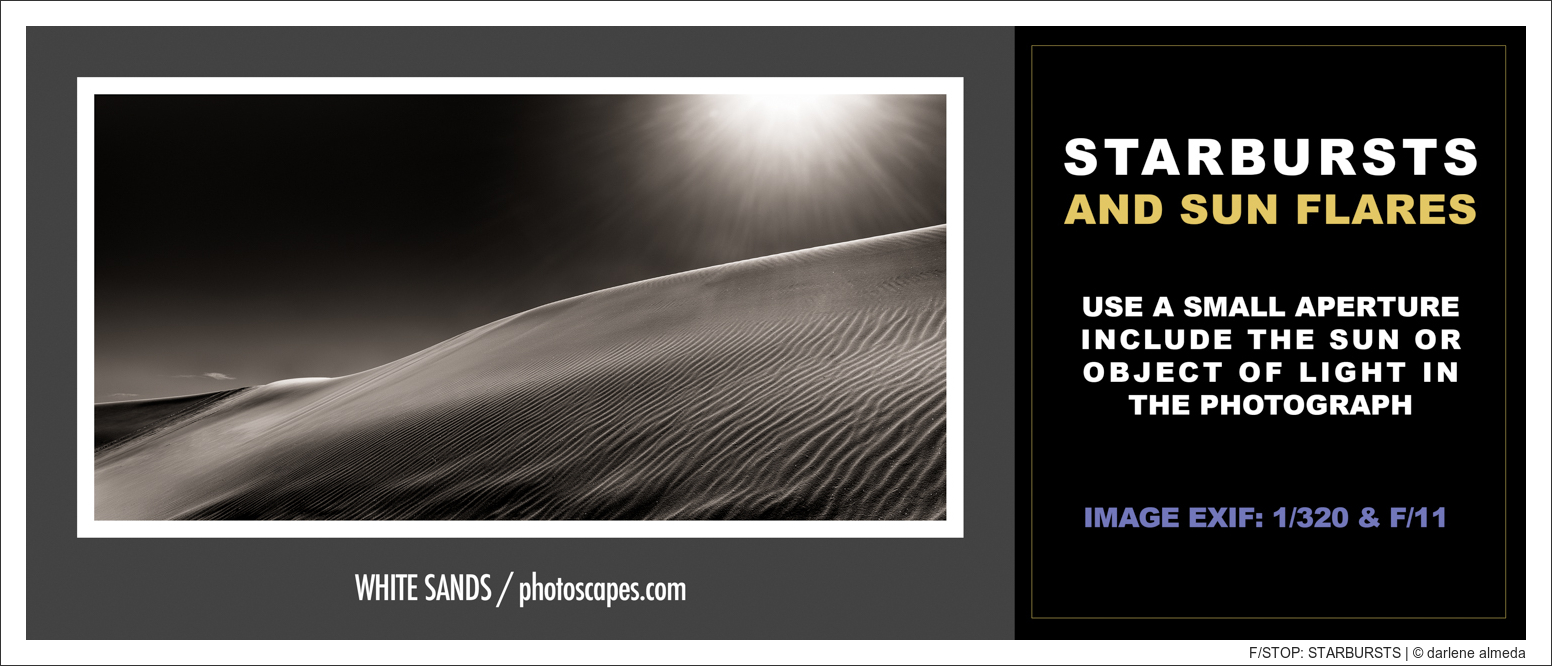
Want those star-like rays from streetlights or the sun?
Use a very small aperture, like f/11, f/16 or f/22.
F/Stops in Practice
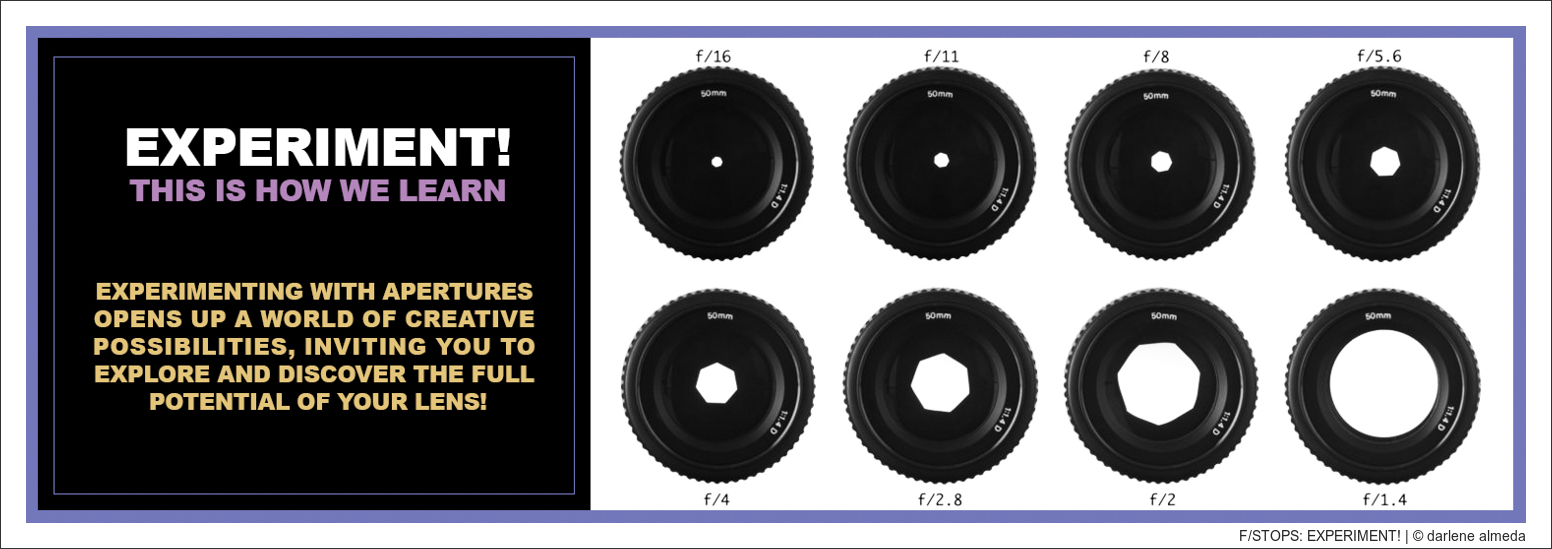
The best way to understand f/stops is to experiment. Grab your camera, set it to Aperture Priority Mode (A/Av) or Manual Mode, and try this exercise:
Choose a subject (like a friend, a flower, or a building).
Start at the widest aperture your lens allows (e.g., f/2.8) and take a shot.
Gradually close the aperture (e.g., f/5.6, f/8, f/16), taking a photo at each step.
CHANGING APERTURES
Compare the images. Notice how the exposure changes. See how the background becomes more or less blurred. This hands-on approach will help you see the connection between f/stops, exposure, and depth of field.
Final Thoughts
Understanding f/stops is the key to unlocking creative and technical mastery in photography. By learning how aperture impacts light and focus, you gain the power to shape your images exactly as you envision them. Whether you’re isolating a subject with a soft blur or capturing sweeping landscapes with sharp detail, f/stops are your ultimate tool for control.
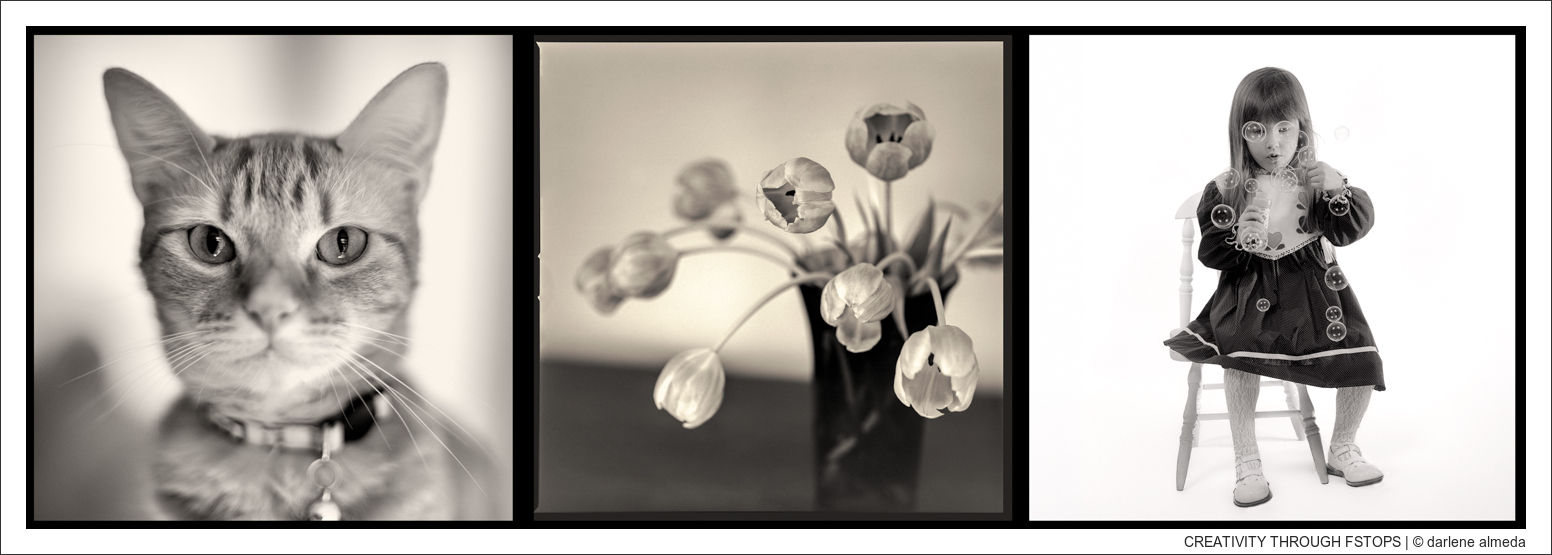
CREATIVITY THROUGH F/STOPS

