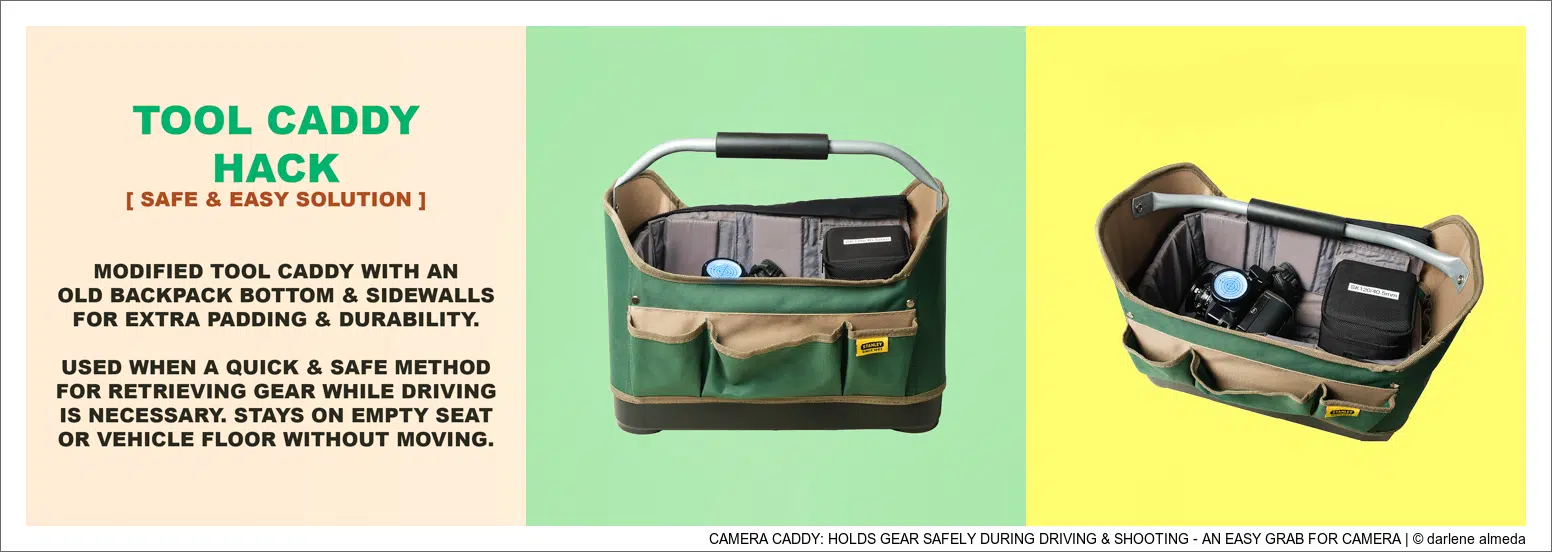
[ CAMERA CADDY: HOLDS GEAR SAFELY DURING DRIVING & SHOOTING ]
Ever find yourself pulling over on a photo drive—birds wading in the marsh, a golden sunset—and fumbling around on the van floor for your camera? Been there. As someone who travels to state parks, wildlife refuges, and small towns with two full systems in tow (usually an APS-C digital and a 44×33 digital or film combo), I needed a way to grab my gear quickly without digging into backpacks or playing “don’t fall” with a camera on the passenger seat.
Enter: the forgotten Stanley Tool Caddy.
This little workhorse used to ride along on environmental portrait shoots, holding lenses, meters, and rolls of film like a champ. After I retired from portrait work, it lived in the garage—too useful to toss, too idle to use. But one day, it clicked: this could be my in-van camera caddy.
It was the right size to sit on the passenger seat or floor, had a thick waterproof bottom, and didn’t tip over like some fancy bags do. It just needed a little… padding. And maybe some personality.
Cue the scissors and utility knife.
I sacrificed an old photography backpack destined for donation—cutting out its padded walls and bottom panel, repurposing them into a snug, reinforced liner for the tool caddy. I even rigged the handle with a clever ledge to keep it from flopping onto the gear. DIY engineering at its finest.
Now my custom Camera Caddy lives in the van, always ready. No more wrestling with backpacks or risking a lens doing a nosedive onto the floorboard. If I see a moment, I can reach for my gear in a snap—and that makes all the difference.
Moral of the story? Don’t underestimate the power of garage leftovers. A retired tool caddy and a cast-off camera bag might just become your favorite piece of kit.

