Every portrait session teaches me something new, and my cat Joey is no exception. This wraps up my three-part checklist series: Pre-Shoot, Shoot, and Post-Shoot. I enjoy sharing what works and what doesn’t. I don’t always nail it on the first try, but I keep at it until the picture feels right, and I hope you do the same.
For this session, I set out to make a classic black-and-white portrait of my big boy, Joey. For me, that means reaching for 120 film. There’s a little extra magic in black-and-white film, especially in how it shapes light in the studio. Digital can certainly deliver, but for my taste in classic portraiture, nothing feels quite like looking through a Hasselblad loaded with black-and-white film.
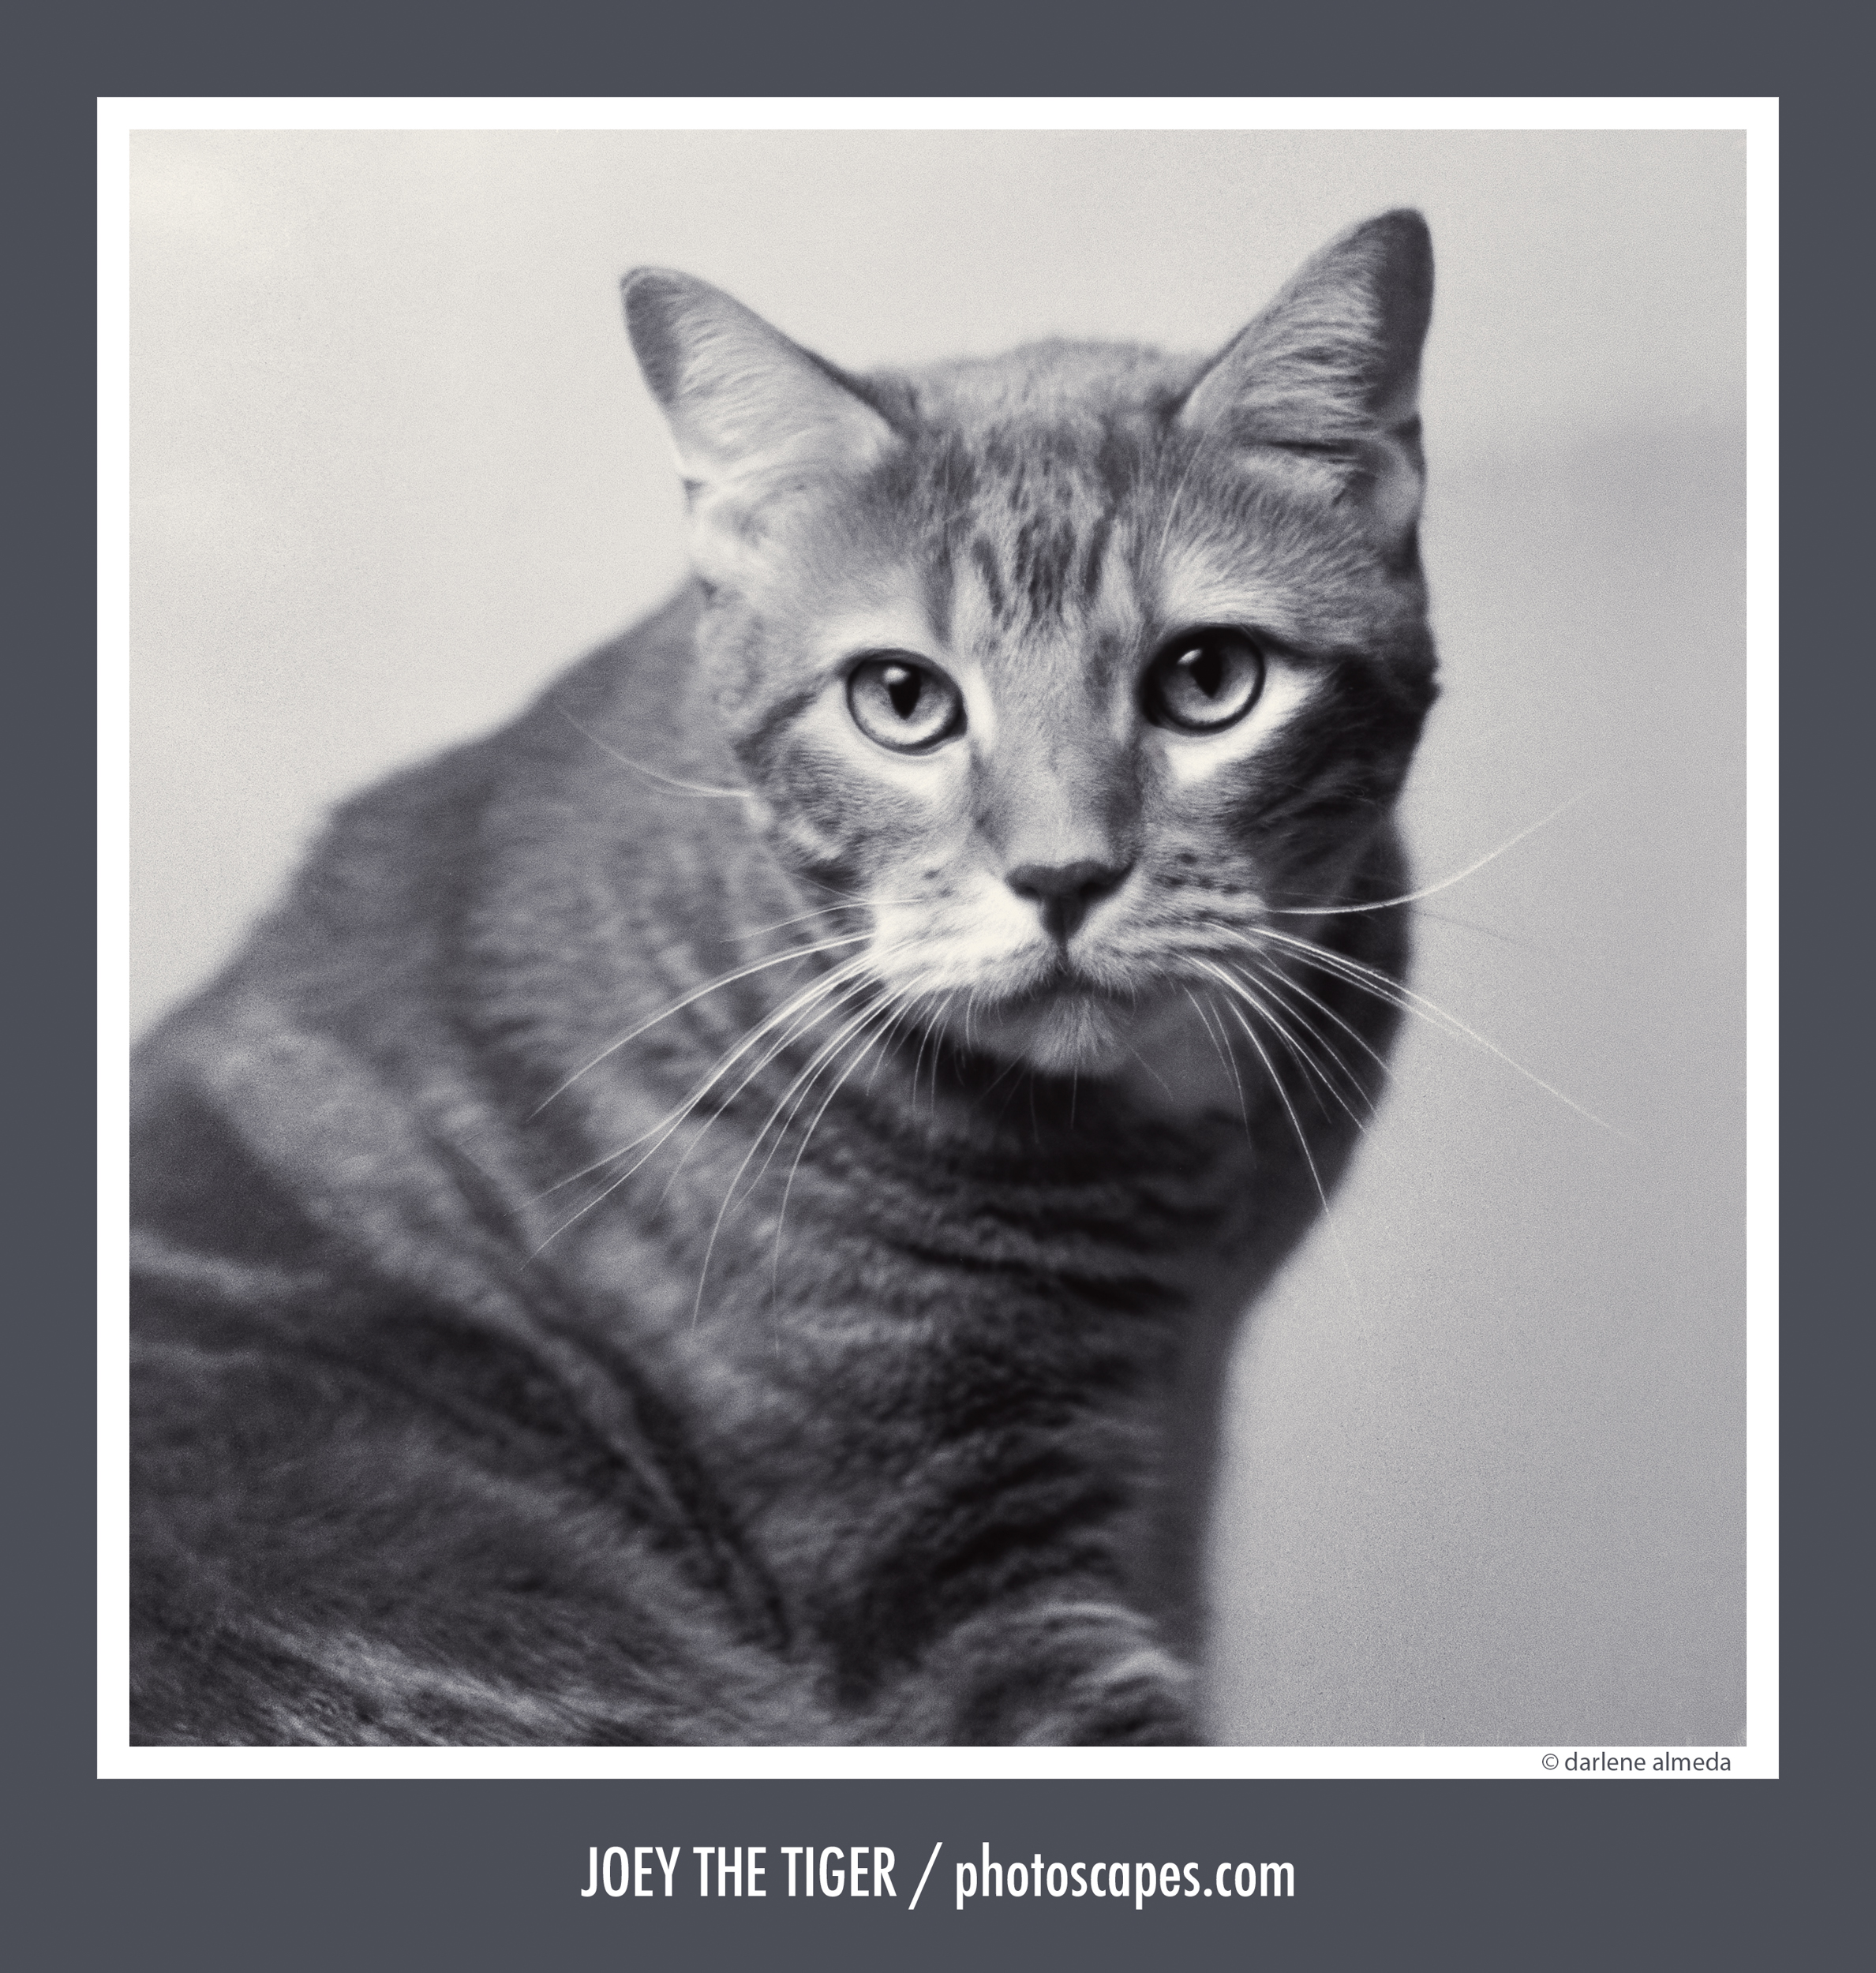
Working with Joey reminded me that you have to build the set around the subject. He’s a tripod kitty (three-legged), and while he can’t quite manage a straight sit, he has no shortage of regal poses, usually reminding me that he runs the set, not me. He needs a wider surface to shift weight onto a front leg. I discovered this as I watched him settle and waited for that calm, tiger-like look I know so well, the one that shows his personality in full. This is the portrait I envisioned and hoped to capture.
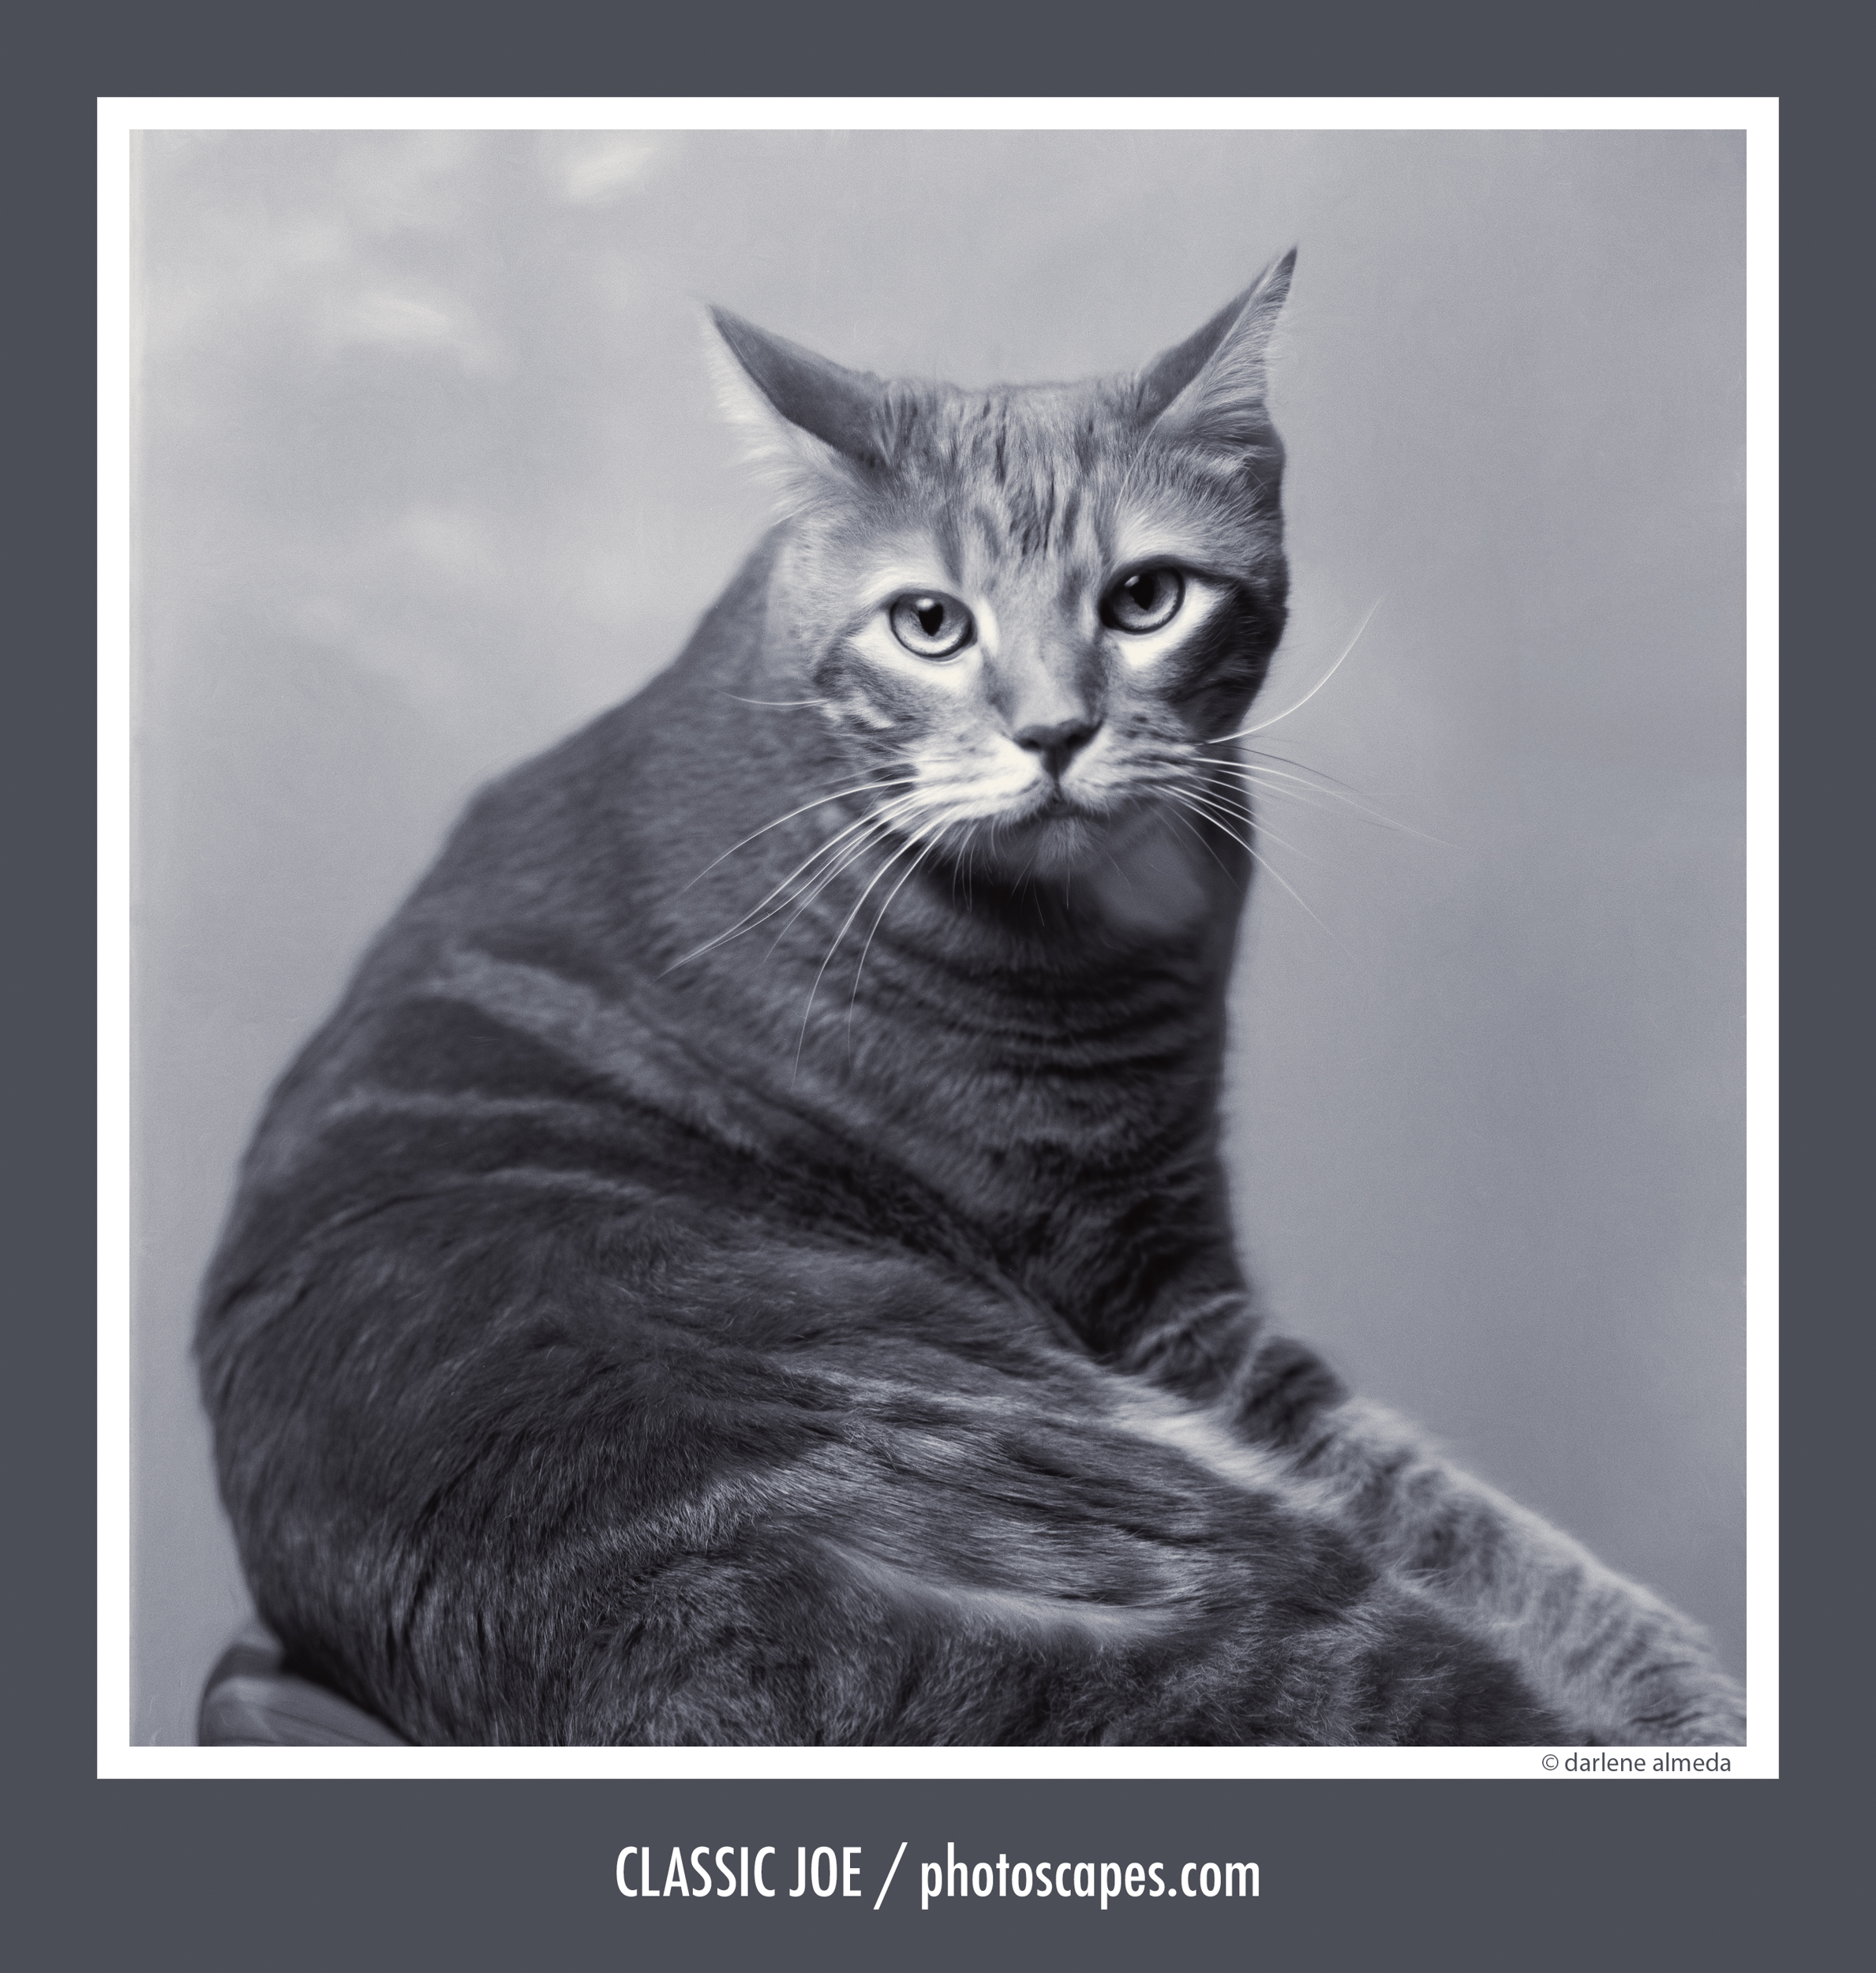
I have one more favorite from this session in a more traditional pose, Classic Joe, and two more from the roll shown below.
Image #1, Classic Joe, almost reminds me of a bride sitting down with her dress styled just so. My years of creating bridal portraits still sit deep in my image bank. Joe is definitely no bride, but his pose triggered that same instinct, and it led me to pull the shutter cable. The shape has all the hallmarks of a classic portrait pose, just translated into feline form.
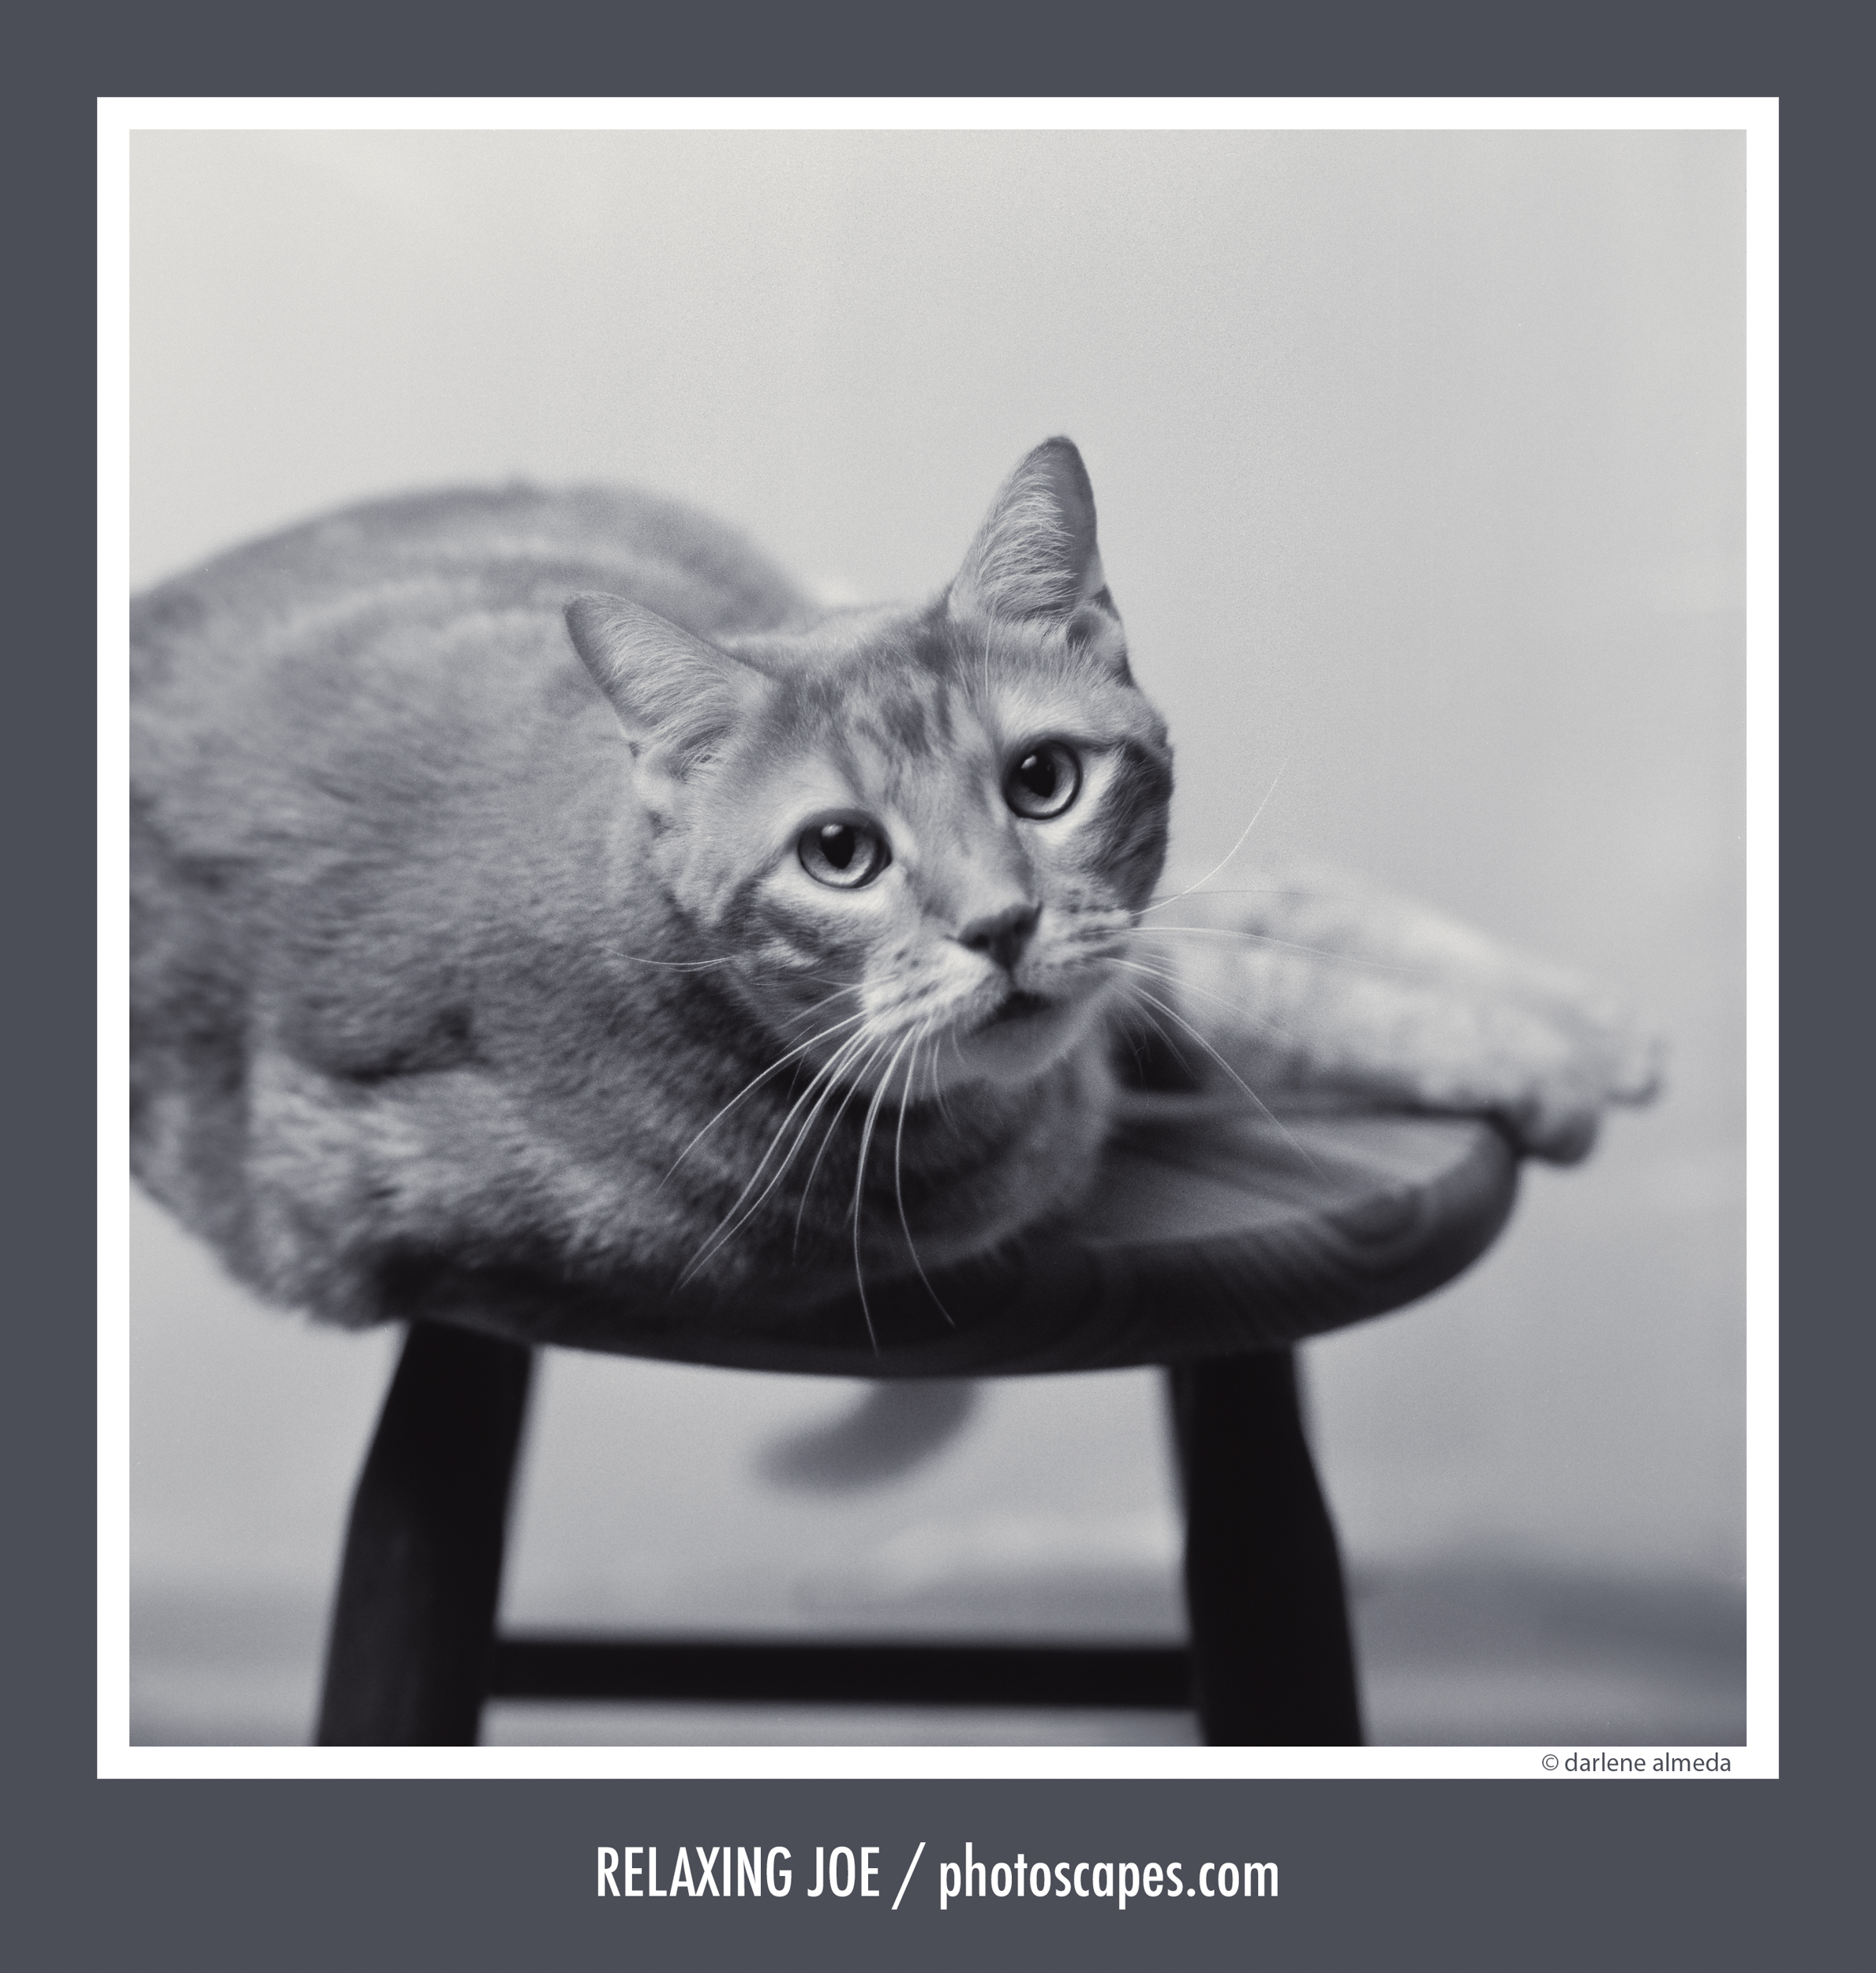
Image #2, Relaxing Joe is him just being a bright-eyed sweetheart. Joe can be a mama’s boy at times, but he is very much an independent guy, too. I think if he were ever out in the wild and did not have the loss of his leg, he’d be a tiger lurking in the grass, not a housecat. When I take him out and let him roll on the sidewalk, he hunts for lizards, and boy, can he ever move fast!
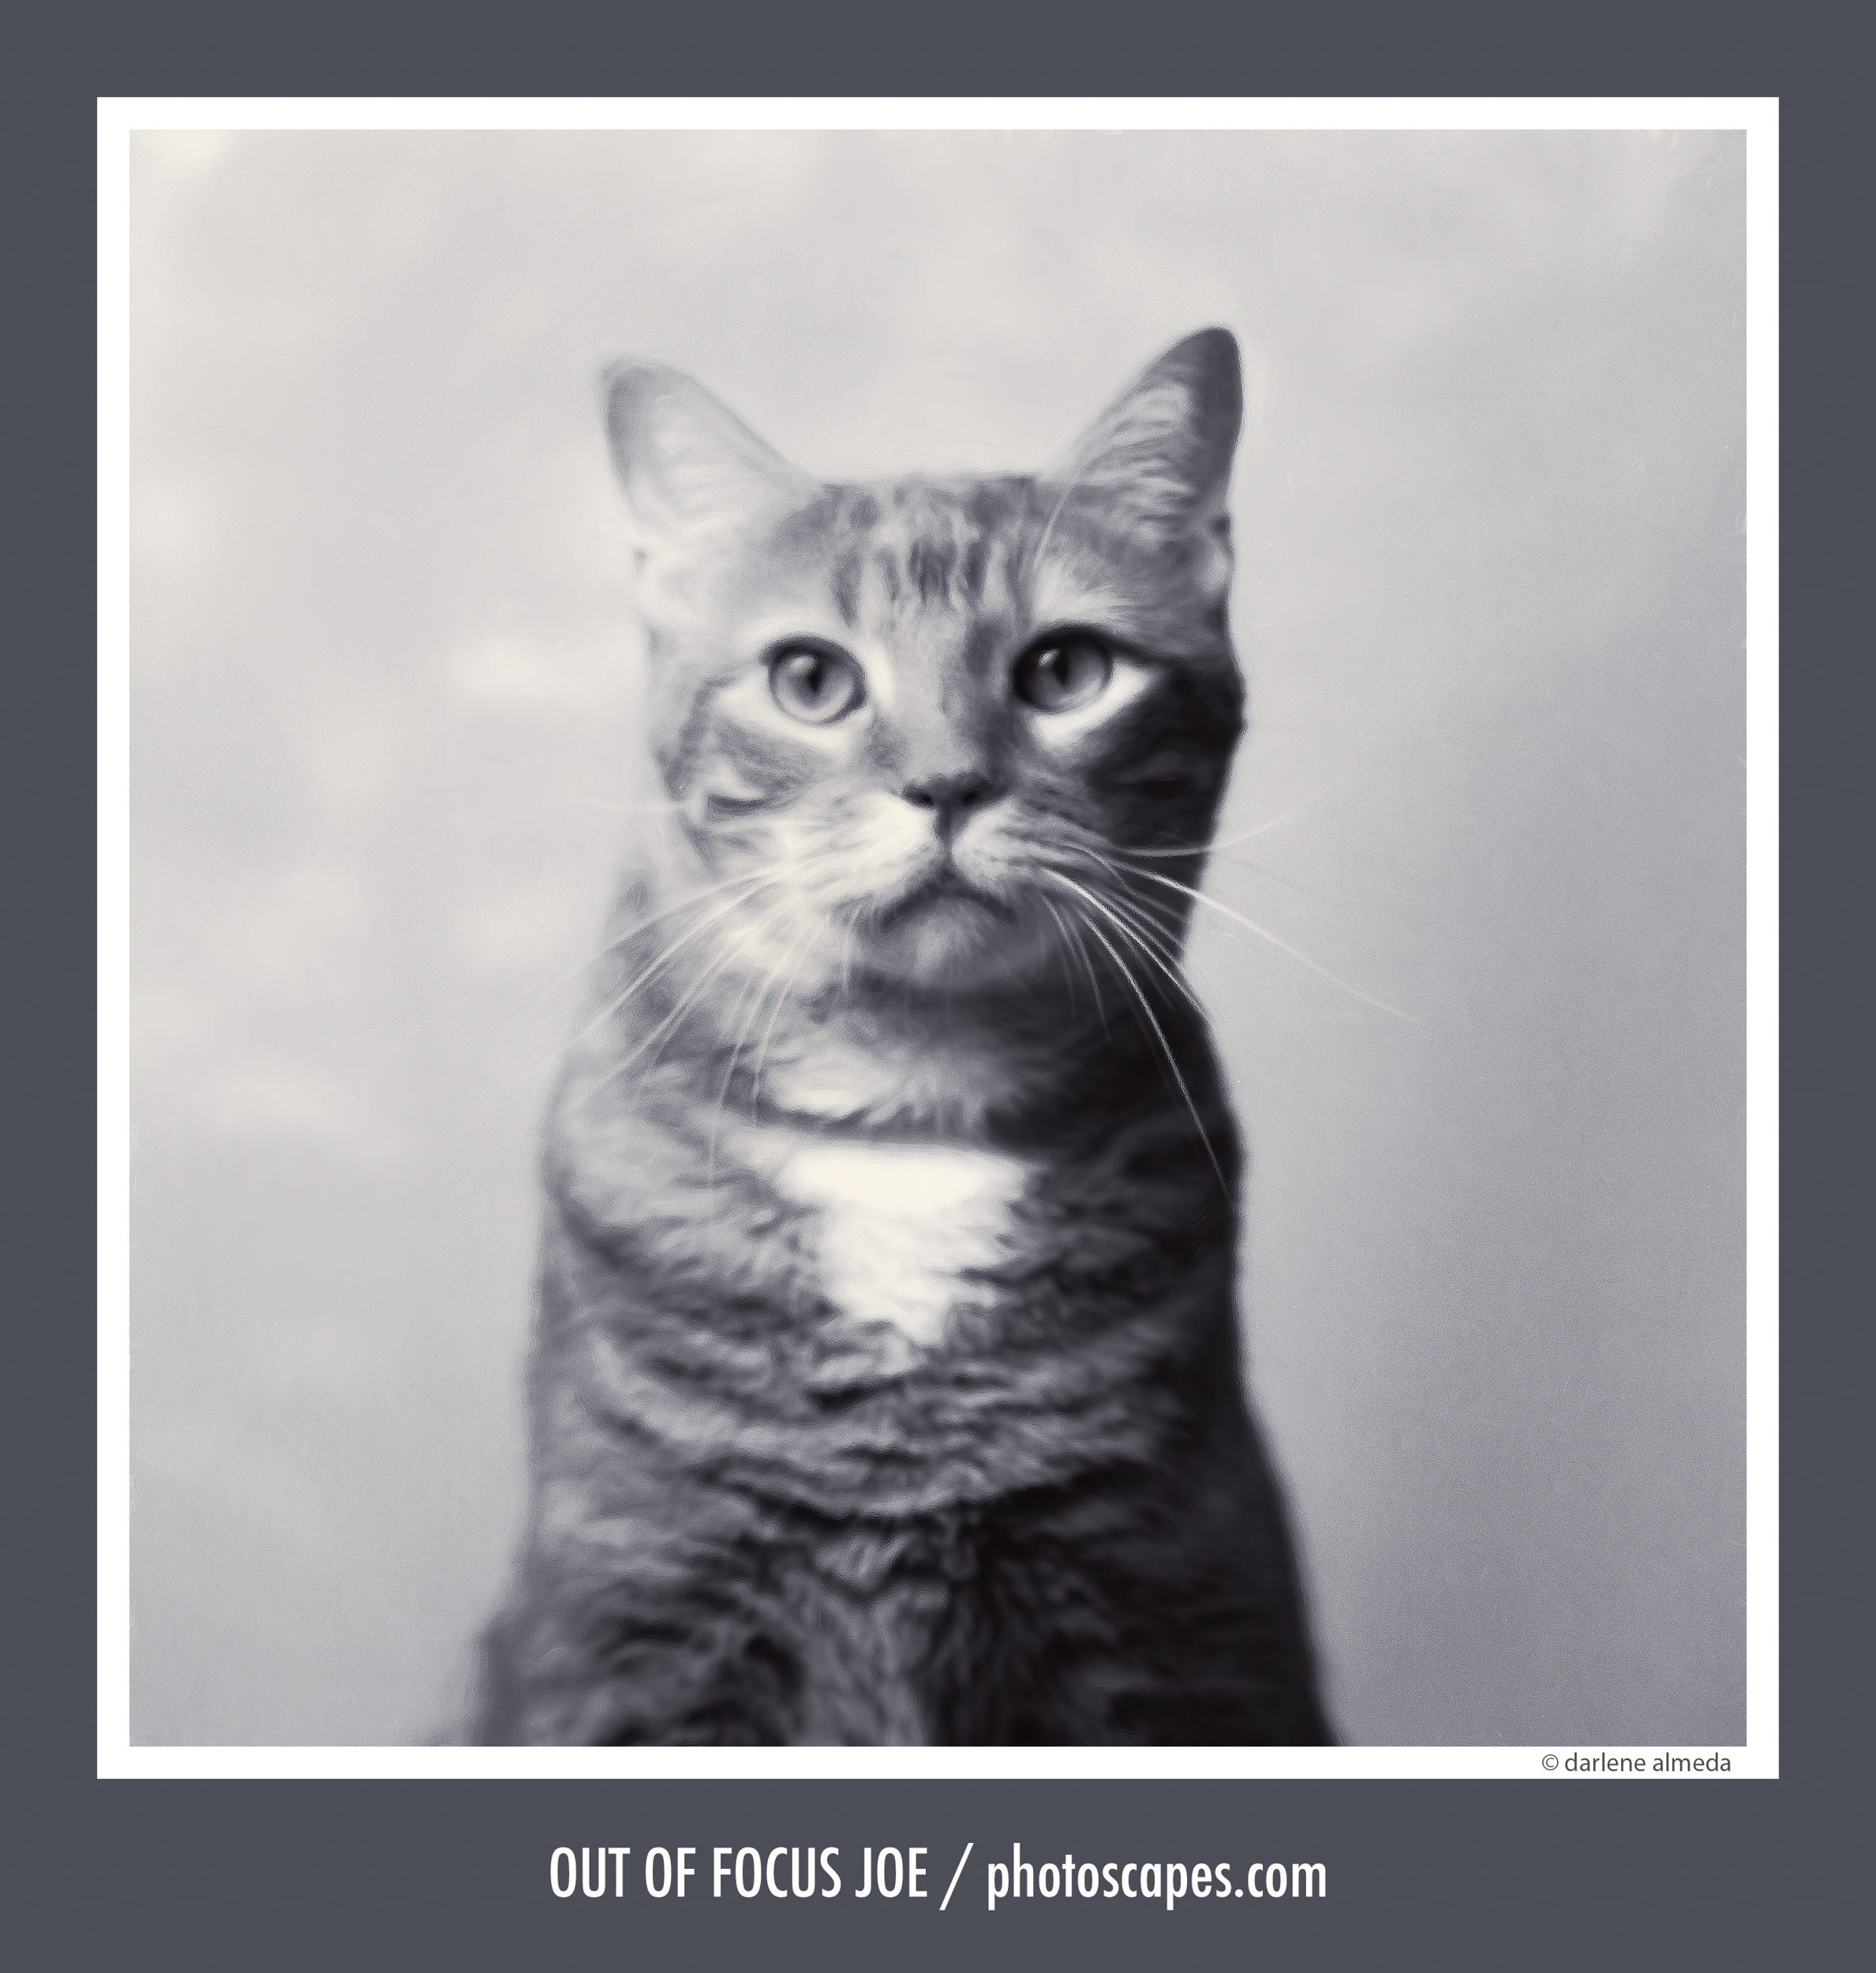
Image #3, Out of Focus Joe was the last shot on the roll, and a pose I had hoped to get, but missed focus. I like it just the same. I might give it an artsy twist someday after it sits in my Lightroom catalog and distills for a while.
What excites me most is seeing the contrast in Joey’s personality across these portraits. I’m delighted with the results, and that roll of 120 film might have been the fastest twelve frames I’ve shot through a Hasselblad in years. The entire session, at least the film part, was over in less than five minutes.
When I designed The Shoot checklist, I added one key reminder: #5 SHOOT AREA – Set for “Speed.” I knew I’d need to stay light on my feet. Working with the Hasselblad and its hefty, manual-focus CFi 180/4 slows you down, and I was prepared for that.
Next, we’ll take a look at the film workflow, then we will move to the contact sheet and negatives, and finally, I’ll share the developer and fixer formulas I’ve fine-tuned for my black-and-white work over the years.
The Film Workflow
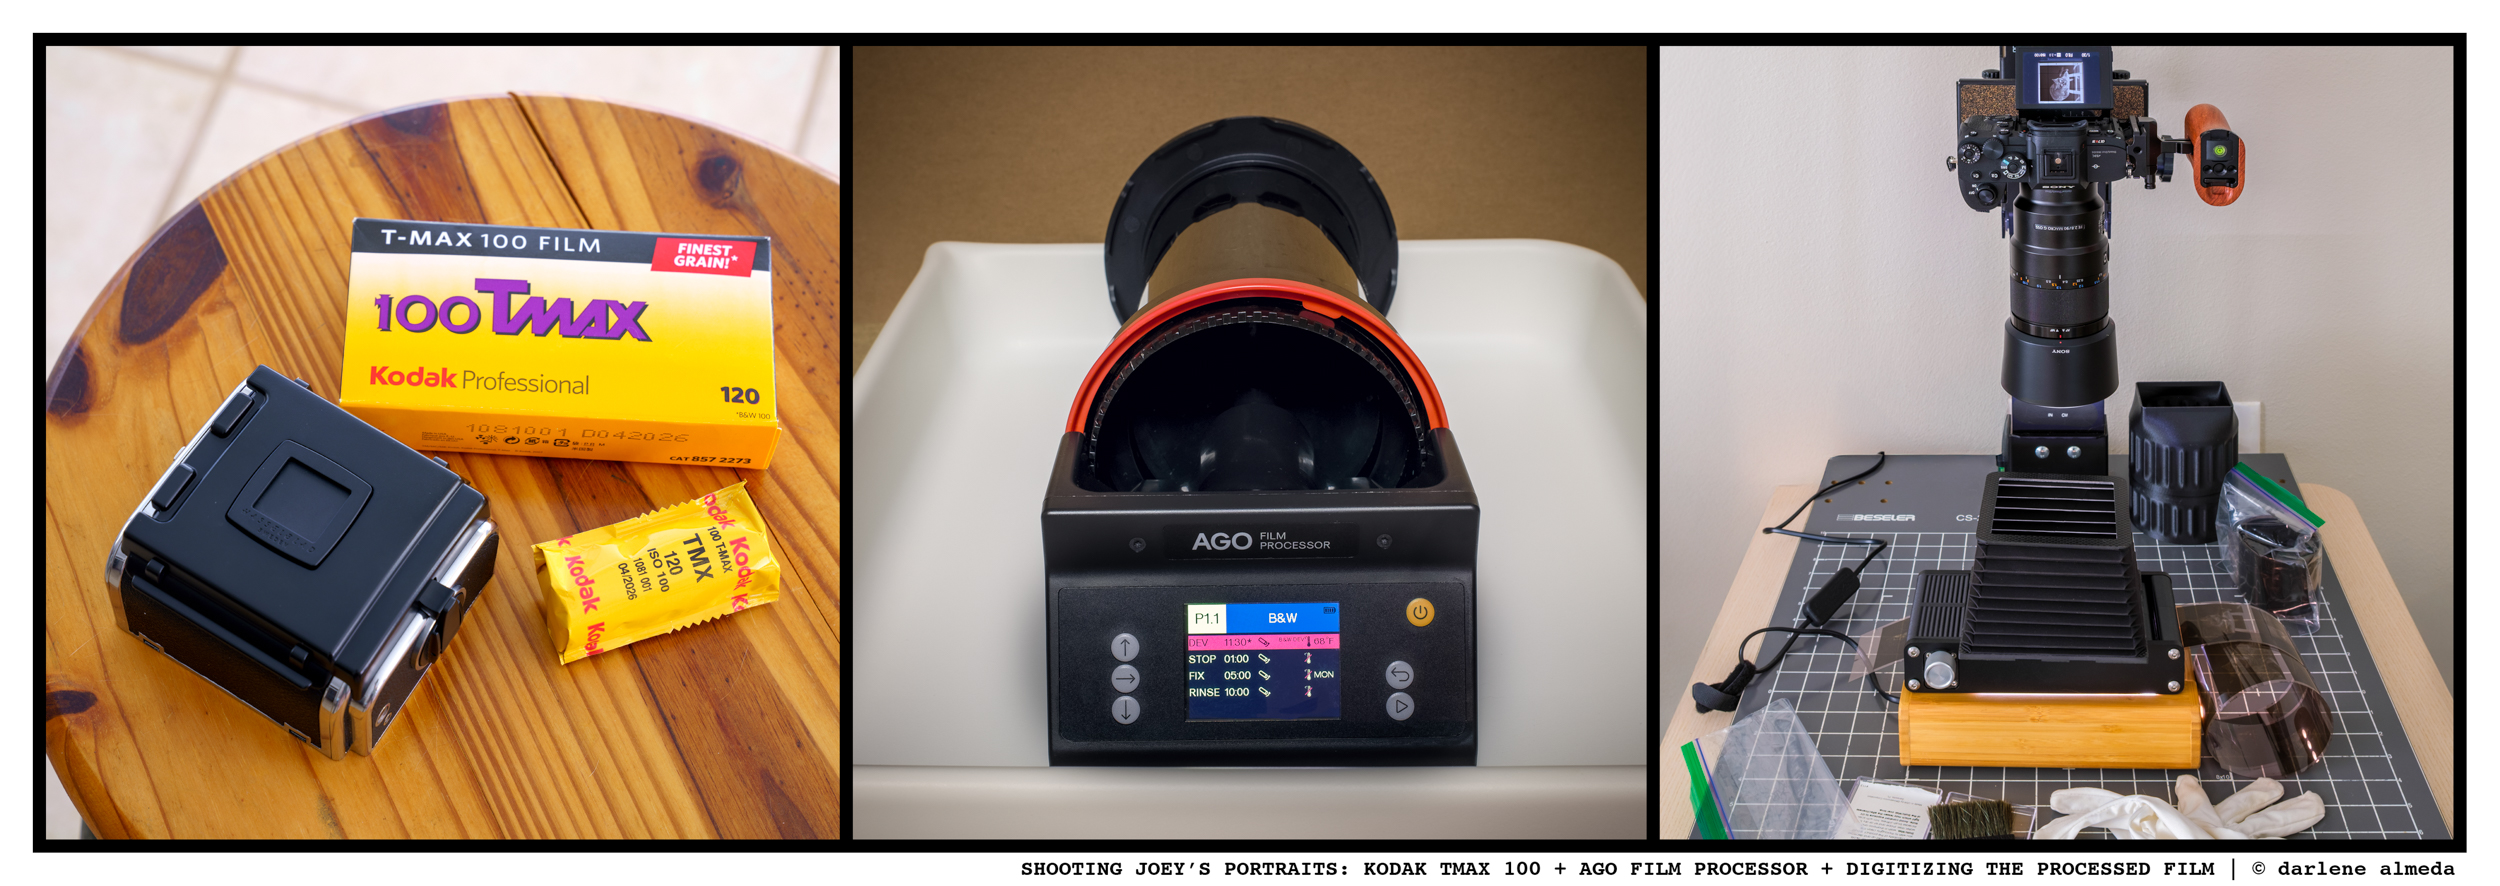
TMAX 100 + AGO FILM PROCESSOR + DIGITIZING THE FILM
Behind every portrait is a workflow that carries the film from camera to finished image. Once Joey’s session wrapped, my focus shifted to the practical side — developing the TMAX 100 I had chosen for the shoot, running it through the AGO processor, and finally digitizing the negatives for editing and printing. Here’s how that process unfolded.
I chose TMAX 100 because I like how it renders in the studio: clean tones, steady contrast, and just the right balance for the look I had in mind. I also had one last roll waiting to be developed, and since I prefer to process film in pairs, it was the natural choice.
Since acquiring the AGO Film Processor earlier this year, I’ve been able to refine my black-and-white workflow. Before the AGO, I often spent too much time hand-developing, but now I can move from shoot to negatives with more consistency. It hasn’t just sped things up; it’s helped me get into a rhythm that keeps me focused on the images rather than the mechanics.
Digitizing, on the other hand, is still a bit of a moving target. My tools are a mix: a Negative Supply carrier on a Skier Copy Box, topped with a viewing bellows from my Ebony 4×5. This time, I also tested the Negative Supply Full Border Scanning Cassette with ANR glass. Since the Negative Supply hood didn’t fit the Full Border Scanning Cassette, I improvised by pulling out the 4×5 bellows, which worked surprisingly well.
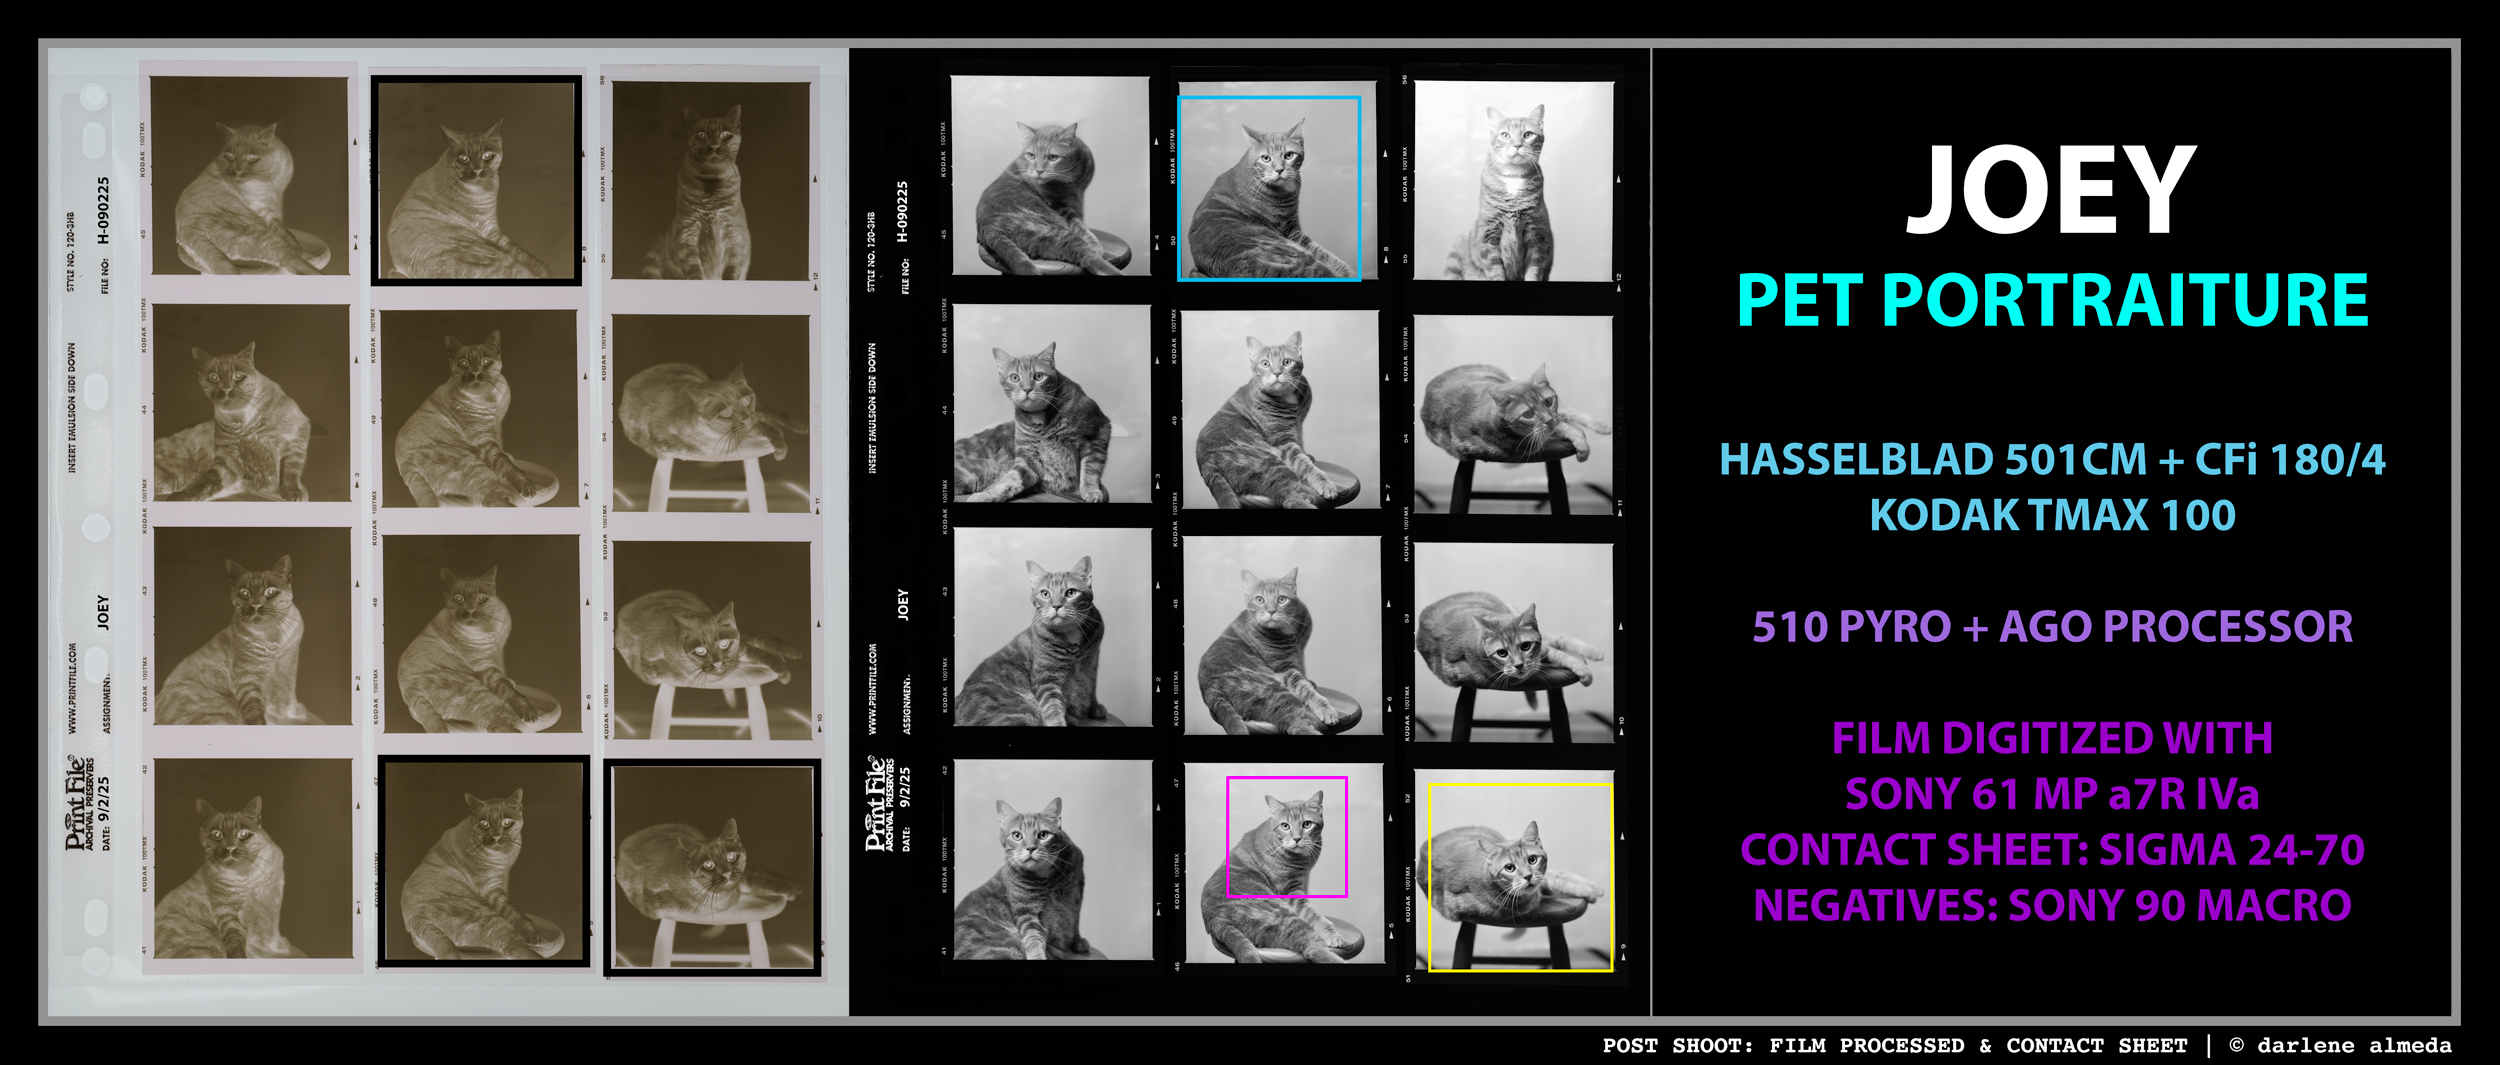
The capture side is digital: a 61 MP Sony a7R IVA with the Sony 90mm f/2.8 Macro G OSS for individual negatives, and a Sigma 24–70mm f/2.8 DG DN Art lens for contact sheets. It’s a hybrid setup, blending analog film with digital precision. Although a bit cobbled together, it delivers what I need: reliable scans that preserve the character of the negatives without interfering with the process.
My Film Developer & Fixer Recipes
FILM NEGATIVES & CONTACT SHEET
I process my black-and-white film in the staining developer 510 Pyro. What hooked me on 510 Pyro was the way the stain interacts with light, softening highlights and giving them a glow no other developer achieves. Once I saw it, I couldn’t unsee it. I purchase my 510 Pyro from Bostwick & Sullivan.
Another reason I prefer 510 Pyro is that I only use 5 mL per 500 mL of water. When using the AGO film processor and the Paterson Universal 3 Reel Tank, I only need 450 mL of developer—half of what is typically used. Even though the AGO only requires 450 mL for two rolls of 120 or 6 sheets of 4×5 in the MOD 54 reel, I use 500 mL, and my film comes out perfect.
510 Pyro has an excellent shelf life; however, it stains anything it comes into contact with, so it’s essential to wear protective clothing. Since it is considered a toxic substance, you should take precautions to avoid getting it on your skin or in your eyes. I wear an apron and gloves during the entire film processing session, and you should do the same.
Regarding the fixer, you don’t want it to remove the stain! I use a simple and effective fixer recipe I searched for after deciding 510 Pyro would be my go-to developer. I like that it is a one-shot fixer, avoiding the need to make a stock solution. I mix up the fixer after the developer and have it ready when it’s time to fix. The fixer recipe uses dry chemicals that you can buy on Amazon if needed, but I usually buy mine from Artcraft Chemicals or Photographer’s Formulary.
Closing Statement
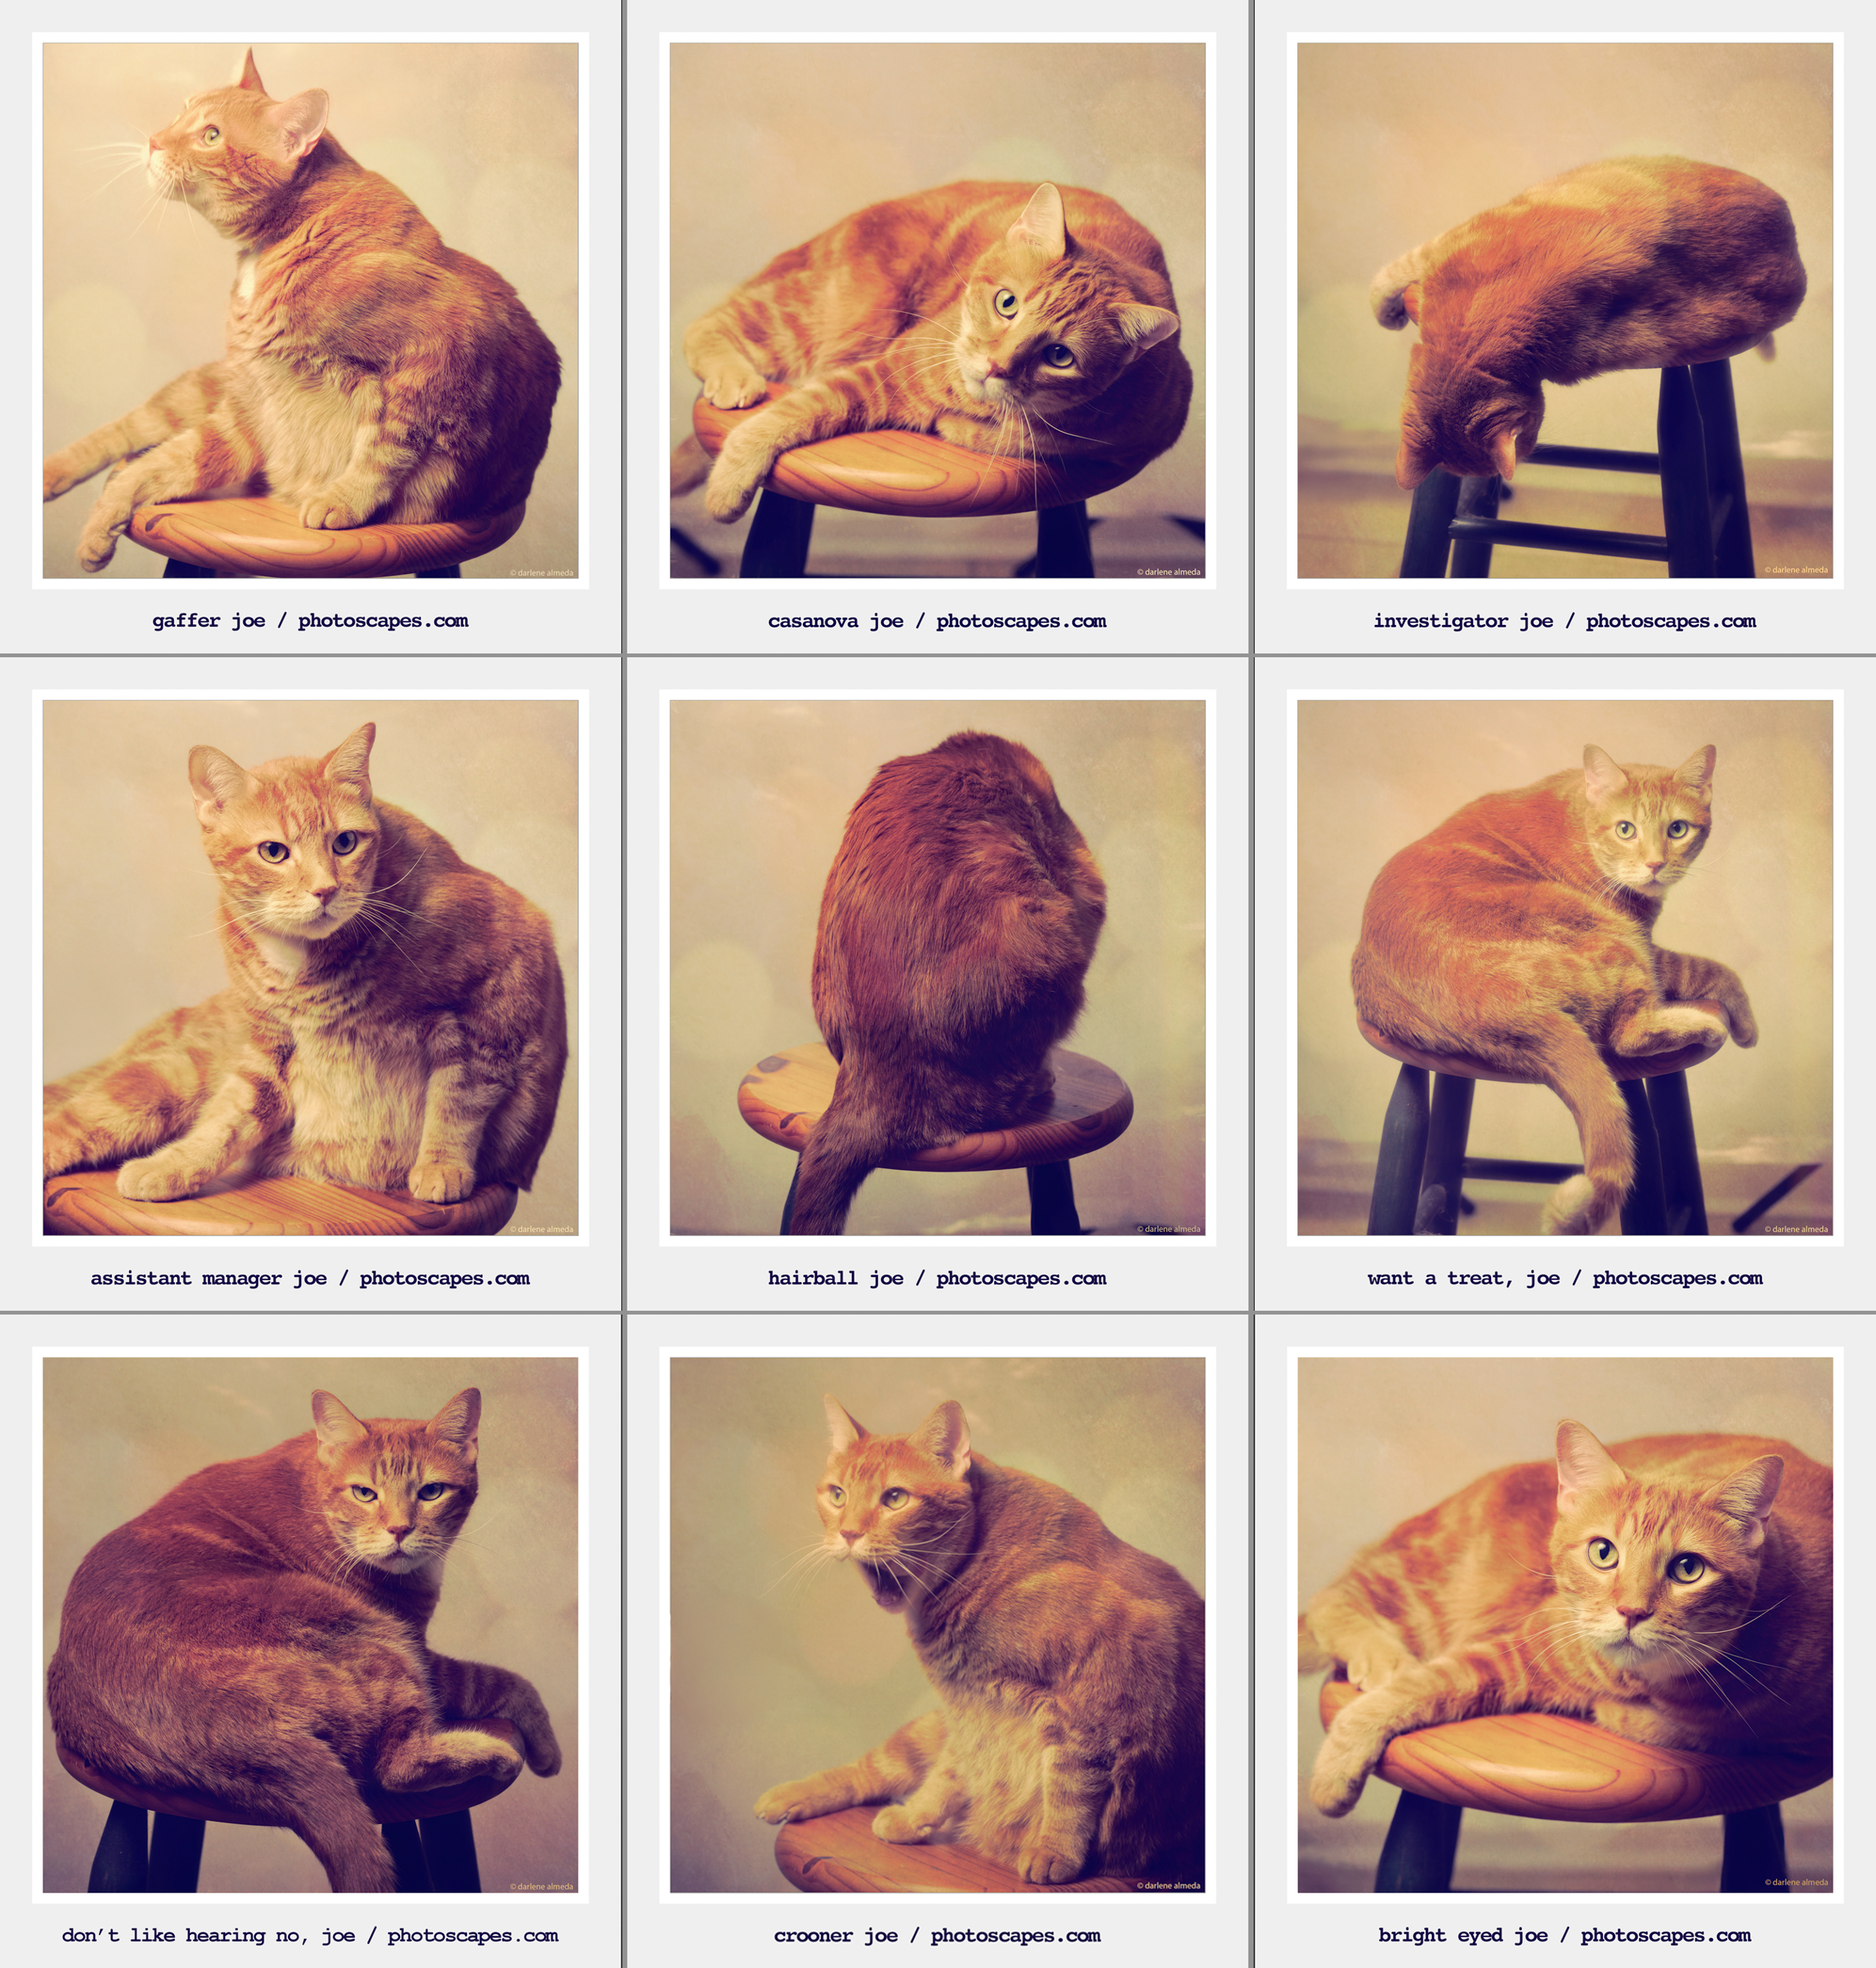
NINE BEHIND: SONY A7R IVa + 90/2.8 MACRO
This brings the series to a close. I hope these notes have added something useful to your photographic toolkit, sparked an idea for your own workflow, or at the very least, given you a smile through the company of my studio assistant, Joey.
Photography is always part technique and part story. Sharing both with you has been a pleasure, and I’m grateful you followed along — light, film, fixer, and feline all included.
Key Takeaways
- Prep matters: A simple checklist keeps shoots moving smoothly.
- Film choice shapes the look: TMAX 100 paired with 510 Pyro brings both precision and a luminous softness to light.
- Workflow tools help: The AGO processor and hybrid digitizing setup save time while keeping negatives consistent.
- Keep it playful: Sometimes the best studio assistant has whiskers; don’t forget to enjoy the process.

