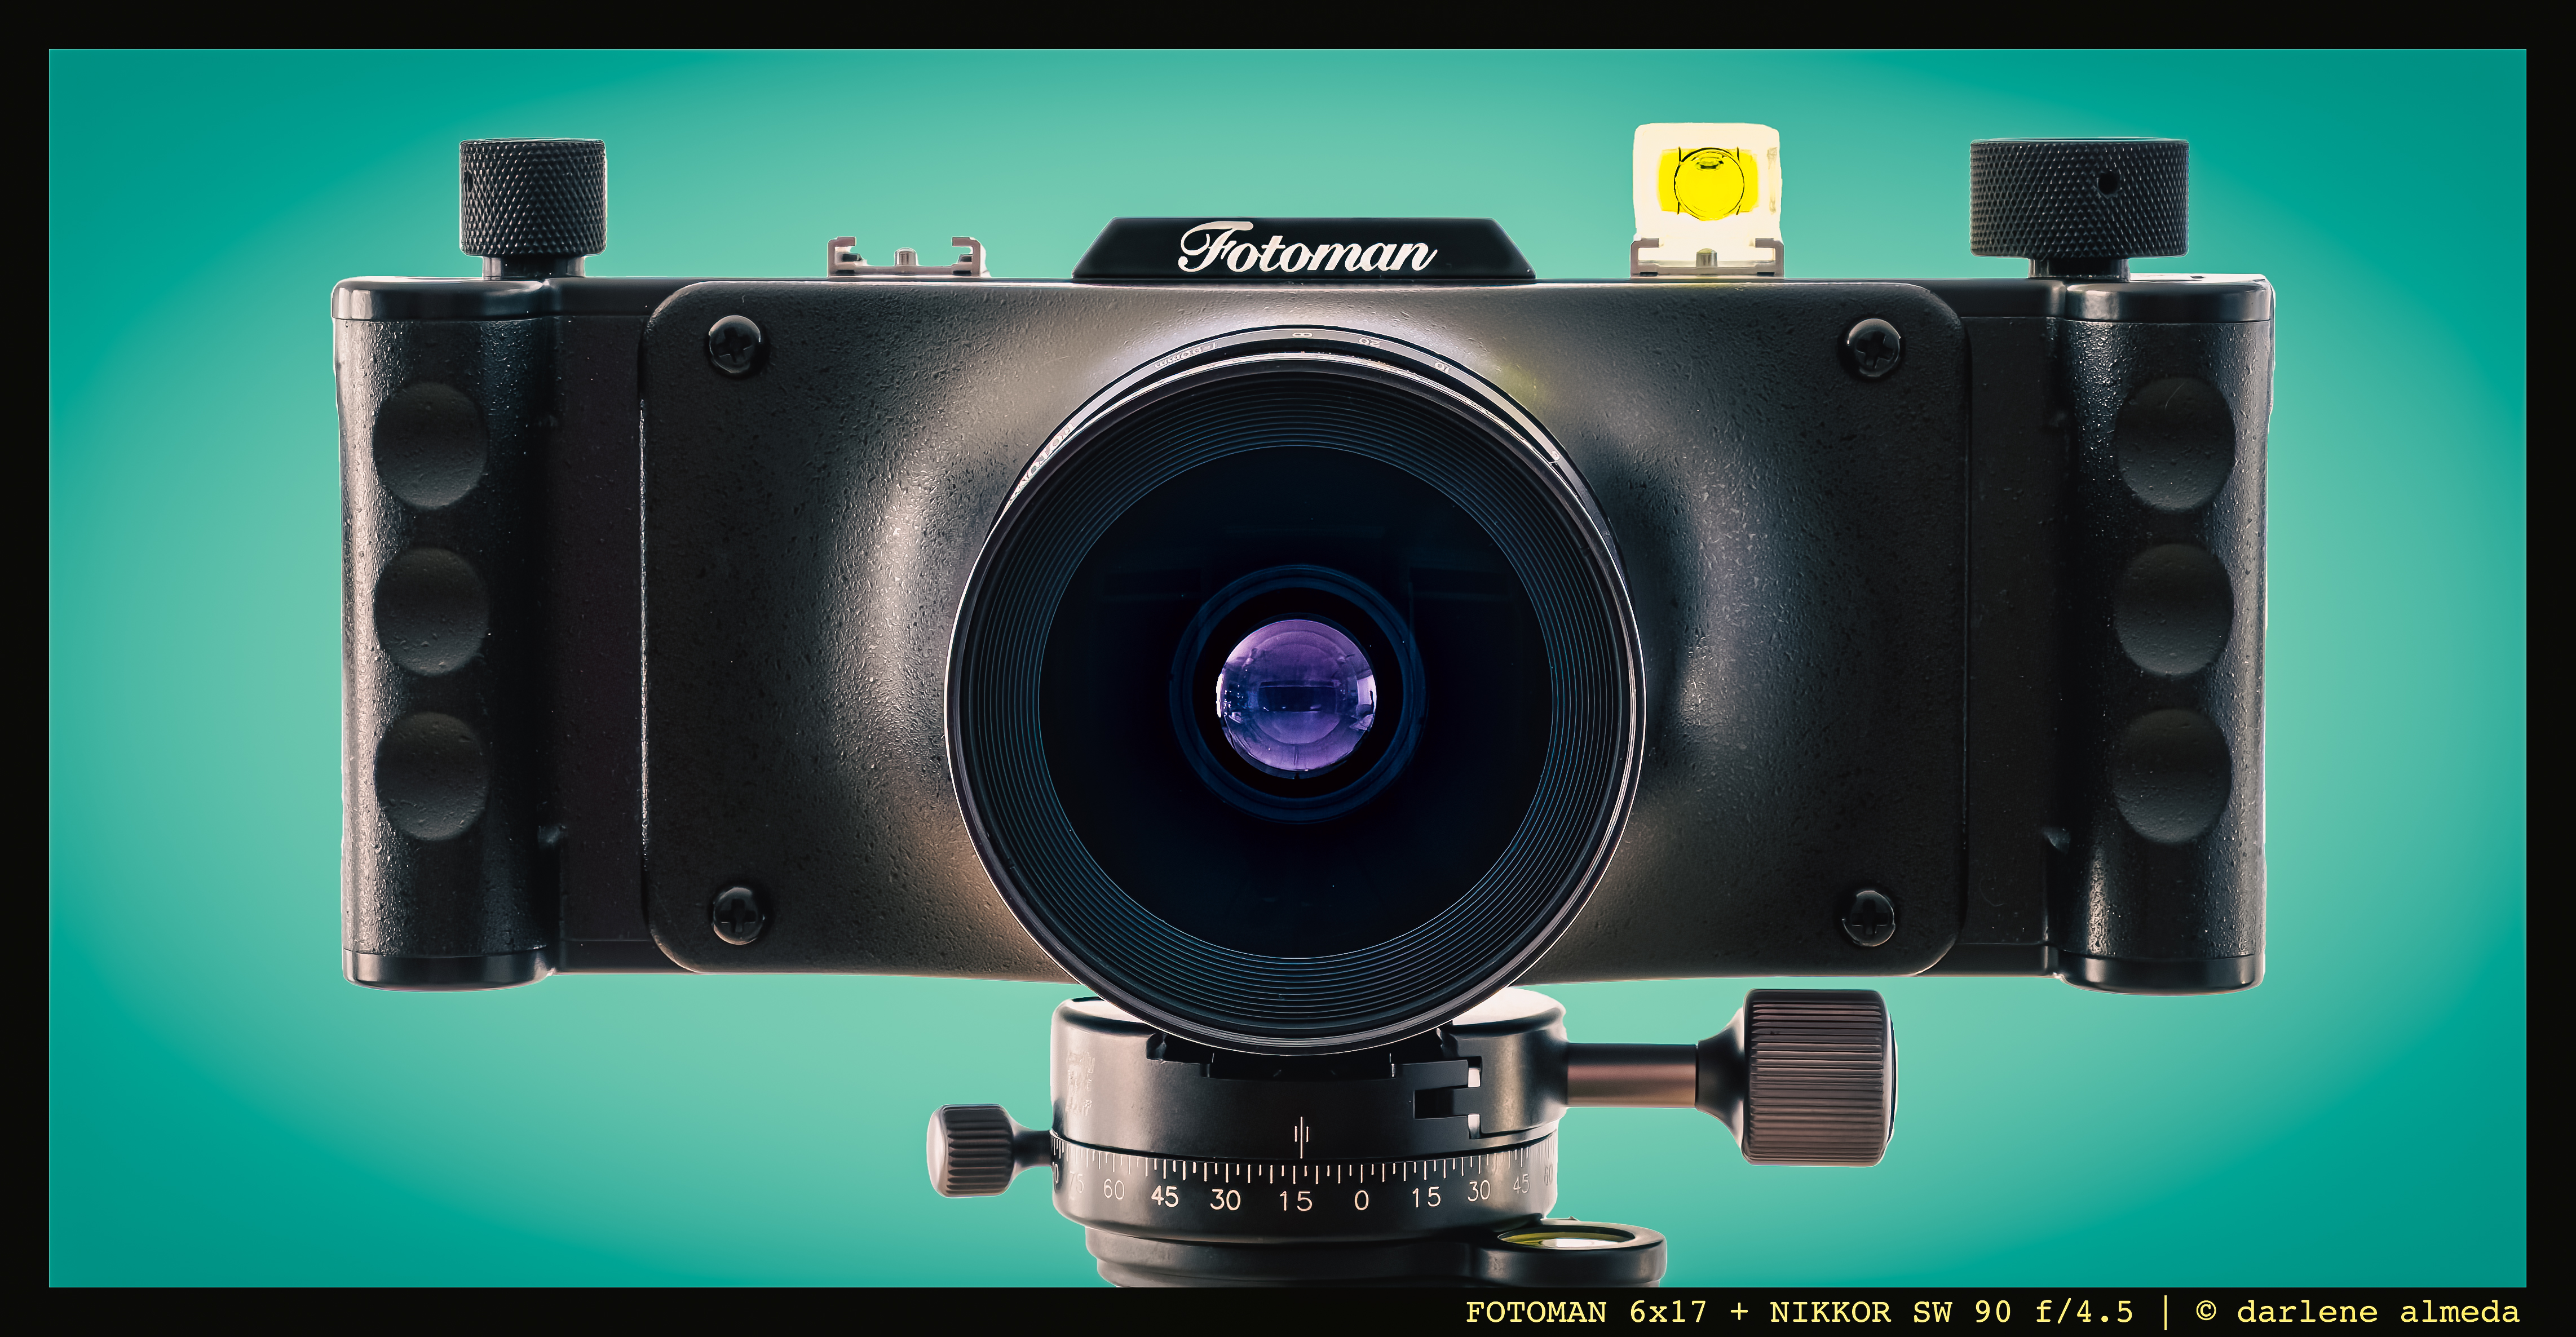
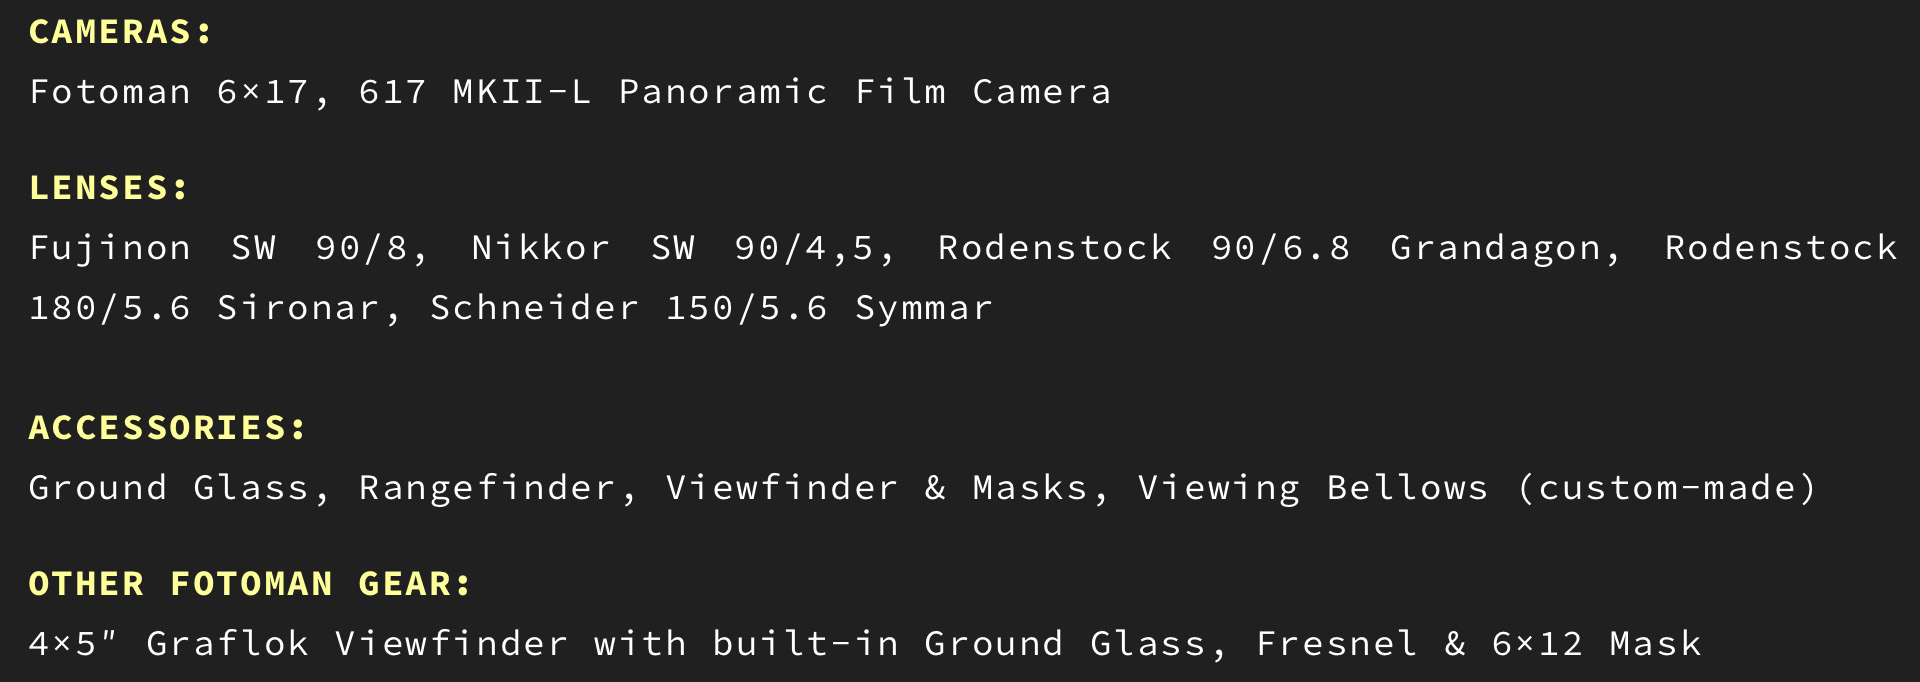
FOTOMAN 6×17 + NIKKOR 90 f/4.5
INTRO
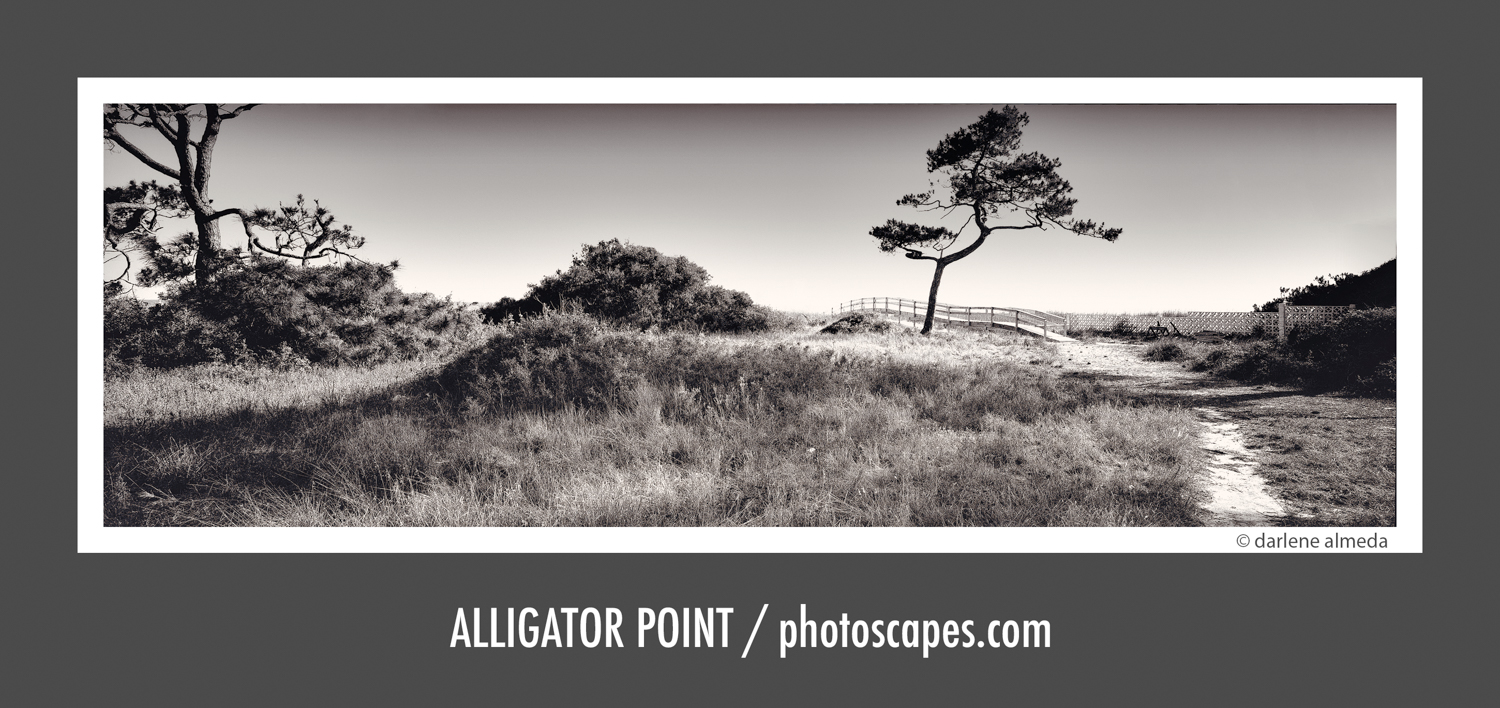
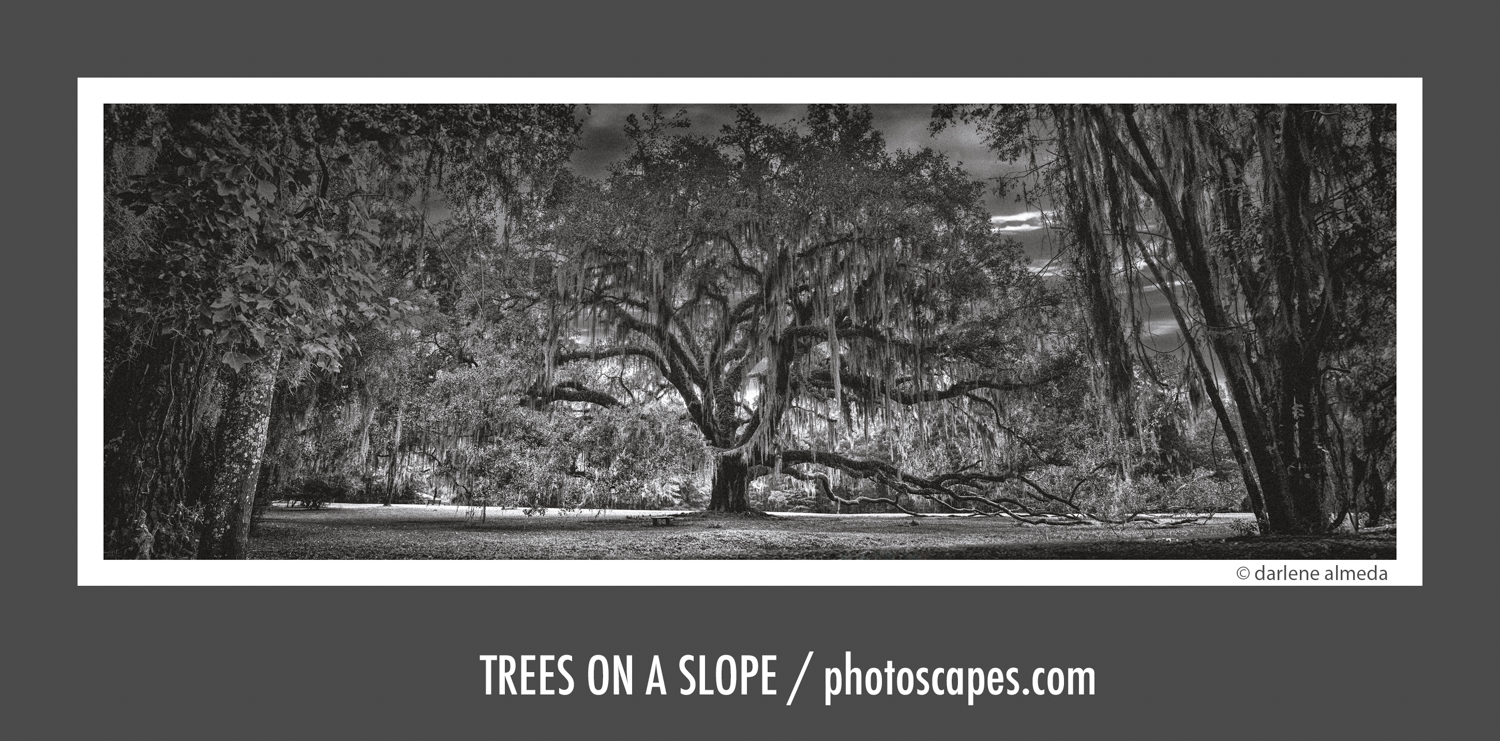
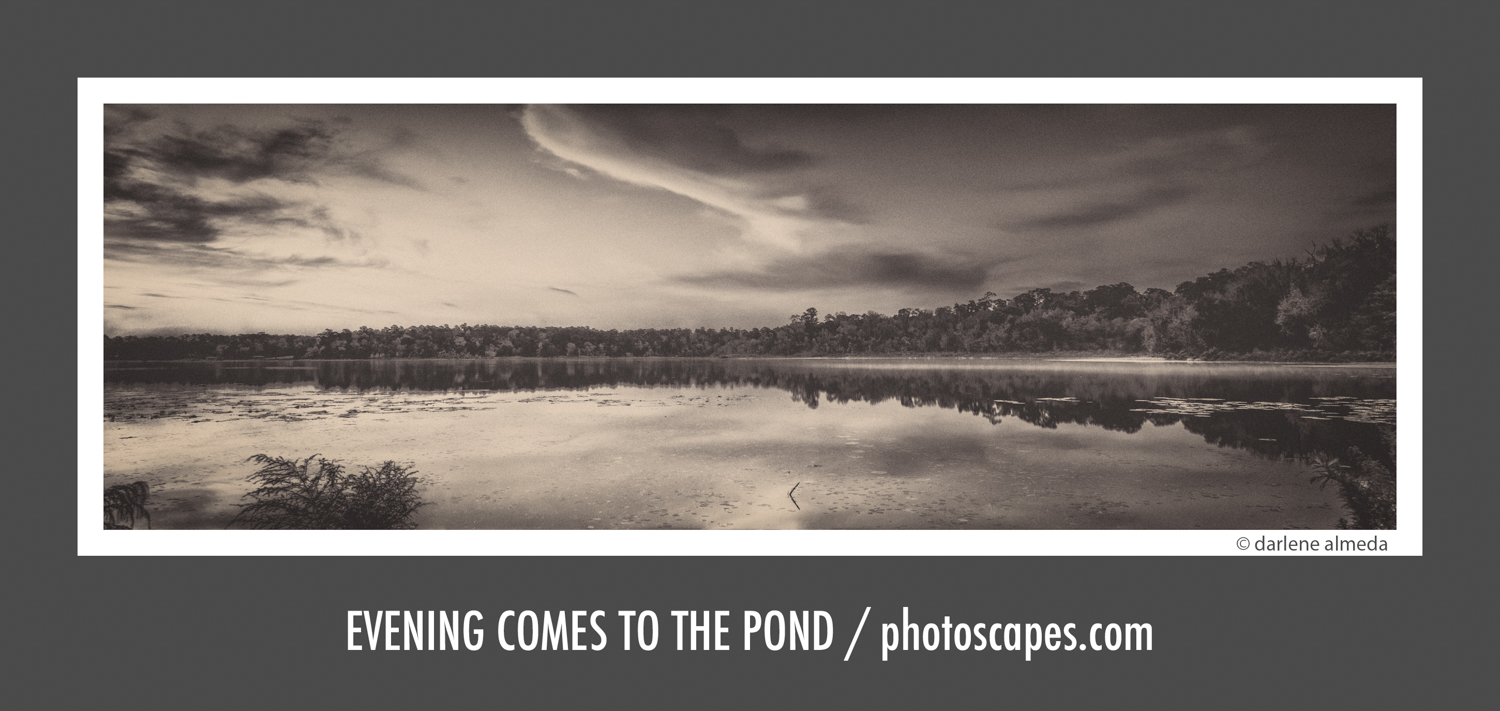
The Fotoman 6×17 is about as simple as a camera can get—just a rugged box for film with a lens on the front. That’s precisely why I love it. Over the years, I’ve owned two, and I still use one today, equipped with a Nikkor SW 90mm f/4.5 and a Schneider APO-Symmar 150mm f/5.6. Between the two lenses, I can move from expansive, sweeping landscapes to more intimate panoramic studies, all on glorious 6×17 negatives.
Back when Fuji and Linhof dominated the 6×17 world, their systems were beautiful but prohibitively expensive. Fotoman offered something different: a stripped-down, affordable way to shoot panoramic film with top-tier large-format lenses. For me, that was the perfect combination—cost-effective and joyfully simple. No rangefinder, no built-in meter, no fuss. Just the essentials and the pleasure of working slowly and deliberately.
What keeps me coming back is the way this camera demands intention. Framing, focus, and exposure are all on me, and that’s part of the reward. The images it produces have a presence and detail that remind me every time why I still carry the Fotoman today.
In the sections that follow, I’ll share more about how these cameras work, what makes them unique, and why simplicity is often the best path to creativity.
Below is a record of the Fotoman cameras and accessories I have experience with. I can be contacted regarding any questions you may have about my experience with these items.
FOTOMAN 617 & 617 MKII-L SPECS
| Image Size: | 56mm x 168mm |
| Film Size: | 120 |
| Focusing: | Helical Focus Mount or optional GG-617 Ground Glass |
| Viewfinder: | 120° with Interchangeable Masks |
| Body Material: | 6061 T Aluminum Alloy |
| Body Dimensions: | 203mm x 111mm x 62mm |
| Weight: | 1.56 kg (3.44 lbs.) Not Including Lens |
KENTMERE 100 + ORANGE 21 + 510 PYRO
FOTOMAN 617 & 617 MKII-L DIFFERENCES
While both the original Fotoman 617 and the 617 MKII-L share the same solid, minimalist design and core functionality, there are a few key differences worth noting—especially if you’re hunting for one on the used market:
(1) Frame Counter Light
The MKII-L features a built-in light on the film advance slider, making it easier to read frame numbers through the dark red window on the film backing paper. This is especially helpful in low-light conditions. (The “L” in MKII-L may stand for “light.”)
(2) Top Plate Differences
The original 617 includes a cold shoe on the top left of the body. In the MKII-L, this was replaced with a built-in bubble level—a small but helpful change for leveling your panoramic compositions.
(3) Serial Number Placement
Earlier models didn’t include a visible serial number. The MKII-L has a serial number engraved on the bottom plate of the camera.
(4) Front Logo Variations
Some models feature a Fotoman logo above the lens, while others may say Fotoman Professional. My current camera has the standard logo, while my previous MKII-L may have had the Professional variant—though I can’t say for sure.
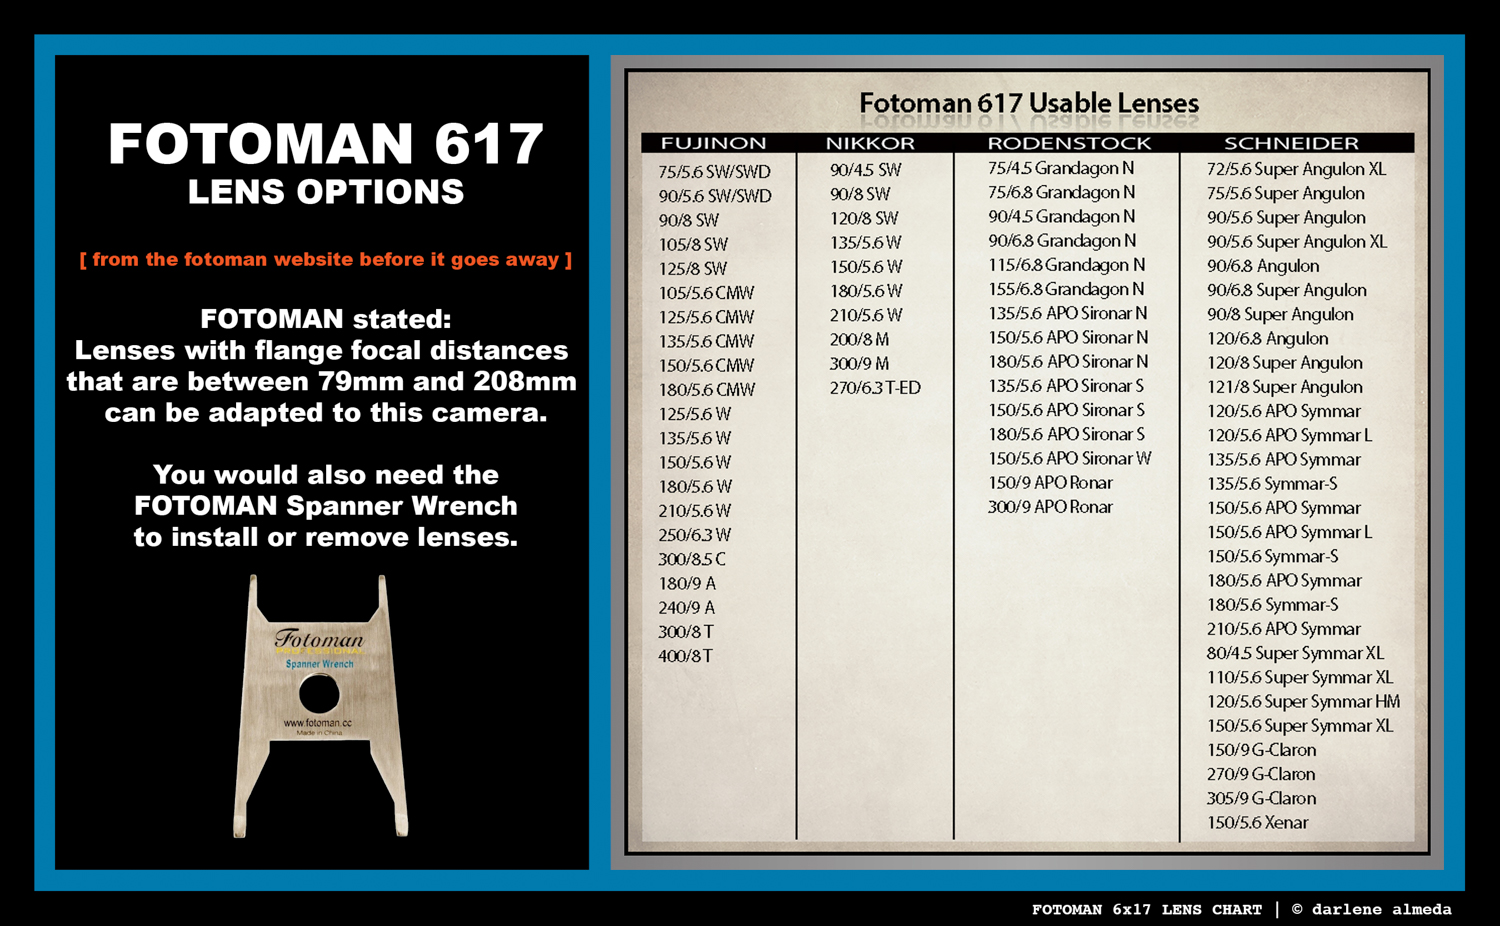
FOTOMAN 6×17 LENS CHART
FOTOMAN 6×17 LENS CHART
The lens options listed above come from the original Fotoman website. Because of the size and design of the lens cones, removing lenses from both Fotoman cameras I’ve owned required a Fotoman-specific spanner wrench. Fortunately, I was able to track down another after including the first one along with my original camera.
WHO THE FOTOMAN 617 IS FOR
One of the standout features is how straightforward the camera is to load. The film advance and rewind knobs turn with a smooth, reassuring feel. However, there’s one important habit to adopt before loading film: close the shutter—and optionally, place the lens cap on. Unlike a 4×5 camera, there’s no dark slide to protect the film while you configure the lens. That’s a key distinction, and one that’s easy to overlook if you’re used to traditional sheet film workflows. To avoid any mishaps, I came up with a simple solution that works well for me.
Bottom Line: If you’re a photographer who enjoys the 6×17 film format and is looking for a camera that operates quickly—especially when using hyperfocal focusing—while being lighter than a traditional 6×17 field camera and suitable for working with just one or two lenses, the Fotoman 6×17 is definitely worth considering. Having owned two of them over the years, I can confidently say that it’s one of the few cameras that consistently draws me back due to its simplicity, reliability, and the joy it brings to the photography process.
WHO THE FOTOMAN 617 IS NOT FOR
The Fotoman doesn’t include modern conveniences like a built-in light meter or a through-the-lens (TTL) viewfinder. You’ll need to meter externally and either use the Fotoman Helical Focusing Mount for zone focusing or attach a ground glass for critical composition and focus.
Keep in mind, this is a lens-and-cone system—if you want to use multiple lenses, you’ll need to own multiple cones, each matched and calibrated to a specific lens. Since Fotoman ceased operations years ago, acquiring extra cones or spacers isn’t easy. They do pop up occasionally on the used market, but no one (that I’m aware of) is currently manufacturing them.
Bottom Line: If you’re a photographer who enjoys using multiple lenses, prefers the precision of ground glass for focusing, and is willing to carry a bit more weight for added flexibility, the Fotoman 6×17 may not be the best option for you. This is particularly true if hyperfocal focusing feels more like a mathematical challenge than a technique you enjoy. In that case, consider the Shen Hao 6×17; it’s a better fit for a more traditional panoramic workflow that involves multiple lenses.
MY JOURNEY BACK TO THE FOTOMAN 617
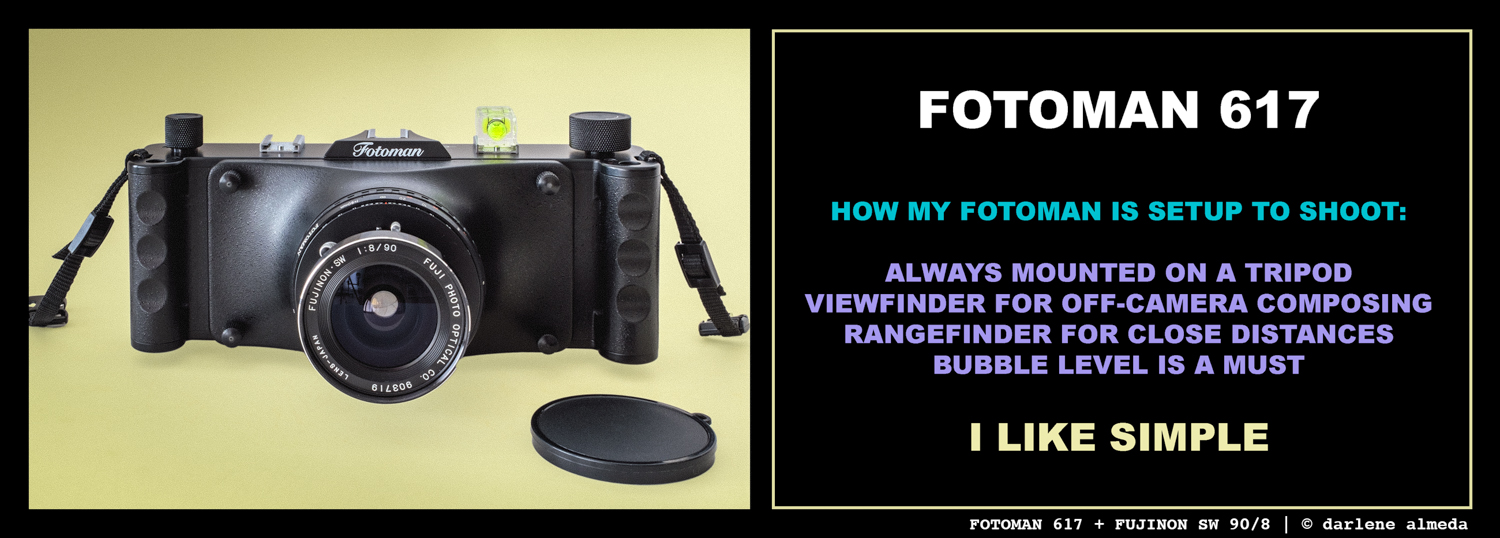
FOTOMAN 617 + FUJINON SW 90/8
It was in 2009 when I acquired a brand-new Fotoman 617 MKII-L camera directly from the factory. Shortly after receiving the camera, I received news that Fotoman was closing its facility. I used the camera for about twenty rolls of film before selling it to a photographer in the UK. Back then, my life was a whirlwind of attending and teaching school while running a business, leaving me with a surplus of cameras and insufficient time for landscape photography. Nonetheless, I always regretted letting go of my Fotoman kit and hoped to get another one someday when I had more time to shoot with it.
I finally got the chance to shoot 6×17 years later when I picked up a brand-new DAYI 6×17 camera, complete with a lens cone for the Nikkor SW 90mm f/8. At first, I was excited—but that didn’t last. The DAYI just didn’t meet my expectations. The lens cone was poorly made (you can read more about that experience here), and my initial enthusiasm faded fast. Honestly, it just made me miss my old Fotoman even more.
I started weighing my options—maybe I’d save up for a Shen Hao 6×17 Field Camera, or maybe it was time to start hunting down another Fotoman.
The thought of getting another field camera—a size up from my 4×5—just didn’t excite me. I’d owned a 5×7 once, but it was too big and clunky to take anywhere beyond the studio. What I really missed was the Fotoman. It had been solid, simple, and dependable—everything I needed, nothing I didn’t. That memory stuck with me, and before long, the search to find one again had quietly begun.
It wasn’t easy finding one.
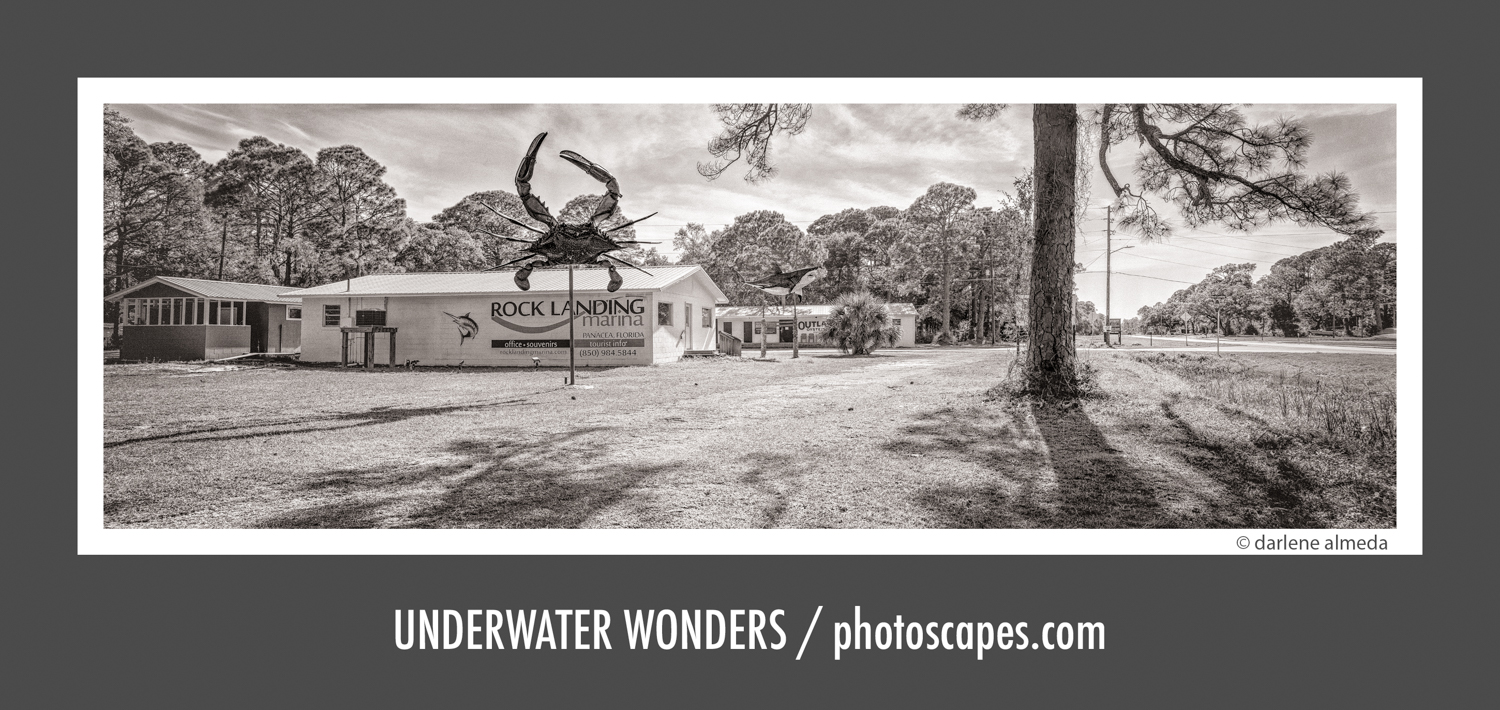
IMAGE: UNDERWATER WONDERS ON LAND
FOTOMAN 6×17 + FUJINON SW 90/8 + ACROS II/510 PYRO
In a remarkable twist of fate, I chanced upon a pre-owned Fotoman 617 camera paired with a Fujinon SW 90/8 lens, offered for sale by a reputable dealer in the USA. To my sheer delight, the camera and lens were in excellent condition and allowed a tryout period. Above is one of the first images made with the camera. Following is everything I know and feel about the Fotoman 617 that I currently enjoy shooting. Be sure to check out my DIY viewing bellows if you are like me and do not like shooting under a dark cloth outside of the studio.
I eventually swapped out the Fujinon lens for a Nikkor SW 90mm f/4.5 that had been sitting on my shelf. I wrote two posts detailing the process of replacing and calibrating the lens. It’s not particularly difficult—if you’re comfortable working with precise, detail-oriented tasks. My background as a commercial artist taught me that I actually enjoy that kind of focused, solitary work.
That said, if you’d rather leave the hands-on adjustments to a professional, I’d recommend reaching out to Bob at Precision Camera Works. He may be able to help with the lens swap and calibration.
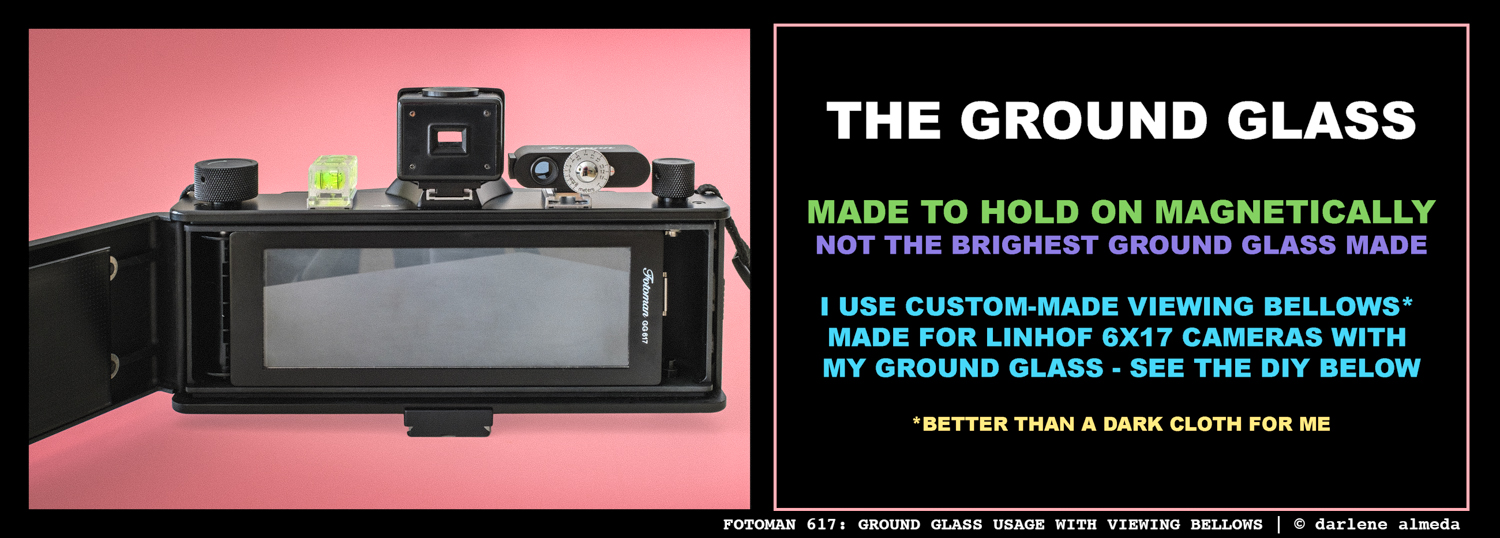
THE GROUND GLASS
FOTOMAN 617: GROUND GLASS USAGE WITH VIEWING BELLOWS
Even though I mostly rely on the hyperfocal method, I still use the ground glass now and then—especially when I want to double-check framing or critical focus. That said, the ground glass on the Fotoman 6×17 isn’t exactly winning any awards. It gets the job done, but it is not the best I’ve ever used.
At some point, I may hunt down someone who can swap it out for something brighter. I know better options exist—my Fotoman 6×12 viewfinder (used with my 4×5 field cameras) has a fantastic ground glass, so there’s hope.
If you’re considering upgrading yours, just remember: the metal frame that holds the ground glass is designed to fit precisely with the magnetic back of the camera. So whatever you do, keep the new ground glass in the original frame—otherwise, you might end up with a misaligned mess and some very confused film.
USING THE GROUND GLASS AFTER FILM LOADING
One notable feature of the Fotoman 6×17 is its lack of a film frame-stopping mechanism. Instead, it uses a dark red window on the back to show the frame numbers printed on the film’s backing paper.
It’s worth noting that this setup makes the camera incompatible with 220 film, which lacks backing paper beyond the start and end, leaving the window useless.
This brings up a common question: Can you still use the ground glass after film has been loaded? The answer is yes—with care. You can rewind the 120 film while leaving it in the camera body, reinstall the ground glass for precise refocusing or recomposing, then reload the film onto the take-up spool and continue shooting from the correct frame. Just be sure to track the frame number accurately to avoid overlap or wasted exposures.
I highly recommend practicing this technique a few times with a spare roll of film before incorporating it into your regular shooting workflow. It takes a little finesse, but it’s a valuable workaround when precision matters.
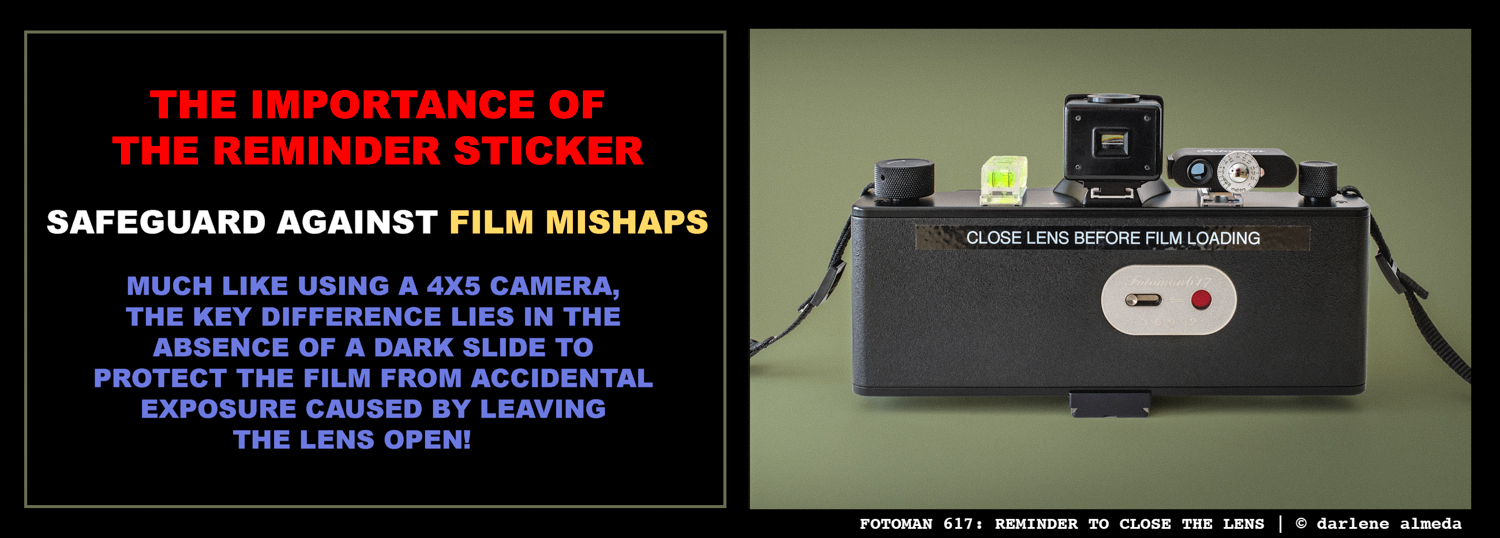
CLOSE LENS BEFORE FILM LOADING: A HELPFUL LABEL
FOTOMAN 617: REMINDER TO CLOSE THE LENS
Once I got back to shooting with a Fotoman 6×17, I quickly relearned one of the golden rules the hard way: close the shutter after focusing. You’d think I’d remember something so basic—but nope. Things slip when you’re juggling a ground glass, a dark cloth (or in my case a viewing bellows), wind whipping around, and storm clouds rolling in. Like… the light, right through your open lens.
After a few frames of beautifully fogged film (modern art, anyone?), I made myself a sticker—the one you see above—and slapped it on the back of the camera. It’s my not-so-subtle nudge never to skip the most important step: CLOSE LENS BEFORE FILM LOADING, because reminders are cheaper than ruined exposures.
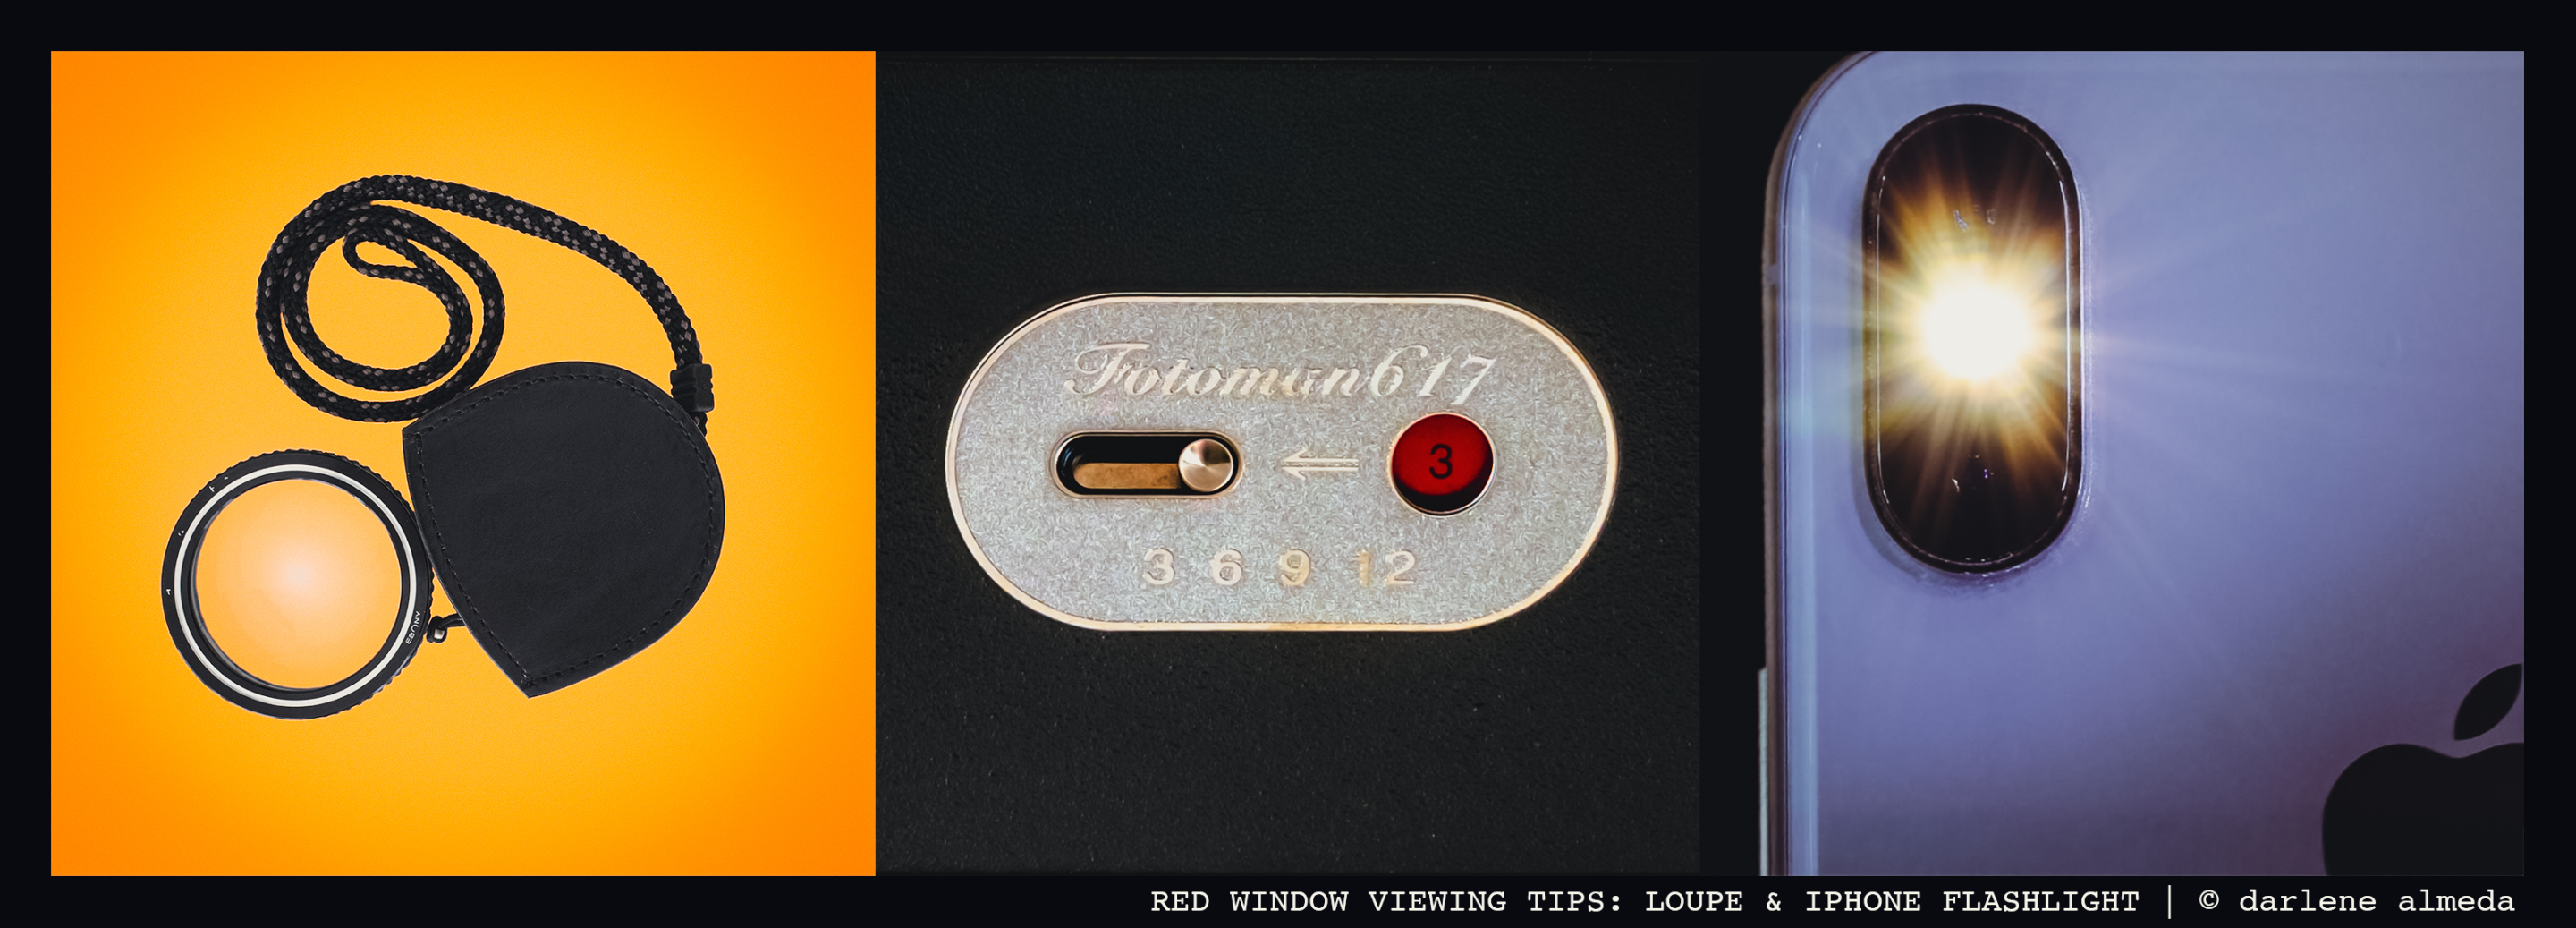
RED WINDOW VIEWING TIPS
FOTOMAN 617: RED WINDOW VIEWING TIPS
After receiving my second Fotoman 6×17, several years had passed since I owned the first. In that time, my eyesight had naturally worsened—thanks to both aging (it happens to most of us) and the relentless brightness of the Florida sun, where I live. My eyes have since become light-sensitive, and I now wear sunglasses almost anytime I’m outdoors. But when I’m working with a camera, I leave them off—polarized lenses and optical glass don’t always play well together.
So, I had to quickly come up with a technique that worked for me when advancing film using the Fotoman’s red window. Here’s what I use—and it works exceptionally well, even in full sun.
I rely on two tools I always bring on photography shoots:
- My iPhone (for the flashlight), and
- An Ebony handheld magnifying loupe.
The Ebony loupe is essentially a 3.5x close-up lens on a lanyard. It’s ideal for aging eyes and has been my go-to for reading the tiny numbers on large-format lenses for decades. If you’re looking for something similar, search eBay for “Leaf Hand Loupe with Rubber Cover (3.5X).” It’s the same magnifier, just without the lanyard.
When advancing film, I shine the iPhone flashlight over the red window and use the loupe to clearly read the frame numbers—even in bright sunlight. Some film manufacturers use light grey ink that barely shows through the red glass, so if you’ve struggled to see those numbers, give this method a try. It’s quick, simple, and has made a big difference for me in the field.
SHOOTING THE FOTOMAN 6×17
FOTOMAN 6×17 GROUND GLASS READING
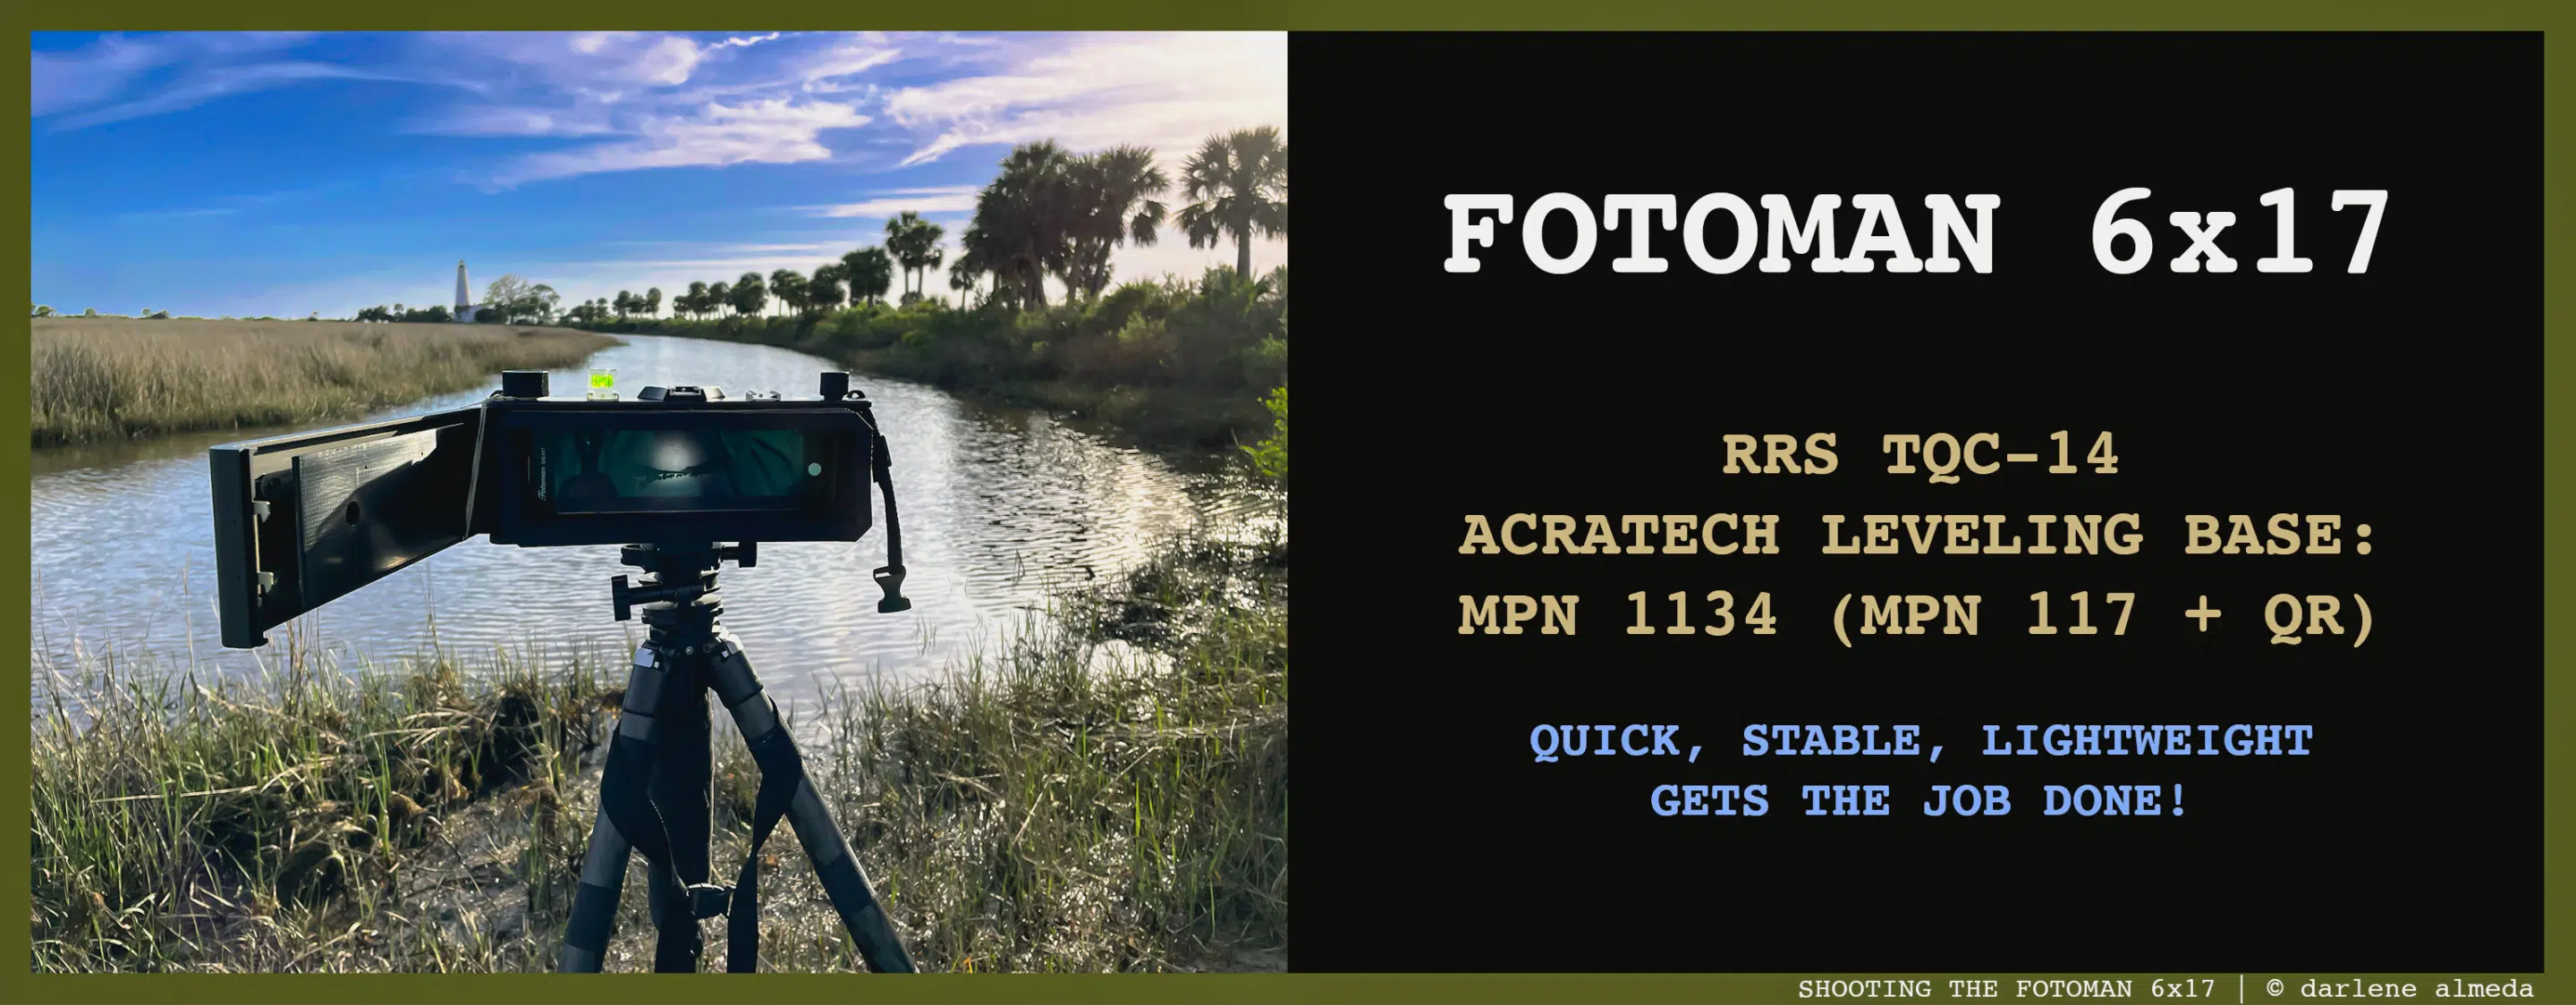
When shooting 6×17 film panoramas with my Fotoman camera, I need a setup that’s quick to deploy, lightweight but sturdy, and—most importantly—just tall enough to meet me at eye level. At 5’3″, I’ve spent most of my career lugging tripods clearly built for basketball players. But these days, I’m over that. I want just what I need and nothing more. The Really Right Stuff QVC-14, paired with the Acratech MPN 1134 Leveling Base (the version with the Quick Release clamp), finally lets me shoot tall without hauling a footstool.
FOTOMAN 617 ACCESSORIES
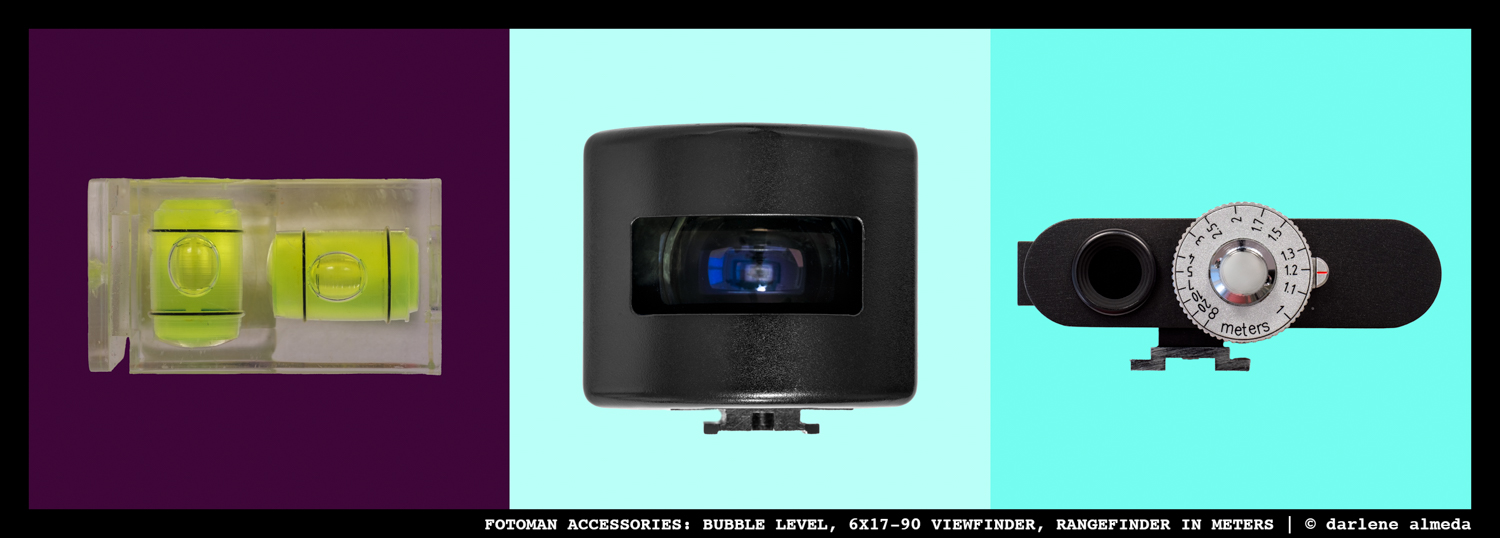
BUBBLE LEVEL, 6X17-90 VIEWFINDER, RANGEFINDER IN METERS
The title above may be misleading, as most of the accessories I use with my Fotoman 617 are not manufactured by Fotoman but by other companies.
The top banner photo of the fully accessorized 617 on this page showcases its complete ensemble, which includes a viewfinder, a rangefinder, a bubble level, and a hand strap. While Fotoman produced the viewfinder (image #2 above) and the rangefinder (image #3 above) specifically for this camera, the other components are from different manufacturers.
I rarely use the rangefinder when taking photos with my 617 camera. While it could benefit close-up shots, my main focus is on landscape photography. For this purpose, I rely on the ground glass and hyperfocal distance focusing techniques, consistently producing sharp images. I’ve kept the rangefinder in my gear collection for sentimental reasons—I purchased it alongside my first Fotoman 617 camera. For convenience, I prefer my photography measuring devices to be set in meters rather than imperial settings. I find them easier to remember and use.
I use the camera’s removable viewfinder to compose shots away from the camera, while I rely on the ground glass for my initial focusing when setting up the shot. Each composition is assigned one roll of 120 film, resulting in four frames in total. I typically employ contrast filters with black-and-white film, ensuring I utilize all the frames on the 120 film roll. You can see my recommended filter carrier/wallet towards the end of the page.
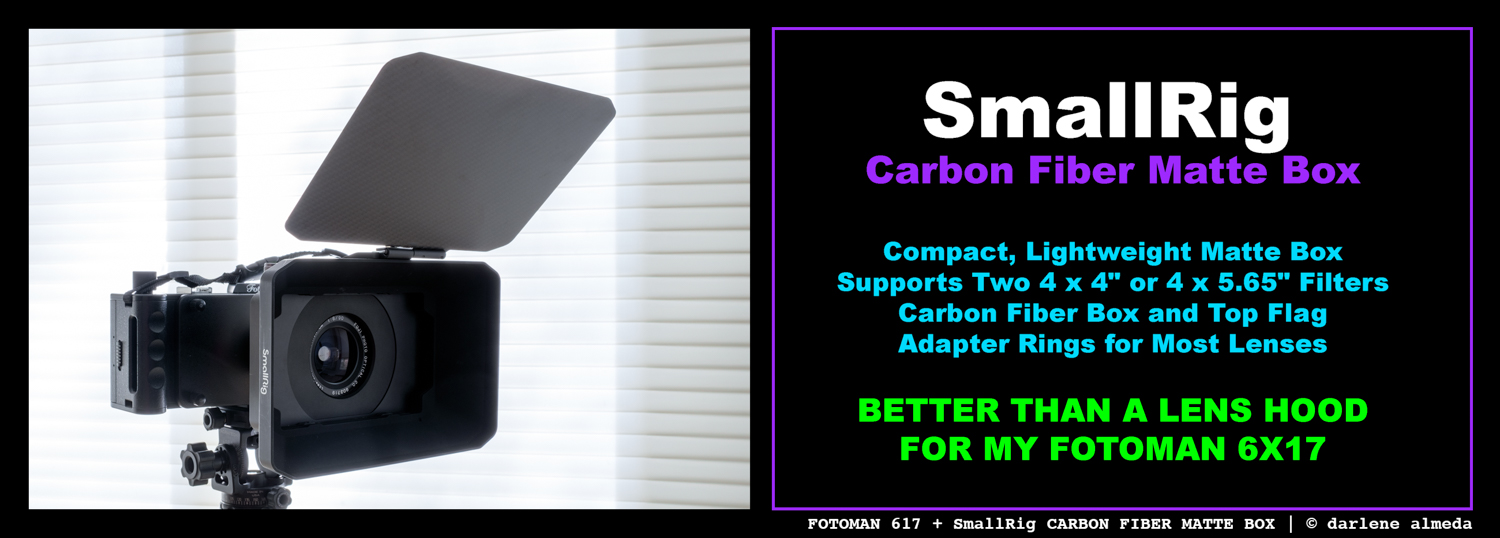
When using filters, I need to shade them from light just as much as I do the lens. I tried various filter holders and lens shades on hand, but none worked for what I was looking for, which was a lightweight and quick setup that did precisely what I needed it to do: shade light without vignetting. I decided to approach the problem from a different angle, and you can see my solution below using the SmallRig Matte Box.
Lastly, I invested in custom-made viewing bellows designed for Linhof Technorama 6×17 cameras that I modified, allowing them to attach to the ground glass easily. This straightforward do-it-yourself project is detailed next.
FOTOMAN 617 DIY VIEWING BELLOWS
FOTOMAN 617 DIY VIEWING BELLOWS
I have a preference for not using a dark cloth, especially when I’m shooting outdoors instead of in the studio. For me, the Fotoman 617 camera serves as a perfect tool for landscape and travel photography. I find its viewfinder to be an excellent tool for composing shots as I explore different locations, although I don’t use it on the camera itself. Instead, I rely on the ground glass for my final composition and focusing.
However, there’s a challenge with the ground glass due to the wide-angle perspective I use for this format. The corners and about the last quarters of each side of the ground glass become too dark to see without the use of a dark cloth. So, I decided to find a solution.
My preference has always been to use a focusing or viewing bellows, but Fotoman never produced one, and I couldn’t find any other manufacturers offering such a product. Nevertheless, I didn’t let that deter me from creating one myself.
My first step was to locate someone who made 6×17 bellows that could be adapted for the Fotoman 617. After some searching, I discovered a seller on eBay (fouruo4sk) who sold Linhof 6×17 focusing bellows. I purchased one, and despite the long wait of about six weeks for it to arrive from the other side of the world, I was willing to be patient. The total cost, including shipping, came to $106.29. While not exactly inexpensive, it was a reasonable price considering the circumstances.
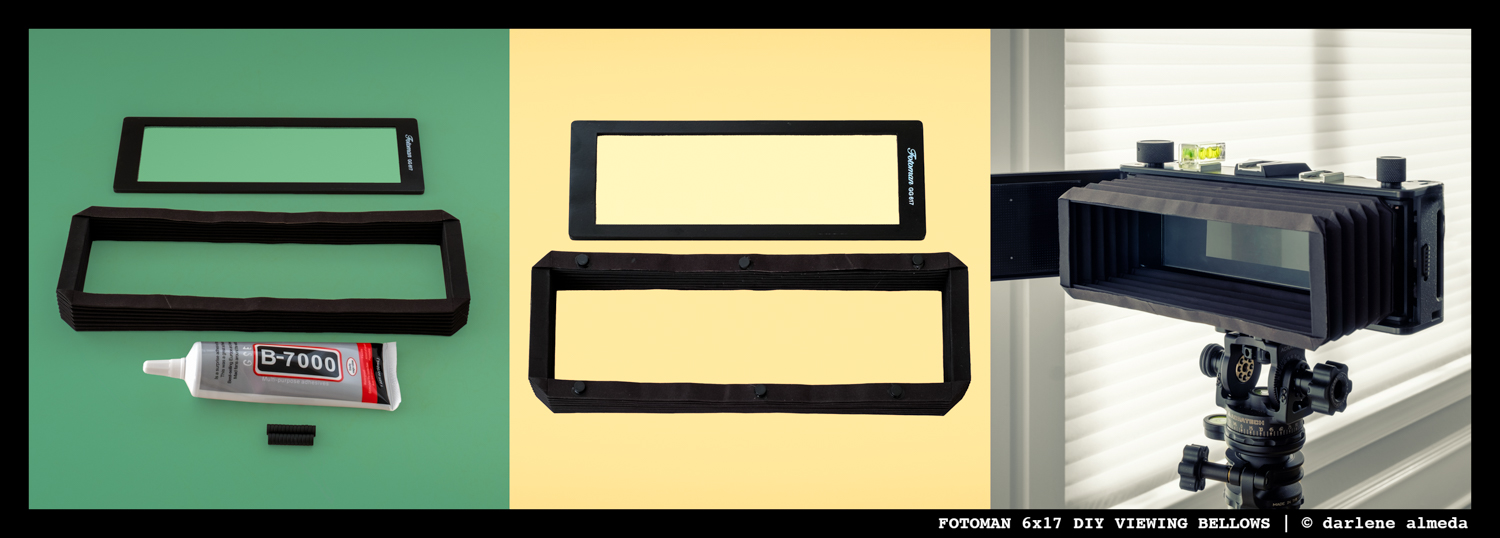
As you can observe in image #1 above, the bellows are slightly larger than the ground glass frame, but they fit the camera comfortably, a positive aspect of their usage here.
The next challenge was finding appropriately sized magnets and a suitable adhesive to attach them to the bellows material. After researching, I came across 1/4″ x 1/16″ Very Tiny Round Craft Magnets that fit perfectly within the small area of the bellows, leaving sufficient space to prevent excess glue from spilling over the edges.
For the adhesive, I opted for B7000 Jewelry Glue, which is well-suited for fabrics and ceramics and features a needle cap design. This applying needle was essential because the magnets were quite small, and precision gluing was necessary.
The DIY process was straightforward: ensure the magnets are affixed in the areas where they will make contact with the ground glass frame since the bellows are larger (image #2) than the frame.
Once glued, the adhesive needs to cure for 24-36 hours. Afterward, the bellows mount easily and stays securely on the ground glass frame! (image #3)
Here’s how I use the bellows with the camera: I begin by placing the ground glass in position and affix the bellows for shooting. When it’s time to remove them, I grasp the bellows, and the ground glass remains securely attached. This allows me to hold the ground glass in my hand and effortlessly slide the bellows off the frame.
If you’re a fan of your Fotoman 617 and have longed for a viewing bellows, you’ll discover this DIY project as an uncomplicated and efficient method for crafting your solution!
FOTOMAN 617 + SmallRig CARBON FIBER MATTE BOX
FOTOMAN 617 + SmallRig CARBON FIBER MATTE BOX
I’ve gone through various lens hoods in my photography journey. One thing that has always bothered me is using filters on the exterior of hoods, where they can be exposed to direct sunlight, causing unwanted halos, contrast problems, and other optical anomalies. I often found myself wondering why some photographers choose to do this.
Initially, I was eager to use a Sinar hood with an integrated 100 mm filter holder with my Fotoman 617. Unfortunately, it resulted in vignetting issues with my Fuji SW 90/8 lens, and I want to stay with the Fuji SW 90/8 lens. Next, I experimented with an older LEE filter holder similar to the Sinar but without the hood component. I attempted to use an older Ebony flag device (dark slide holder), which fits into the camera’s cold shoe and shades the lens and filters. However, it proved less than ideal, requiring a cumbersome setup and stow process. Frustrated, I decided to approach the problem from a different angle.
The root of the issue was the combination of the lens hood and filter setup I was trying to perfect. I wanted to use something other than a compendium hood contraption like the one I had custom-made for my Ebony 4×5 camera. It is awkward, takes up too much space in my bag, and is generally inconvenient to set up. Since the Fotoman itself is already bulky, I began exploring options from the world of cinematography.
That’s when I stumbled upon a used SmallRig carbon fiber matte box at B&H Photo. While it initially looked unconventional, it accommodated my filters, had the flag I was looking for, and effectively shaded the filter area. The matte box came with a single lens adapter ring, the 67 mm size that my lens required. The description claimed it was lightweight, and B&H offered a hassle-free return policy. With free shipping and a discounted price, I decided to take the plunge.
I’m delighted I did because this matte box perfectly fits the Fotoman 617 camera. It eliminates the issues of stray light hitting my filters and lives up to its promise of being lightweight and constructed from carbon fiber. Additionally, I purchased a handy screw-in level made by Wooden Camera that screws into the top of the matte box and allows me to quickly ensure my hood and filter setup is perfectly level from behind the camera.
Overall, I’m thoroughly enjoying this matte box. It’s a breeze to set up, fits seamlessly in my bag, and, most importantly, creates zero vignetting issues. More about my experience with this matte box is here.
FOTOMAN 617 + SHIMODA FILTER WRAP 100
SHIMODA FILTER WRAP 100 + LEE B&W CONTRAST FILTERS
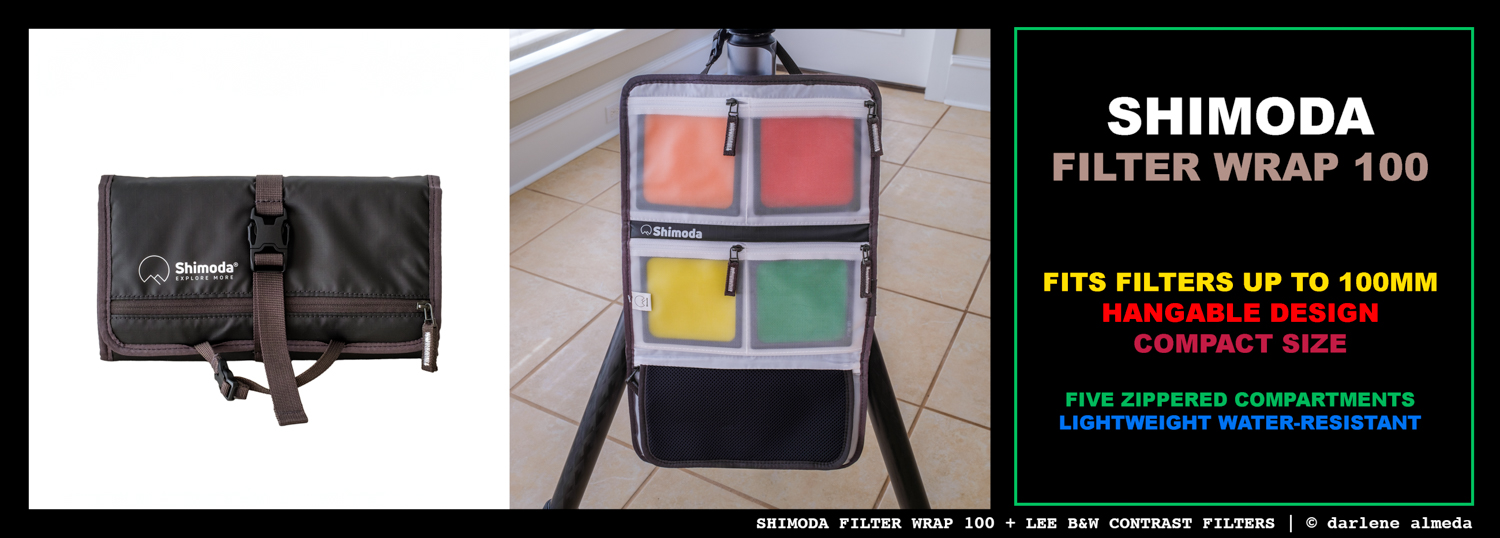
I depend on the Shimoda Filter Wrap 100 to shield my 4×4 (100 mm) filters when I venture out into the landscape with my Fotoman 617 for film photography. This filter wrap proves to be an excellent solution for safeguarding my delicate LEE gel filters during my travels. It’s tailor-made for on-the-go use and easily attaches to my tripod. Its compact, weather-resistant, lightweight design provides superb protection for my filters. Moreover, it simplifies the task of distinguishing between different filters, and I find the zippered pocket at the base handy for storing the Fotoman ground glass in its wooden slide-in case.
In fact, I have two of these wraps—one for my black-and-white contrast filters, as shown above, and another for my neutral density (ND) filters. I highly recommend these wraps. If you happen to use filters larger than 4×4 (100 mm), they also offer a Shimoda Wrap 150 for filters up to 150 mm x 100 mm, which may better suit your needs.

