
In the previous lesson, we explored lighting ratios—how contrast can be measured, described, and repeated using a flash meter. Ratios give us a shared language for understanding contrast.
But measurement alone doesn’t create photographs—it only explains them.
In this lesson, we’ll look at how contrast is designed—not by changing light power, but by making small, deliberate adjustments to placement, distance, and reflector choice. The purpose here is simple: to show how much control you already have when you know what to move—and what to leave untouched.
What Stays Fixed
For this session, I chose to use the modeling light of the strobe. This is a constant light source, not flash.
To make the changes in this lesson easy to see, several things remain constant throughout every image:
-
Camera position
-
Exposure settings
-
Main light position
-
Main light power
If the images look different, it’s not because the main light changed.
It’s because the fill light changed.
This distinction matters.
Reflector Distance & Color
How Distance Controls Contrast
The most direct way to change contrast is by adjusting how close or far a reflector is from the subject.
When a reflector is placed closer, more light is returned to the shadow side of the subject. When it’s moved farther away, less light returns—even though the reflector itself hasn’t changed.
This is why small movements matter. A shift of just a few inches can transform shadows from open and gentle to deep and dramatic ones.
Distance determines how much shadow detail is returned.
We can also influence how that contrast feels by changing the color of the reflector. A warmer reflector introduces a subtle tonal shift, while a neutral surface keeps the fill clean and balanced.
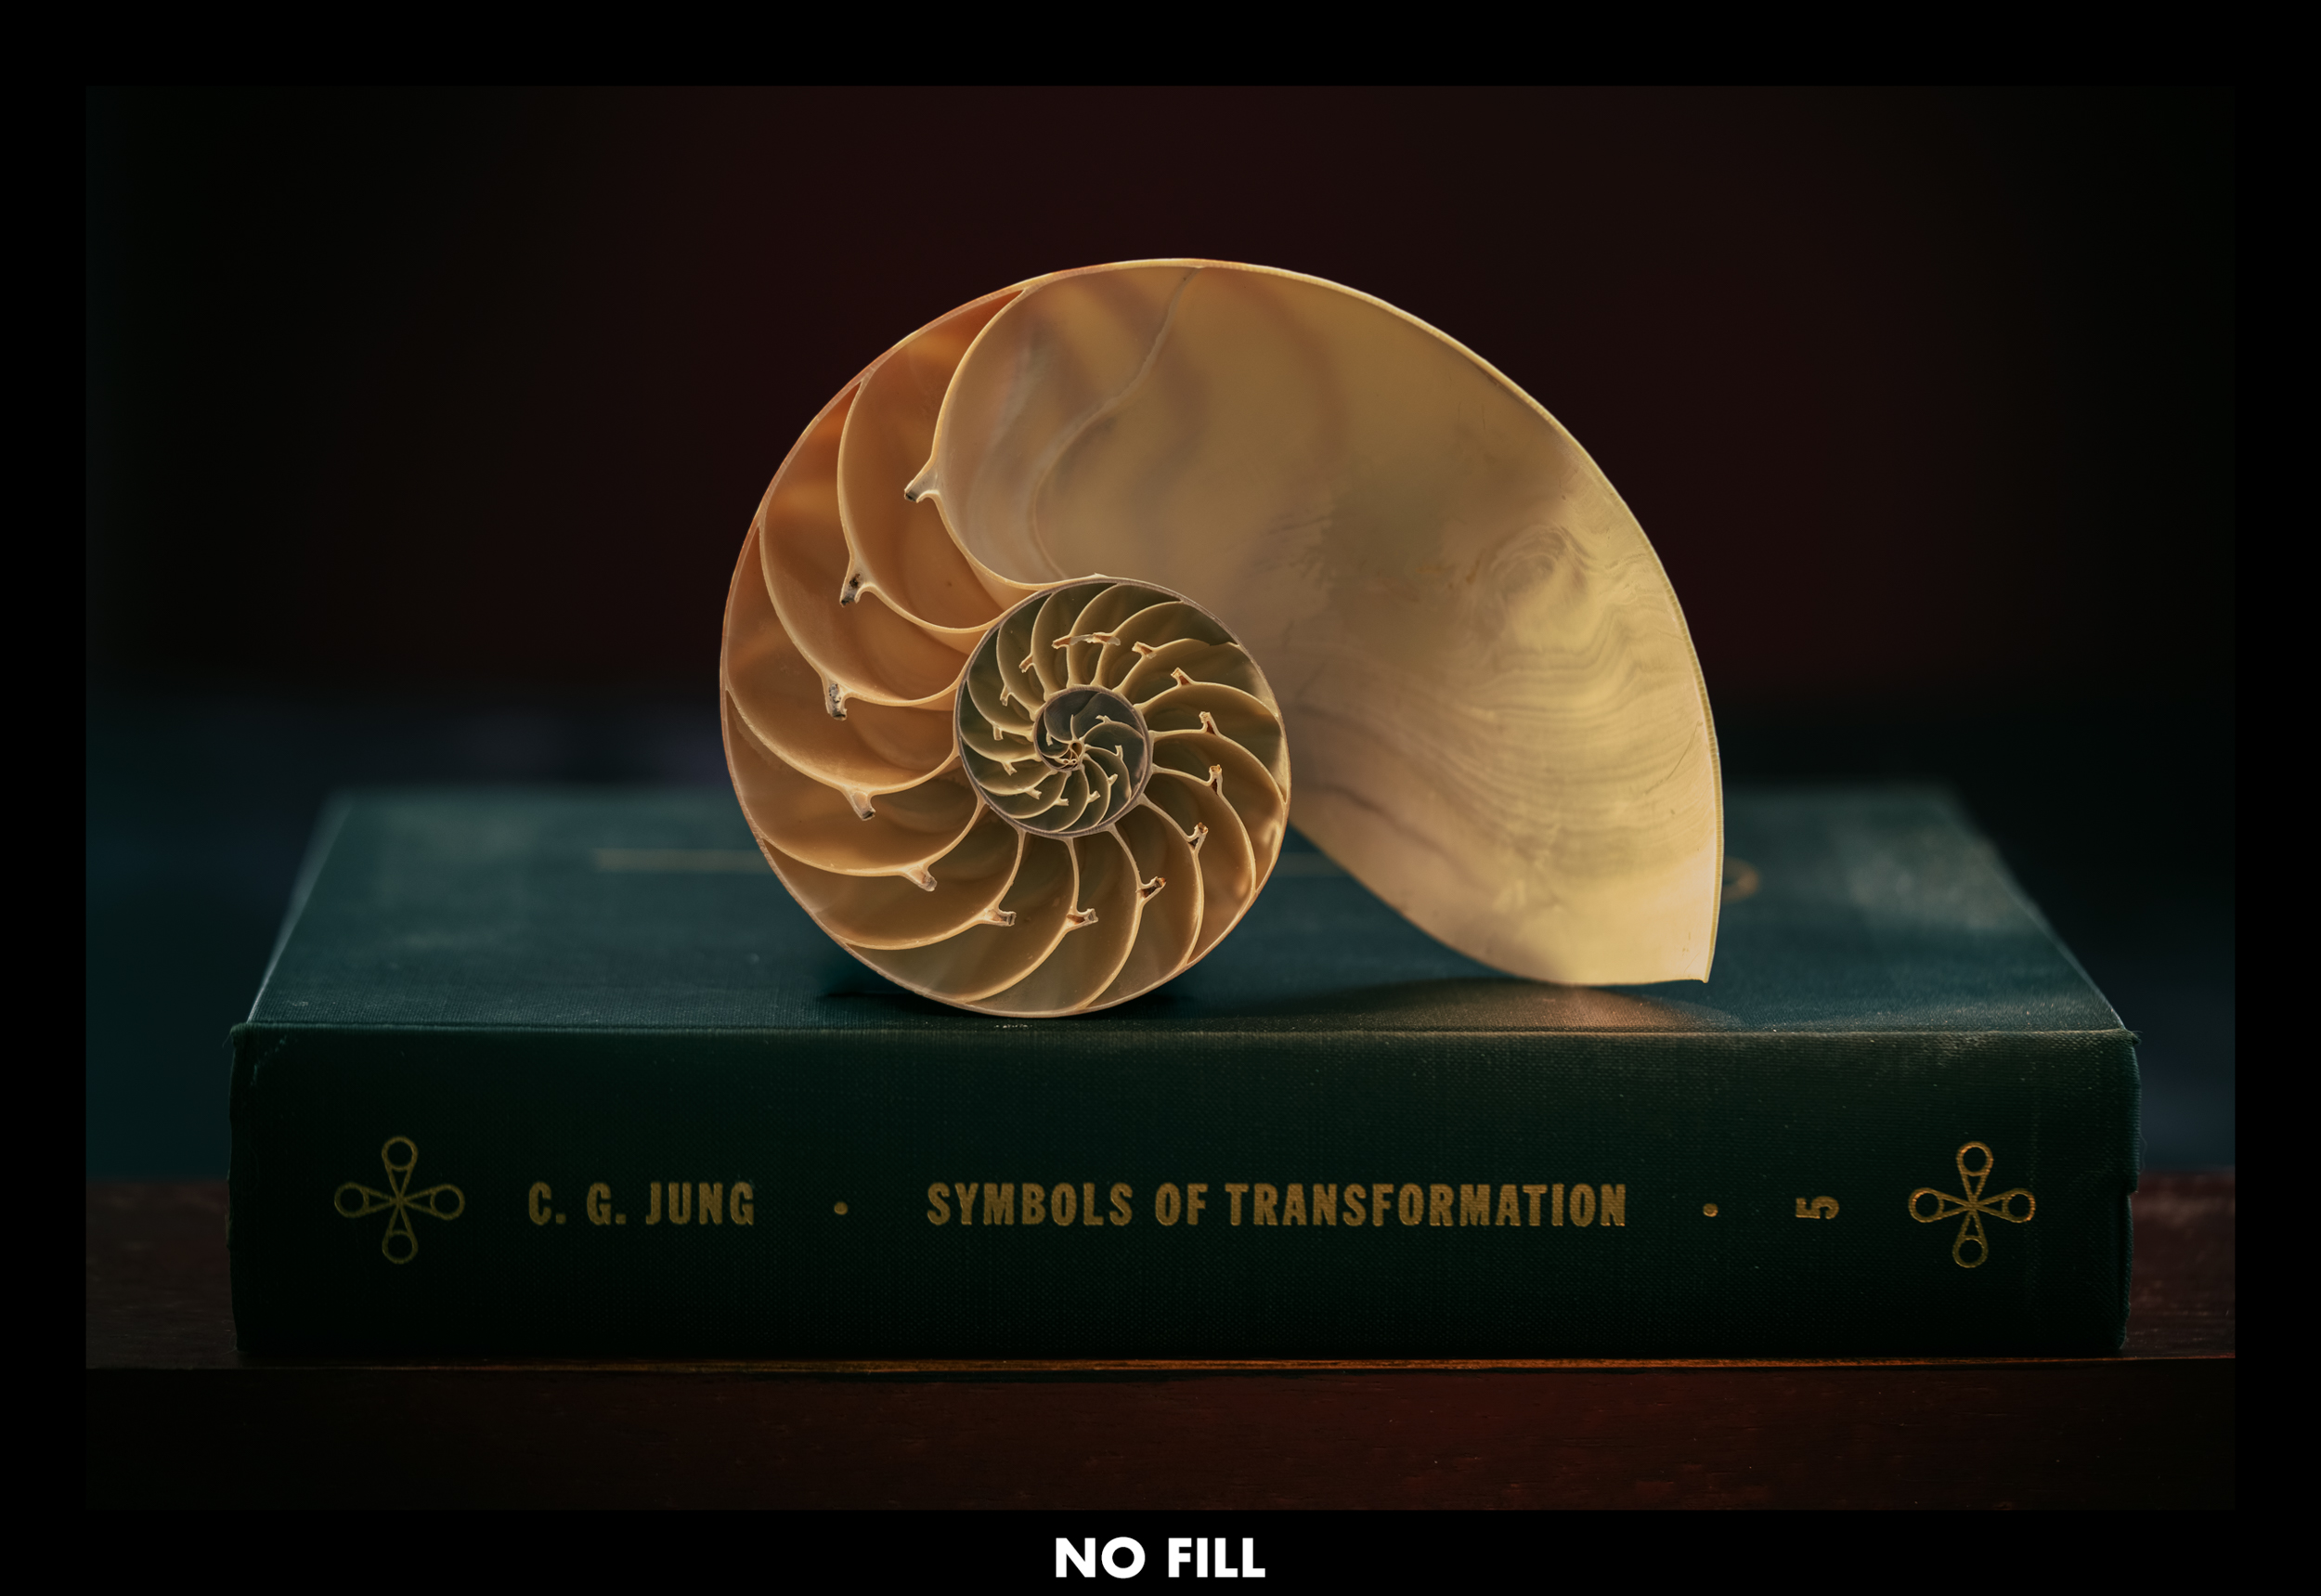
Image Sequence
Click the first image, then step through the sequence to see how adding a specific type of reflector creates meaningful changes in the contrast and color temperature.

Direction Shapes Form
Where fill light comes from is just as important as how strong it is.
A reflector placed near the camera tends to flatten shadows, reducing the sense of depth. Move that same reflector lower or off to the side, and shadows begin to describe form instead of simply filling it in.
Nothing about the exposure changes—but the dimensionality does.
Direction affects shape, not just brightness.
Reflector Type
Not All Fill Light Behaves the Same
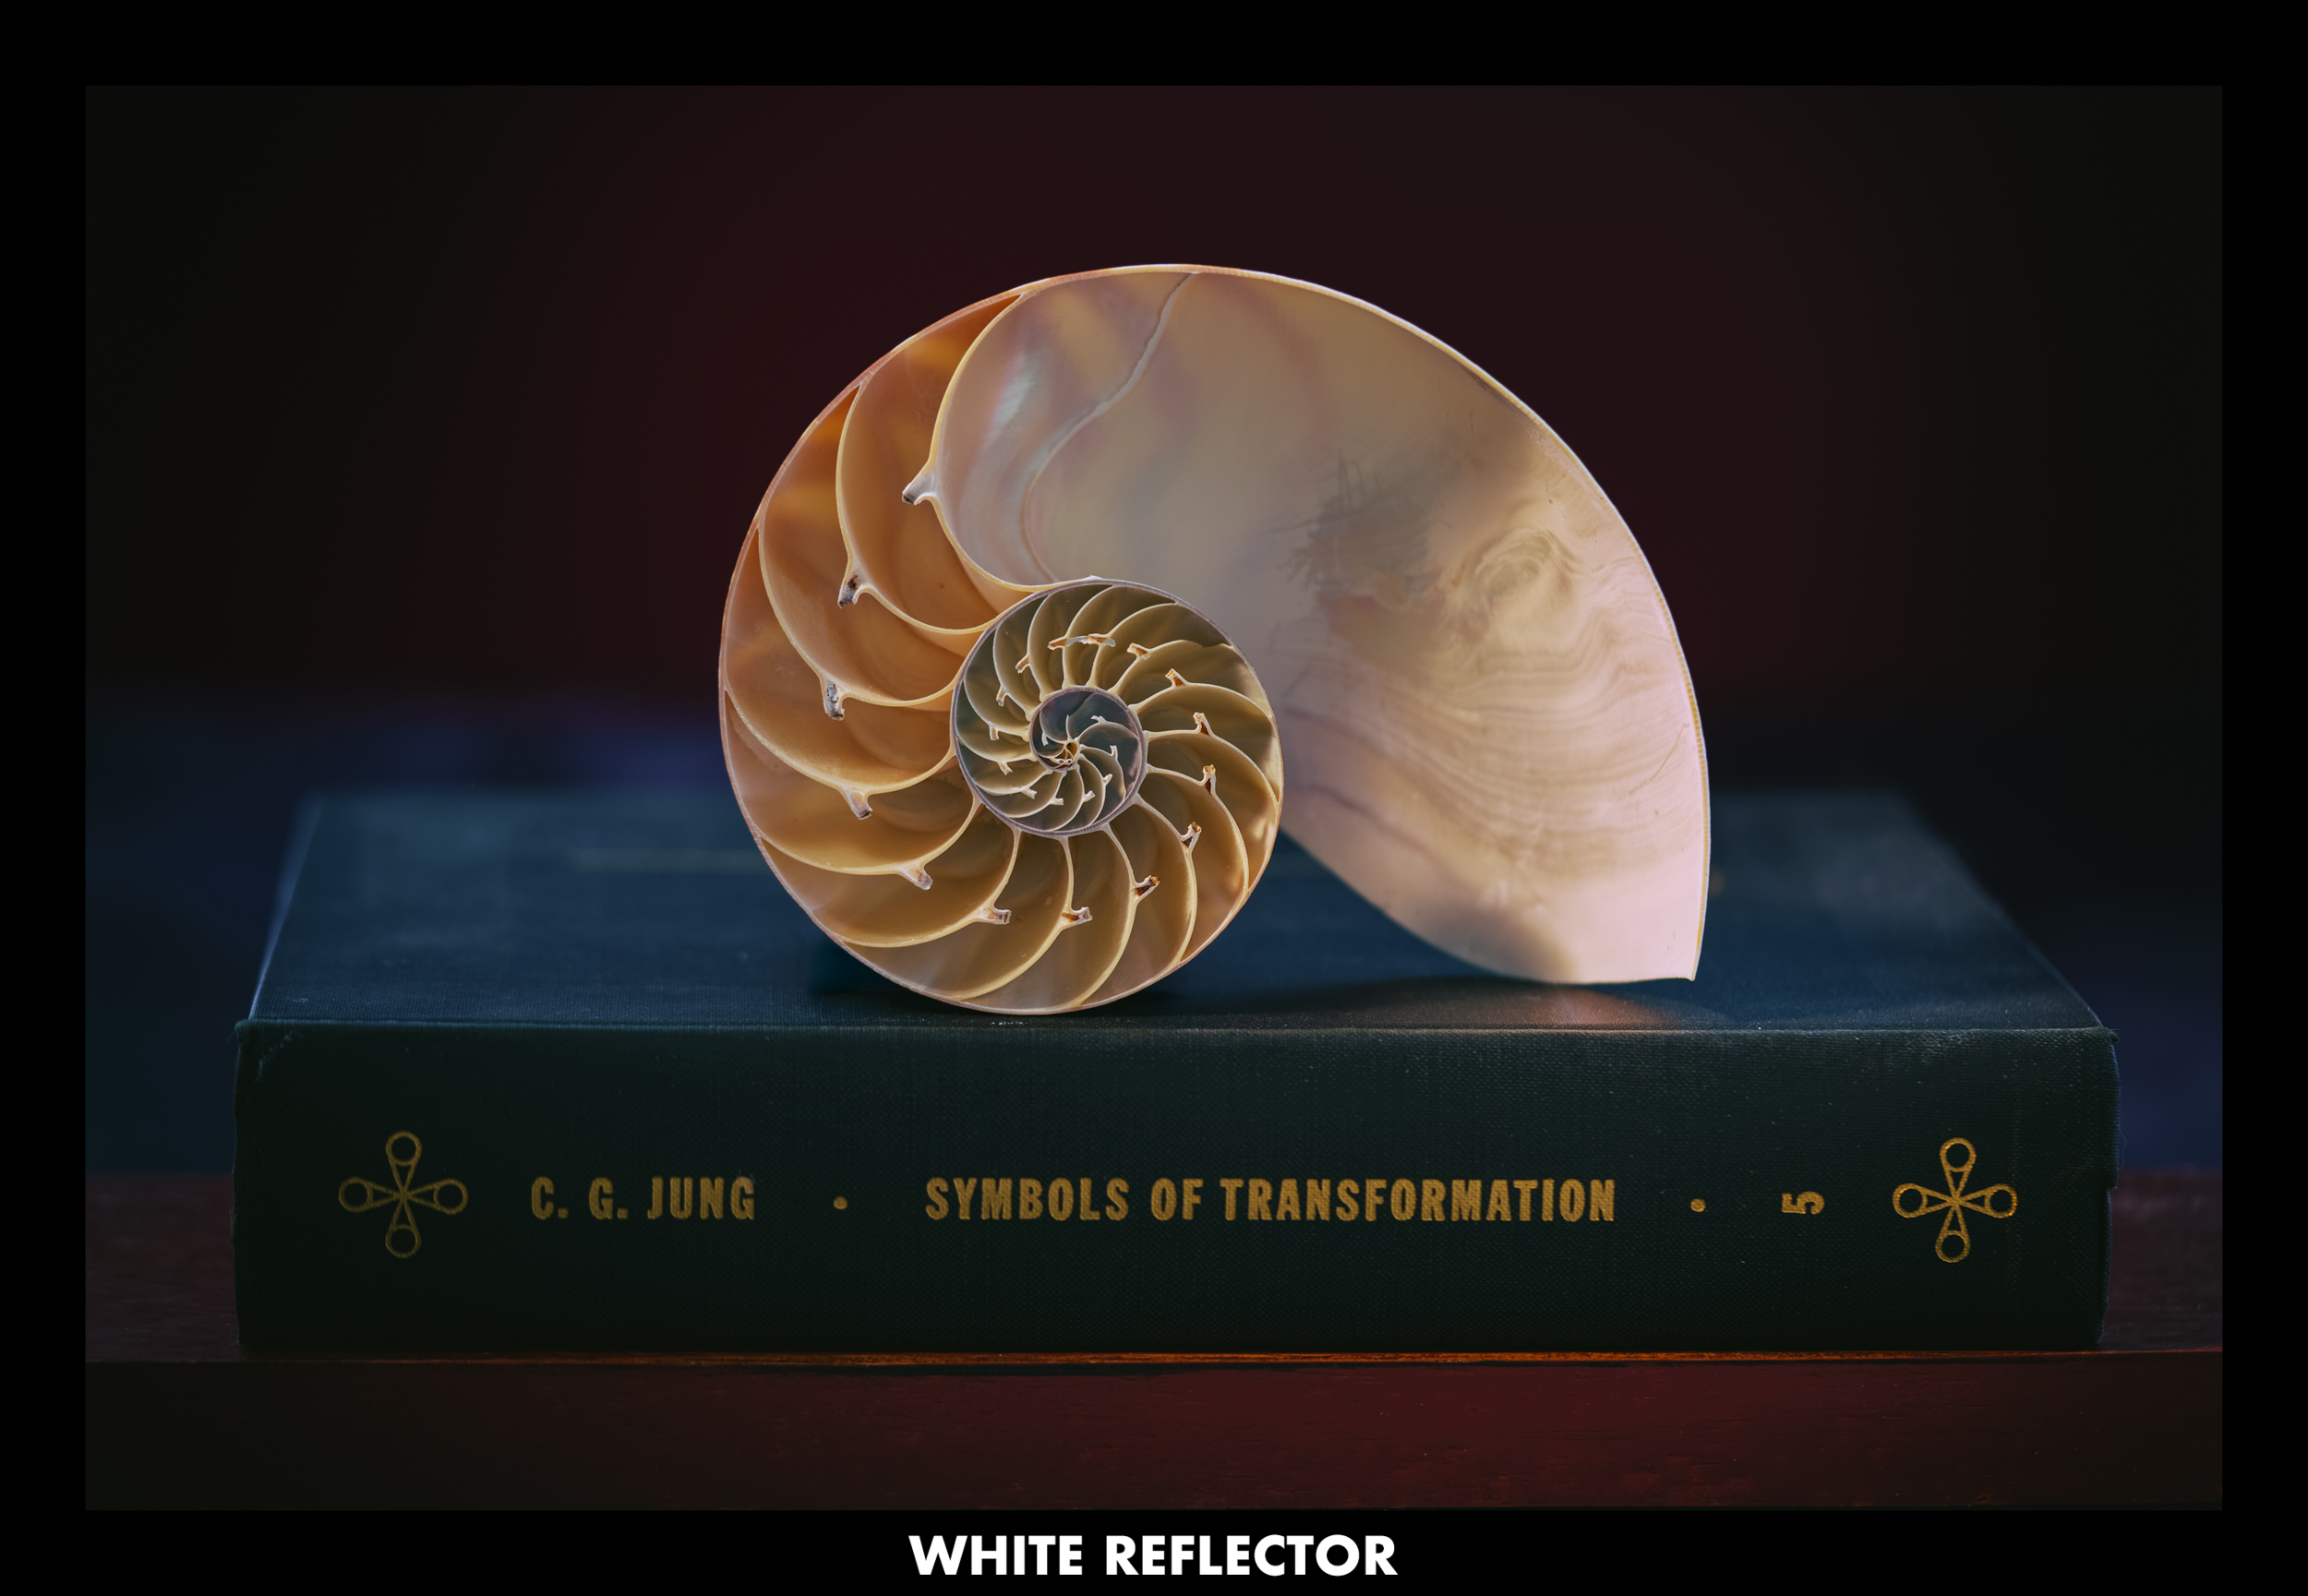
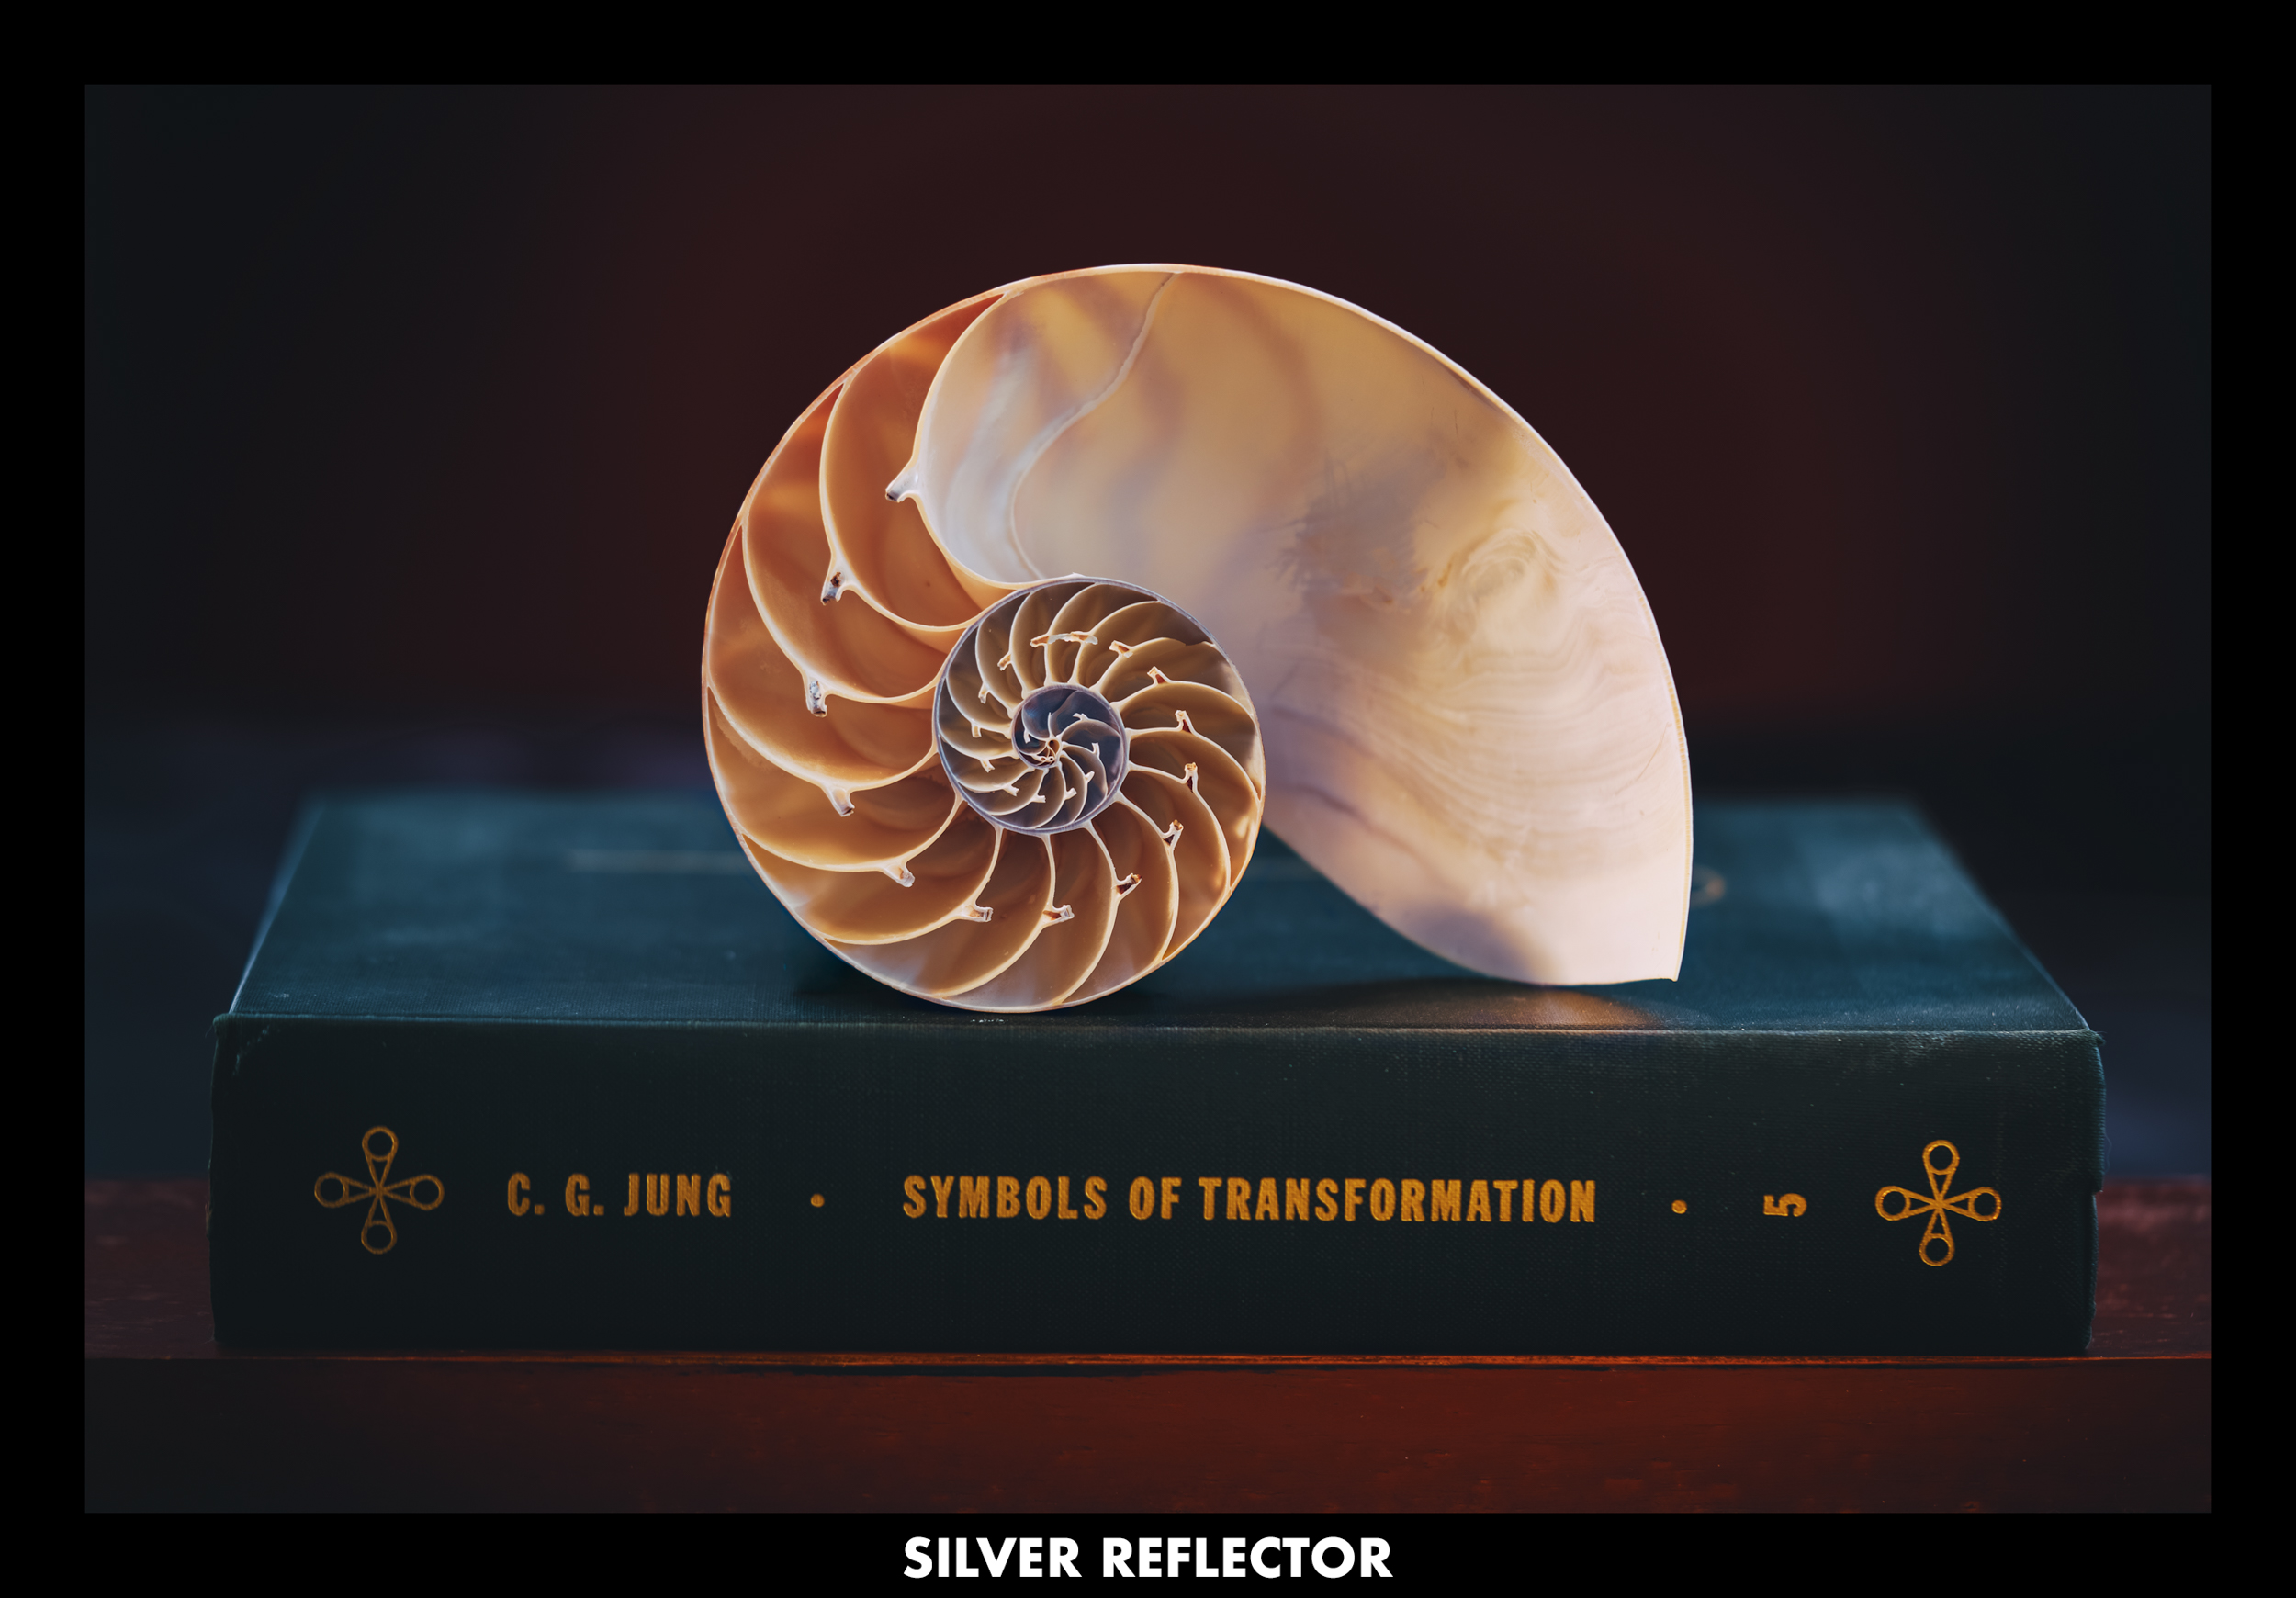
Reflectors don’t just add light—they shape the quality of that light.
A white reflector produces a soft, diffused fill. A silver reflector creates a brighter, more specular return. A gold reflector adds warmth to the fill. Each can reduce contrast, but each does so in a different way.
Choosing a reflector surface isn’t about what’s “correct.” It’s about deciding how you want the shadows to behave and how you want the light to feel.
Contrast has character, not just quantity.
Wrap-Up
Lighting ratios allow us to measure contrast.
Placement, distance, and surface choice allow us to design it.
Once you understand how these elements affect shadow behavior, you no longer need to rely on guesswork or constant power adjustments. You can shape contrast deliberately, quietly, and repeatably.
That isn’t technical lighting.
That’s intentional lighting.
Behind The Scenes

Props & Learning to Be Creative
Throughout this series, I often include behind-the-scenes images to illustrate light placement. This time, the reason goes a bit further.
Yes—you can see the gold reflector on the right-hand side and how close it is to both the composition and the camera. It sits opposite a strobe fitted with a grid that was used only for its modeling light, not flash.
But the real lesson here goes beyond lighting.
The set itself is uncomplicated: a worn red towel used as a backdrop, with a piece of clear diffused plastic sheeting placed in front of it. An old book pulled from a shelf. A nautilus shell from a box of collected sea shells. A painted red strip of wood used to create a clean edge. Aside from the shooting table and basic surfaces, everything came from around the house.
The point is simple: you don’t need special props to make thoughtful images. Strong still lifes can be created with ordinary objects—when attention is paid to light, placement, and intent.
In the next article, I’ll show how to use nothing more than a chair and natural light to create still life images.
Let’s keep this playful. Creativity often thrives when we stop overthinking and start working with what’s already around us.